A beginners guide covering the basics of most features in the game to get new players started.
An Introduction
Hello. this guide is here to help you learn the basic functions of the game, and to give some clarifications on vague features and functions until a tutorial is implemented.
There are many features to this game, so i will break them down bit by bit for each category.
Basic controls
You might feel overwhelmed by all of the new buttons, and no tutorial, but here is a simple instruction set on how to navigate and control the game.
- WASD to move the camera around.
- To rotate the camera press and hold on the middle mouse button (like if you were clicking it), then move your mouse around.
- To zoom in and out, scroll the mousewheel.
You can speed up, and stop time. To do this you can either click on the buttons on the bottom right, as seen here:
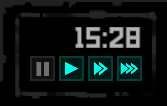
Or alternatively, you can use space bar to pause and un-pause time, and the number keys 1-3 to change how fast time moves.
FIrst and foremost, to select a character, left click on them. You can hold shift and left click multiple characters at the same time.
From here you have a few options:
- Draft
- Direct actions
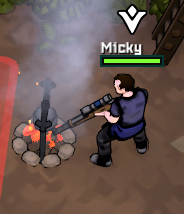
When you draft a character, you take direct control over them, and are able to right click to make them move. You can also direct them to attack objects and entities, as well as reload any firearms equipped (see Direct actions below), and perform certain actions. A drafted character will look like this:
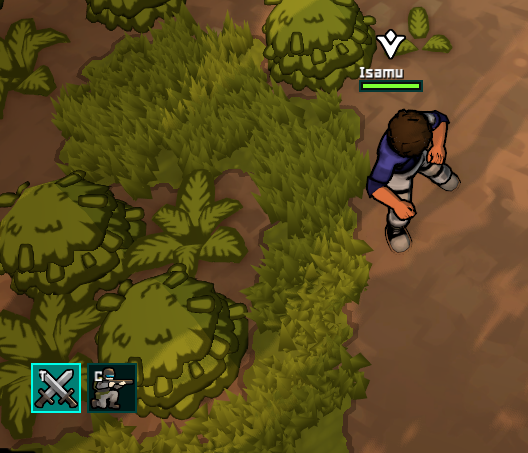
When drafted, you can press C to make a character crouch. or press the little button next to the context panel.
When you left click on a character, you can send them to do actions without drafting them. Simply right click on an applicable object, for example this campfire: 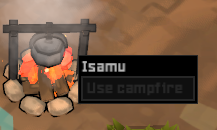
When an action is available, it will allow you to click it and make the character perform said action. Like Use Campfire in the image.
You can use this to equip weapons to your character, but you should use the loadout system which will be explained later.
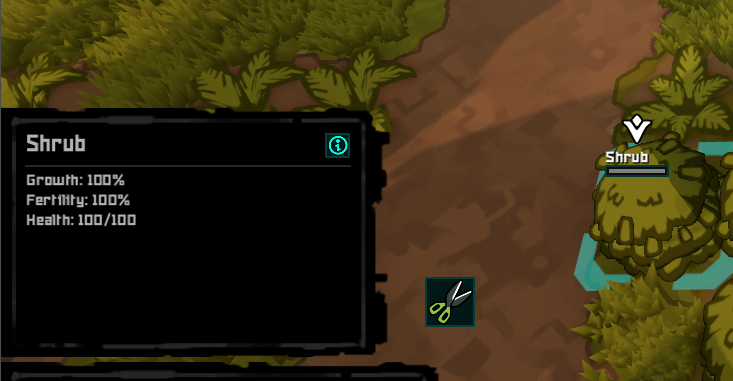
You can click on certain objects, like trees, dropped items, and characters, and you will get a little info box on the bottom left of your screen. This will tell you information about what you are selecting. You can also set orders on certain objects like trees, crafting workbenches, and growing zones.
Jobs
you must set your characters to do their jobs, otherwise the characters will sit there and do nothing.
To do this, you click on this icon in the bottom left:

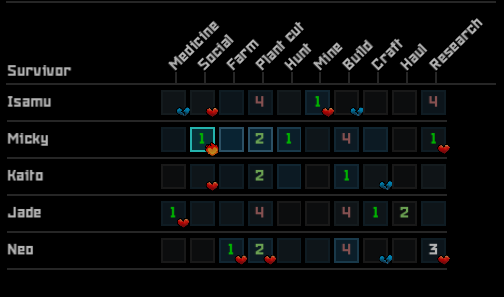
From here, you can set each characters job priority ranging from 4-1, you can also disable jobs by cycling through the numbers until the box for that job is empty. If you have played RimWorld, it is very similar to the system in that game.
- The hearts represent each characters liked and disliked jobs. Blue means disliked, red means liked, and flaming heart means loved
- The boxes have different tints to them, these are to represent each characters skill level for that job. brighter means higher skill, darker means lower skill
- Start by figuring out what you want to do, if you want to cut down a tree, start by setting the best colonists (or all if that’s what you want) to plant cut.
- Try to keep colonists from doing jobs they hate/doing jobs they love.
Characters
You will start with 5 different characters. Lets go over how to get familiar and check on your characters.
Click on your character, you will notice that the context menu on the bottom left will fill up with a bit of information and buttons. Like so:
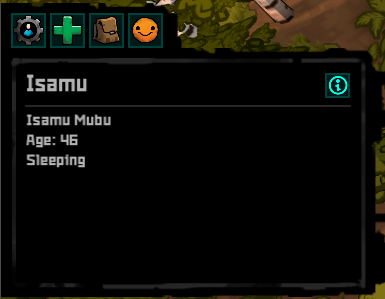
Lets go over the buttons from left to right:
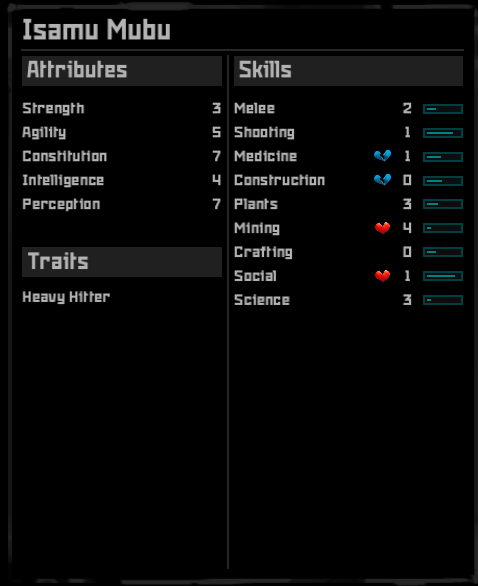
- First, the Character tab (gear icon) this will show the stats, attributes, and traits of the character you can use this to get a grasp on your characters skillset, interests, and passions.
- Second, the Medical tab (green cross) This is used to determine the health status of your character, as it is complex i will expand upon it later.
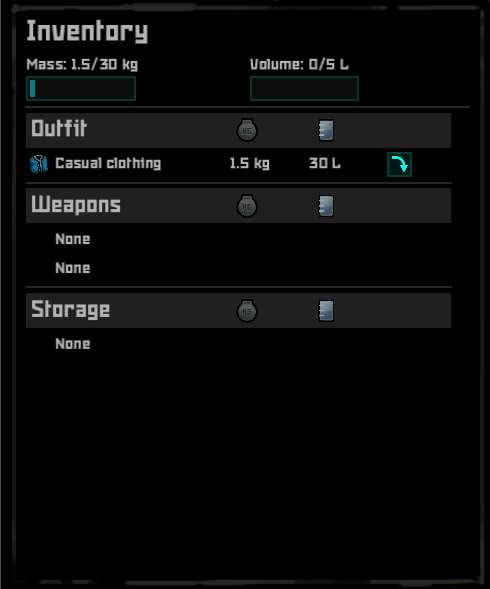
- Third, the Inventory tab (backpack). This is used to view what items the character is currently carrying and has equipped. Each character has 2 max inventory values, Volume (how much space something takes up) and Weight (how heavy something is. Volume is measured in Liters, and Weight is measured in Kilograms. The inventory has 3 categories. Outfit, Weapons, and Storage. Outfit is for the clothing and armor you have equipped, weapons is for the primary and secondary weapons equipped, and storage is for the cargo and extra items your character is holding.
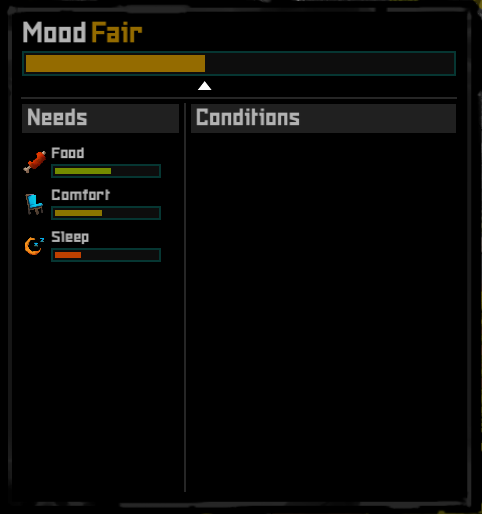
- Fourth, the Needs tab (smiley icon), This tab is used to figure out the needs and happiness of your character, they are people you know. Right now there are 3 needs that need to be addressed, food, sleep, and comfort. these will affect your characters mood.I will go over needs next.
Needs
-
Food
Food is a high priority, but not #1 as you start with some basic food. There are two main ways to secure food:
-
Farming
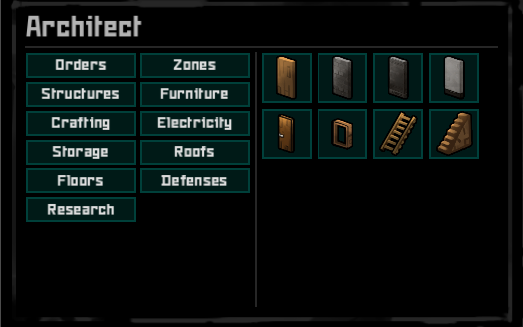
Farming is pretty simple, start by opening the build menu
 in the bottom left of the screen. From here, click on “Zones” and select the growing zone.
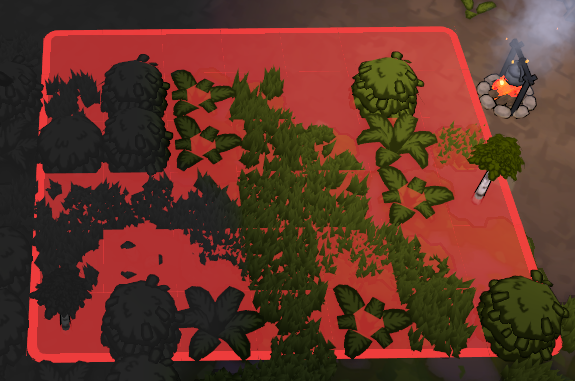
You can now drag click to create a zone for growing, it will look something like this:
You will notice options to the right of the context box,like so:

From the left to the right, these buttons are:
- Select crop type
- Expand Zone
- Shrink Zone
- Remove Zone
- Rename Zone
- Change Color
-
Hunting
Hunting is also pretty simple. on the bottom left, click the Hunting button
 this will open the hunting menu.
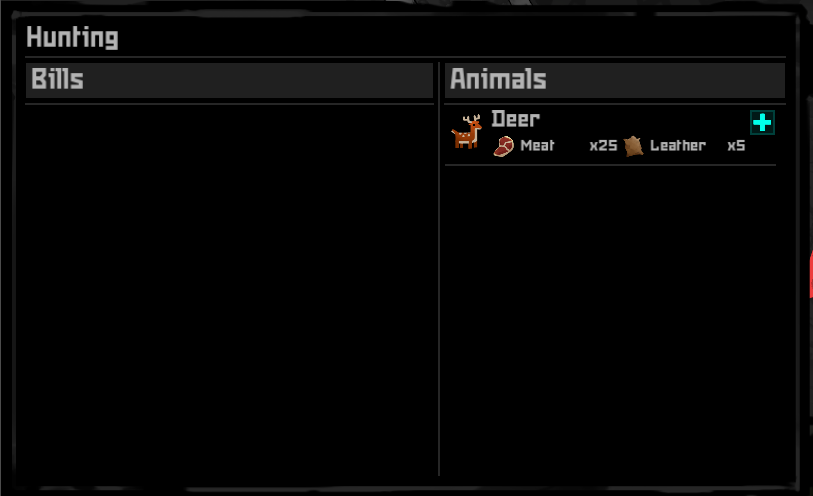
Simply click the green plus on your desired animal (deer in this case), and then a bill will appear on the left like so:

You can customize how much of the animal you want to hunt with the dropdown below the name, right now you can hunt all, hunt until you have x resource, or hunt x times
-
-
Shelter
Shelter is pretty important as well, as this addresses your comfort and sleep needs. Using the previously discussed build menu, there are many options for construction. But you should focus on the Structures, furniture, floors, roofs, and storage tabs primarily. Most of these are self explanatory, explore around if you are unsure what they should contain. You can use these to build a house.
- When placing items, use Q and E to rotate, left click to place, and right click to cancel placement.
- When placing walls, you can drag left click to build a wall, right click to cancel.
- When placing doors/windows, you have to place them over an already constructed wall. and
You can build workbenches to craft new items, research bench to research new items, and campfires/cooking stations to cook food.
-
Security
Security is a MAJOR importance when it comes to surviving, often you will be faced with bandits, you can prepare by equipping weapons and ammo to your characters, preparing defensive positions, and being aware of your surroundings.
Health
As such, your characters will get injured. If you have a skilled doctor, its a great idea to set them to the medical job.
We previously mentioned the medical menu when discussing your characters, well now we will familiarize you with the medical menu in action.
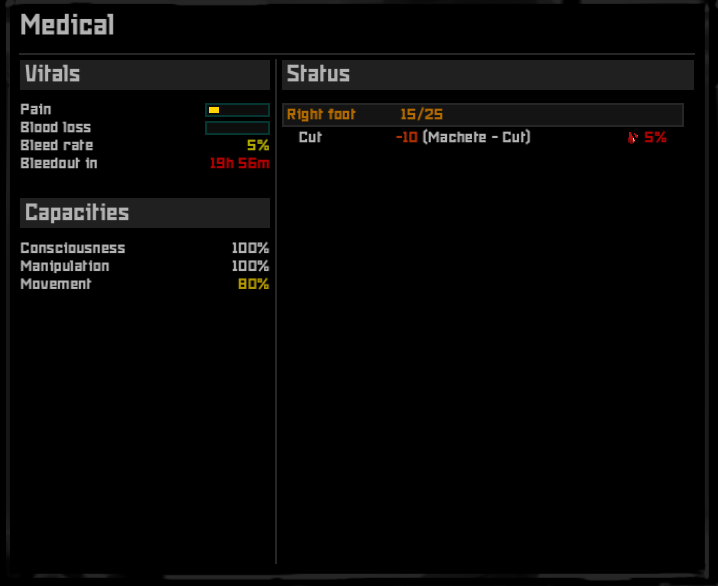
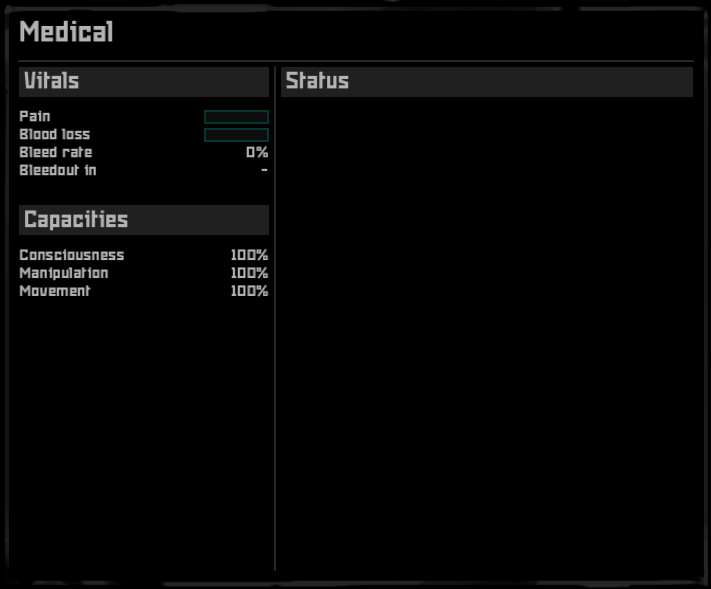
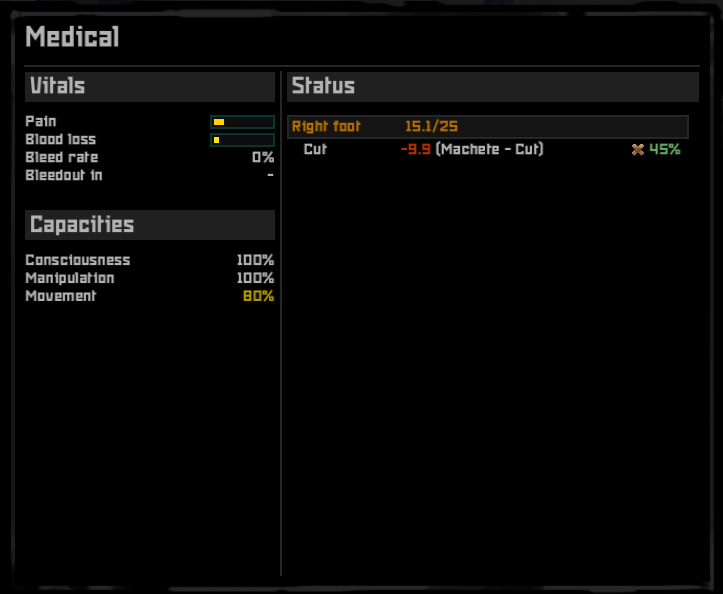
You can see here, its a lot more filled than it was before, lets break it down piece by piece.
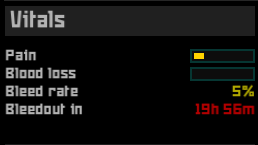
Here, you can see the vitals, this is the most important values for your characters life.
Pain is how much pain your character is experiencing, this can affect many different Capacities (see below).
Blood loss is how much blood you have lost total, the bar will fill up, if it gets full, you will die.
Bleed rate is how fast you are bleeding, keep this number low if you wish to keep your characters blood inside of their boody.
Bleedout in x is how long you have until this character bleeds out.
Capacities are what your character is currently capable of, more specifically how well they can perform tasks, compared to their full capacity. 100% means they are at full capabilities, and aren’t hindered by anything.
- Consciousness affects both manipulation and movement, if you are unconscious, you cannot do either.
- Manipulation affects how well you can perform tasks, reloading, building, crafting, researching, manipulation is vital to a characters tasks.
- Movement is self explanatory, it is how well your character is able to move. this affects all movement of the character.
As you can see, the character here is cut in the foot by a machete, if he doesn’t get medical attention, he could bleed out!
Lets handle the situation.
We have to apply aid to him, this can be done by either making him care for himself, or making another character apply aid.
Select either the injured character, or the doctor character, and right click the injured. then select either “Treat Character”

Or when making them heal themselves select “Treat Self”
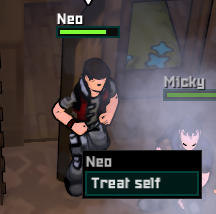
Its important to have a higher skiled medical worker to do the healing when possible, this could save your characters life. When a character is treated, their wound will be tended, tend quality is affected by many things, but most importantly, medical skill.
Now our character will live to see another day.
Equipment
Open the loadouts menu in the bottom left, it has this logo: ![]()
It should look like this when you open it.
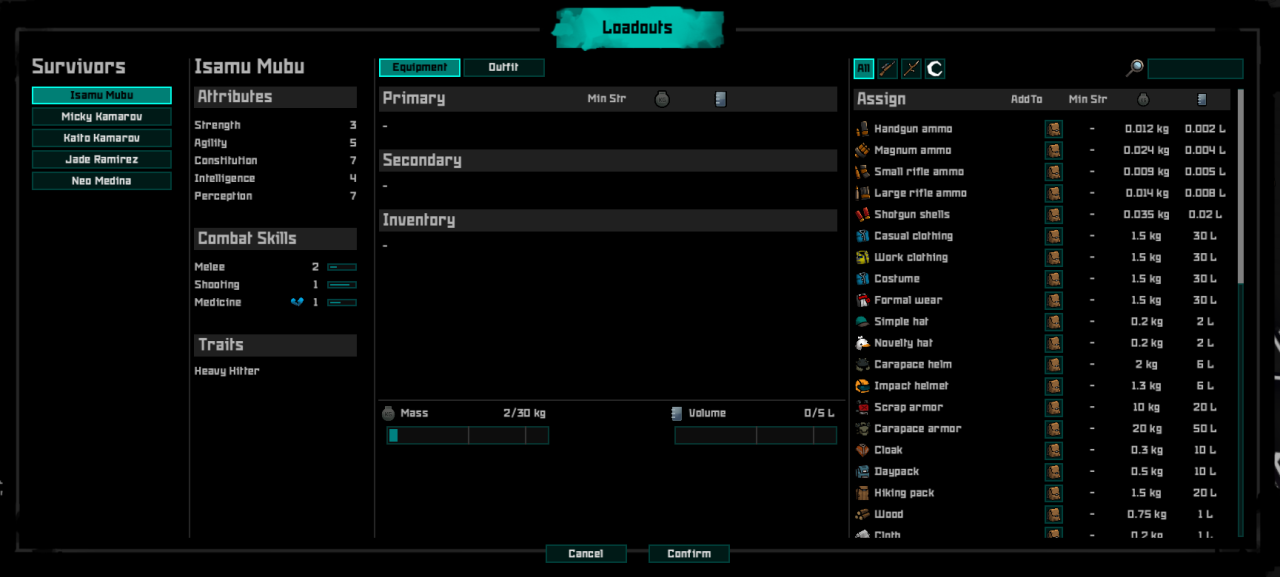
I know, it looks like a lot, but lets start with the basics, on the left you will see each of your characters, like this:
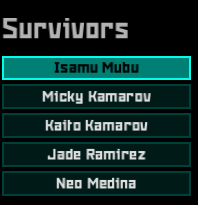
This is how you select what character you want to make the loadout for, previously we looked at how to check your characters stats, find your best shooter (highest shooting skill) and select him. Now, we will equip him with the rifle (you spawn with one when you make a new game)
If you look on the right of the panel, there is a list of items, it may look like a lot, but fortunately you can search for whatever item you want to equip him with.
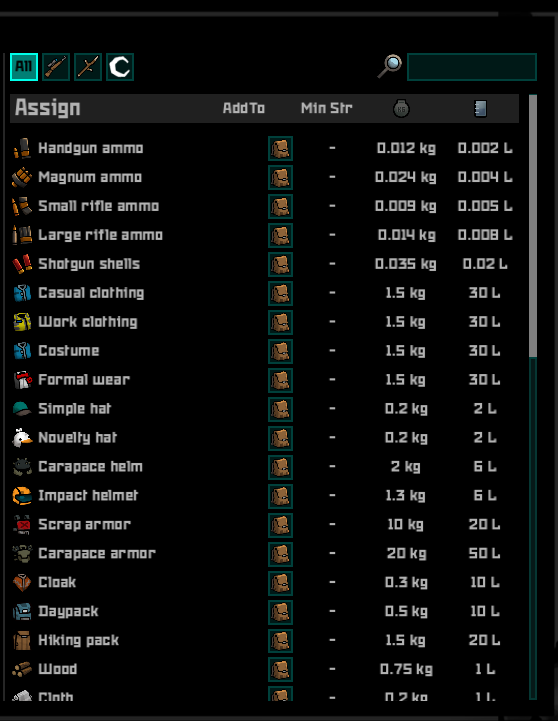
this means you can set up a loadout, and craft all of the items, and your characters will automatically pick up the items they need to equip the loadout when they are crafted.
To add an item to a loadout, first decide what item it is you are adding.
You will notice, there are tabs above the item list, the gun icon is for ranged weapons, and the stick icon is for melee. The last icon (crescent shaped one) is the ammo tab.
For now, we just want to equip our shooter with a rifle, so lets click on the ranged tab.
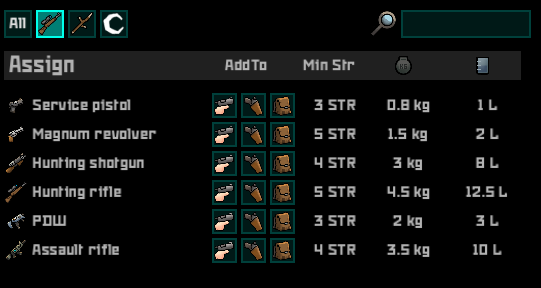
If you look here, you will notice a few key things, each weapon has a few buttons next to it. From left to right they are:
- Equip Primary
- Equip Secondary
- Add to Inventory
For now, locate the “Hunting Rifle” weapon, and click the equip to primary button. You will notice that it is now in the “Primary” section of the loadouts screen. But we aren’t done yet.

Adding ammo is pretty simple as well, you first press the add ammunition button 

From here, you simply set the ammo counter to whatever you want, i suggest around 20.
Most importantly,
What’s next?
Continue building your base and defenses, stopping any raiders that show up. Experiment with battle tactics, positioning, and options.
Start researching technology to improve your colony. build newer technology and weapons.
Scavenge for more loot from key locations.
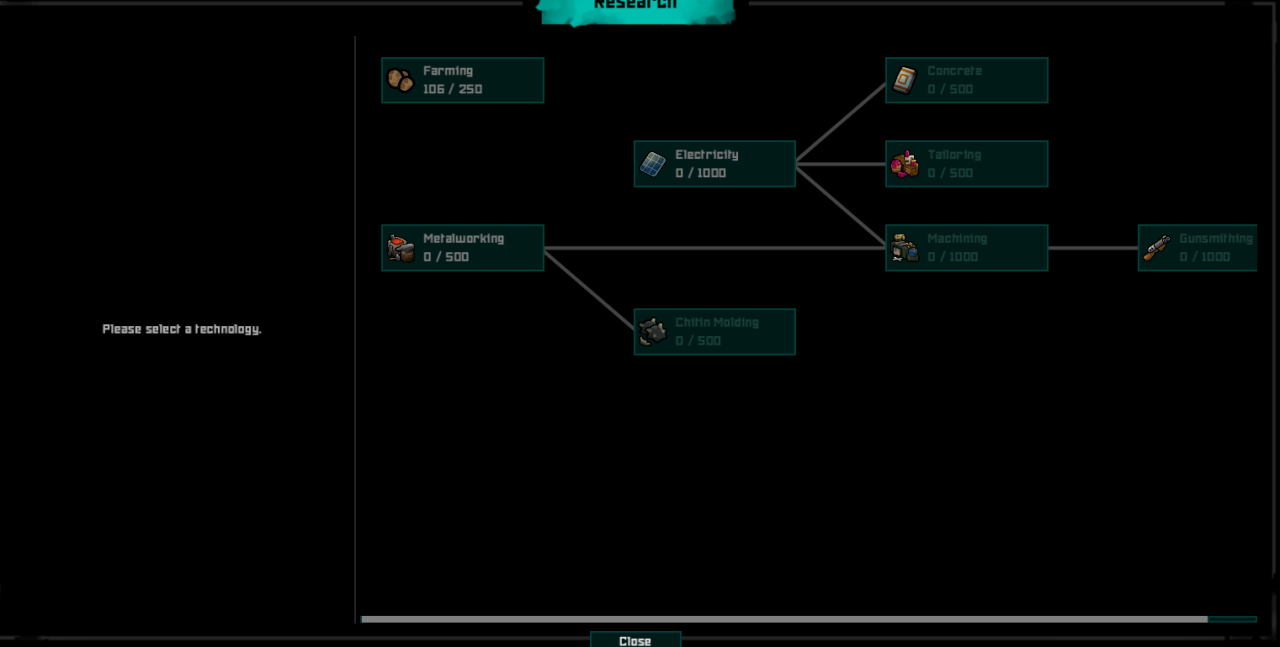
Research is fairly straightforward, first you build a research bench, then open the research tab.
From here you select your research and click the “research” button at the bottom left of the menu. Then make sure to assign the research job to a talented individual, and he will slowly start researching this technology.
Scavenging has a little bit more work to it, first you click the expedition tab ![]()
Then on the left, select your destination
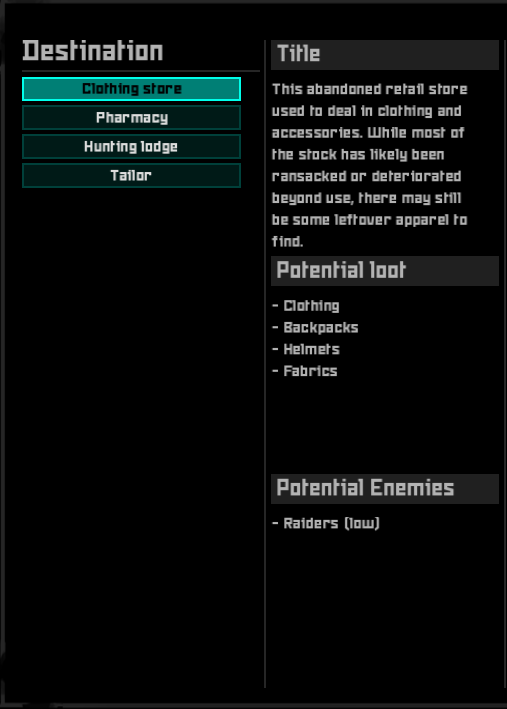
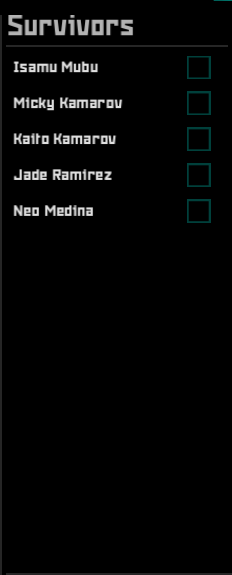
Select your desired survivors, remember to pick an armed survivor, you never know what might happen
And then finally select your items you will take with you.

Be sure to pack enough food, as well as managing your weight and volume,

Related Posts
None found