Learn the basics of combat, quests, food, exploration, expanding your village, and more!
How does combat work?
 Hover over a card in your hand to see what it does. This one does 12 damage to the enemy, and also gives your villager the Rage status effect.
If you play 3 cards with the Coco symbol, you will activate the combo. When the combo is active, your next attack will deal +50% more damage. The combo remains between turns, so if you activate it at the end of your turn, you’ll still be able to use it on the next go.
If your villager’s health drops to 0, they die. If it’s your last villager (because you’ll be able to get more later), it’s game over. Meanwhile, if you kill the enemy, you’ll gain cassowary coins (which you can spend in shops in the exploration) and a card.
Above your villager’s card, or the enemy’s card, you’ll be able to see that character’s HP. There will also be a symbol showing the enemy’s next action, and additional symbols may show any status effects the character has. You can hover over these symbols for more detail.
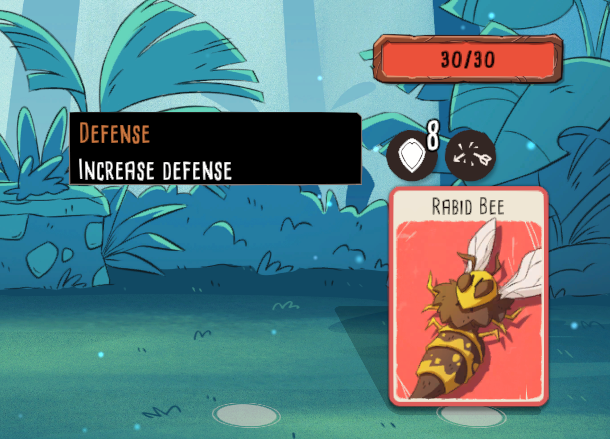 Here you can see the rabid bee will increase its defence by 8 points at the end of this turn.
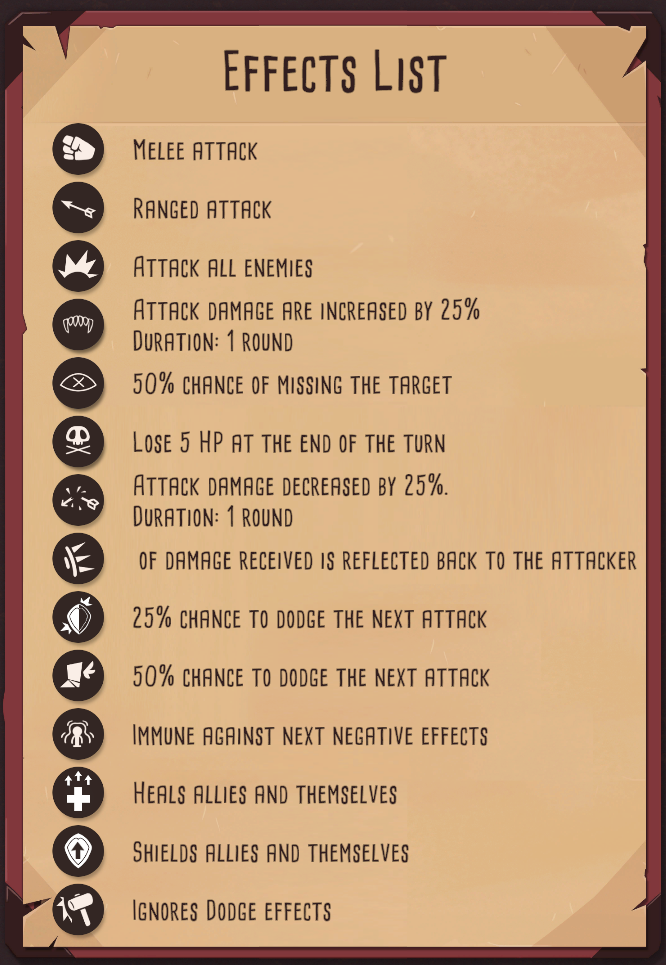
The full list of status effects is shown below, and is also accessible in-game from the Character Menu. In the rabid bee example above, you can see from the broken arrow symbol that the bee is weakened, with 25% reduced attack damage for this round only.
Your first quests
You’ll also need to gather food and resources. You can do this by stacking Koa onto the banana tree.
Recycling cards is a very important mechanic in the game. You can recycle a card by either dragging it onto the recycle area at the top of the screen, or by grabbing it and pressing “R”. This will also grant you your first Steam achievement! The icon at the bottom right of the card shows how much Evil Blood you’ll receive when you recycle it–some cards will grant more than others, and some cards may not grant any Evil Blood at all.
To get a new booster pack, you’ll need to place 3x Evil Blood Cards on top of the repaired totem.
The first time you do this, Kâlades will grant you 2 vision cards as a reward. Stack Koa on top of a vision card to unlock it. Doing this will allow you to choose a new plan.
Selecting a plan
Once you have unlocked all the plans in the first area, you’ll be offered a plan in a new Evolution category: a new villager.
In the meantime, however, to move past the second chapter of quests, you’ll need to discover a plan in each category, as well as build the Hut. The Hut allows your villagers to rest to recover 10 HP. Building the Hut will grant another Steam achievement.
Daily food tribute
It’s also worth noting that some food cards have a higher food value than others. The food value is shown on the bottom left of the card, and does not always match the Evil Blood value–so some foods may be better for recycling, while others may be better to keep for Kâlades.
Each villager costs you +2 additional food tribute.
At the top of your screen you can see your growth points. Each card or building on the board (with the exceptions of Evil Blood cards and unopened Booster Packs) increases your growth points by 1.
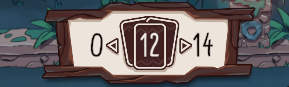 This village currently has 12 growth points.
When you pass a growth level, your food tribute will increase by 1. The number on the right of this display (so in the above example, 14) shows how many cards will take you to the next growth level.
For this reason, hoarding cards you don’t need is not necessarily a good move. Recycling cards into Evil Blood is incredibly important–both to be able to progress, and to stay at a sustainable level of food tribute. This means it can be counterproductive to hoard food, which can push you over a growth level–in some cases, you may be better off burning it to get the Evil Blood and go down a tribute level, rather than staying in the higher level and having it eaten by Kâlades with no other benefit.
Evil Blood cards and unopened Booster Packs do not count towards your growth points, so sometimes you may be better off converting cards to Evil Blood, or delaying opening a Booster Pack, to reduce the food tribute you need.
If you do not satisfy the food tribute demand, Kâlades will take as much food as you have, and you will also have to choose a punishment from a selection of cards. Kâlades’ mood will also go down. If Kâlades’ mood meter goes into the red, the game will end. Meanwhile, if you are able to give all the food, Kâlades will automatically take it, and his mood will go up (or stay the same, if it’s already at maximum).
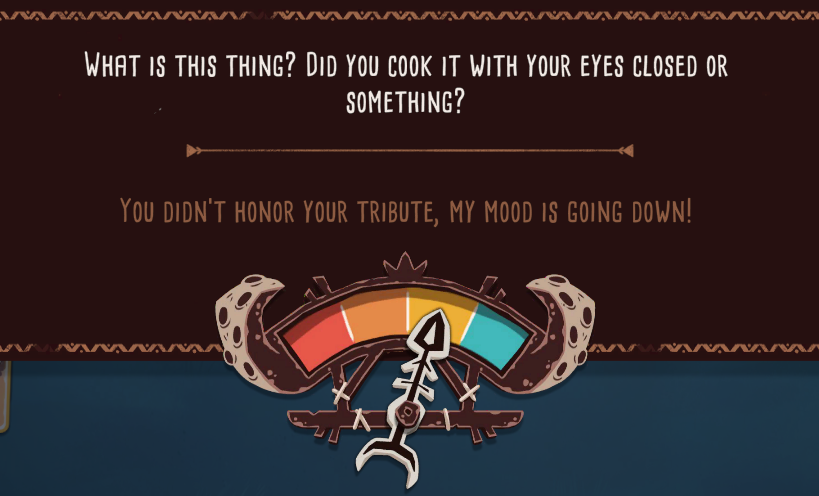 Uh oh! Kâlades isn’t happy.
Kâlades acts the same way regardless of whether you’re 1 food point away from satisfying him or whether you’re 10 away. Therefore, if you realise you won’t be able to satisfy the food tribute requirements, you may wish to just recycle the food cards. This means that you will still get the cards’ Evil Blood value, so is more valuable to you than them being eaten with Kâlades’ mood going down regardless.
Don’t worry if you’re struggling a bit early on to balance paying the food tribute, collecting resources, and making Evil Blood–it’ll become a lot easier later on in your village’s development.
Special requests
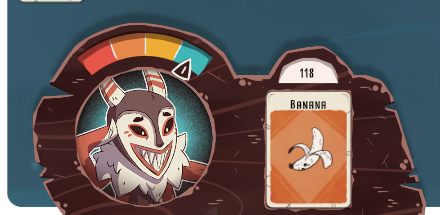 Here Kâlades is demanding a banana, and you have 118 seconds remaining to give it to him.
If you manage to get Kâlades the item in time, he will give you a reward such as a Vision card, Healing Potion, or Duplicator. If you fail to get the item to him on time, his mood meter will go down, taking you one step closer to a game over.
Choosing a card at the end of the day
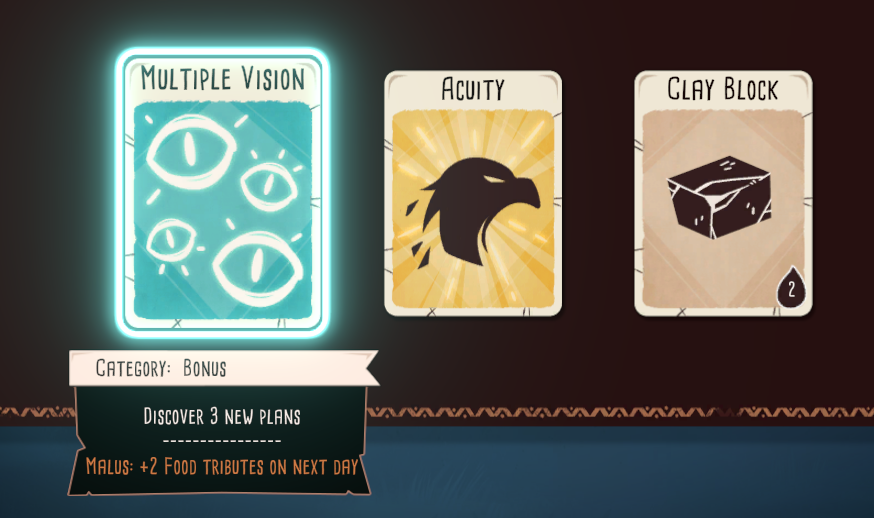 Choosing the Multiple Vision card will grant you 3 visions to unlock new plans. However, you’ll also have to find an extra 2 food tribute to keep Kâlades happy.
Vision cards can be used to unlock new plans, progressing your village’s development, so is what I would personally recommend picking where possible. However, Vision cards also come with a “malus” (a penalty), which you can see by hovering over the card–so for example, you may need to pay extra food tribute the following day, or your booster packs may be more expensive than usual.
Villager Equipment & the Character Menu
You can equip something by stacking your villager on top of it, and unequip it by pressing the icon at the bottom of the villager card.
In the Character Menu (in the bottom left) you can see your equipment and cards in your combat deck. Different equipment will give you different extra cards in combat. You can also change your villager’s name in the Character Menu if you wish.
Attackers & wild animals
If these enemies touch your villager card, a combat will start. Like with other combats, if you kill the enemy, you’ll gain cassowary coins and a card. Pests are especially important to get rid of before the end of the day, as they cost 5 growth points when on the board.
It’s not just enemies you may encounter–wild cassowaries may come by your village. You can stack your villager on these to collect items like feathers and eggs.
The Elders’ Shop & exploring the jungle
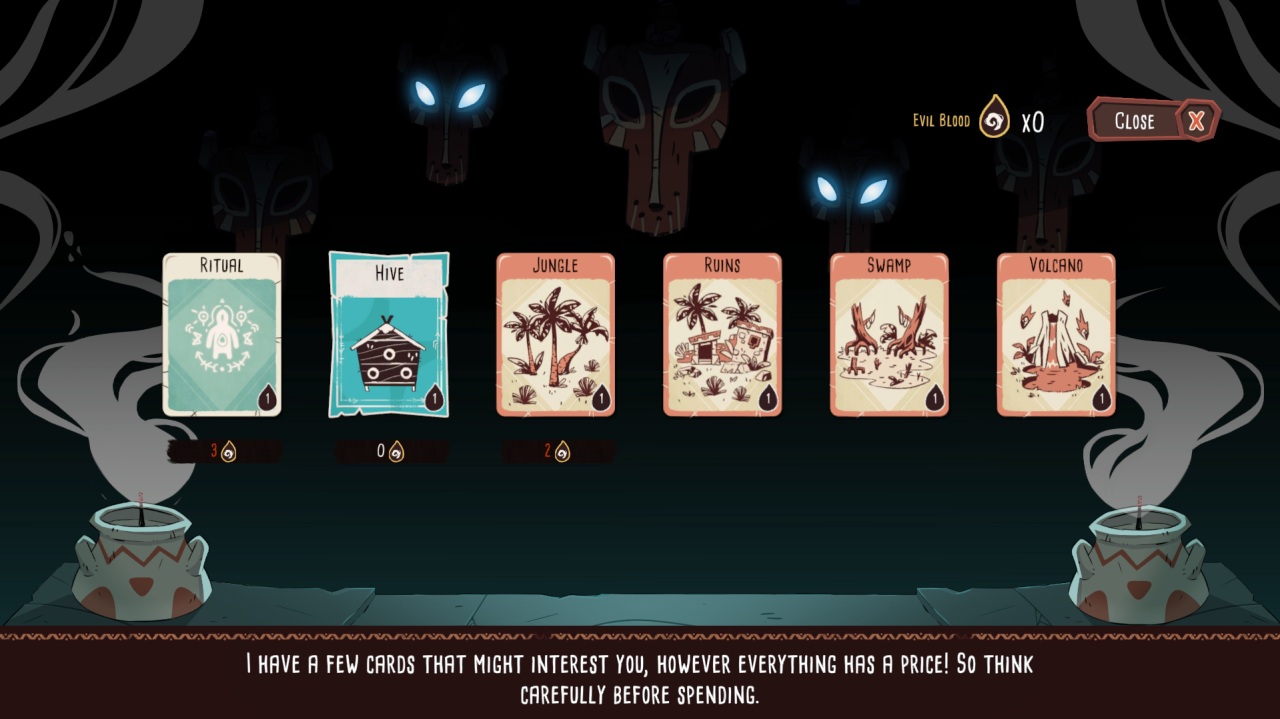 Welcome to the Elders’ Shop, where you can buy rare cards, plans, and explorations.
There are four explorations: Jungle, Ruins, Swamp, and Volcano. At the start you’ll only be able to access the Jungle one, as the others will be unlocked by completing quest chapters.
Once you have bought the Jungle exploration, stack your villager on top of it to access the exploration. Like in the prologue, the exploration will take you through various combats and encounters, as well as shops to buy things using your cassowary coins. You’ll also find chests, which may give you various things including relics (permanent bonuses such as a specific action being 10% faster) or new cards for your combat deck (to replace existing cards). Unlike equipment-based cards, these new cards will be usable by all of your villager characters.
Time on your board does not progress while you’re doing an exploration. However, bear in mind that any items you gather during a successful exploration will be added to your board once you complete it. Keep this in mind if doing explorations towards the end of the day, as this may affect your required food tribute.
You can do the same exploration multiple times, and choose different paths. However, you’ll need to buy the exploration again from the Elders’ Shop.
Defeating the Waku
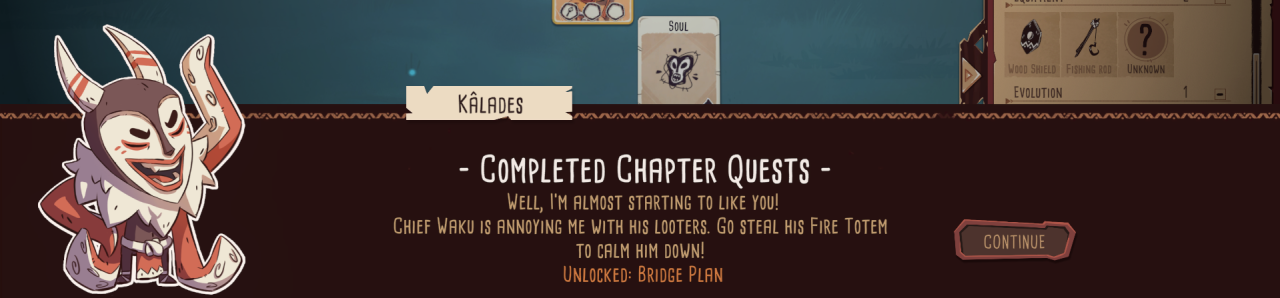 It’s nearly time to meet Chief Waku.
Kâlades will give you a plan for the Waku Bridge. Once you’ve built the bridge, you’ll need to stack this and your villager onto the Jungle exploration card to reach and fight Chief Waku.
While preparing to do this exploration, you’ll meet Kiana, who will join your village. While more hands means you can work faster, beware as this means you will also owe more food tribute to Kâlades.