This comprehensive guide will detail every objective you’ll encounter in the game.
WARNING
The game is a LOT more fun if you go in blind and learn as you play. Once you know what to do, tasks become quick and repetitive. The experience of not knowing anything and running around with your friends until you eventually die is irreplaceable.
The game is still pretty buggy. Expect to spam-click when interacting with any PC (at least in multiplayer) for your input to register. I’m just going to say this once to avoid repetition, so keep that in mind when a location requires a PC.
This guide may become outdated, because the game is constantly being updated, but I’ll do my best to keep this up to date.
Quick note
The game settings are turned way down to improve visibility. If your PC can handle it, I really suggest you crank up the graphics as high as possible (while still maintaining playable frame rates) for maximum immersion.
Also, the order in which these locations appear has no meaning. Do NOT take this as a “most efficient route” because it is not. Your spawn will be randomized, and your next objective will depend on the situation.
Airport
The main objective is to set up three drones and generate a report on the main PC. These locations are pretty close to each other, so to start, stand next to the generator, as it is between the two spots we’ll be going to next.
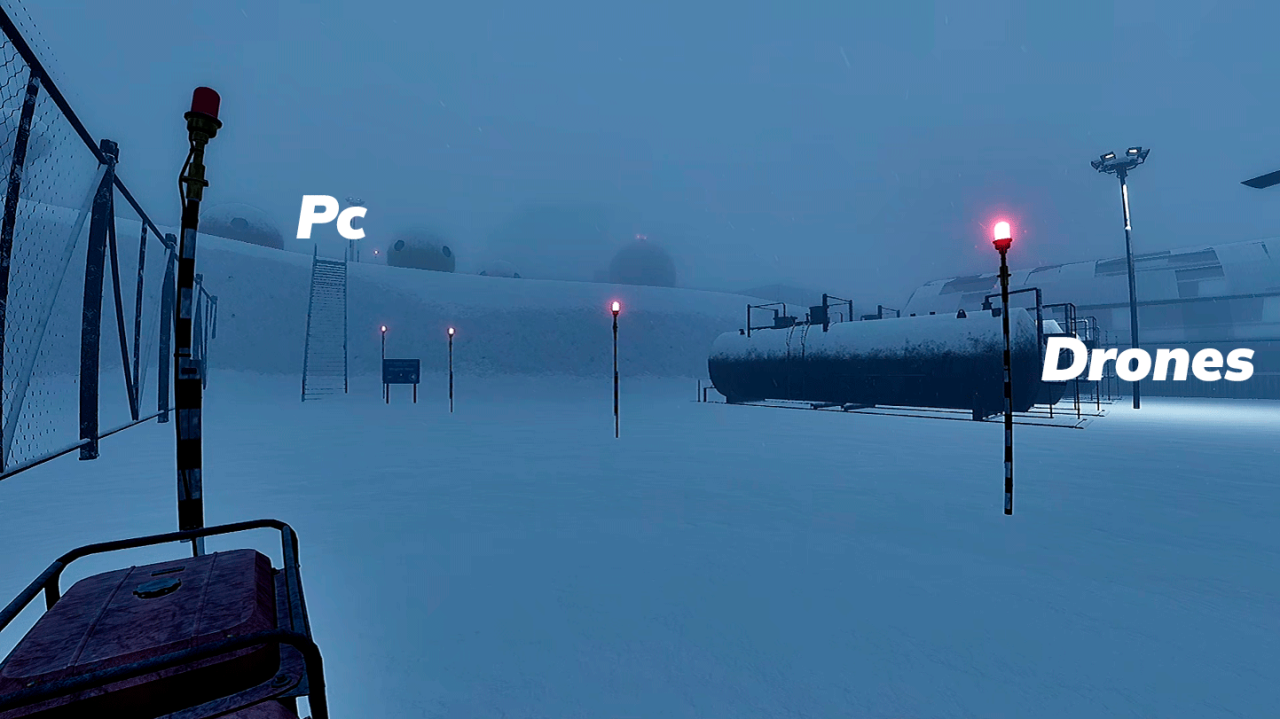
Obviously, you can’t generate a report if you haven’t set up the drones yet. So, turn right towards the hangars.
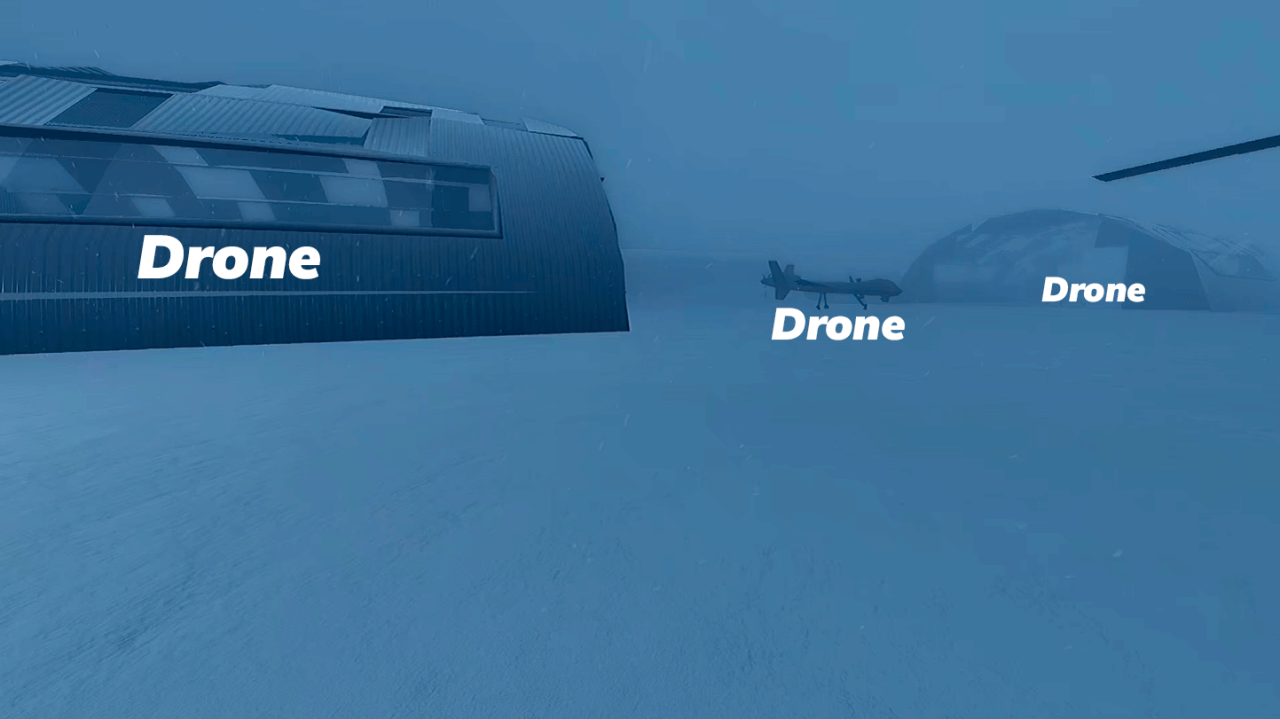
These are the three drone locations. Just walk forward and interact with them—simple as that.
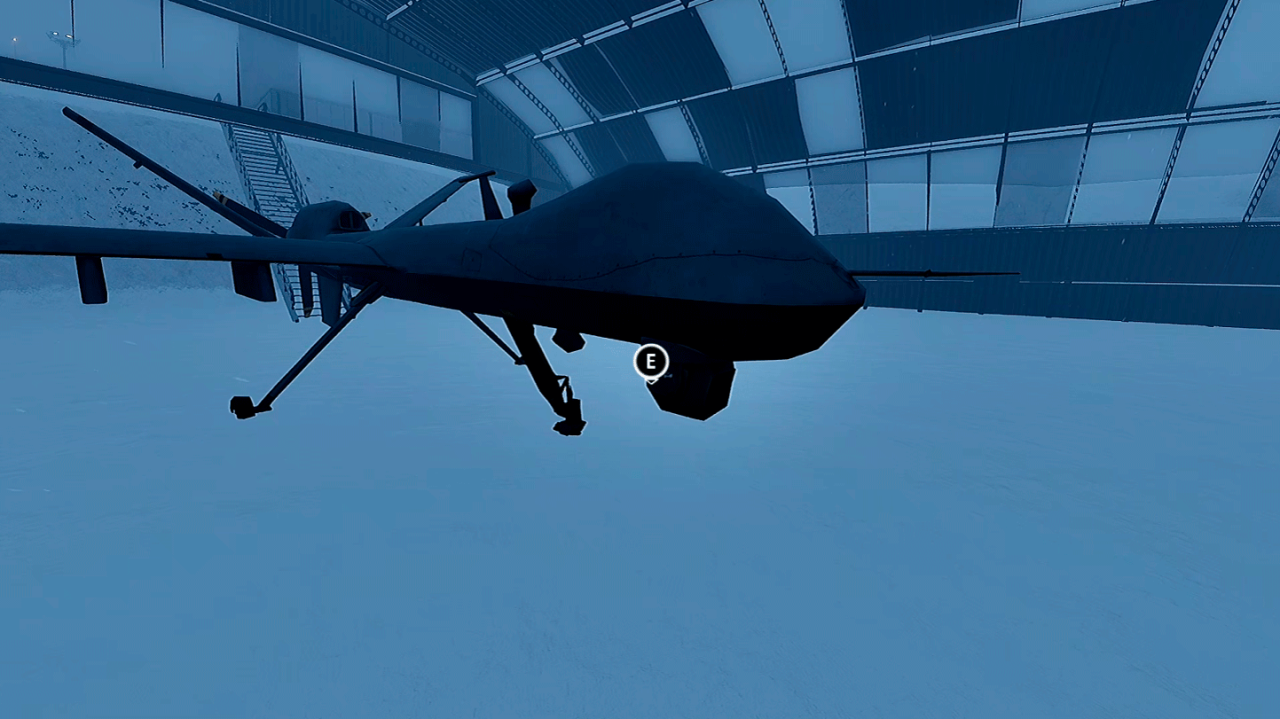
First drone
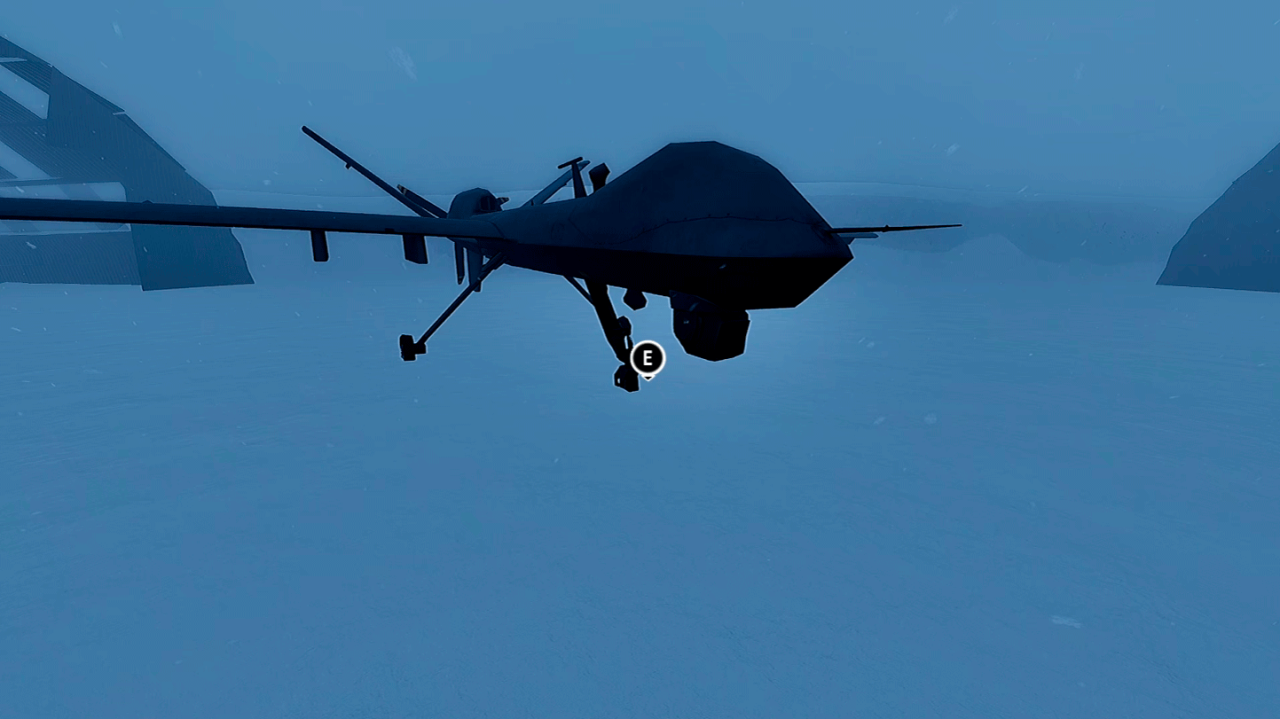
Second drone
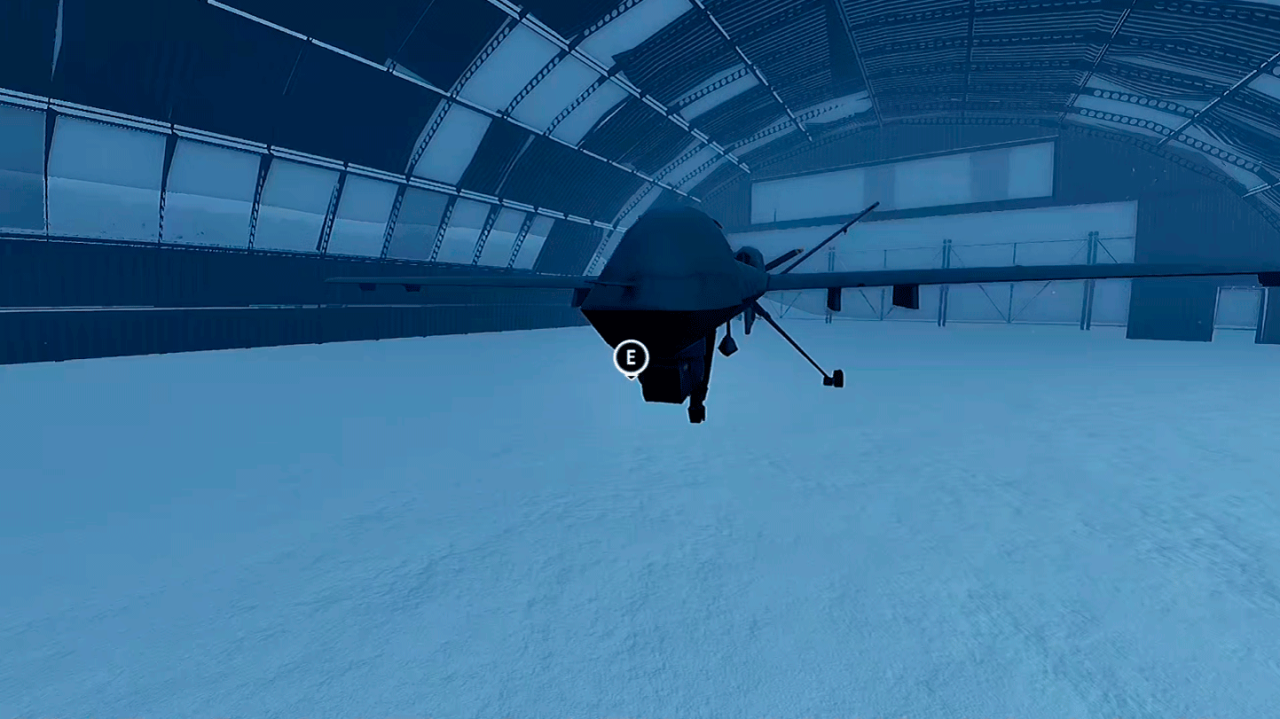
Third drone
Go back towards the generator and go up the stairs. You’ll see two buildings, but the one with the PC for the mission is on the right.
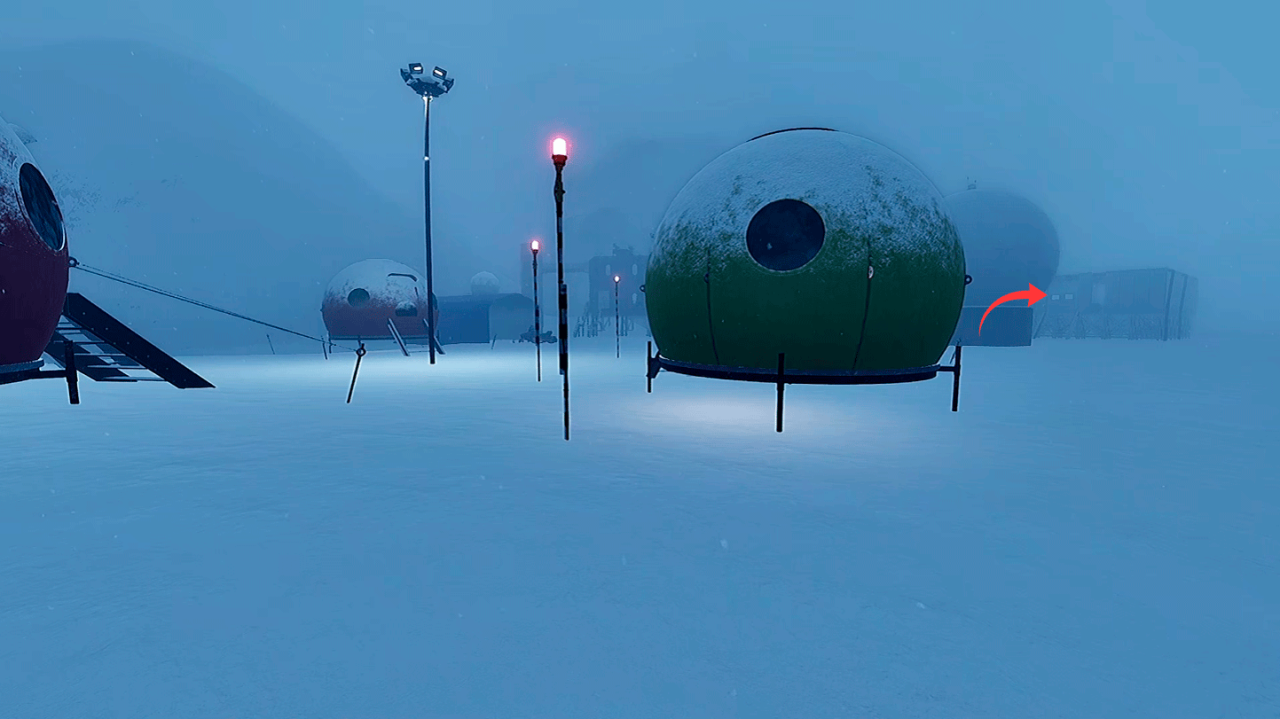
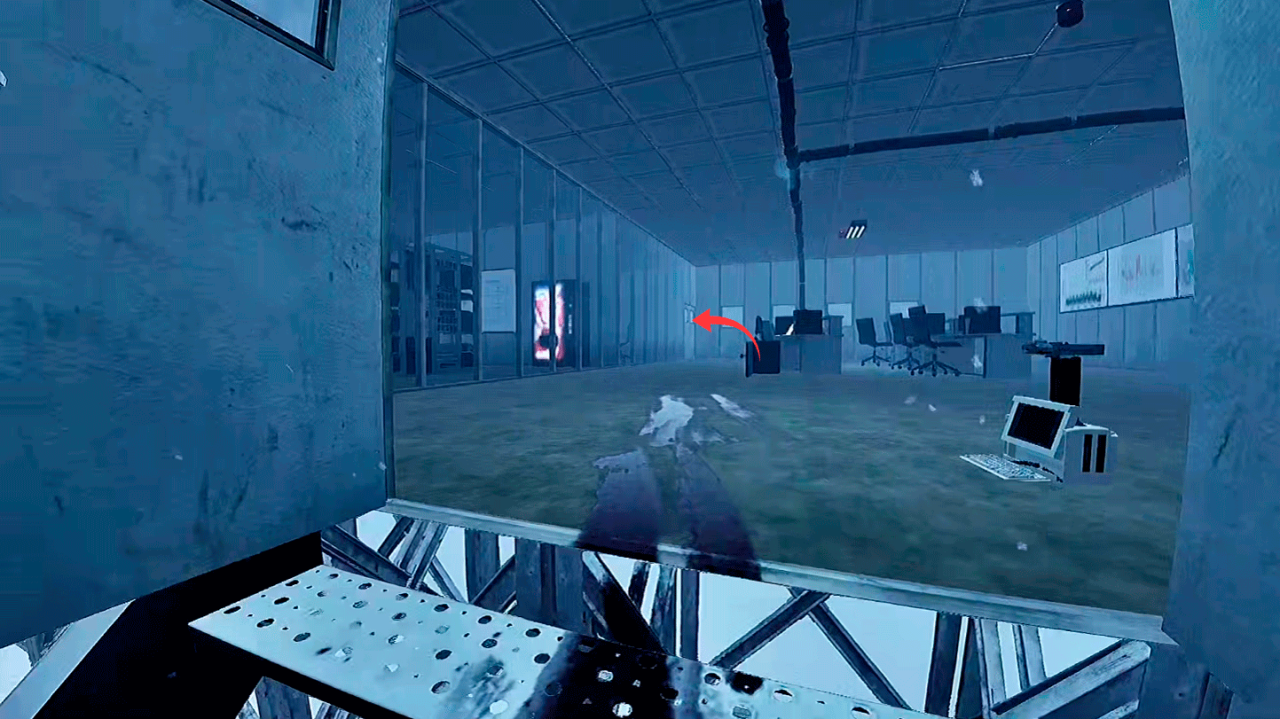
Walk forward and head towards the farthest boardroom.
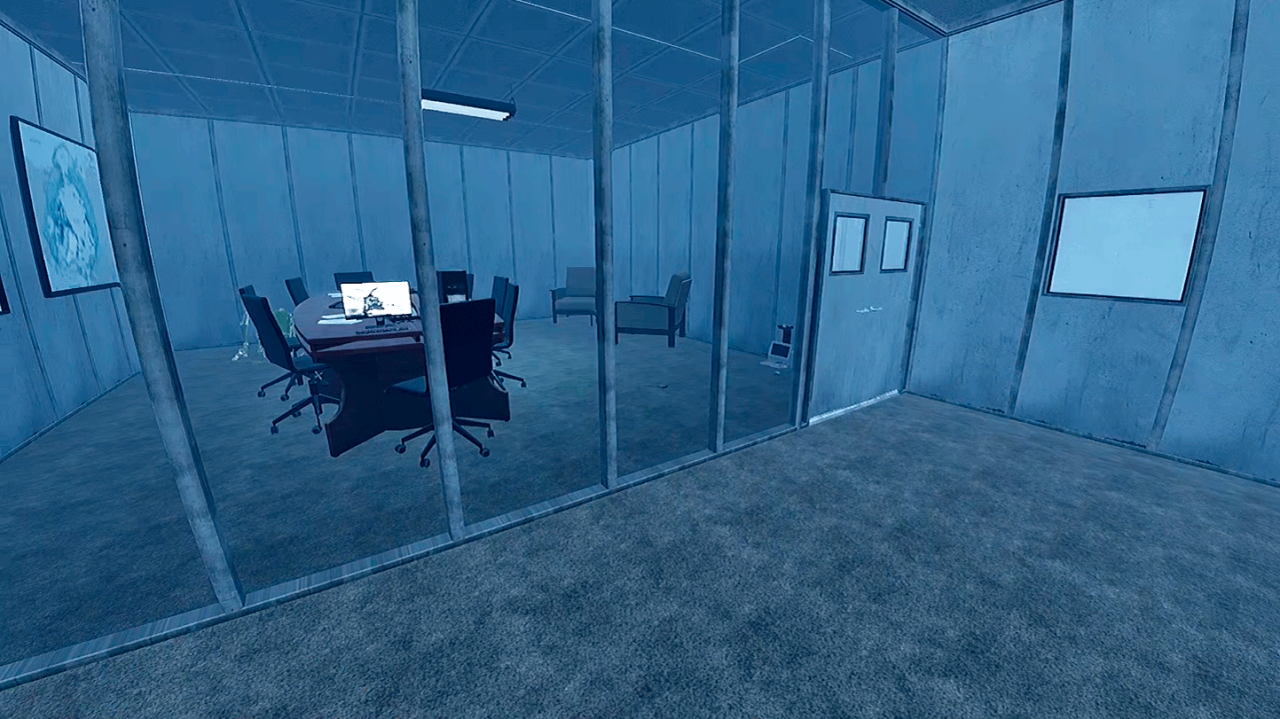
Now just interact with the PC, click the little drone icon, generate, and print the report. Easy as that.
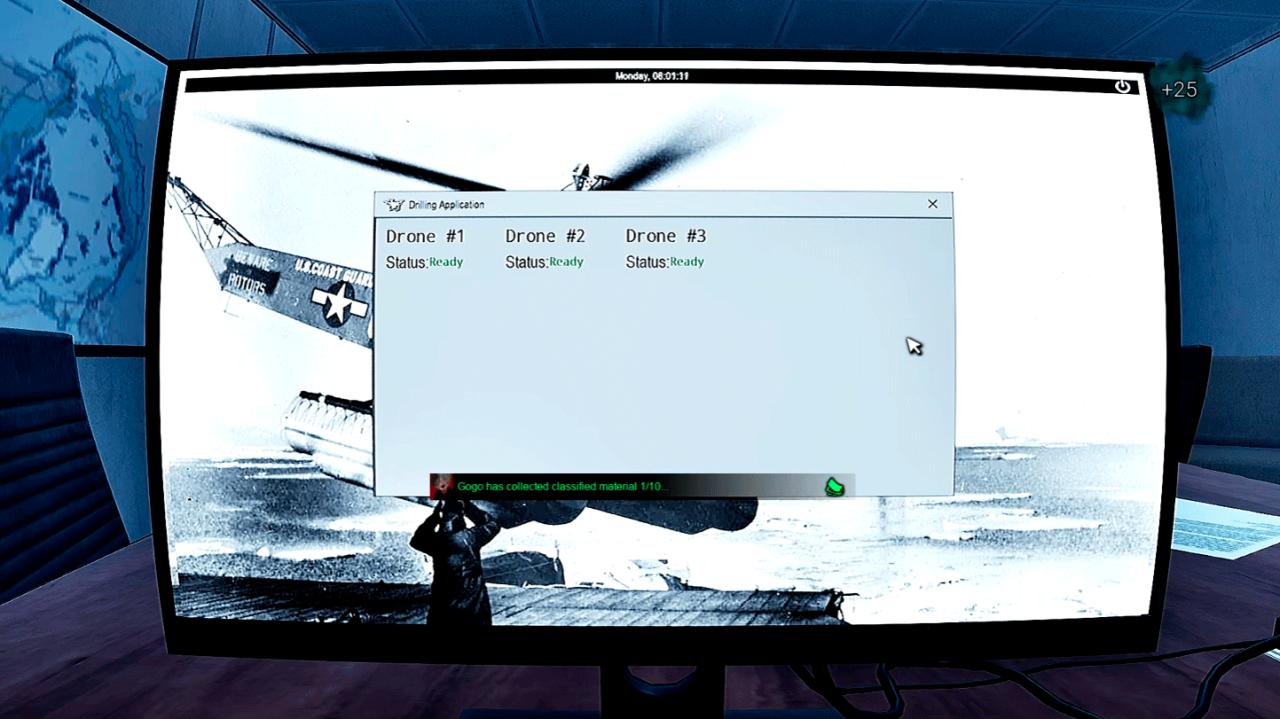
Slaughter House
There are two main objectives here. We’ll start with the easiest one, but feel free to do them in whatever order you prefer.
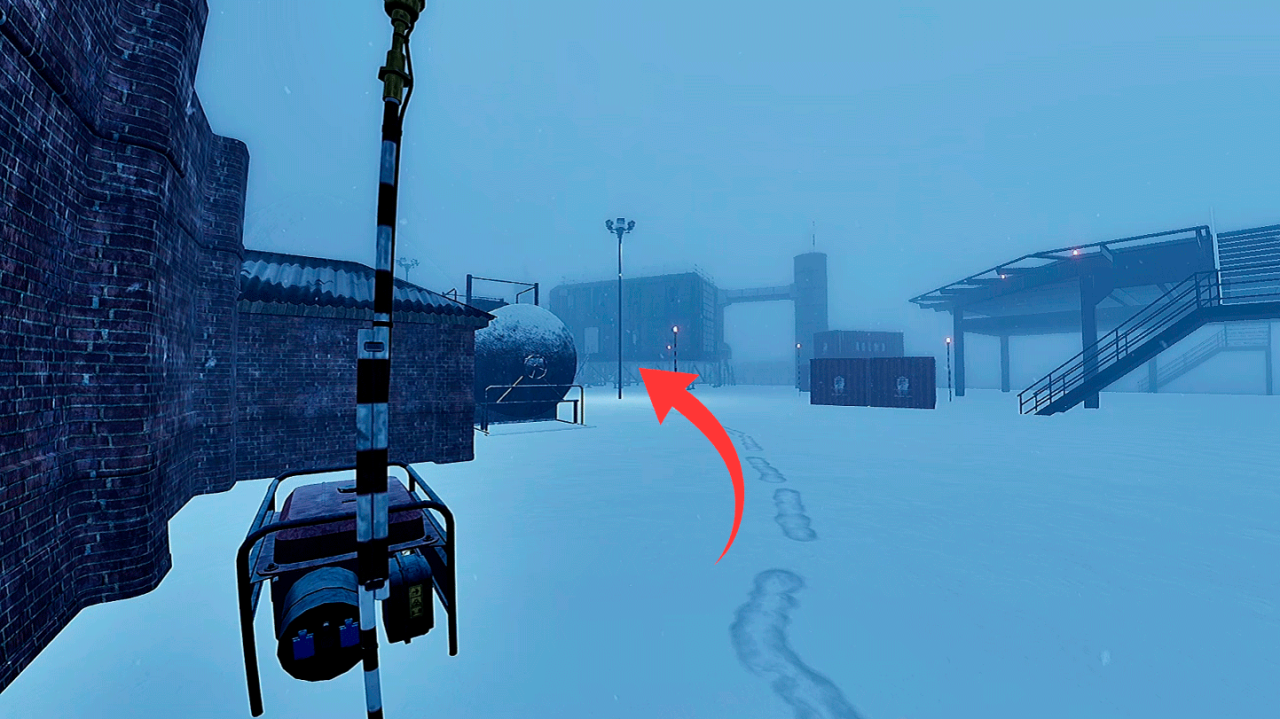
Starting from the generator, go towards the building next to the heliport.
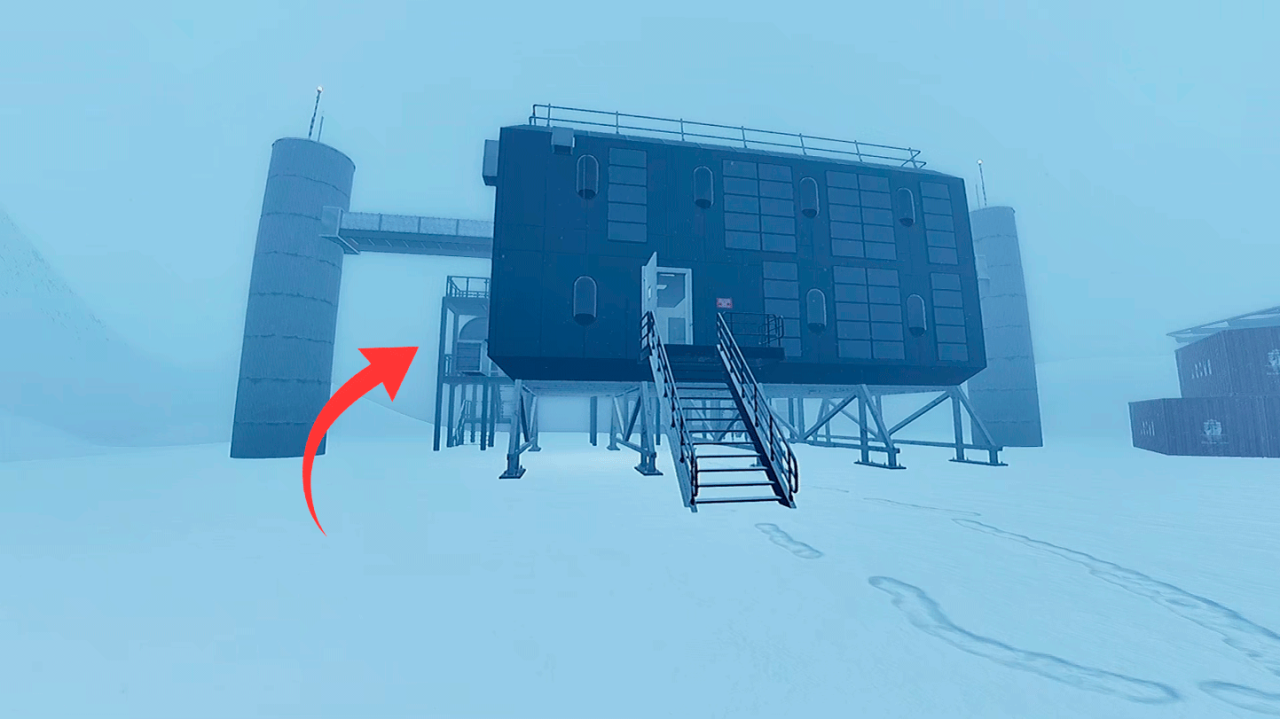
You can enter if you need to, but the fastest way to the headcrab is by taking the stairs beside the building and going up to the second floor.
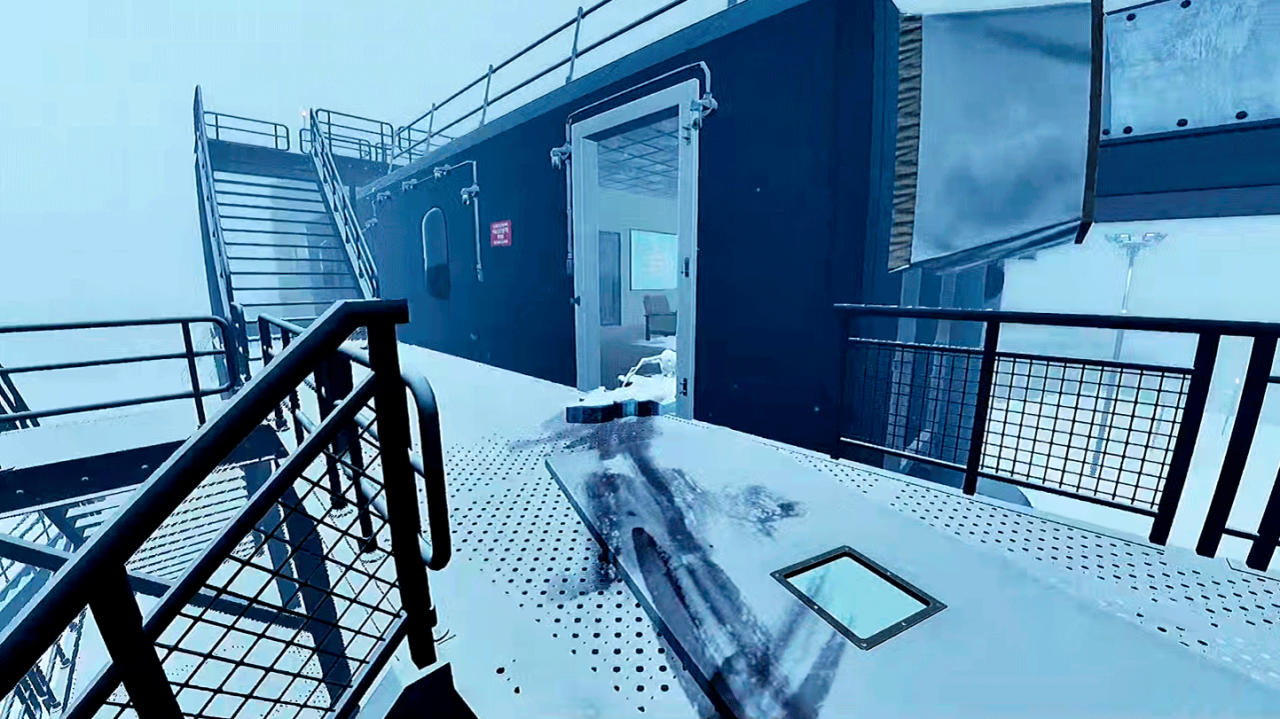
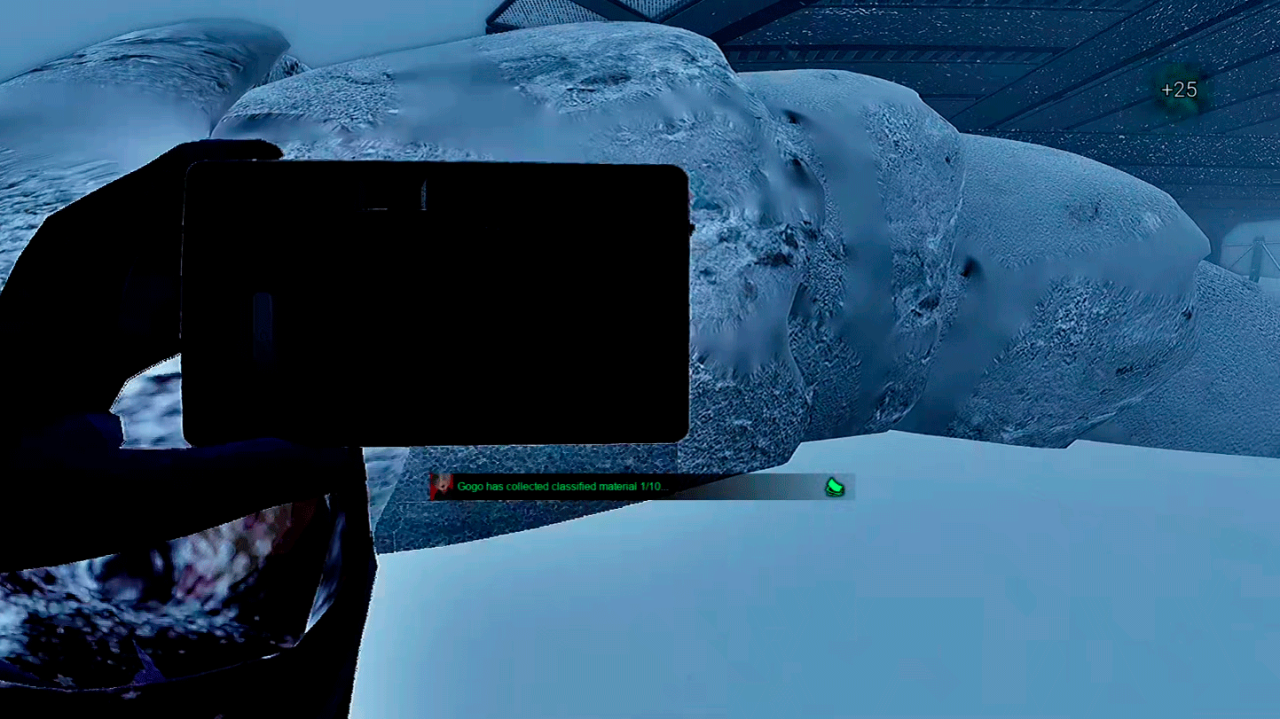
There, you’ll see an open door with the frozen headcrab we need to photograph.
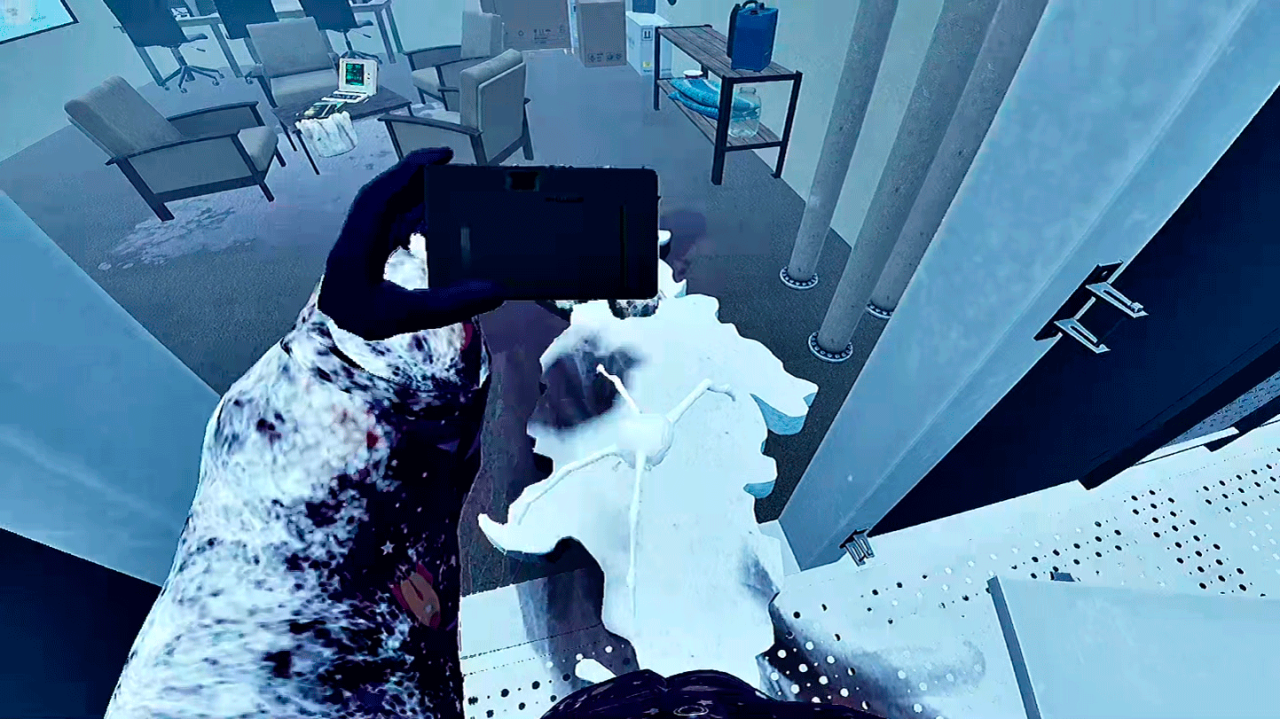
Luckily for us, the rest of the pictures are all in the same place. First, go back to the generator and start circling the nearest building until you find the main door.
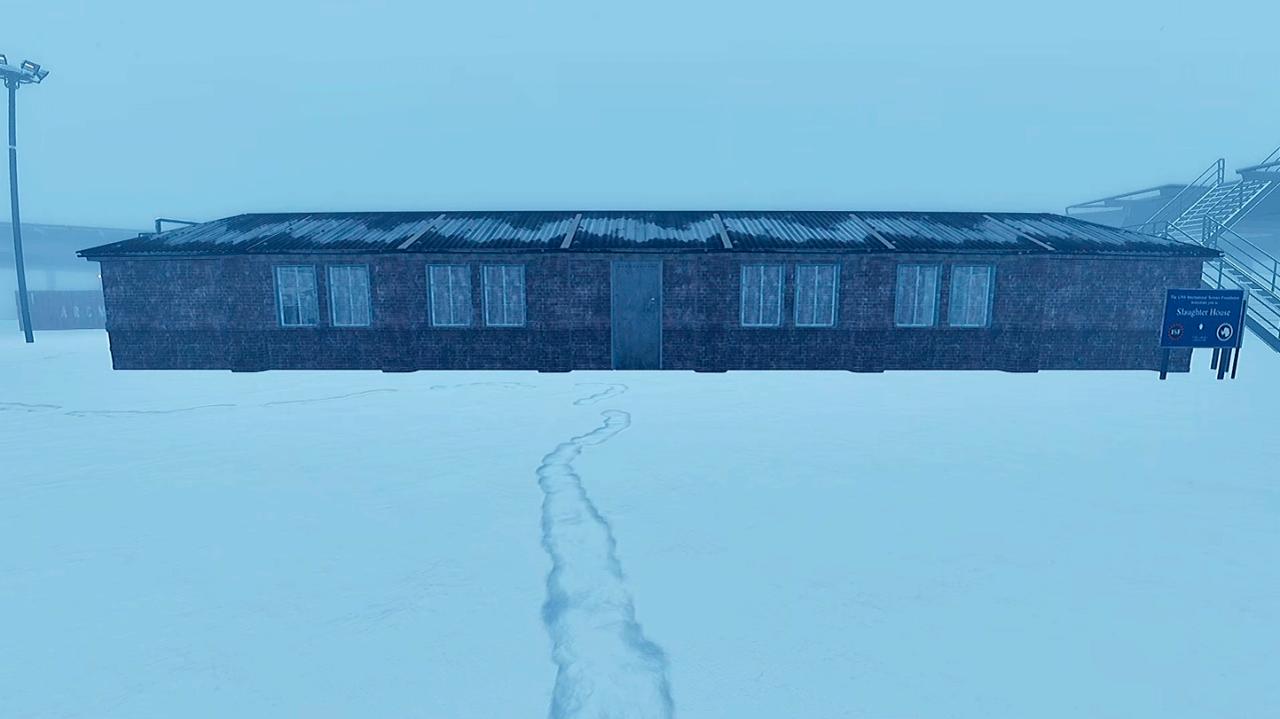
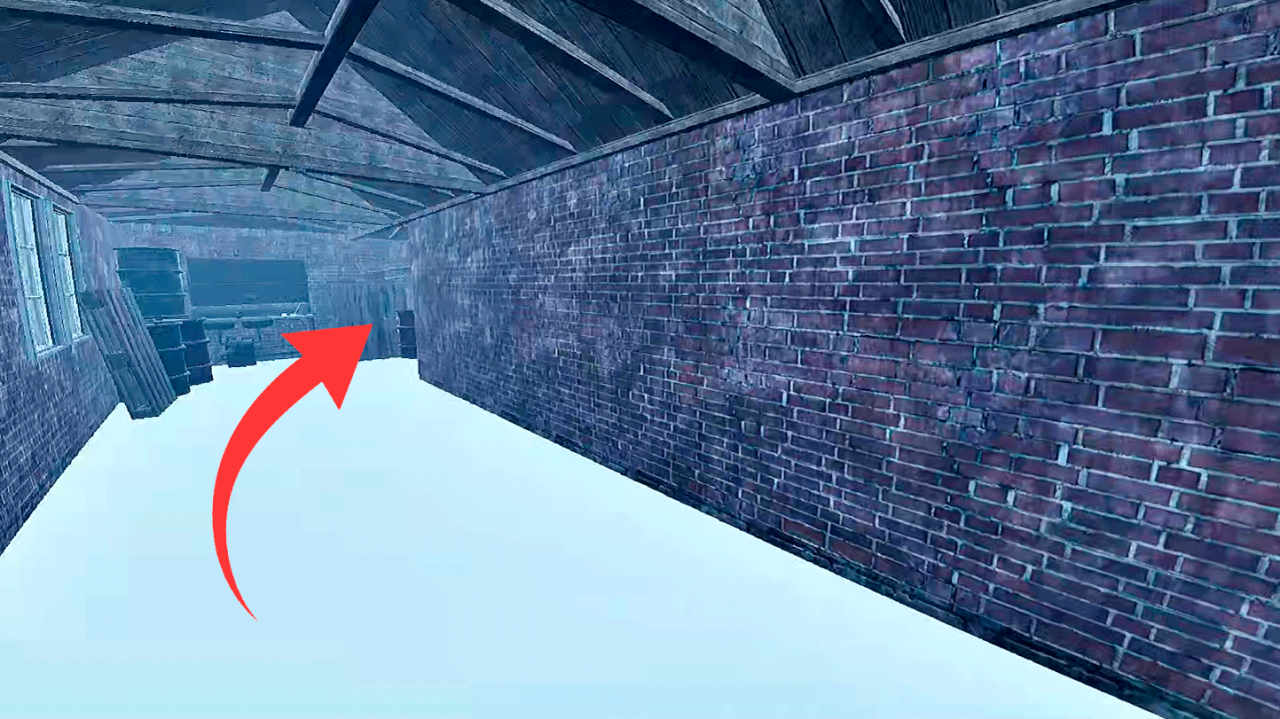
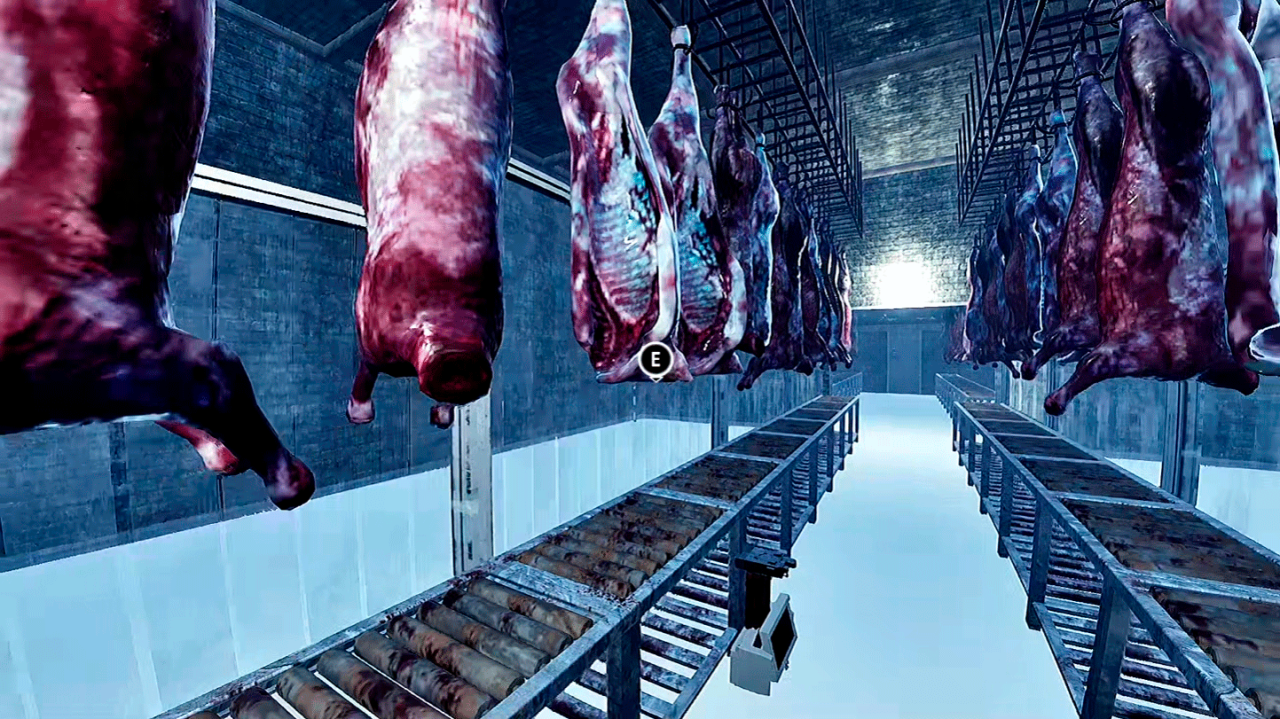
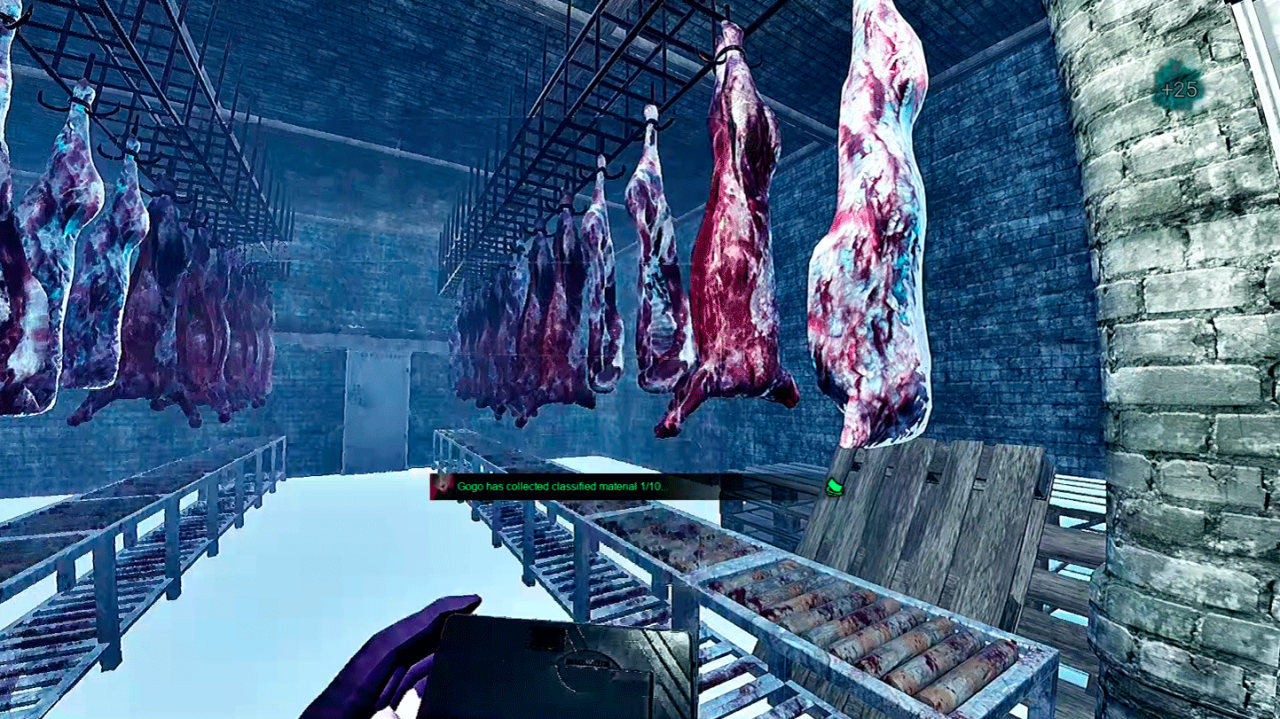
Enter the slaughterhouse, go right (or left if you have a pickaxe), and continue forward until you reach the end.
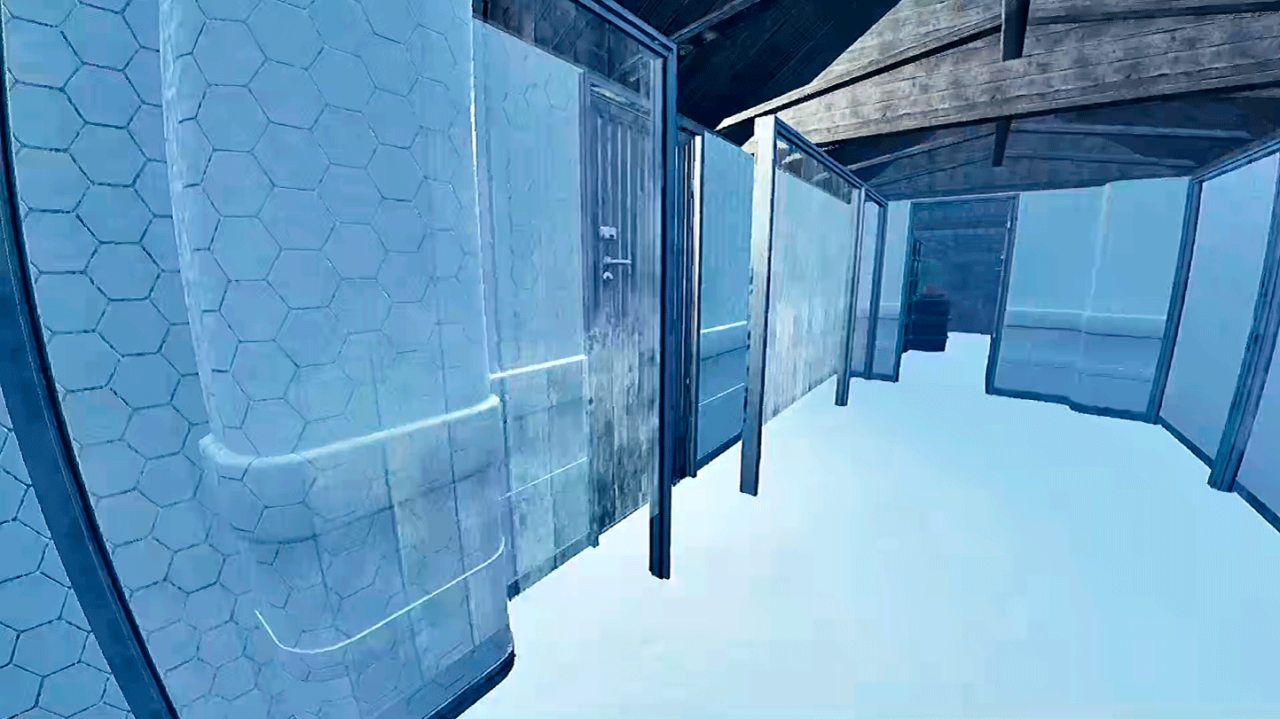
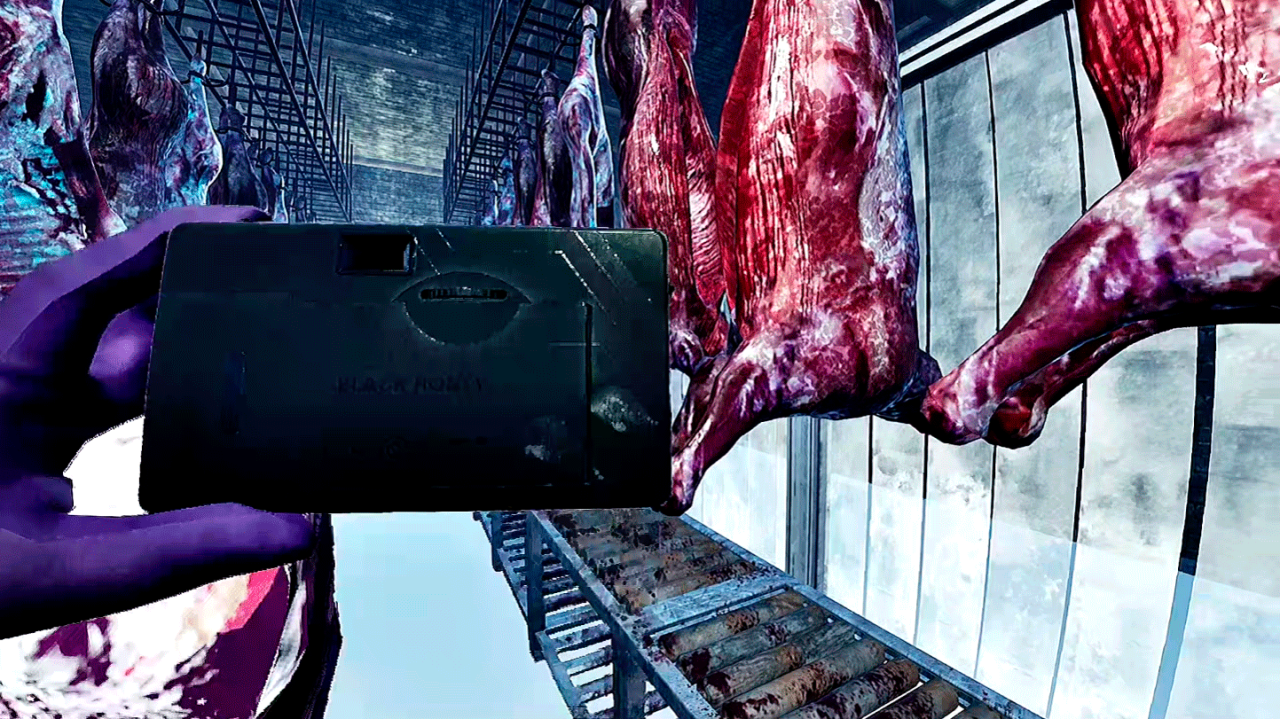
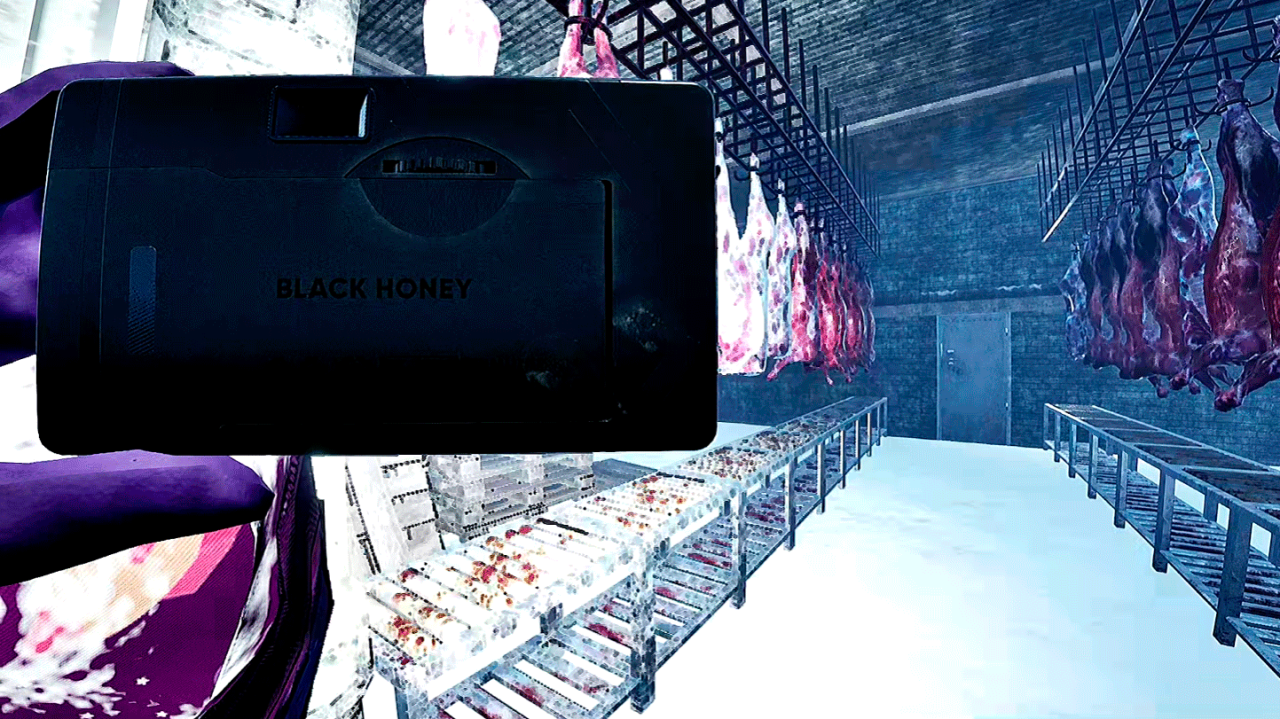
This is the door we’re looking for. Open it, go in, take the pictures, and that’s pretty much it.
Research Facility
This, I fear, is the most annoying one and should pretty much always be your last priority. If you have anything else on the list, you should probably go do that first or just leave, as 9/10 it’s still a decent outcome.
The main mission here is to MRI scan an infected player—be it yourself, a friend, or anyone in your group. The real challenge lies in getting infected, not dying, and then getting into the MRI machine. So, here are some tips:
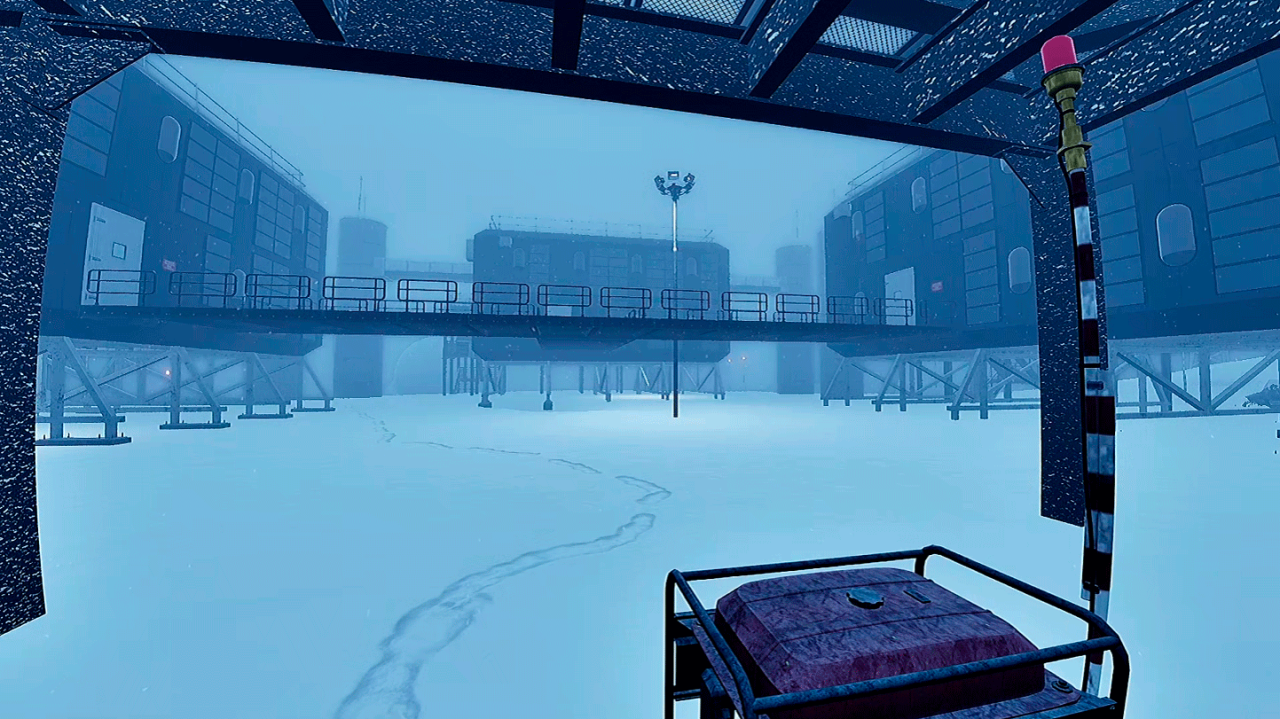
Starting from the generator, your main objective will be to get into the building on the left.
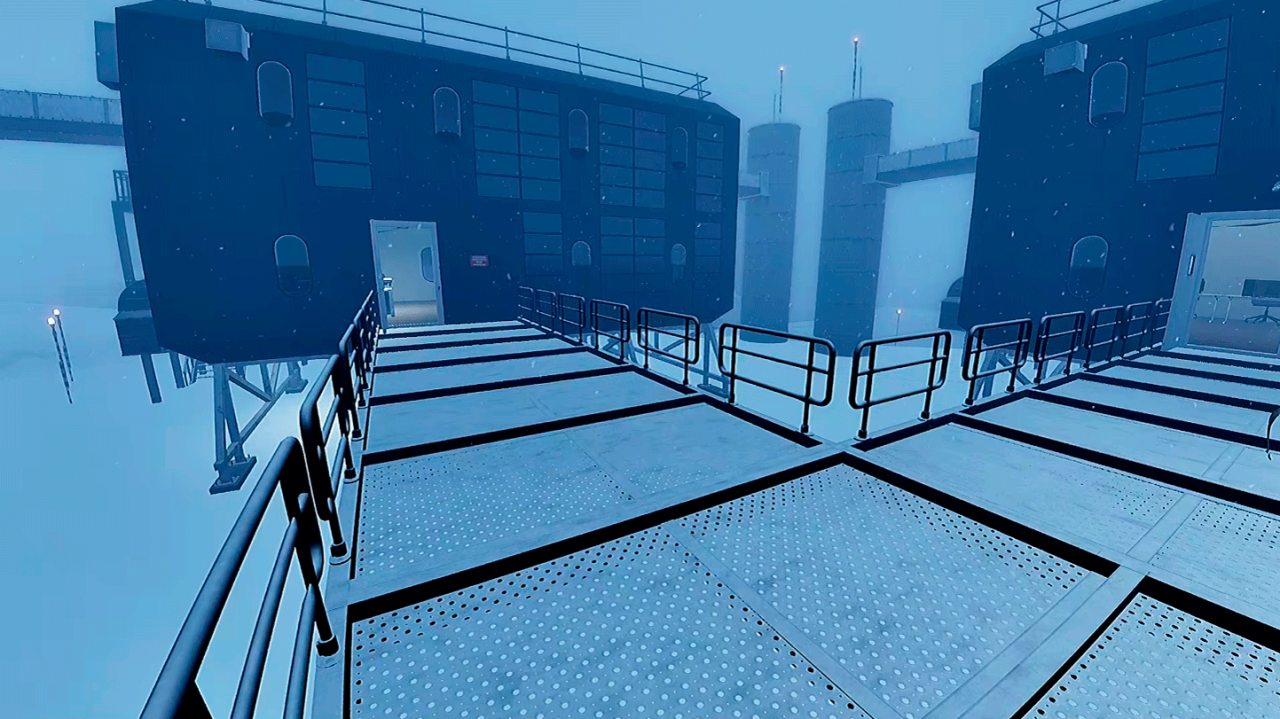
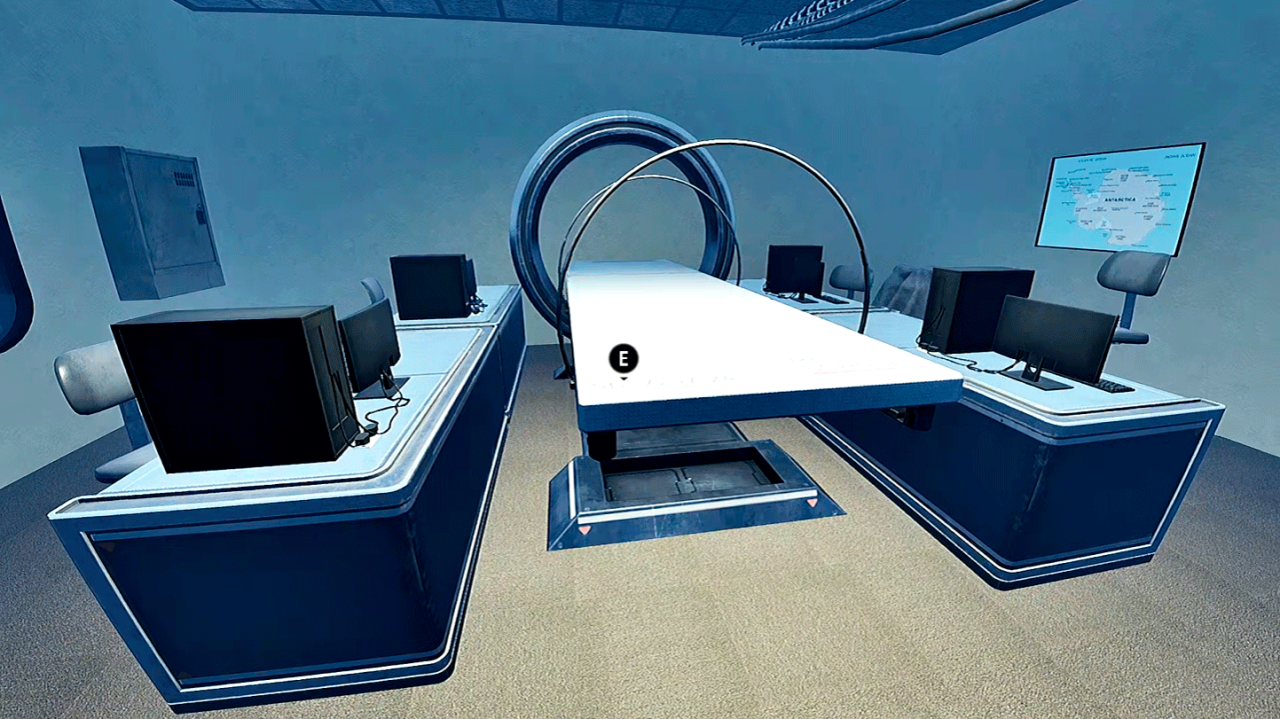
You’ll see the MRI machine directly in front of the door.

The easiest way is probably by enabling this setting when creating the lobby.
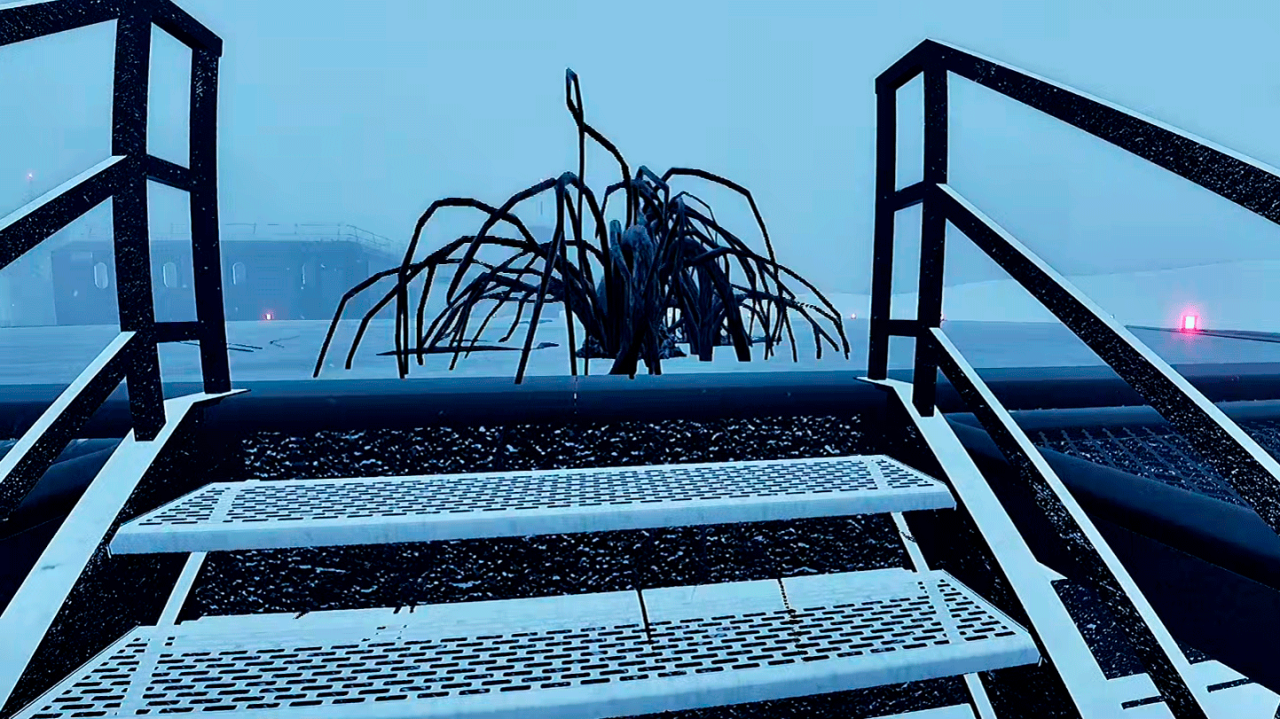
This allows “infection bushes” to spawn around the map. If you’re lucky, you’ll get one close to the door, like I did here.
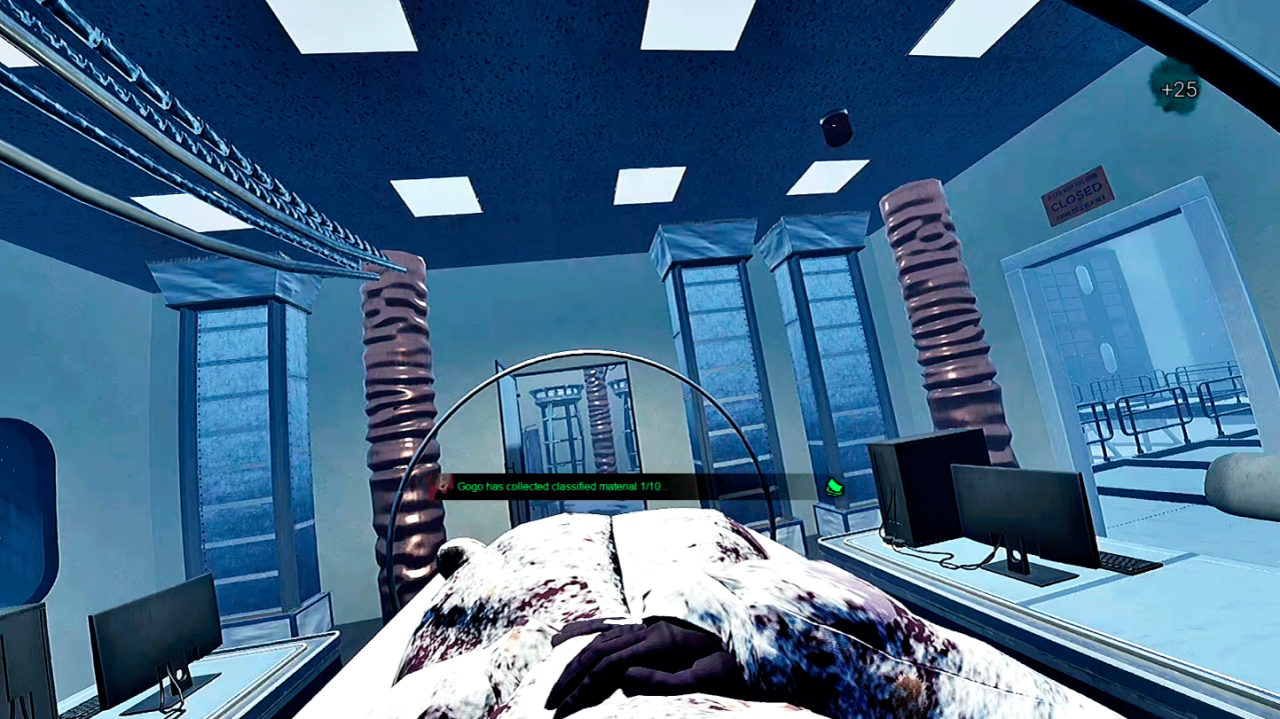
Once you or your friend are infected, lie down in the MRI machine, and that’s it.
If your lobby hasn’t enabled that option, or if you can’t find a bush, you’ll have to get attacked by a monster. This is really dangerous, as you could very easily die, and you’ll probably have to wait until night either way. This is why this mission should be last. If you don’t have bushes around, good luck.
Side note: If you’re infected, you’re going to die anyway, so you better have a vaccine ready while you wait for the evac.
Basecamp (1 and 2)
This one is tricky. The main objective is to upload documents. Easy, right? The problem is that you first need to activate the satellite, requiring a trip to an additional location before attempting anything at the base camps. So, let’s tackle that first.
You’ll ALWAYS have to do this, as it’s a requirement to call for an evac.
First, mark the spot on the map and use any available vehicle to get there. Once you reach the location, you’ll need to flip three levers. That’s it.
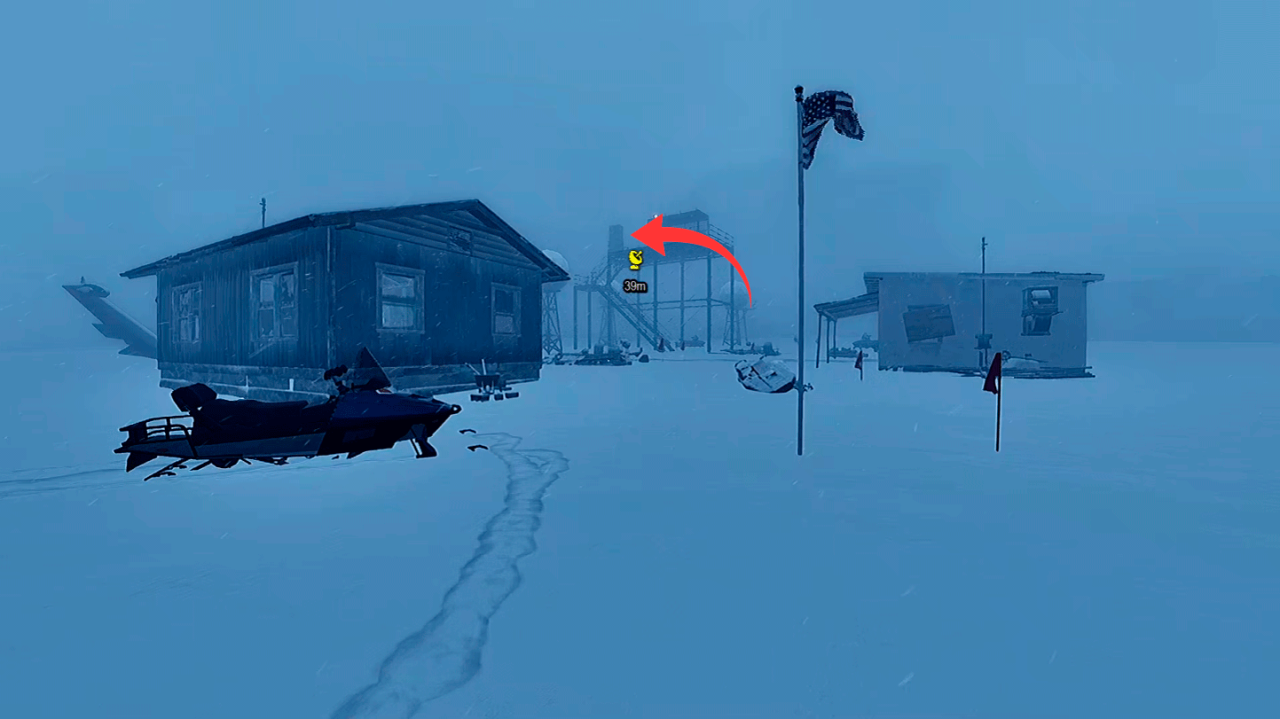
The first one is on top of the watchtower. This is also the source of the marker you enable on the map, so it’s the easiest to find.
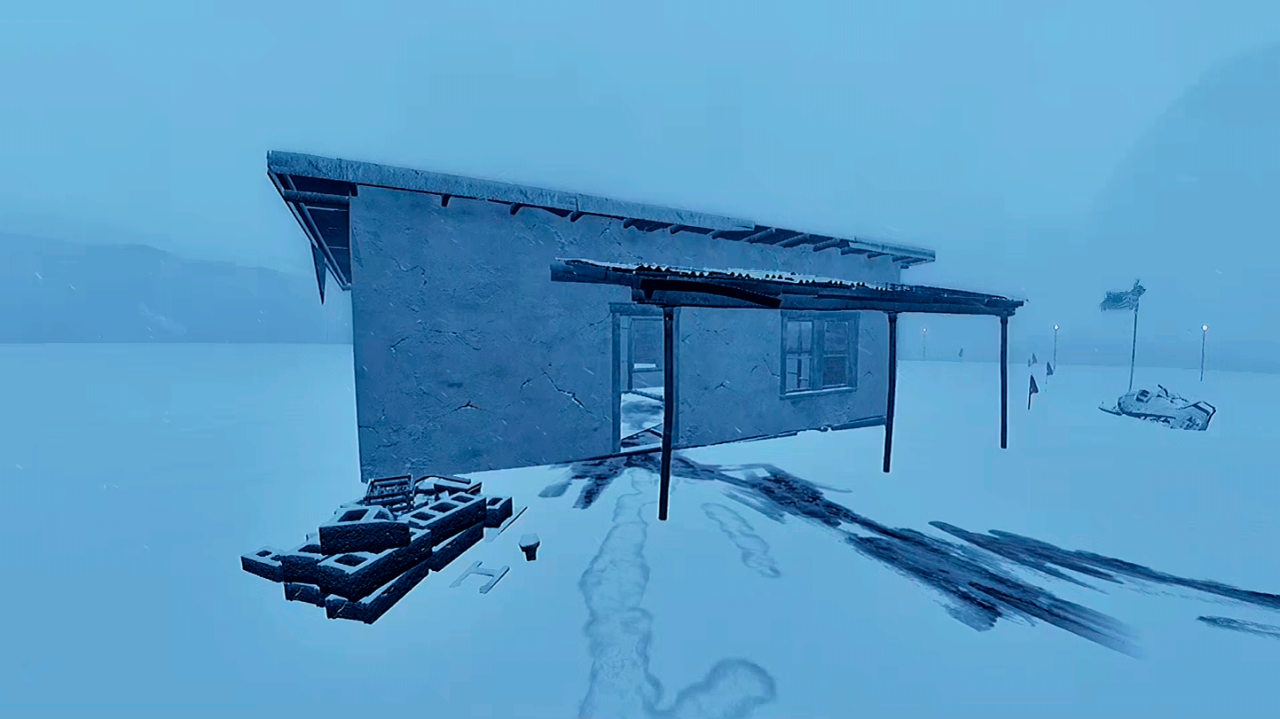
The second is right in front of the entrance to the left hut.
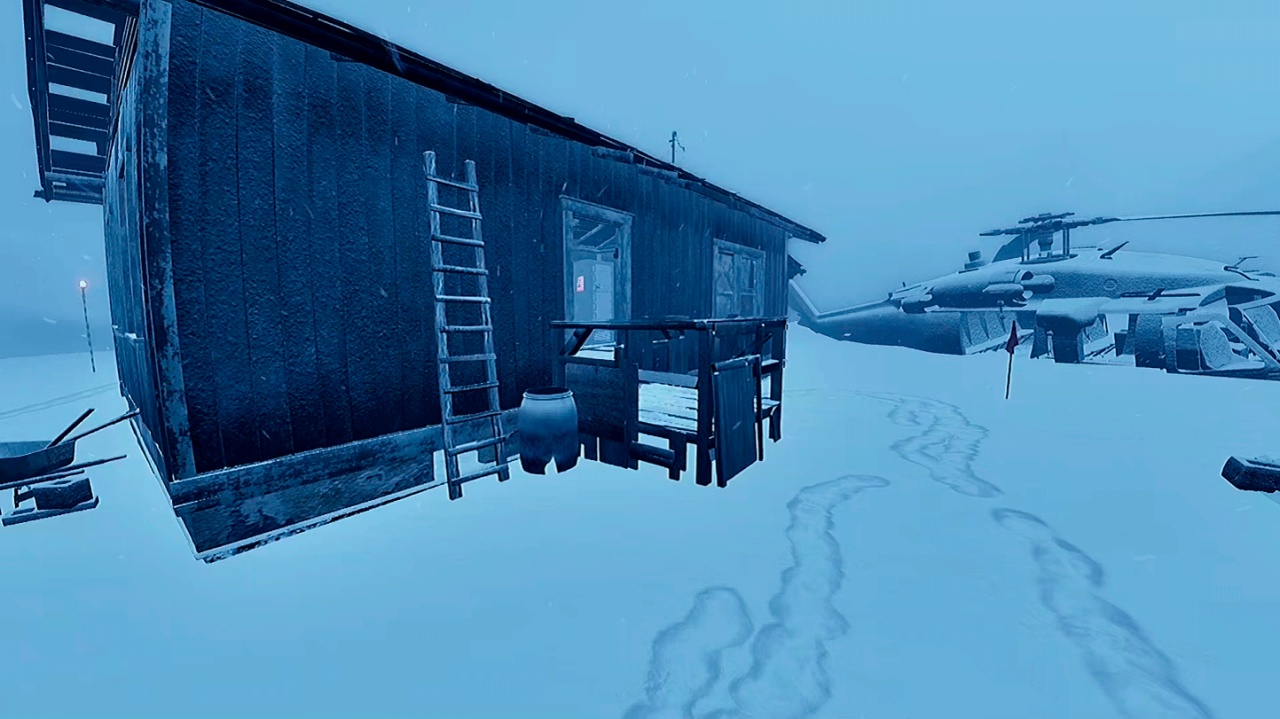
Finally, the third is also right in front of the entrance to the remaining hut.
The order you pull them in doesn’t matter, so do it however you find fastest.
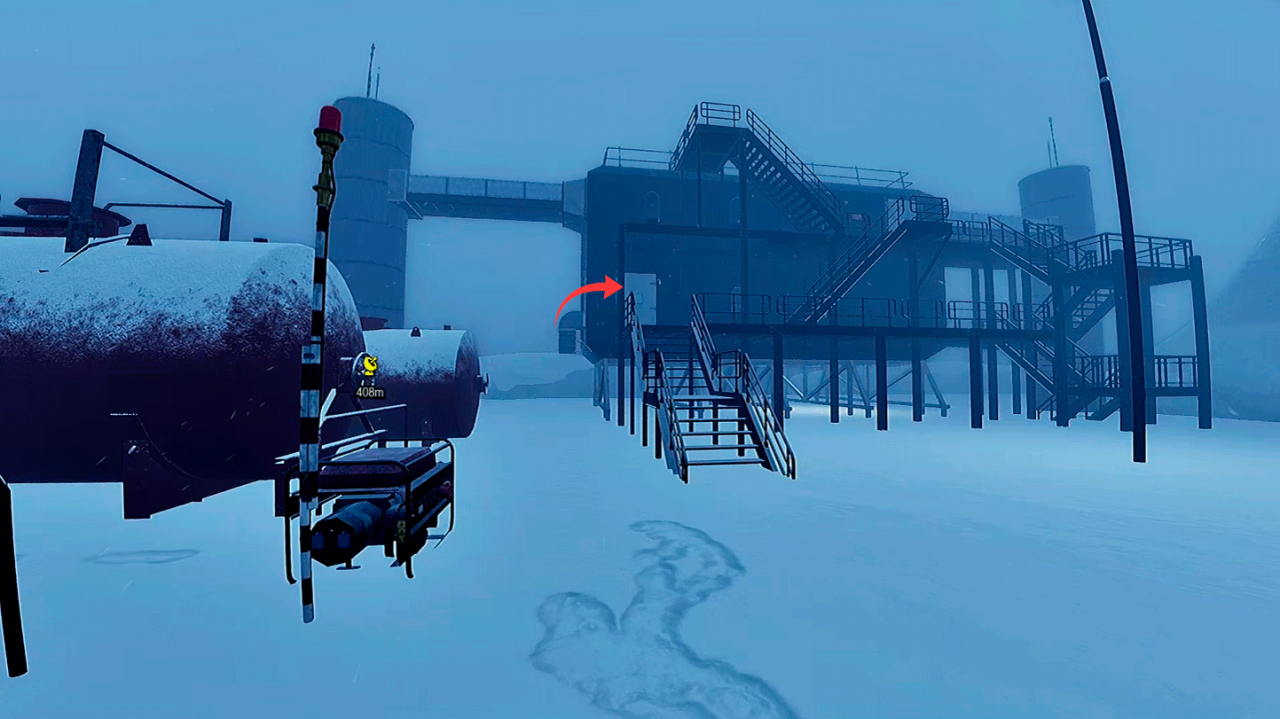
First, locate the generator. Then, go inside the building closest to it.
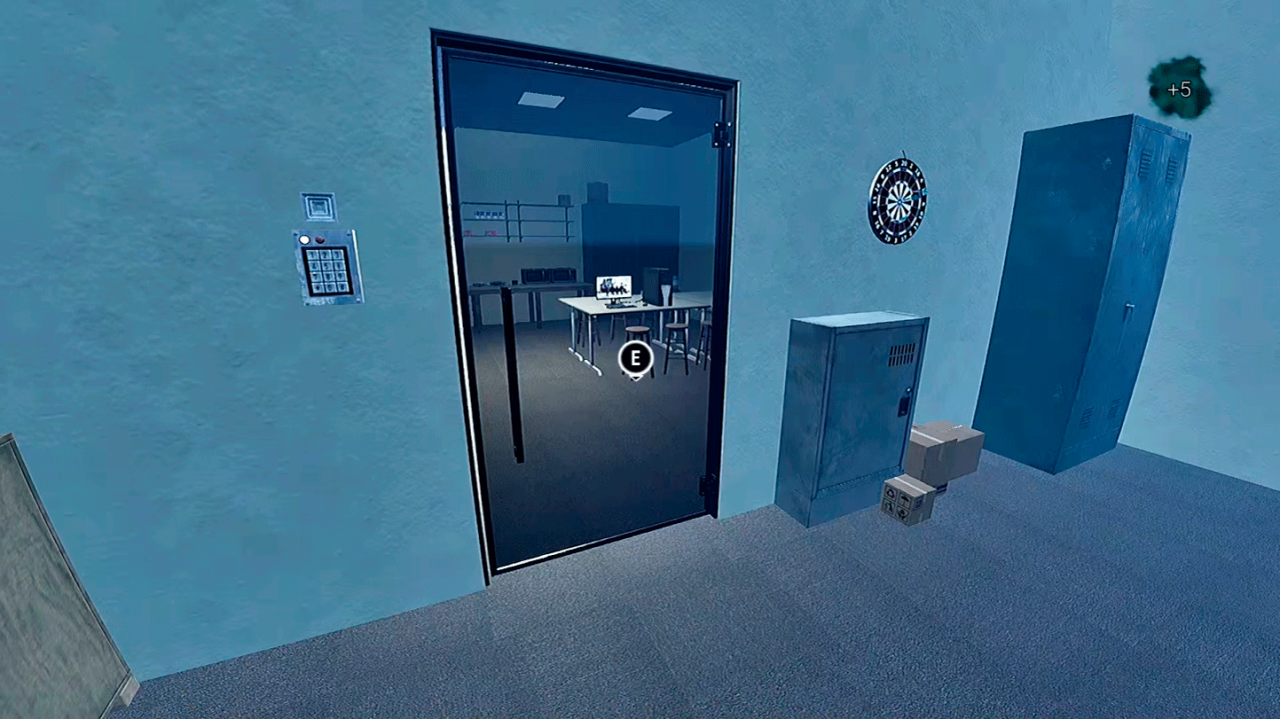
Right beside the entrance, you’ll see a glass door. Interact with the keypad to open it, or break it if you want.
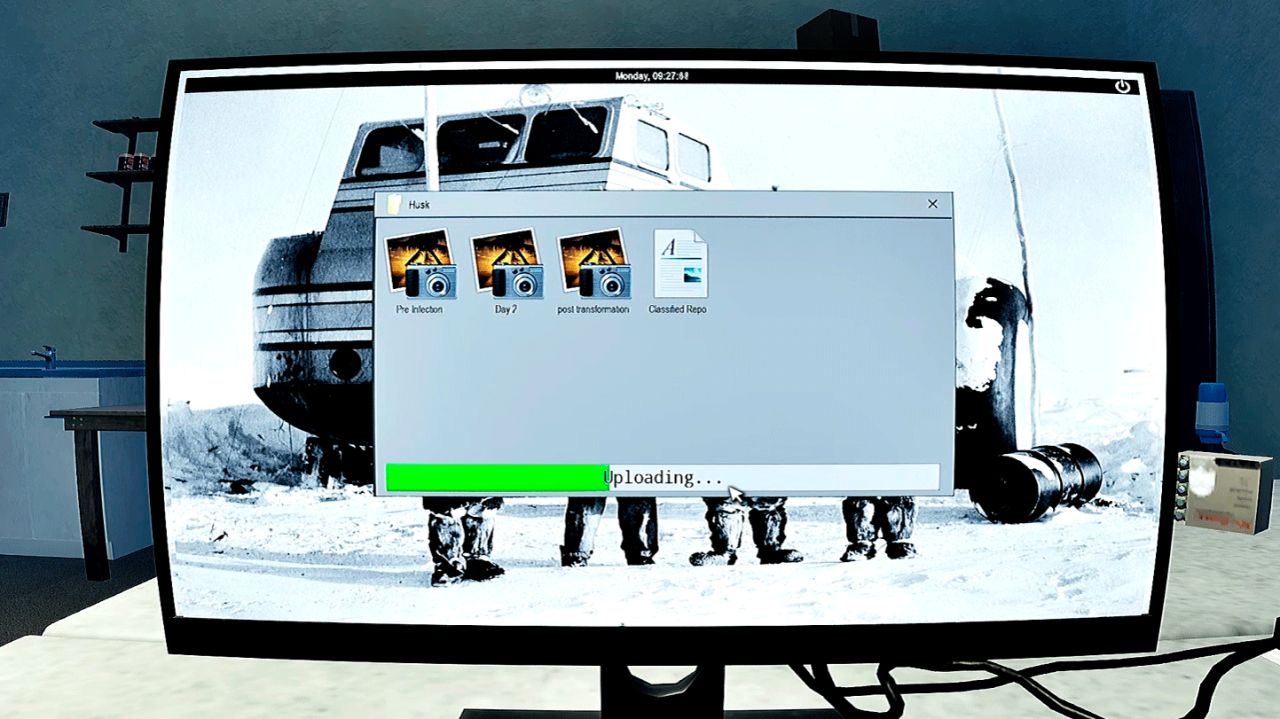
Once you get to the PC, just click the icon, then upload, and that’s it.
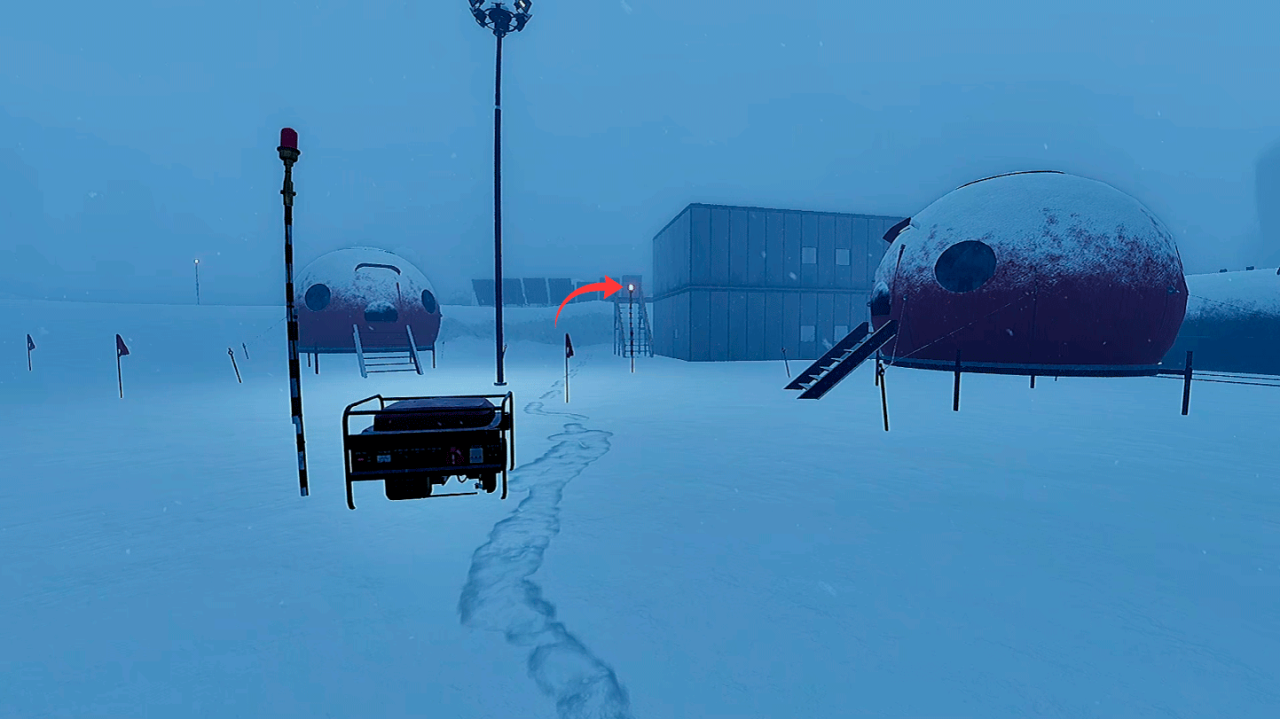
Again, first, locate the generator. Once you’re there, go up the stairs and turn right.
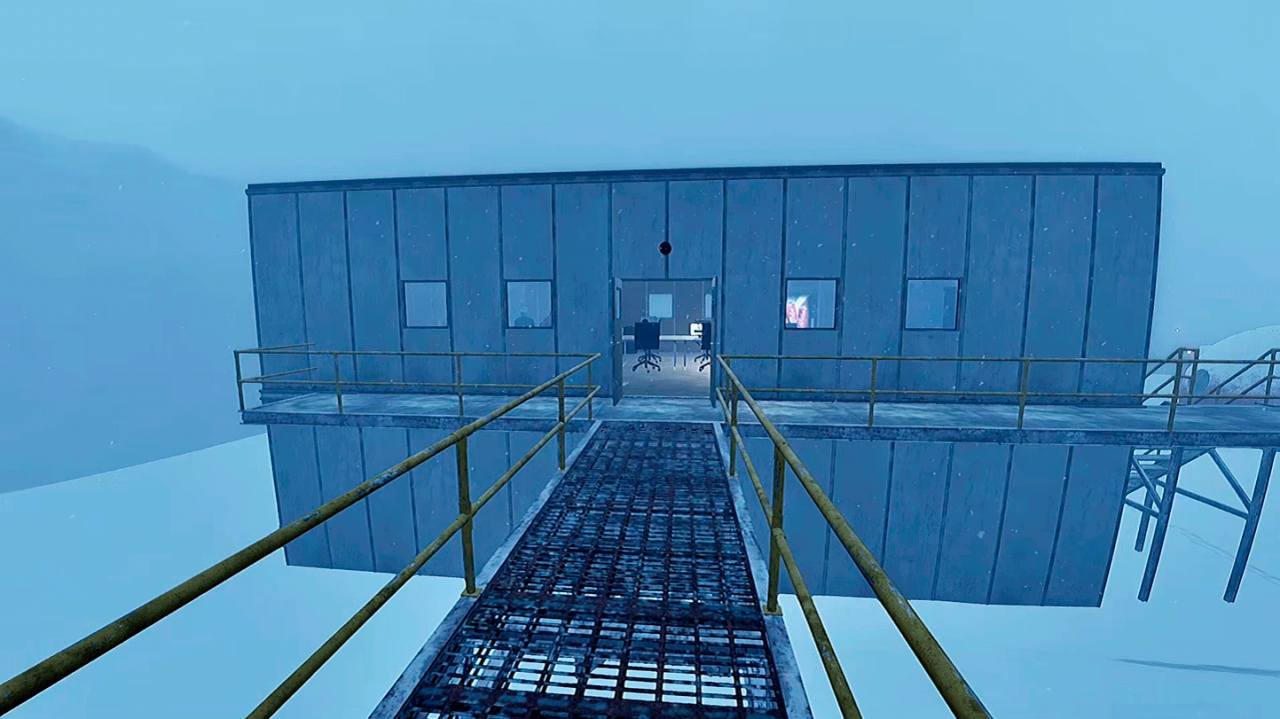
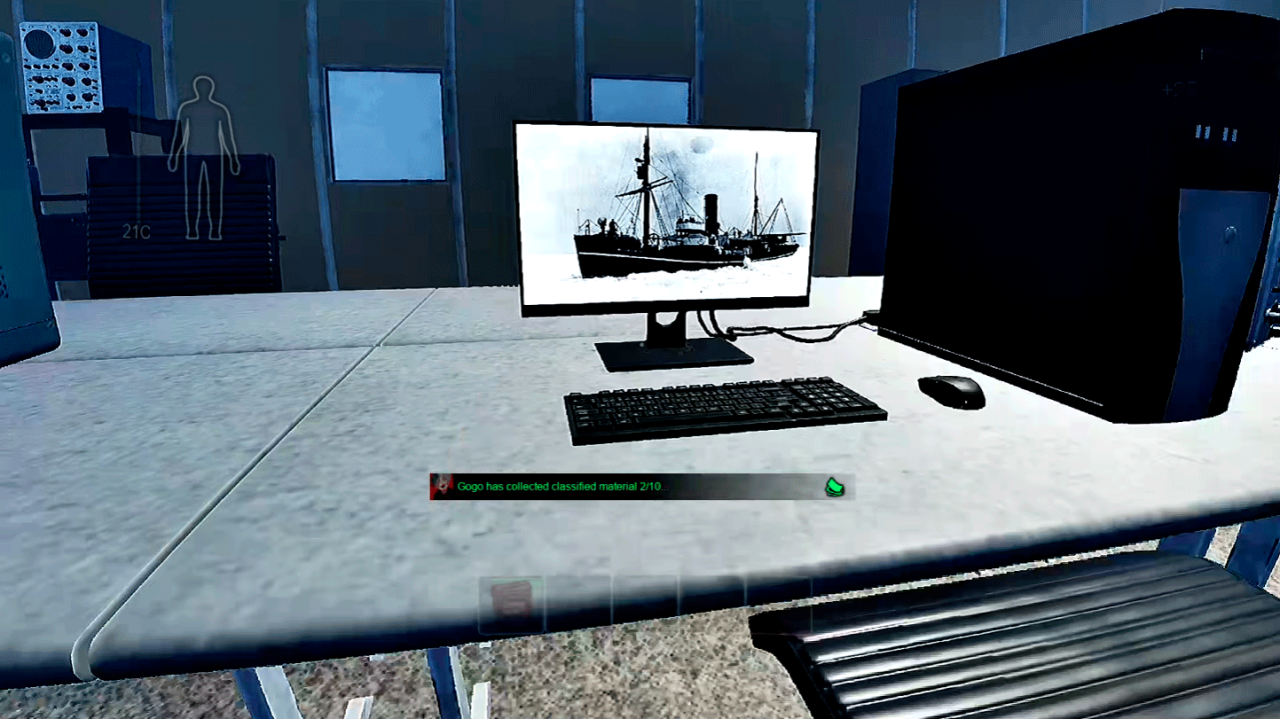
Go inside the building, and you’ll find the main PC right beside the terminal.
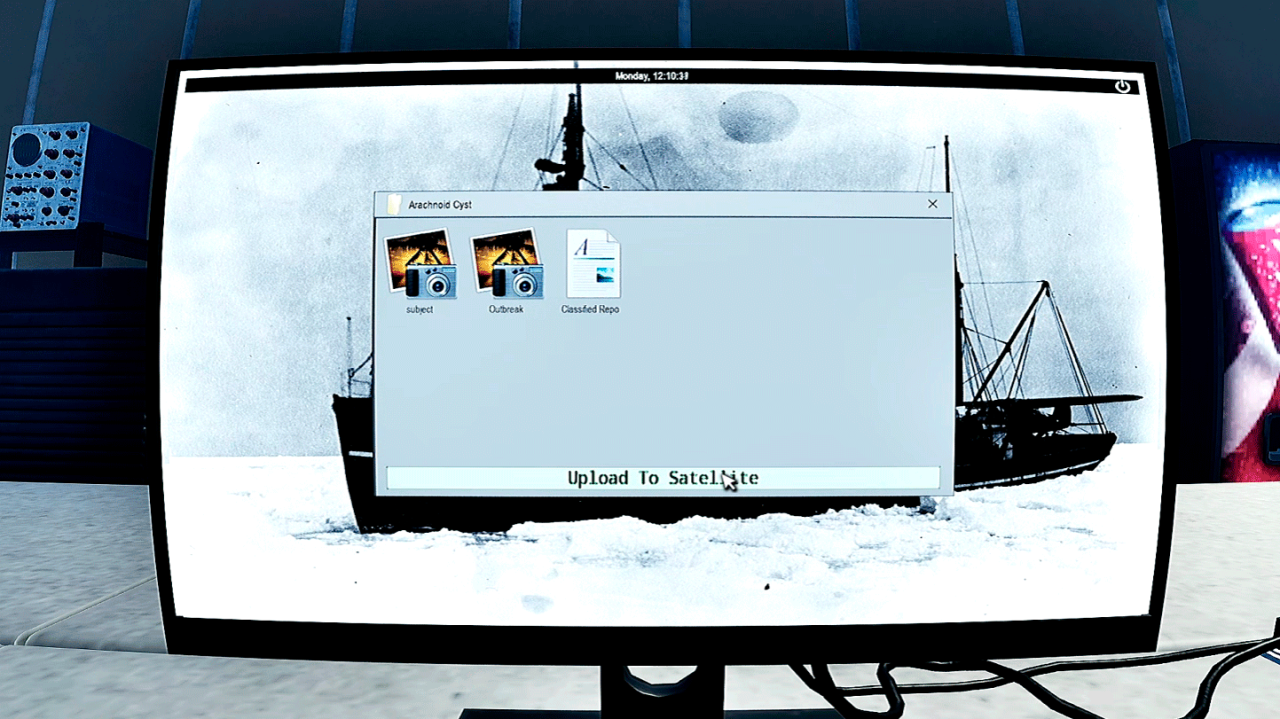
Upload the documents, and that’s it.
Oil Plant
The main objective here is to pull three pressure valve levers. Easy.
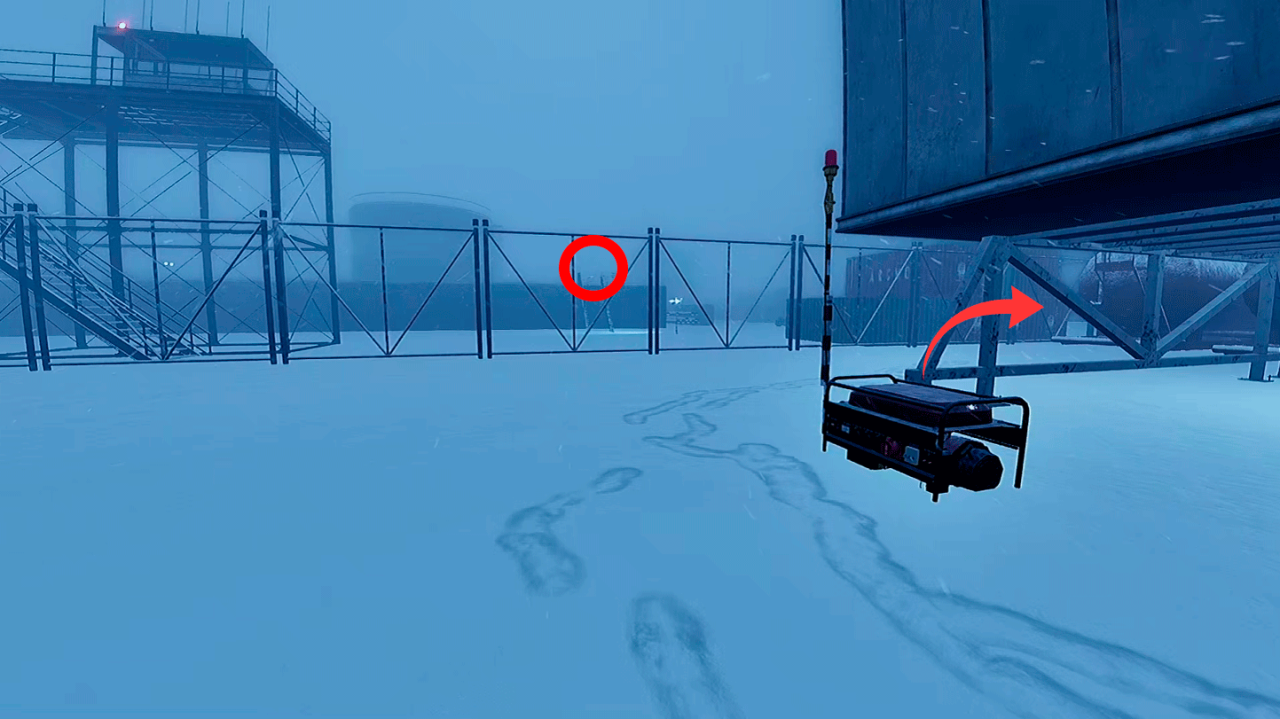
First, locate the generator for the zone. We want to get up there (red circle), so go right and follow the fence until you find the entrance.
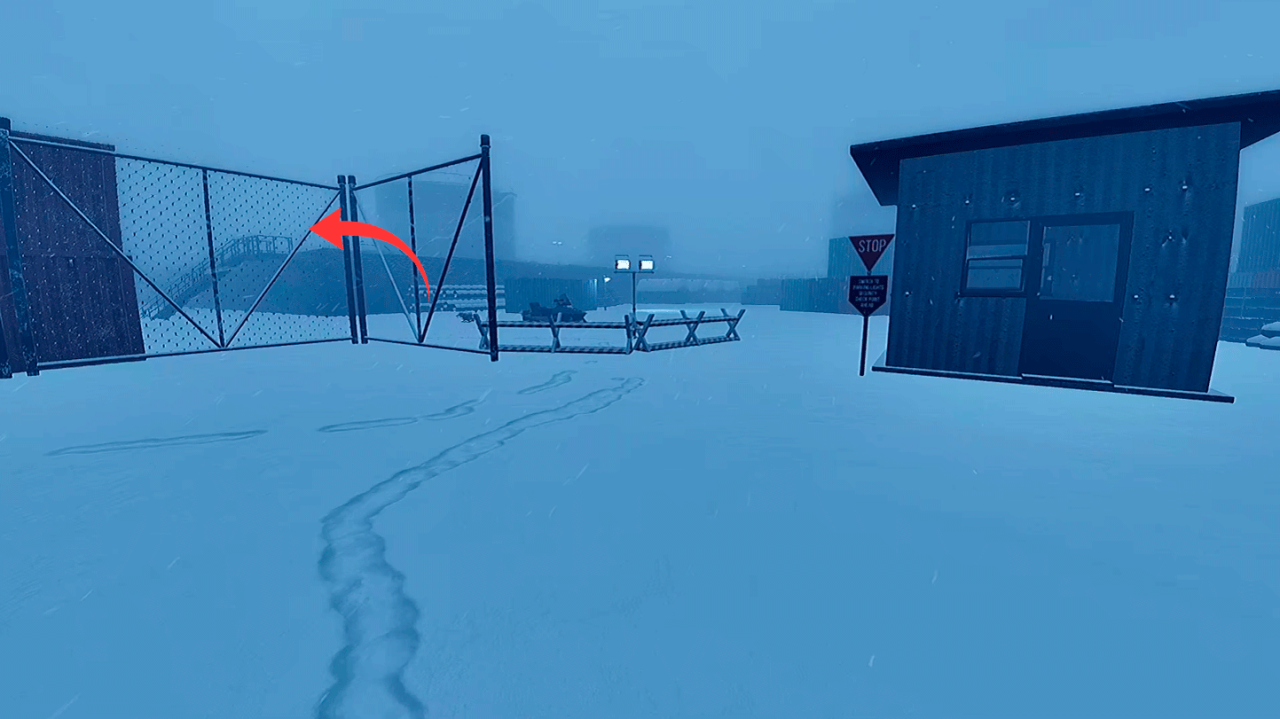
Once you get there, head towards the stairs and climb up.
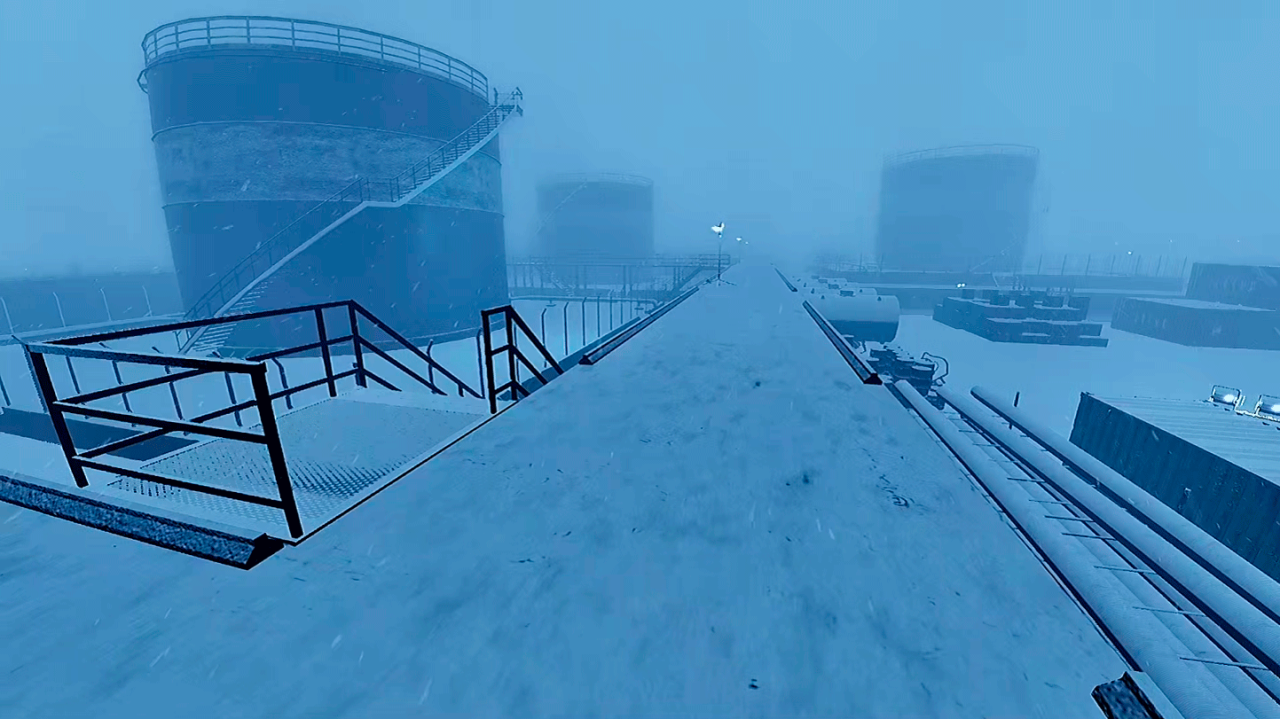
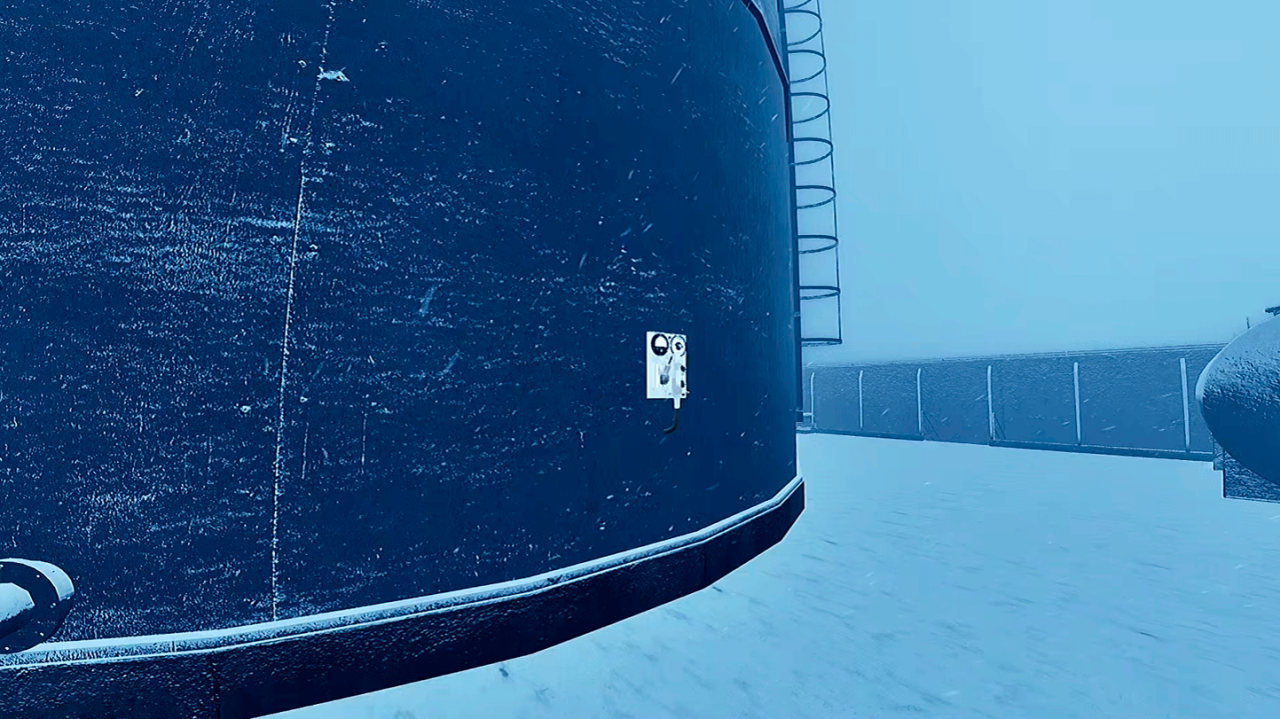
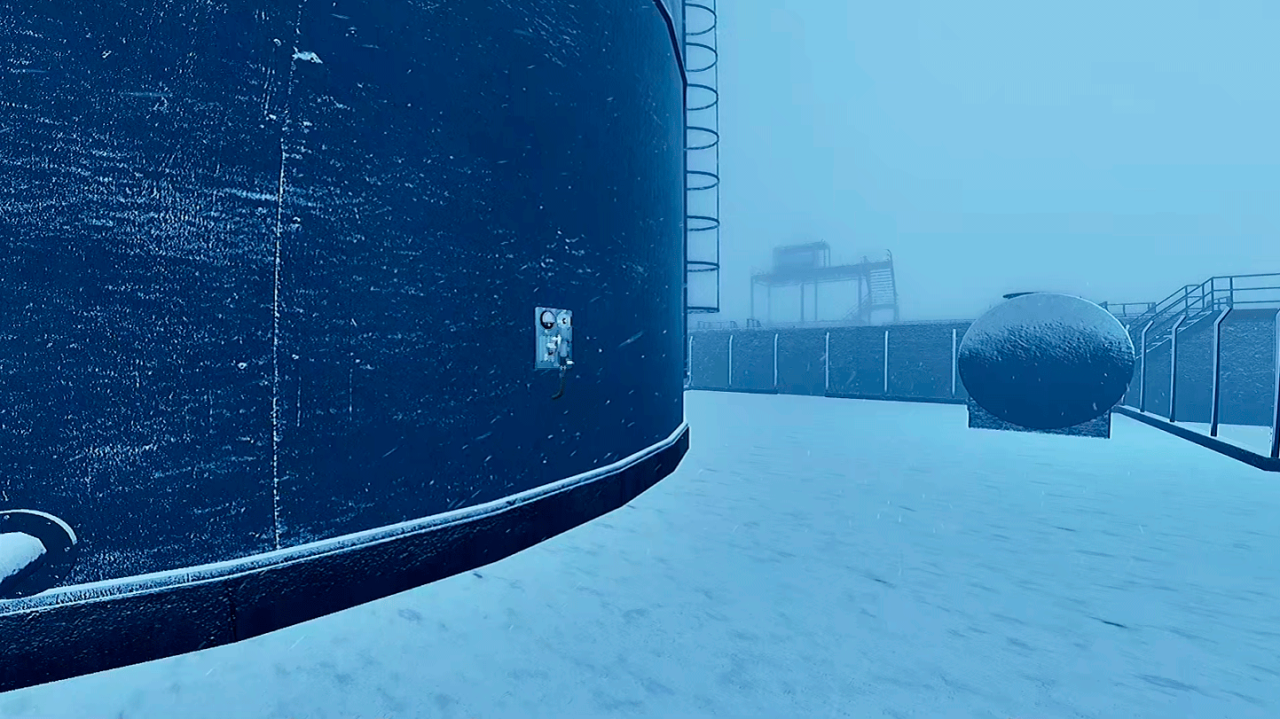
From here, you’ll be able to see three “cylinders”. Each one has a pressure valve. Go down and start pulling levers. That’s it.
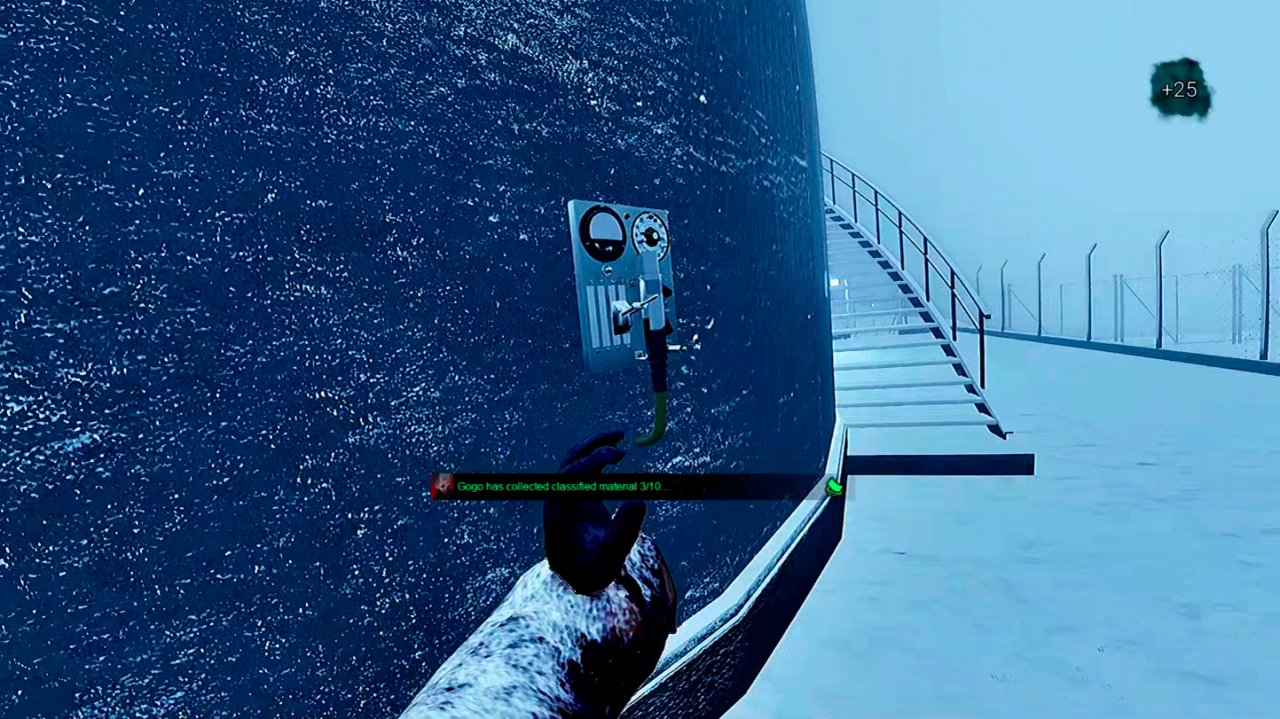
Shelter
Oh man, this is the easiest one. Your main goal is to take pictures of a frozen monster, so let’s get to it.
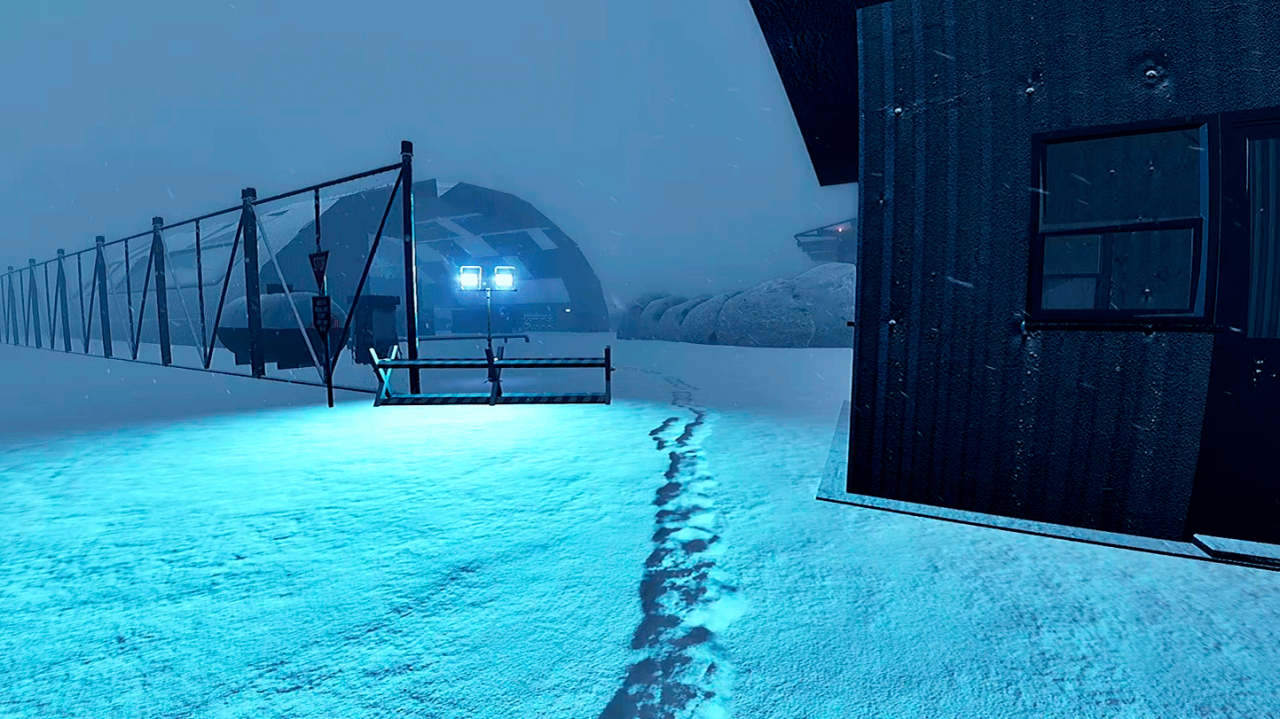
First, get to the entrance.
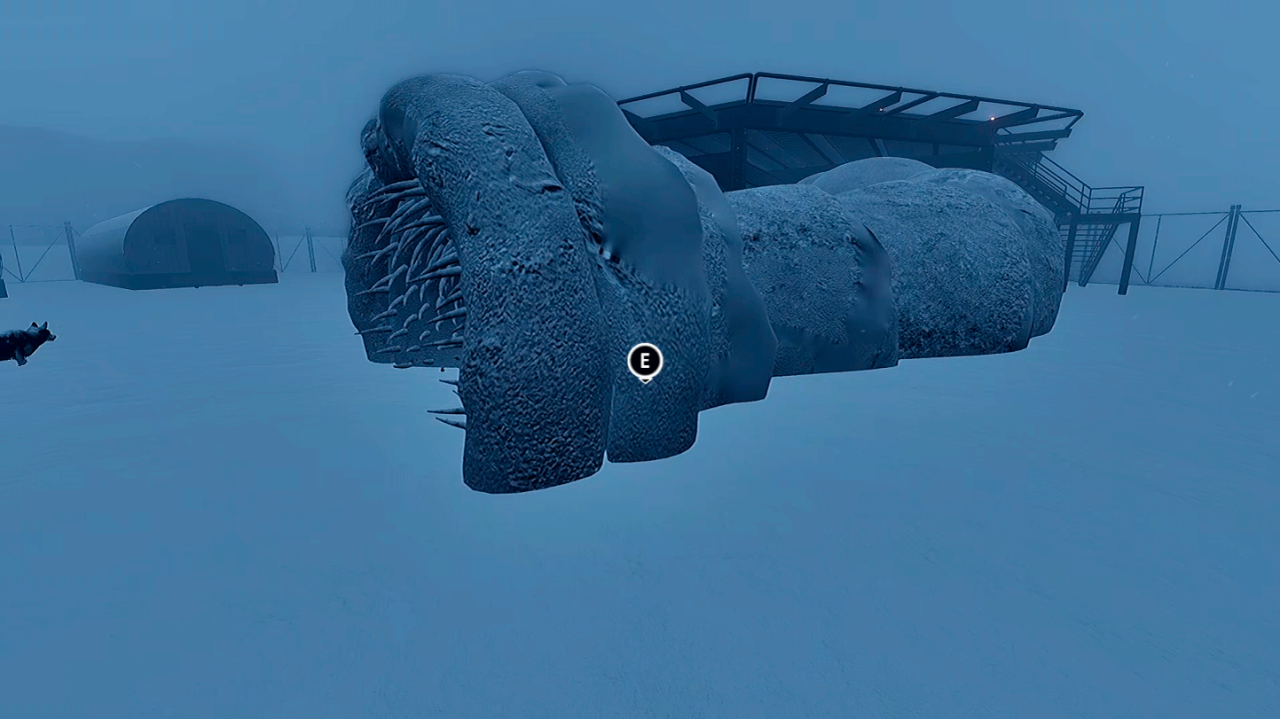
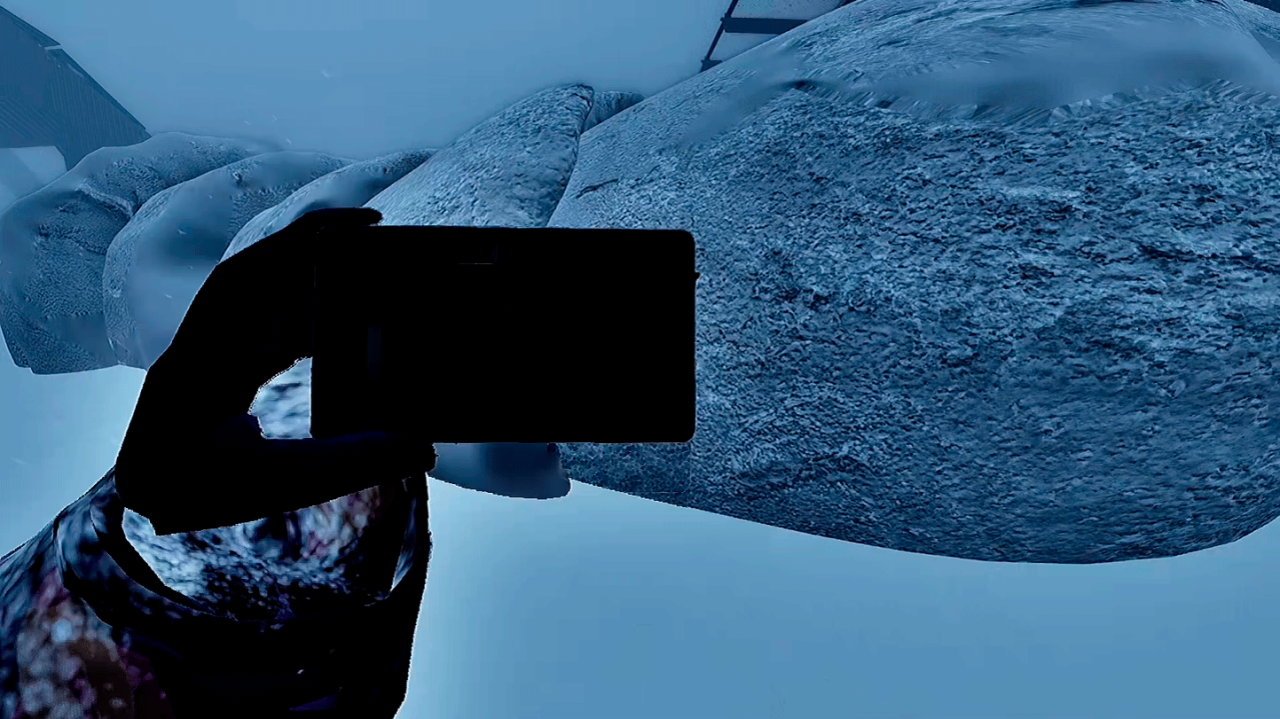
Head inside, and you’ll quickly find what you’re supposed to photograph. Go towards its head and start circling towards the side facing the entrance, taking pictures as you go. That’s it.

Underground Silo
This one is also about taking pics. Not too hard.
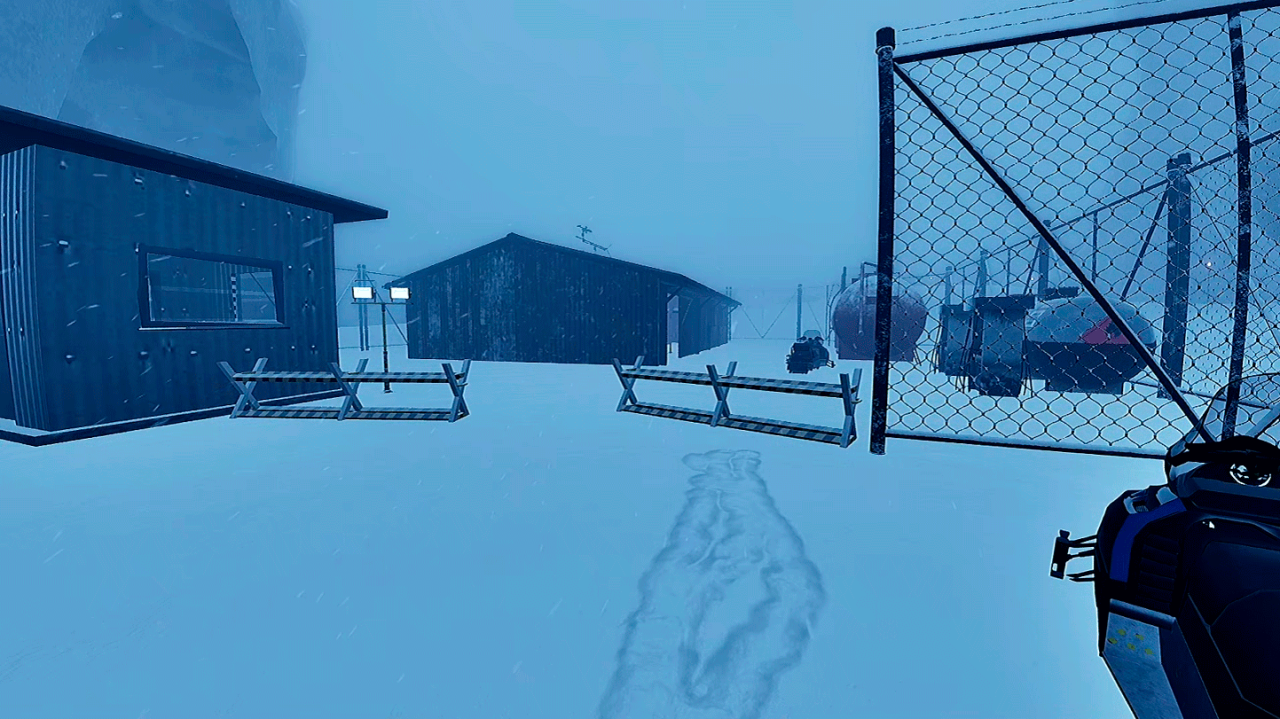 Head to the entrance, and then go inside the hut.
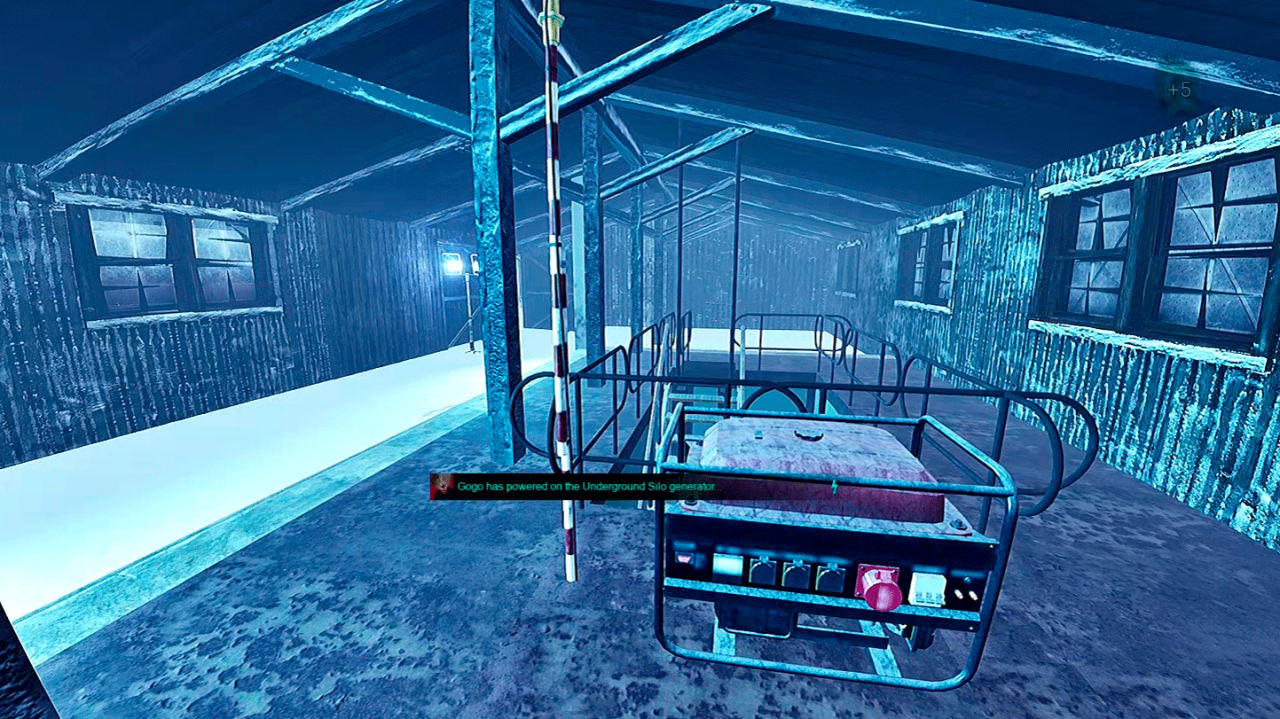 Once you’ve fixed the generator, go down the stairs.
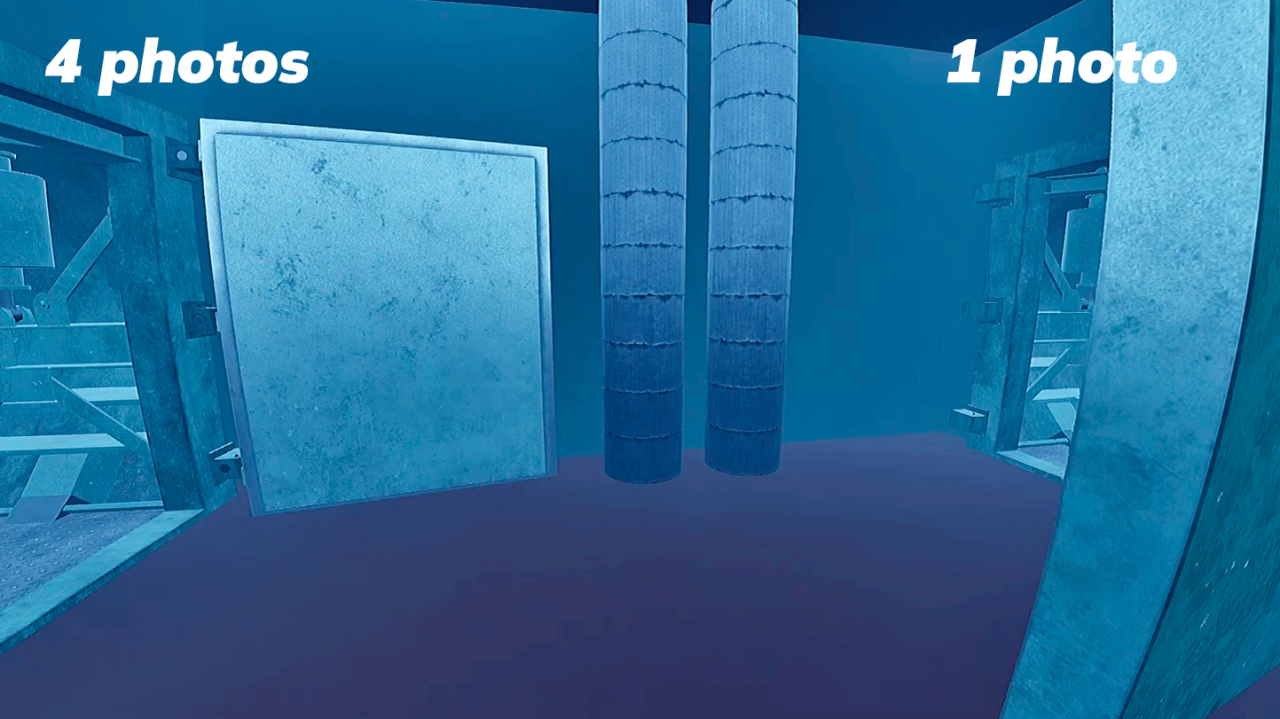 This is how the spots are divided. I’ll go right first.
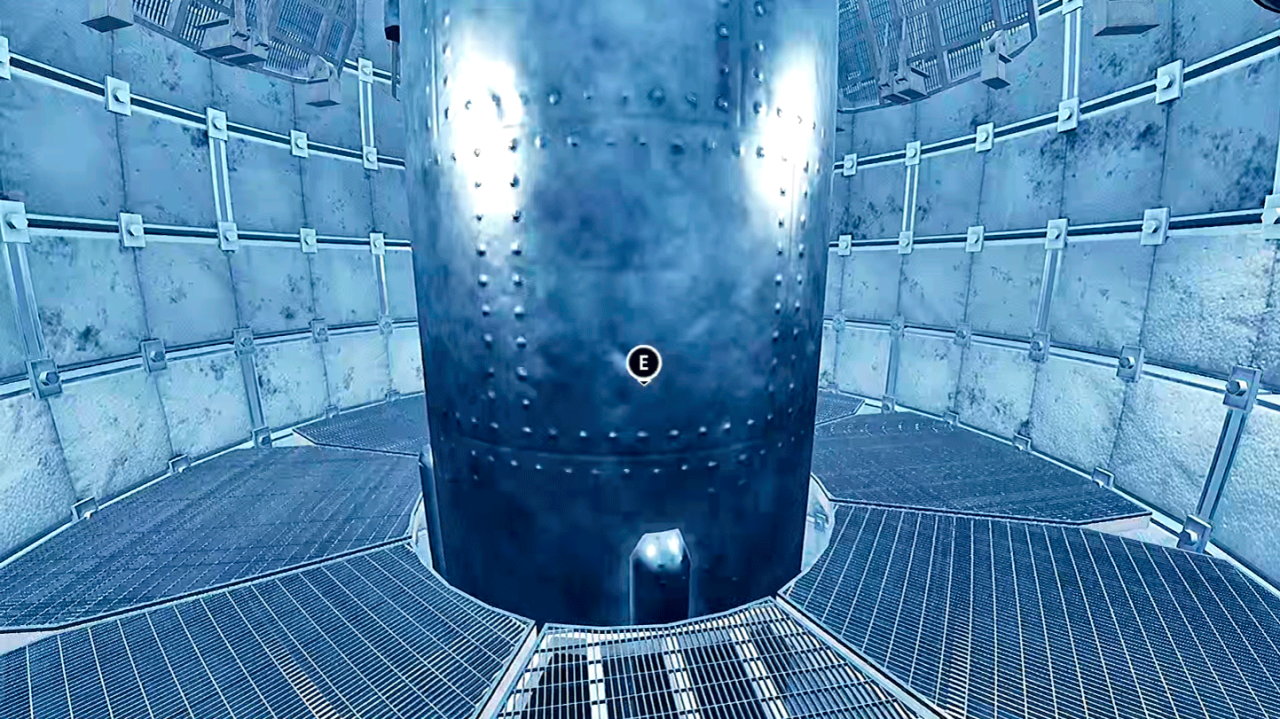 You get close, take the pic, and head right to the other side.
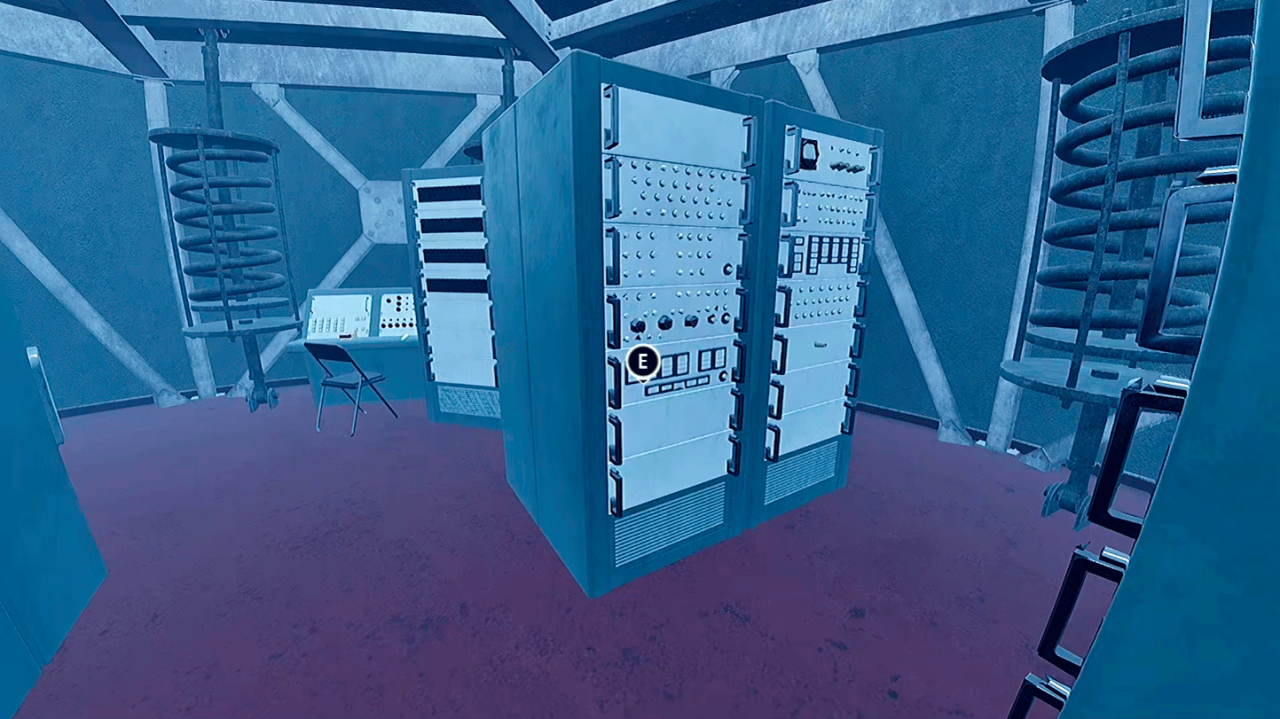
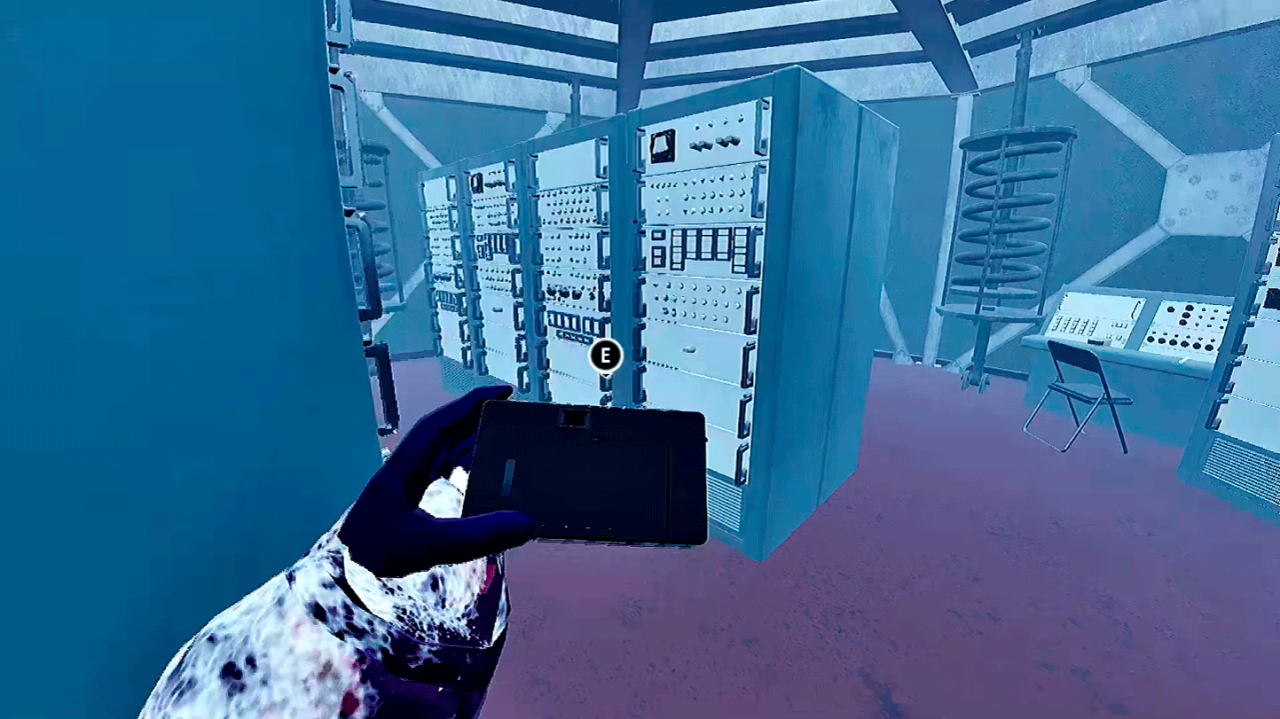
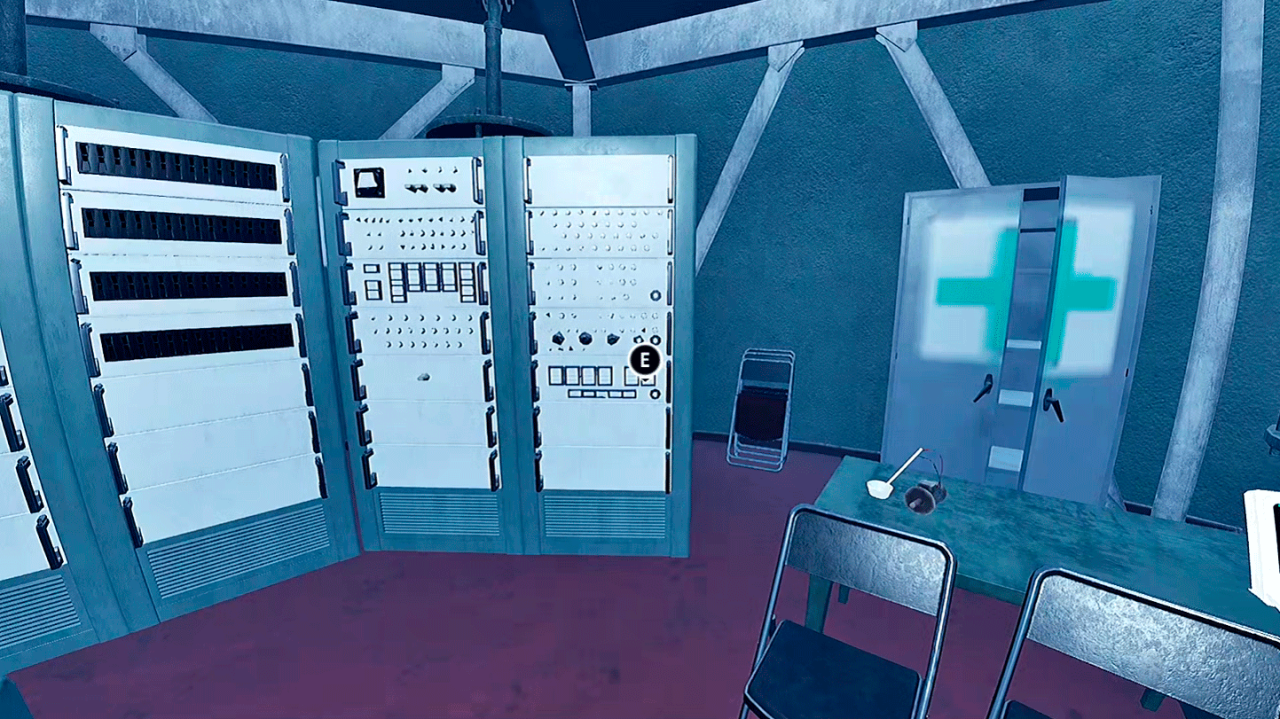 In that middle floor you’ll find the first spot to photograph of the area. The remaining ones are downstairs. These are the remaining spots.
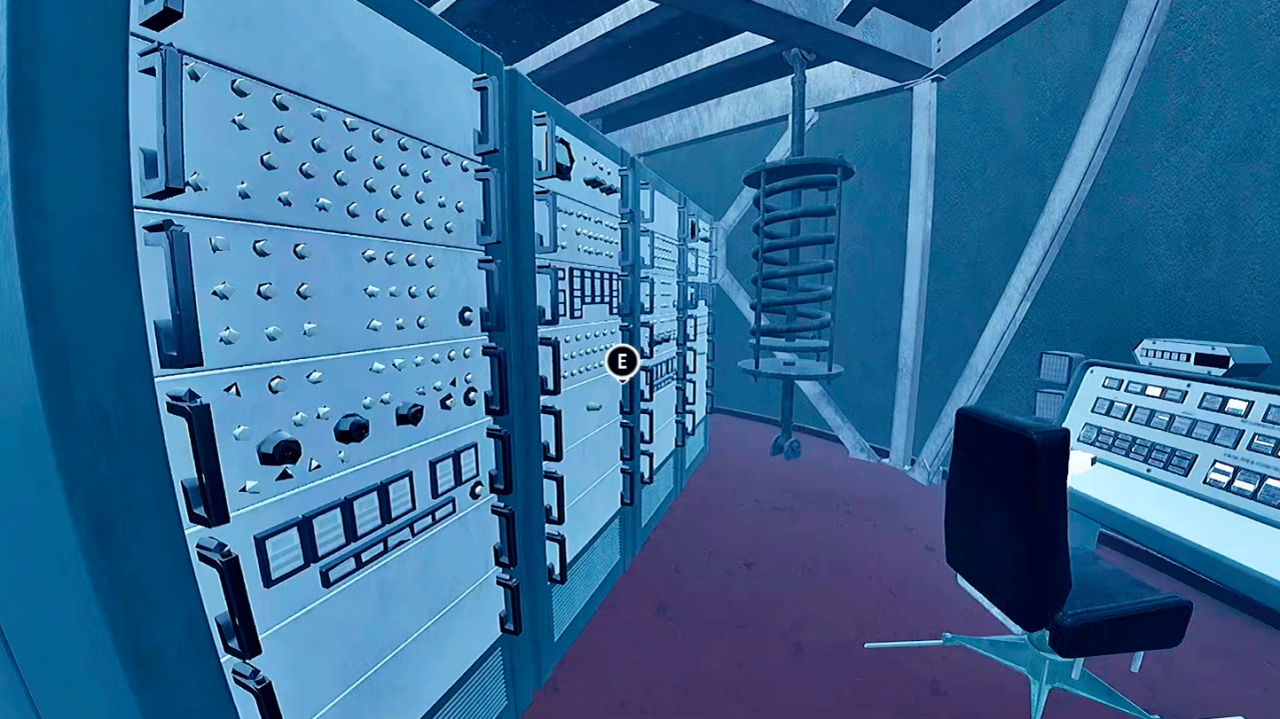
Medbay
This isn’t the easiest one, just because Shelter exists. Your goal here is to find the cure for the infection, so let’s get to it.
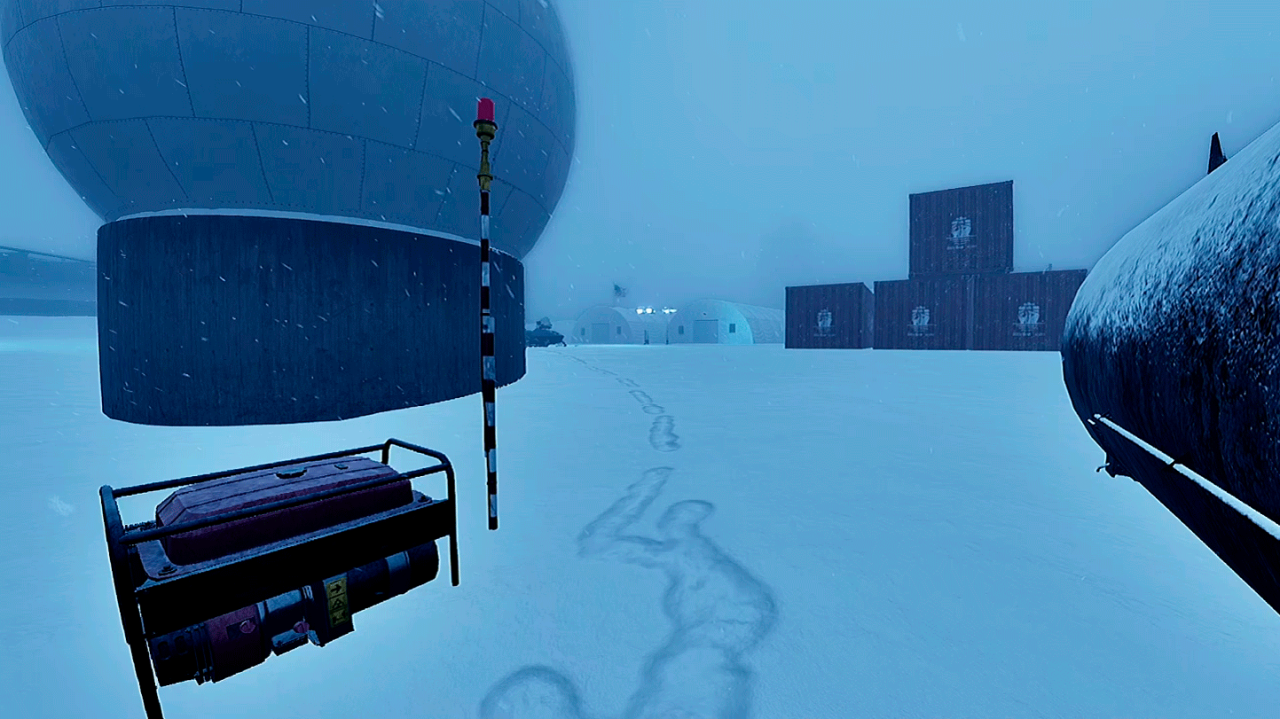
Starting from the generator, march forward towards the medical tents.
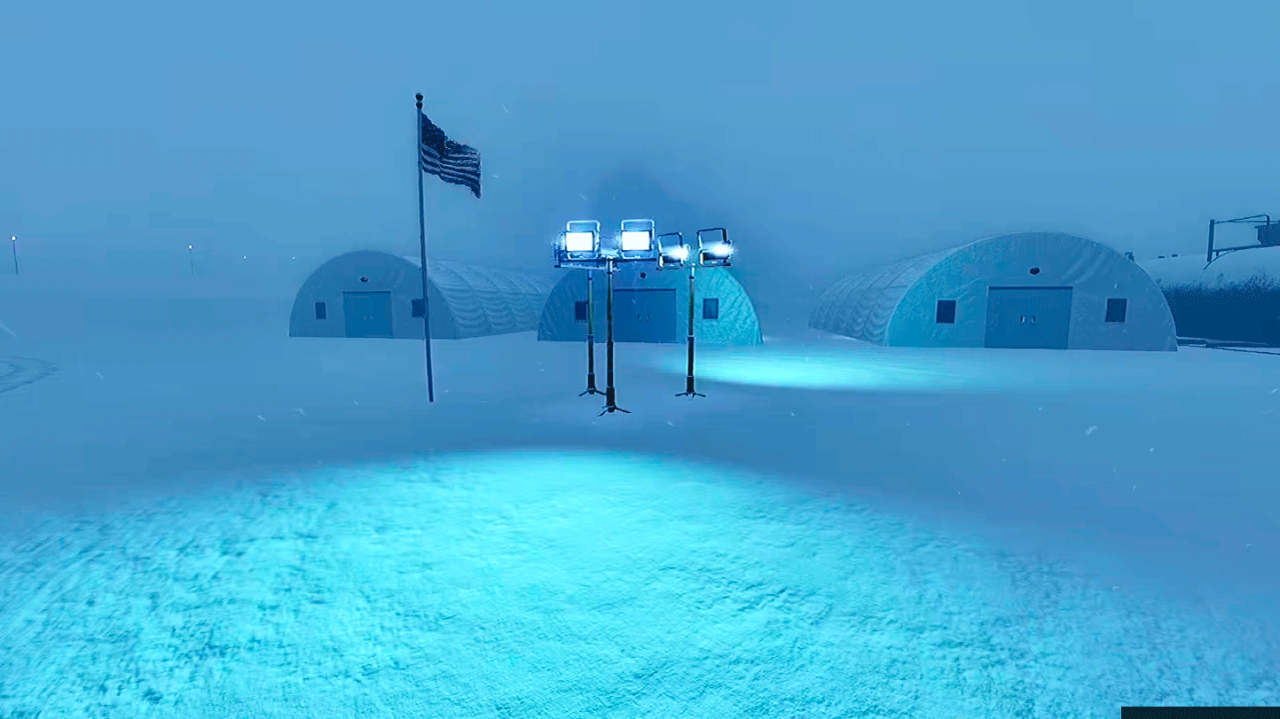
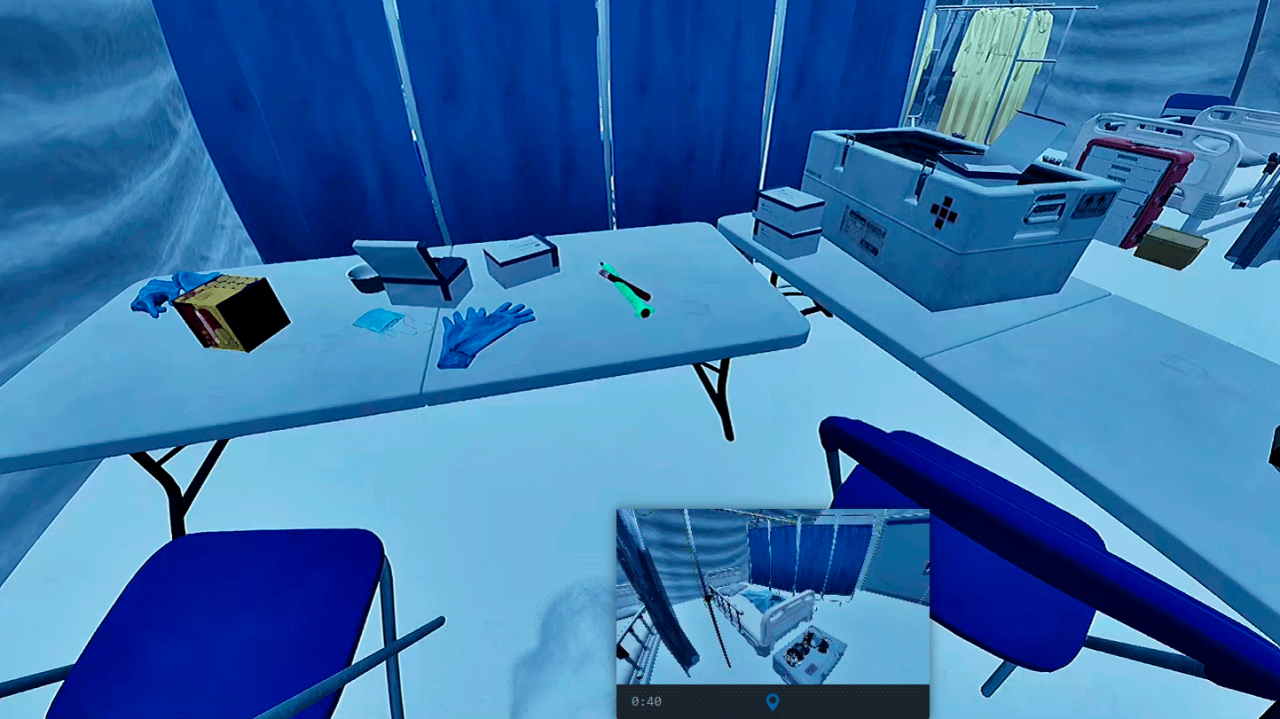
There are three tents in this area. The cure could spawn in any of them, as far as I know, and it’s random, so pay close attention. These are some of the spots where I’ve seen it spawn:
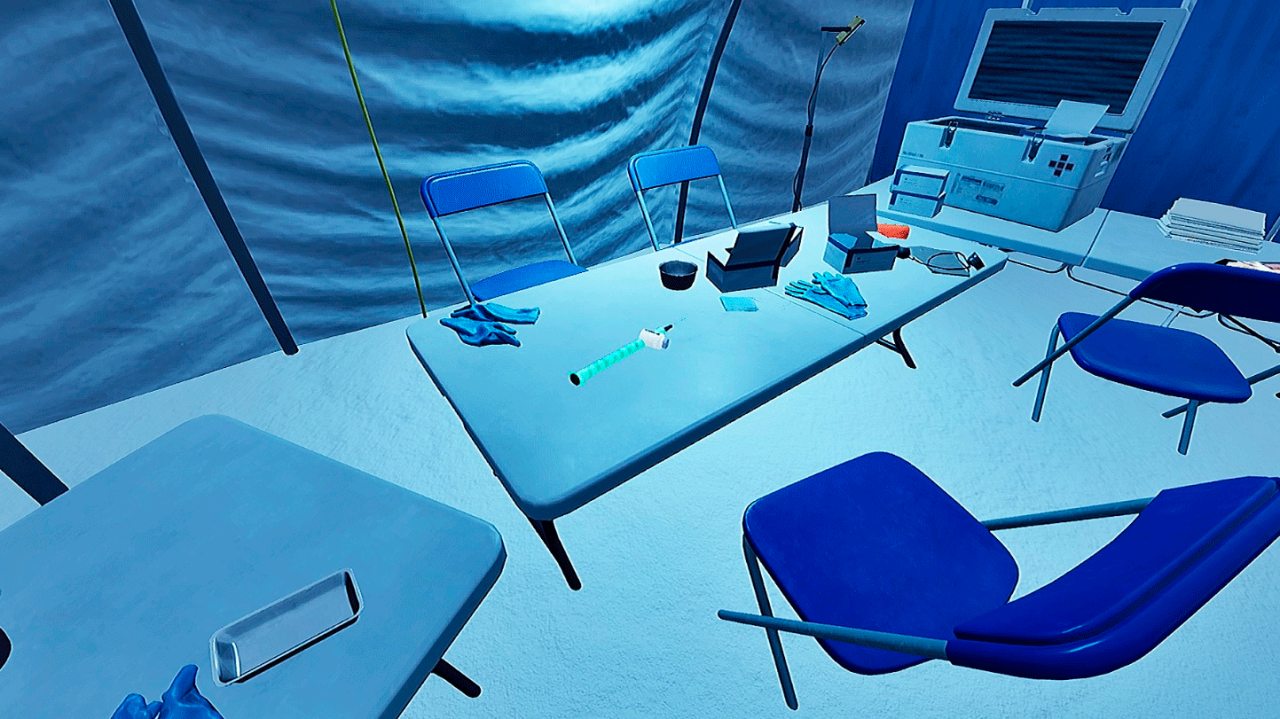
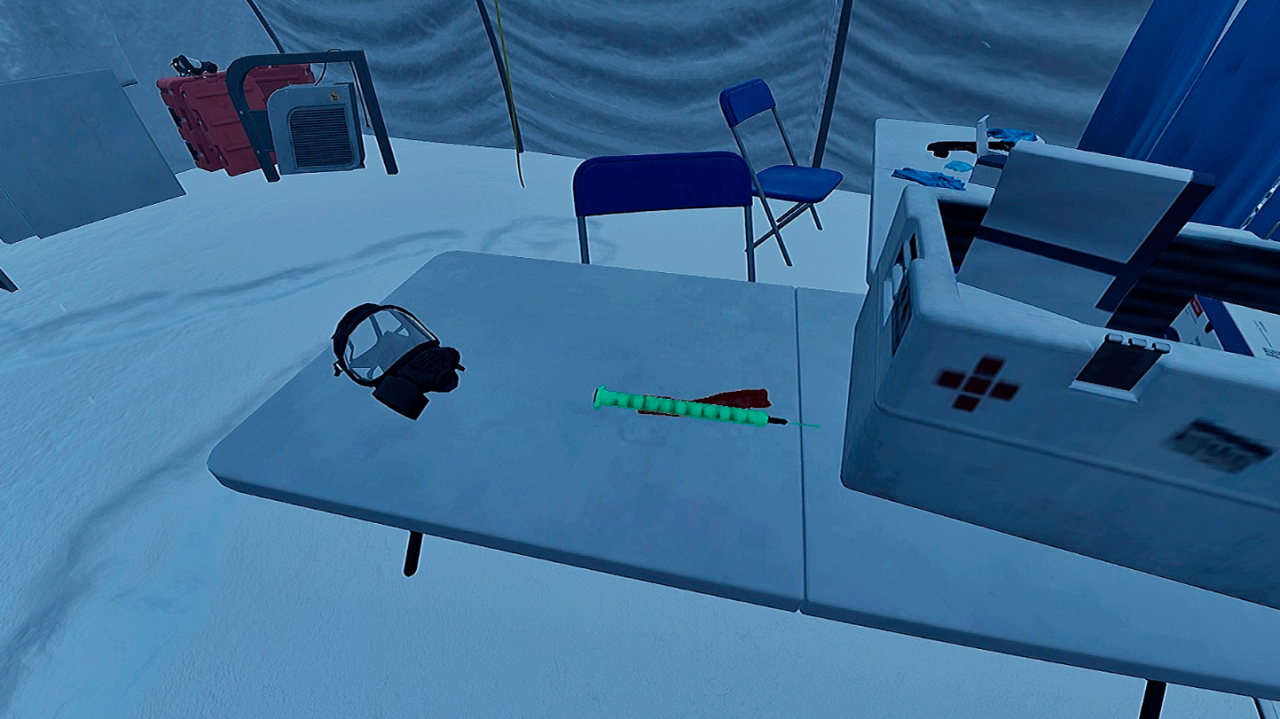
Drilling Rig
Your goal here is to start the two drills and then go to the main computer to generate a report.
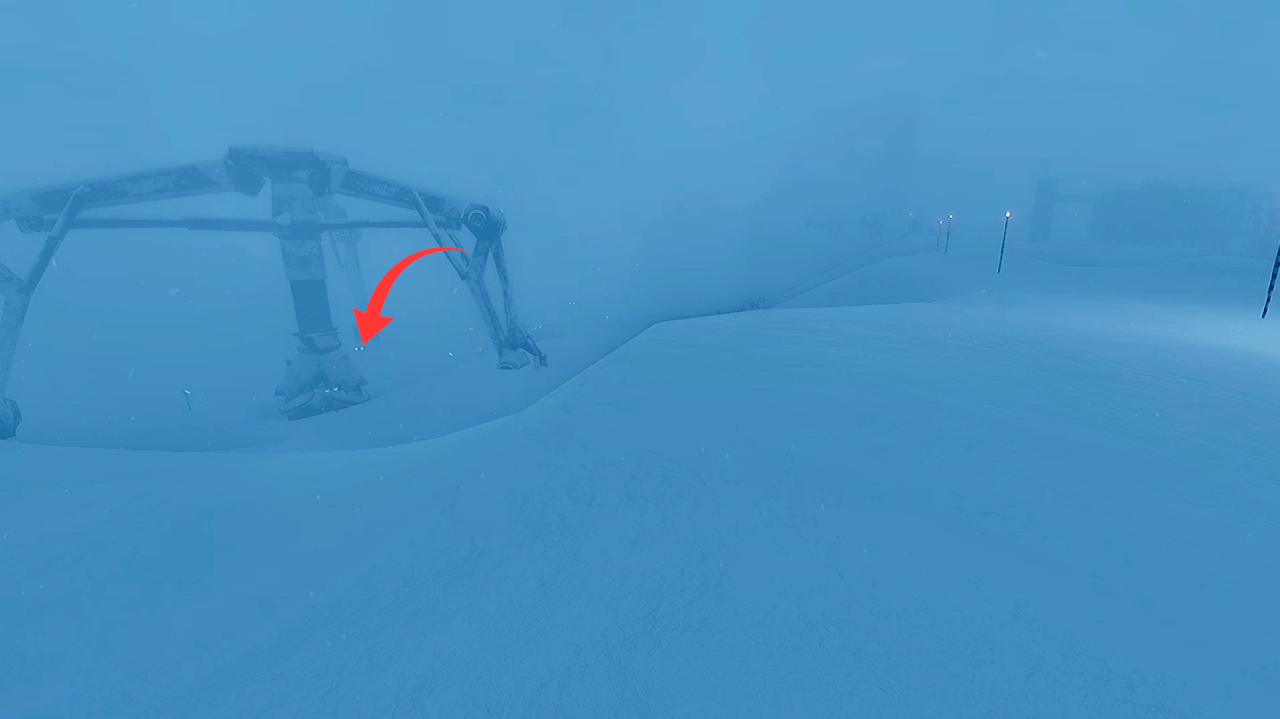
The drills are pretty easy to spot, as they’re two big holes right next to each other.
WARNING
PLEASE be careful when going down a hole. You can pretty easily die here. Try looking for the slope by circling the hole if you don’t know what you’re doing.
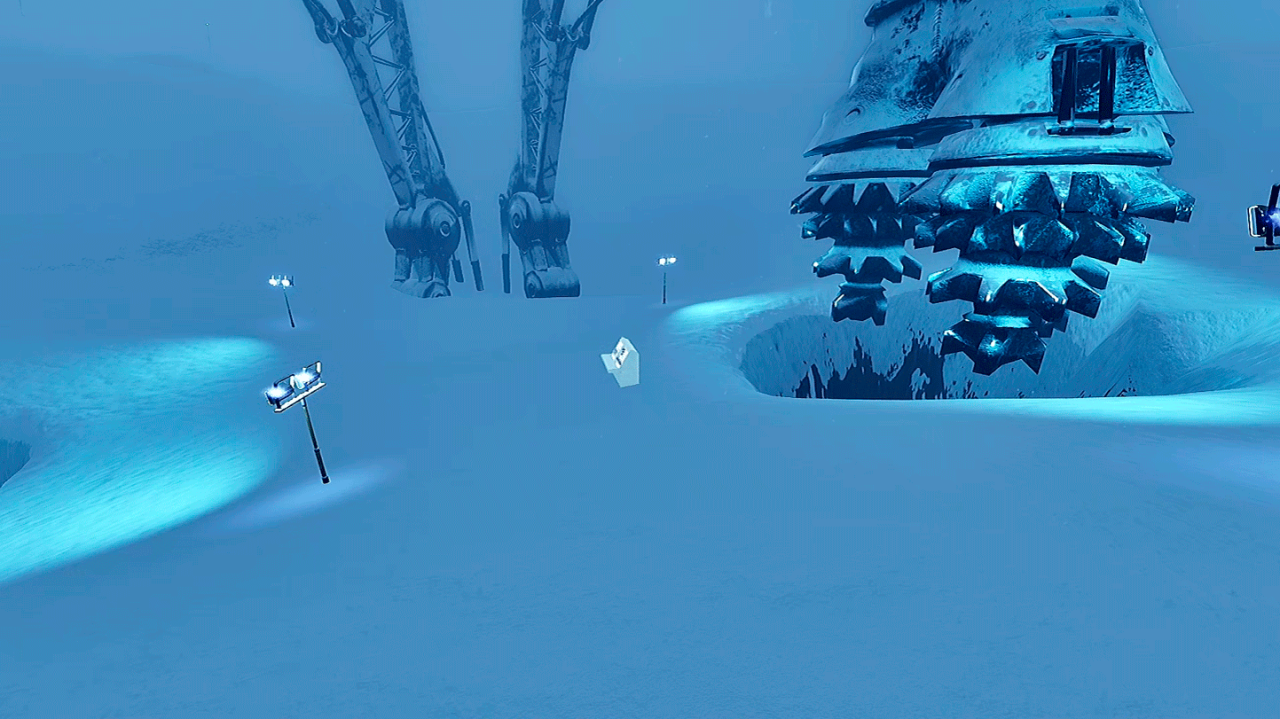
If you go in from the slope, the drill’s control panel is pretty easy to spot.
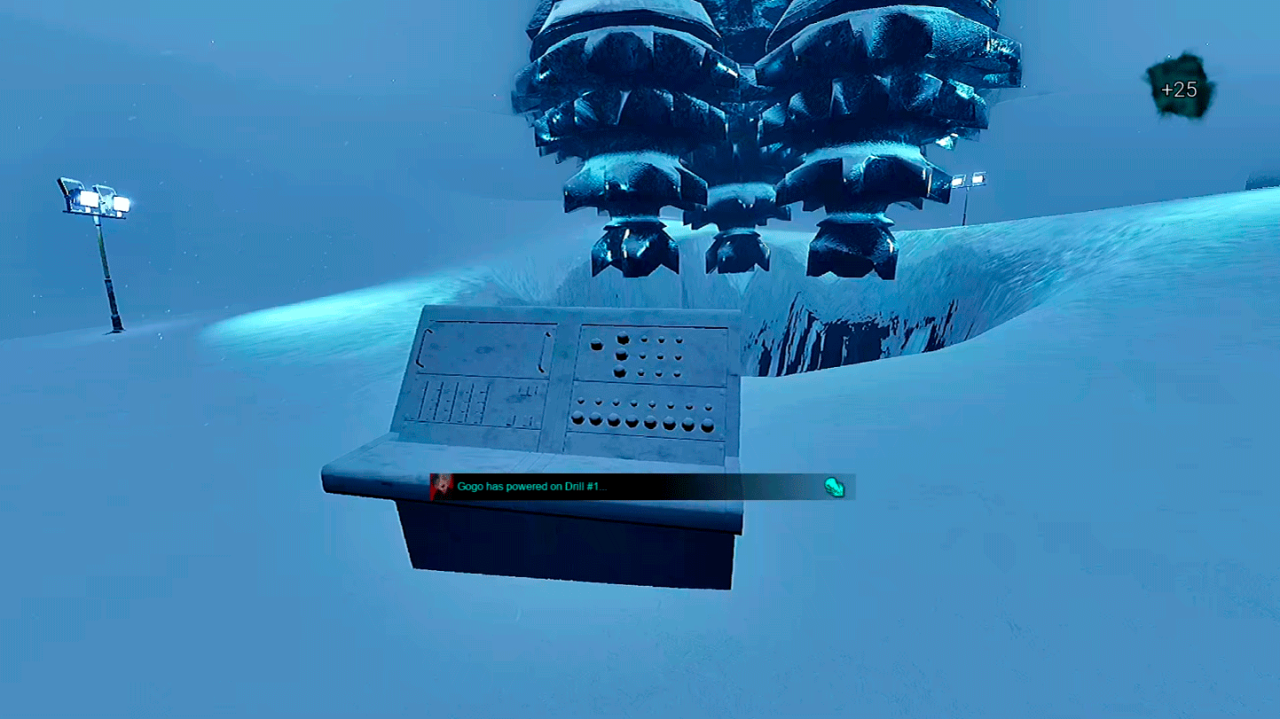
Interact with it, and that’s it.
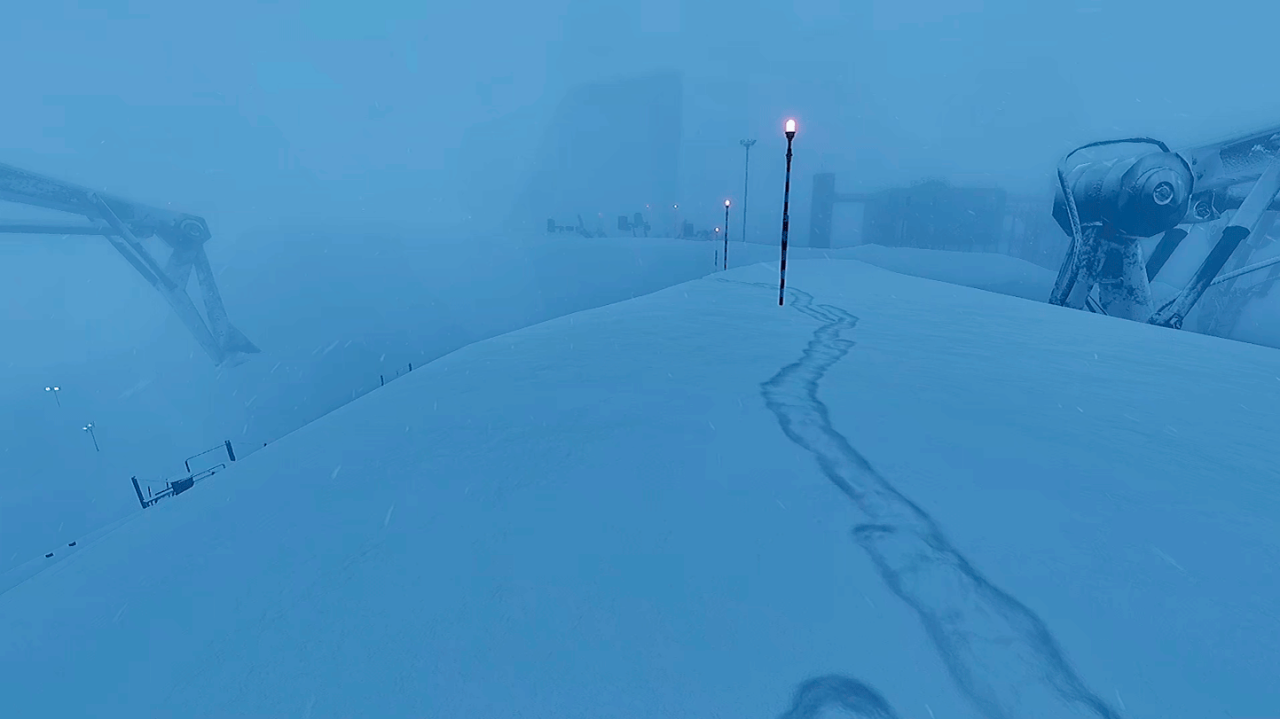
Now, onto the other hole. Like I said, the holes are right next to each other, so it shouldn’t be that hard to find if you just circle around the one you just activated.
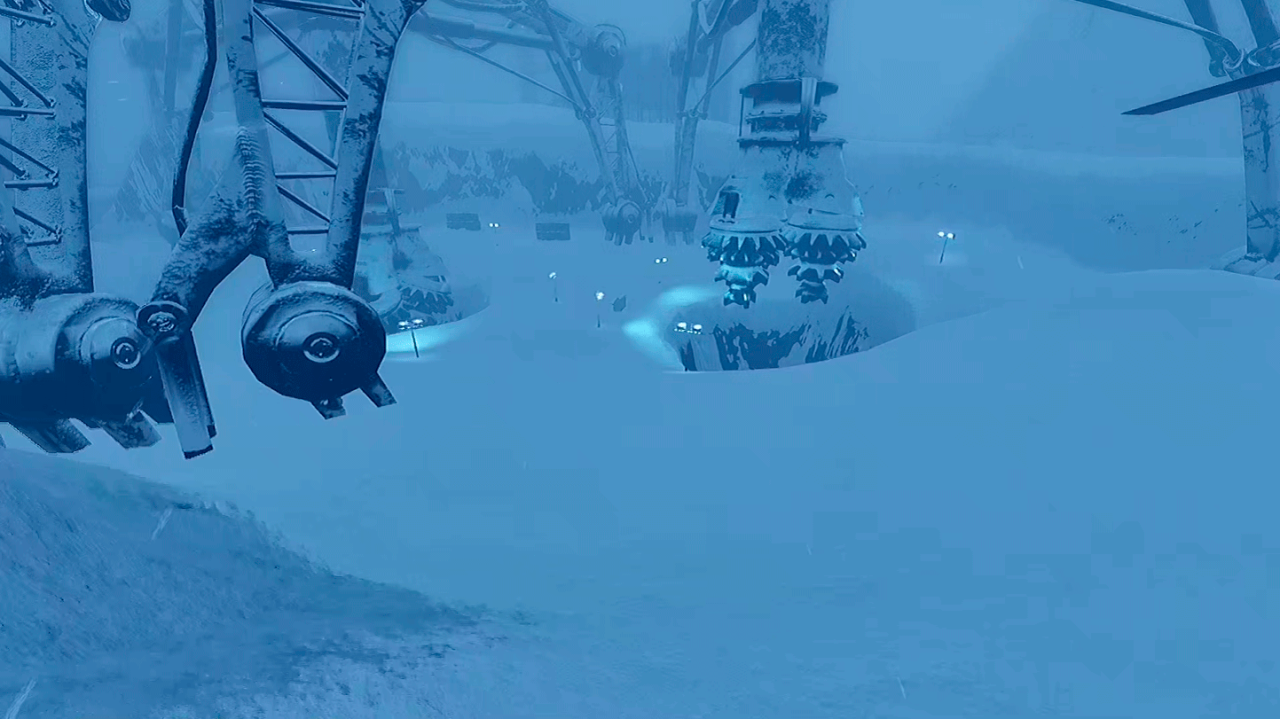
Turn it on, and now head towards the generator for the area. It should be on high ground with a cylinder next to it.
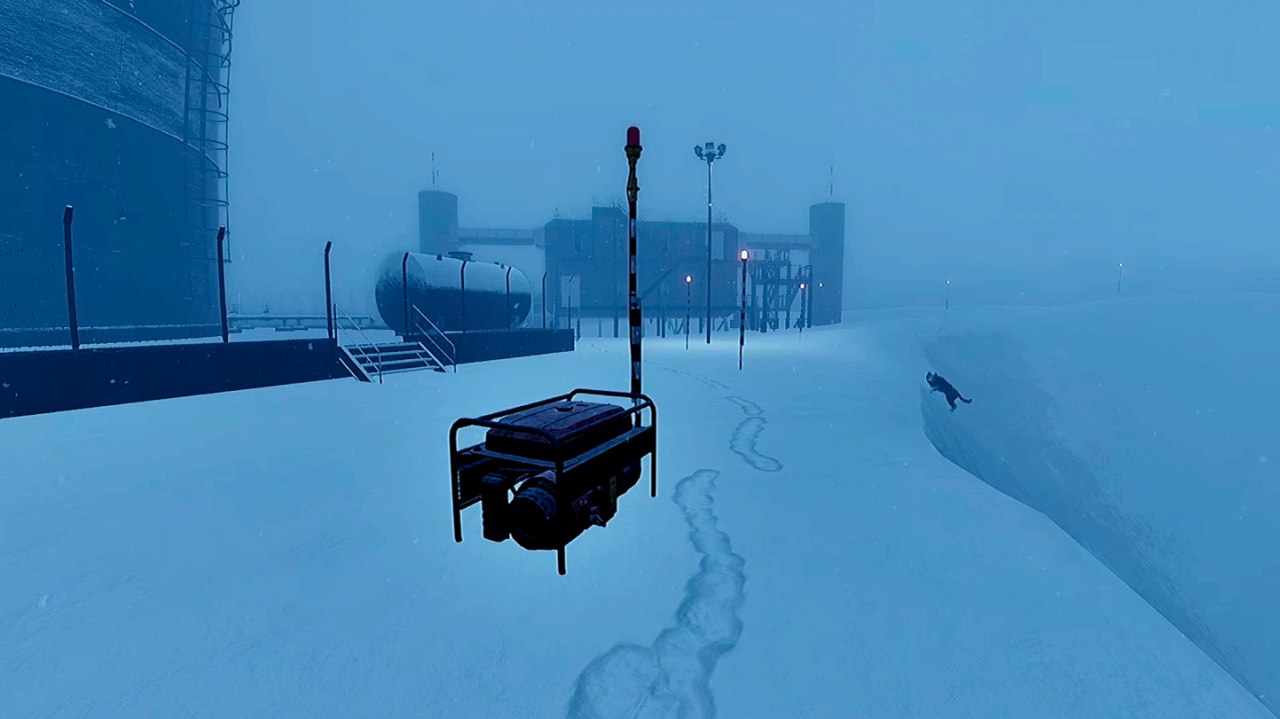
From the generator, it should be easy to spot the building you need to enter.
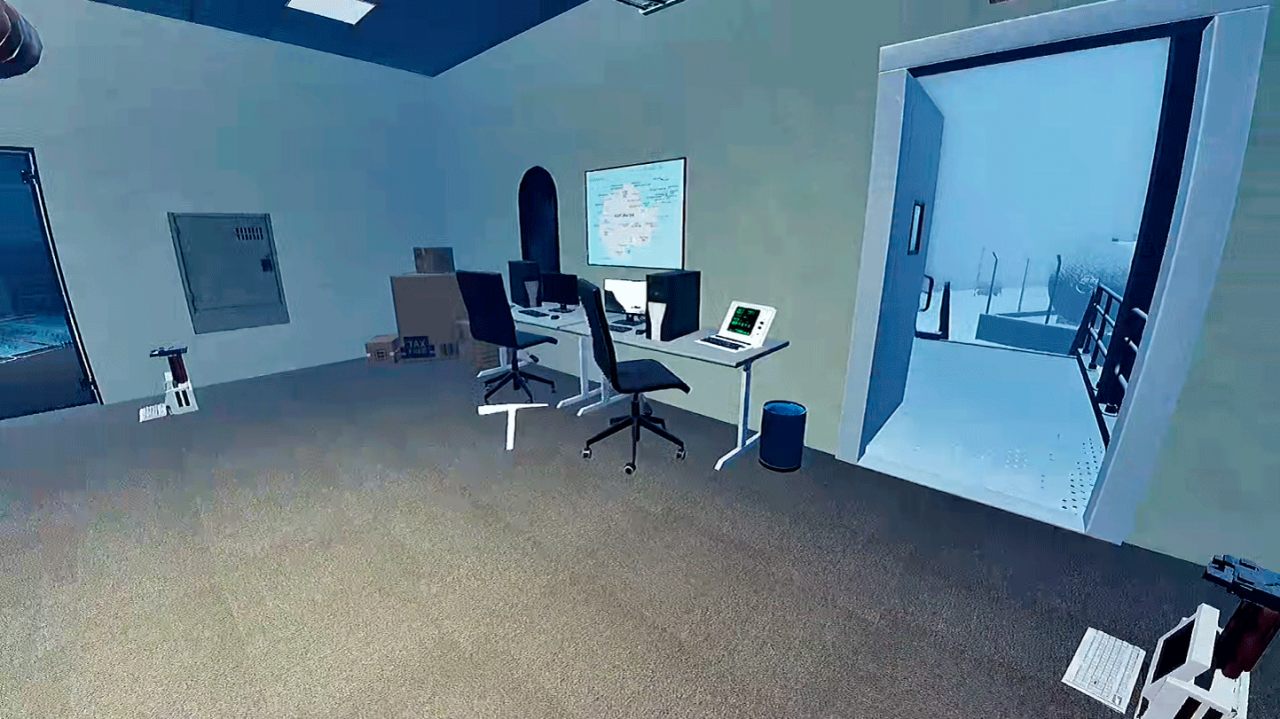
Find the computer beside the entrance.
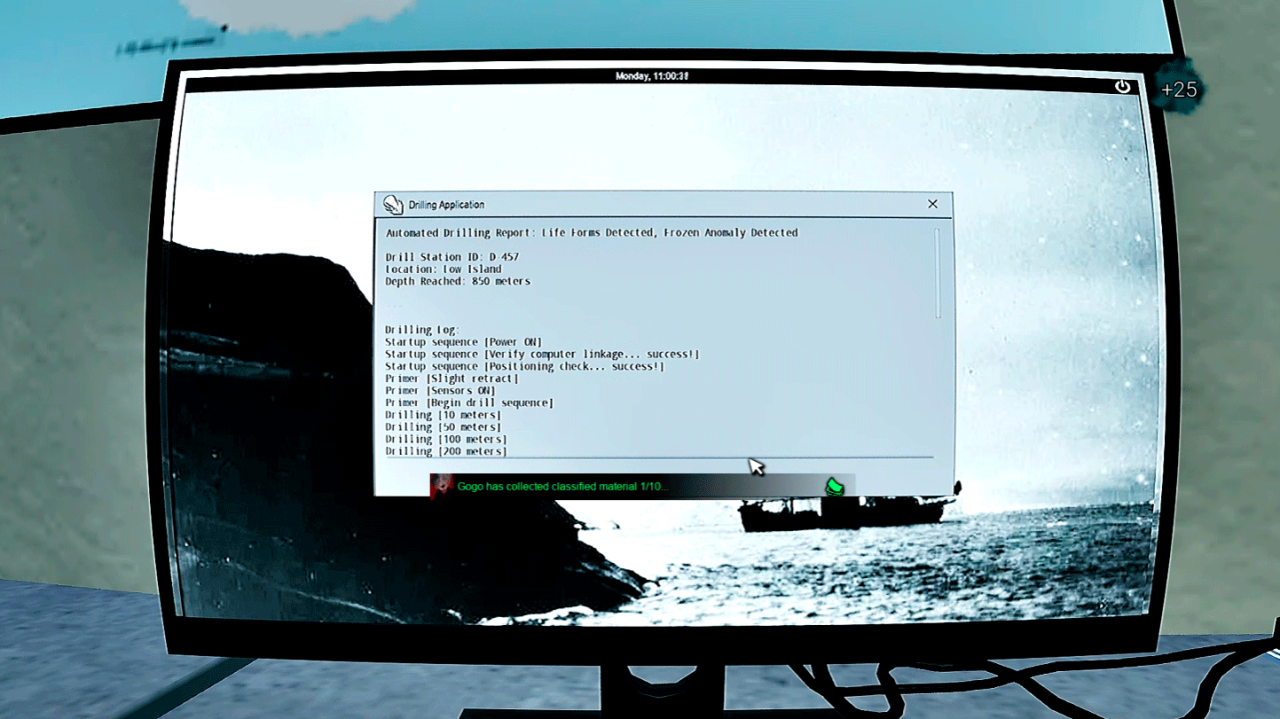
Generate and print the report, and you’re done.
