This guide serves to provide all the gold locations within the Marshal Training levels of the Historical Missions. When I was working towards the 100% achievement completion, this particular achievement took much more time than needed since a simple guide did not exist; so I decided to make one for future achievement hunters!
Quick References and Tips
Feel free to use the section headers on the right to skip to any particular level in the guide.
I highly suggest making a save-state just before returning to your horse after you have captured / killed the level’s outlaw so that you can verify whether you are missing any gold per level; once you exit the stage, you cannot return from the hub. Luckily, you do not need to collect all of the gold in one play-session and can return to a stage on a different save file, as the game seems to track individual gold locations across all playthroughs.
The table below breaks down how many and what type of gold exists in each level as well as the gold score per item, this well help you track your progress per level. If you have all the gold in a given level, the Max Gold Score will match your gold score on the ending screen.
Note that the hub and the secret level in the hub do not show you your end-score.
Bonus: This guide will show you the secrets in the Marshal Training maps, but for a full walkthrough look at the end section for a helpful video walkthrough of the entire game’s secrets.
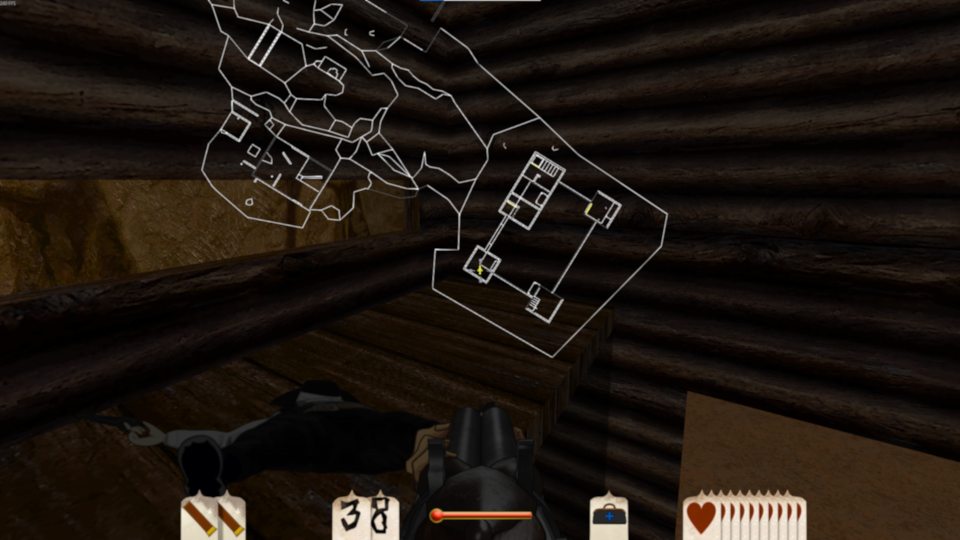
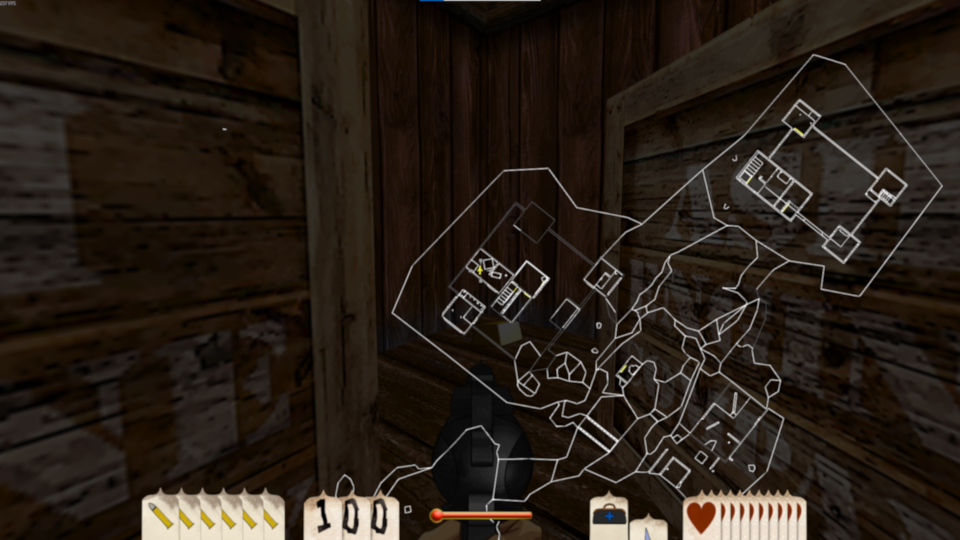
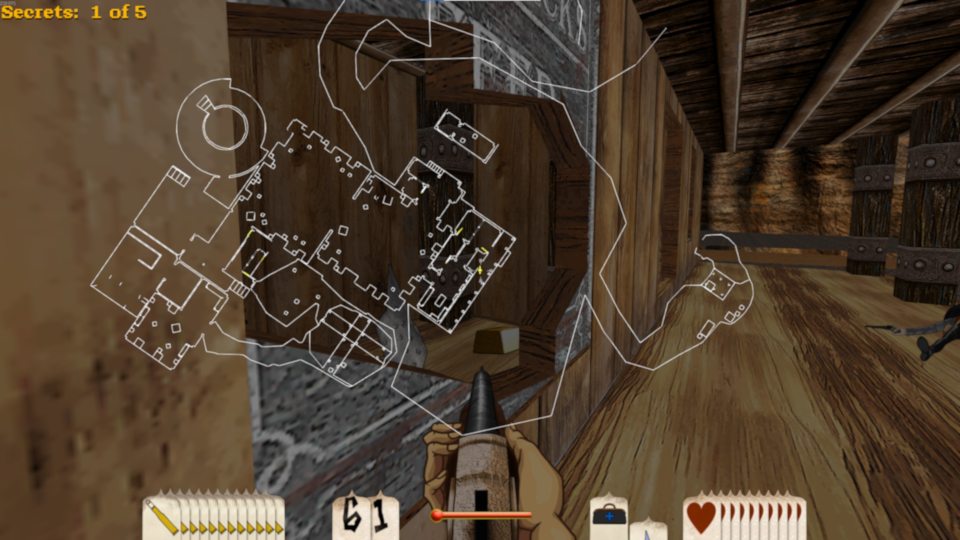
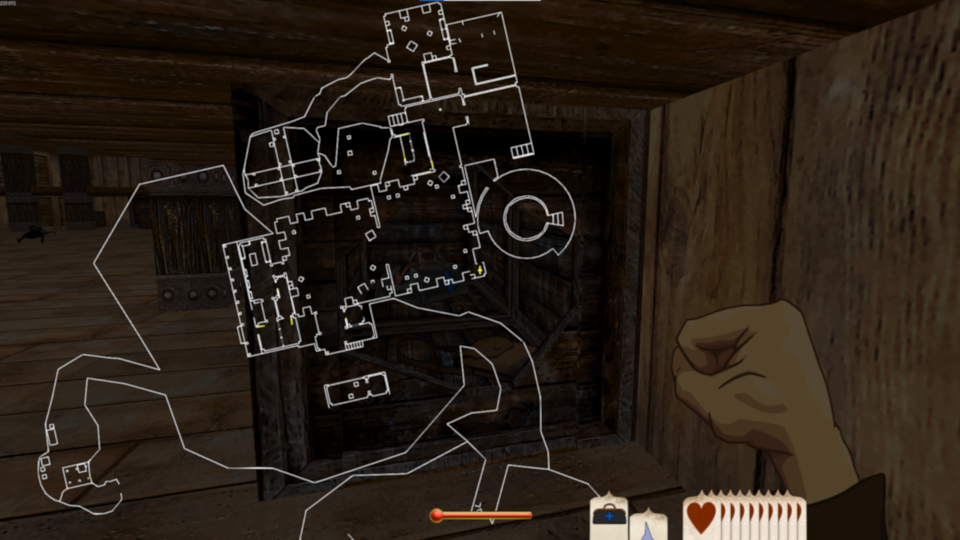
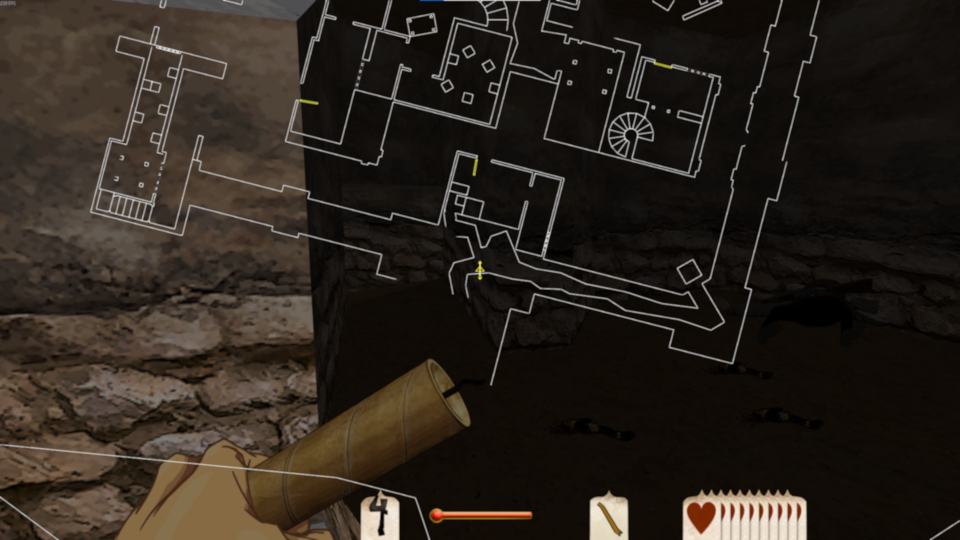
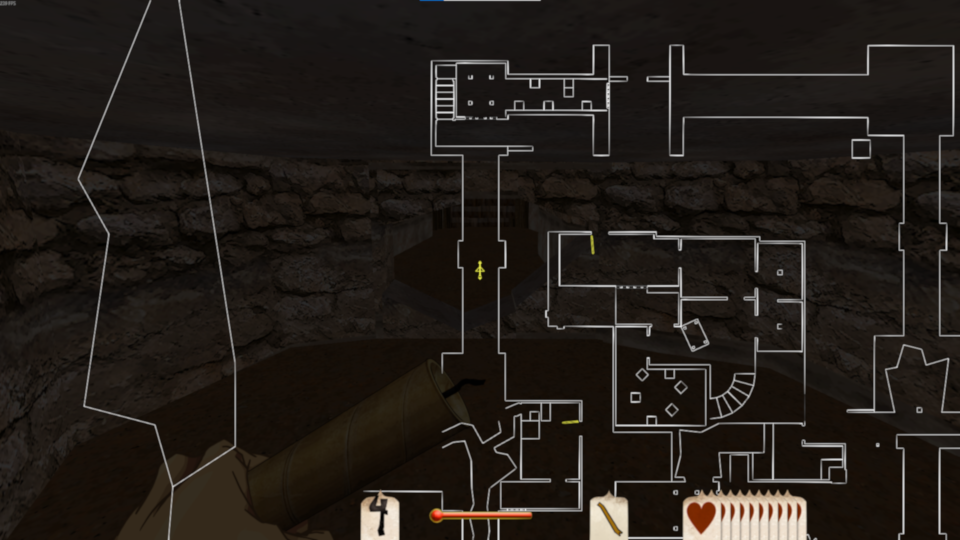
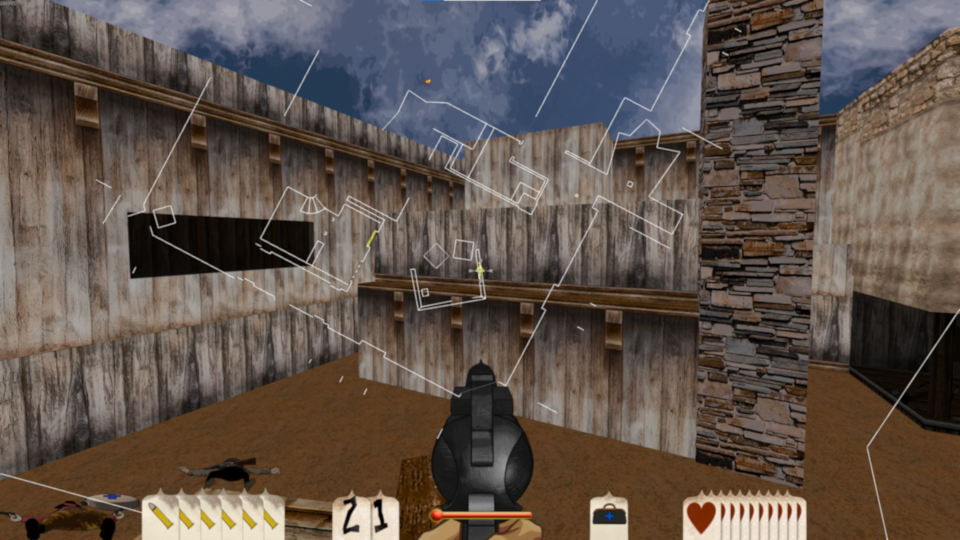
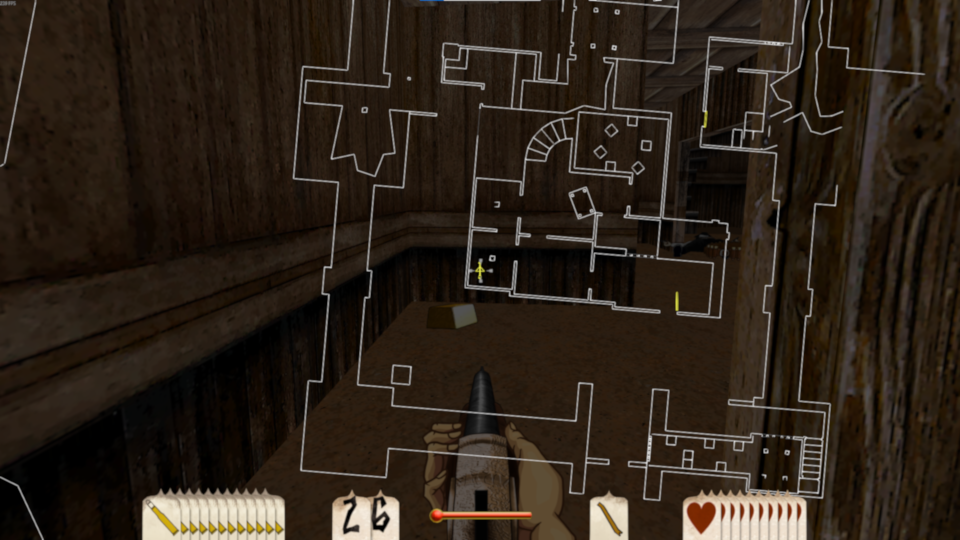
In the following sections, I will provide pictures with the auto-map overlayed to show you the location of each gold. This is not a complete walkthrough of how to get to each gold from map start, but I will elaborate on some areas that aren’t obvious (e.g. when the map transitions from upstairs to downstairs or vice-versa, or if dynamite is involved).
Note that I have captions above all the pictures they are describing. This may help with some confusion as long as you bothered to read this far instead of skipping to the pictures, that is!
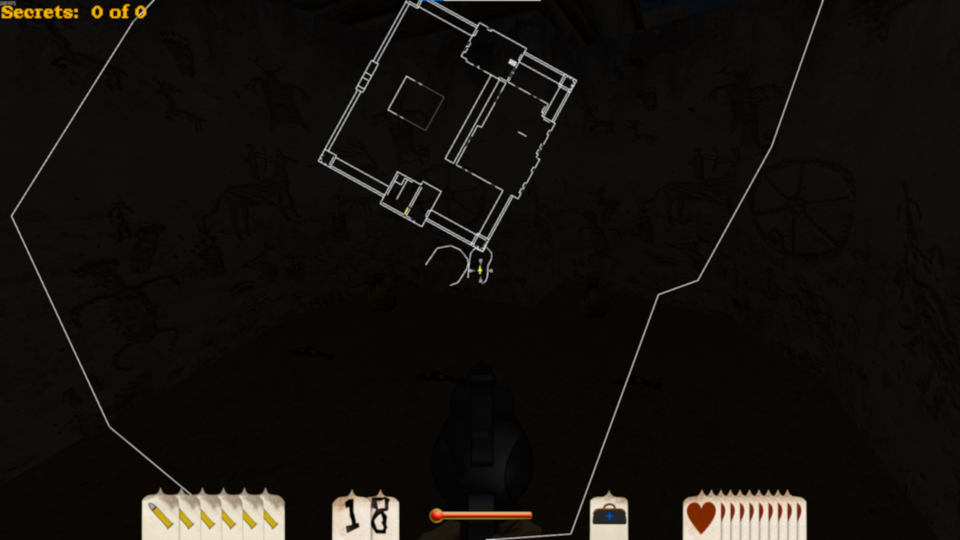
Hub
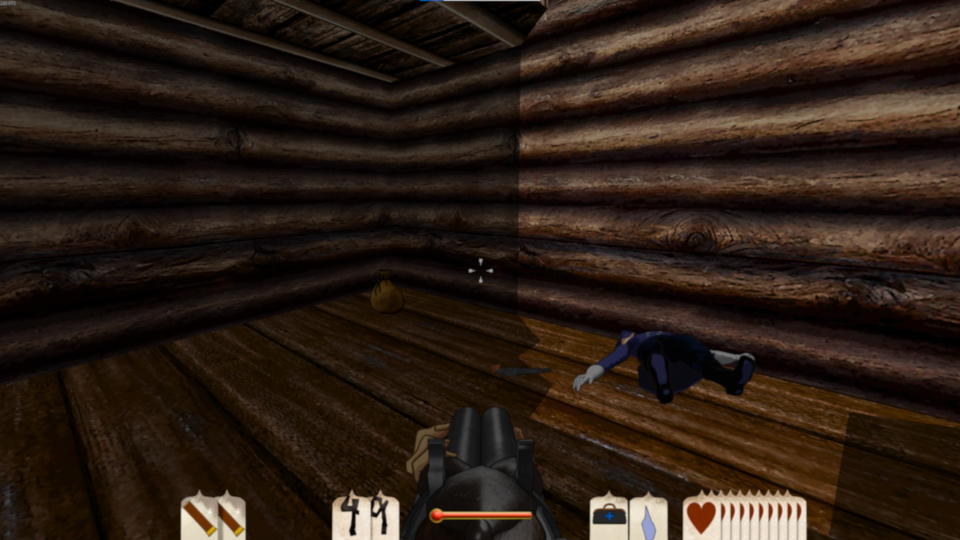
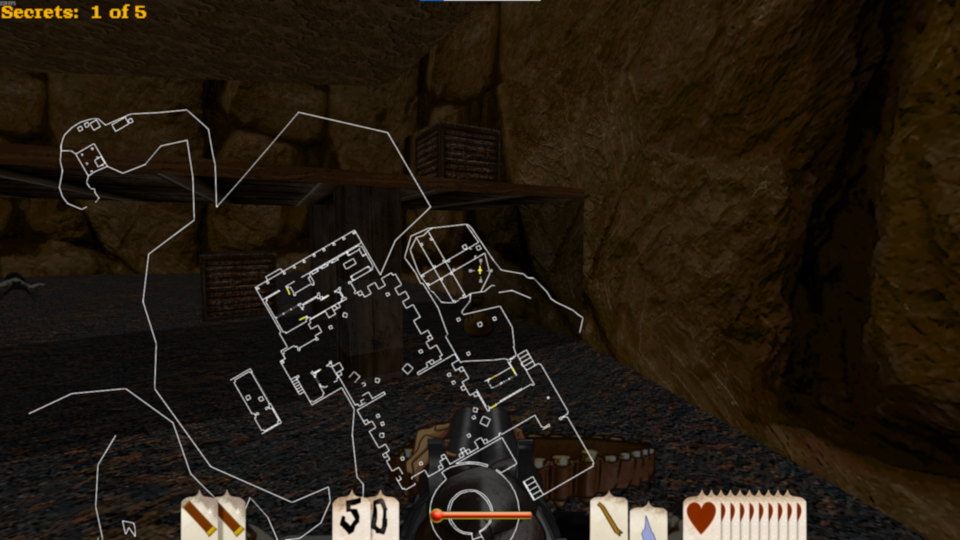
“Bloodeye” Tim
The below screenshot shows the location of a sack of gold, but I took it before taking the screenshot, whoops!
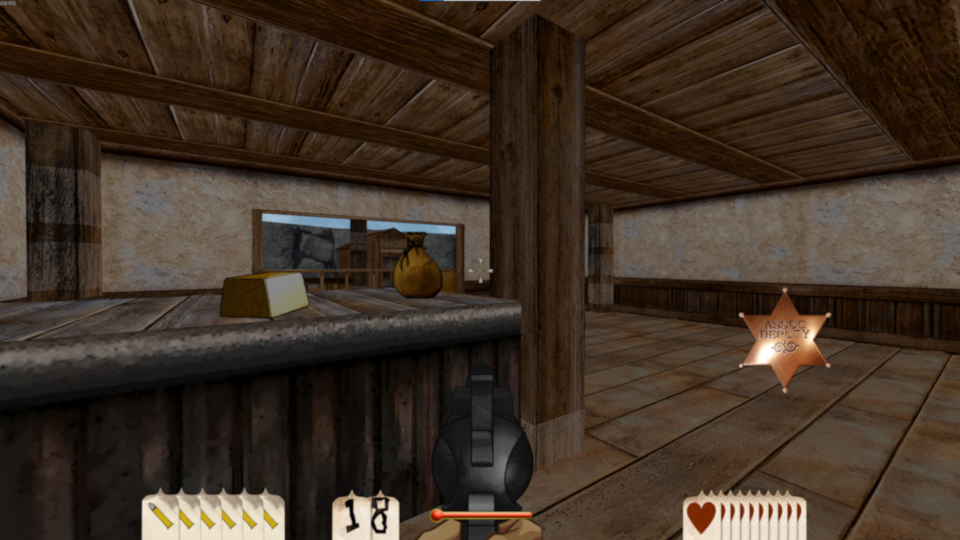
Wow, a gold bar.
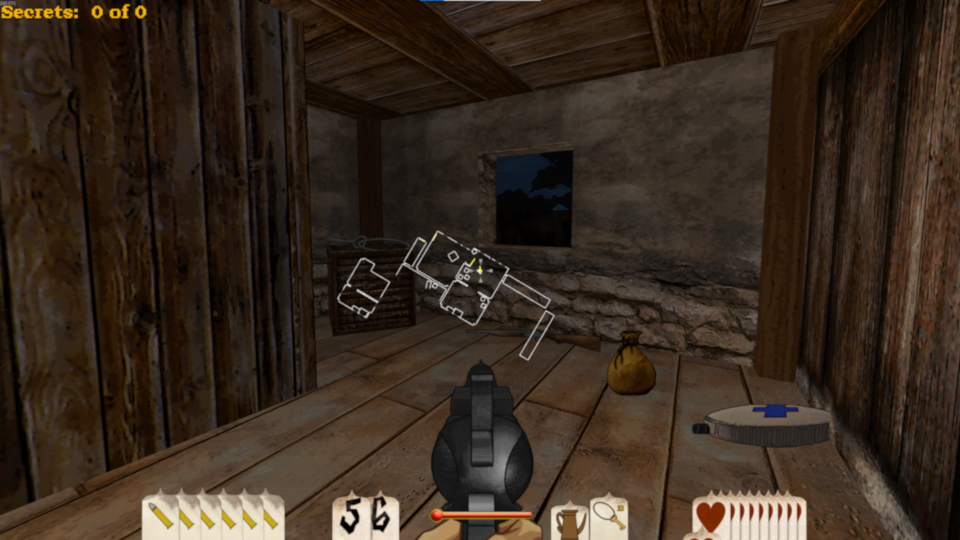
Gold bar in the shack with the crowbar. You can use a crate to jump on top of this building.
This sack of gold requires you to use a crowbar on a particular wall.
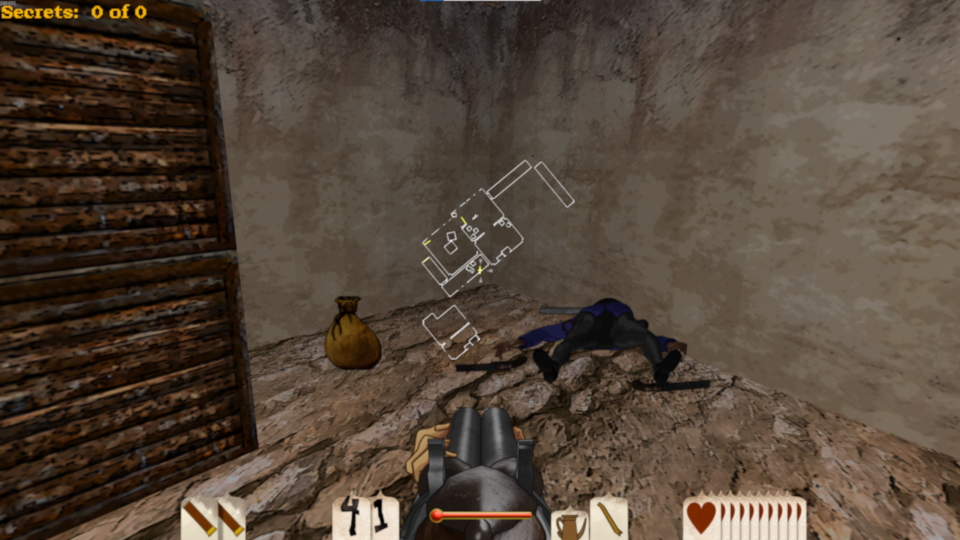
There is a sack of gold immediately next to “Bloodeye” Tim. He is hiding in one of the fort towers locked behind a door.
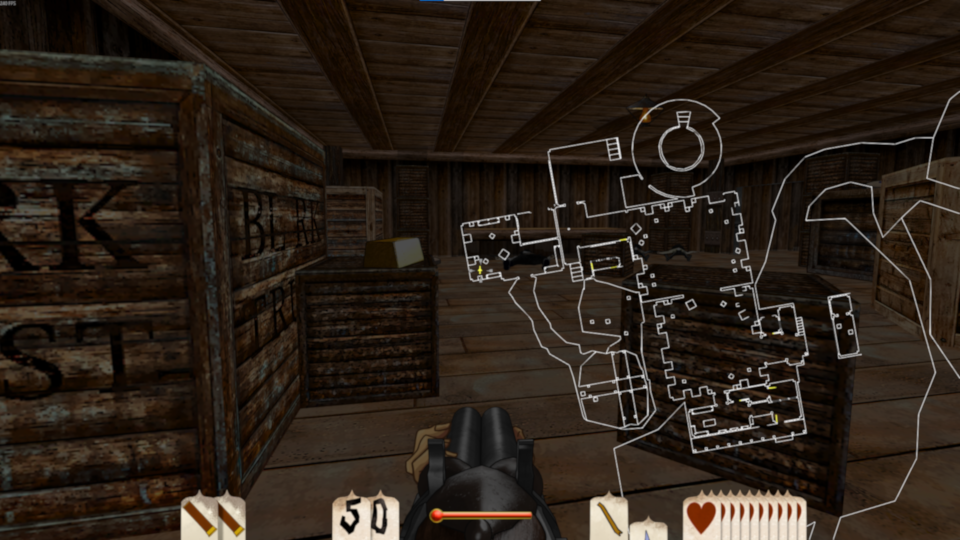
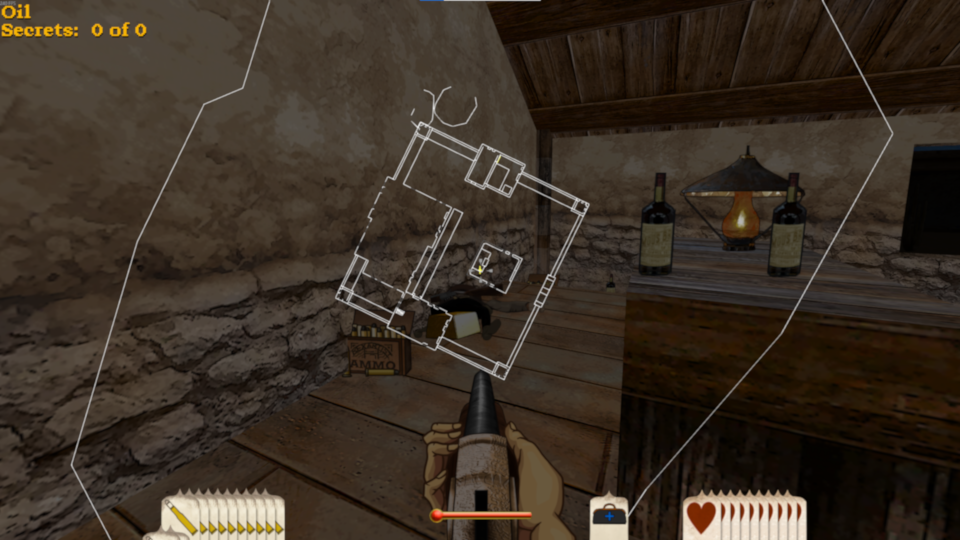
“Dynamite” Richard
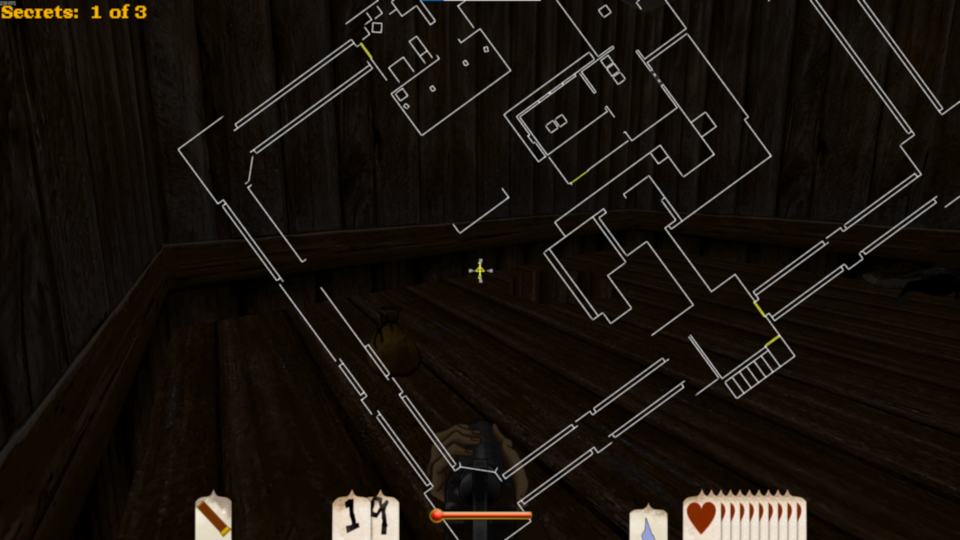
Both secrets in this map are accessible using dynamite, how appropriate. See first secret and sack of gold. It is on the 2nd floor of one of the buildings, it has a bed and a metal furnace right next to the cracked wall (use the secret walkthrough guide linked at the bottom if further help is needed).

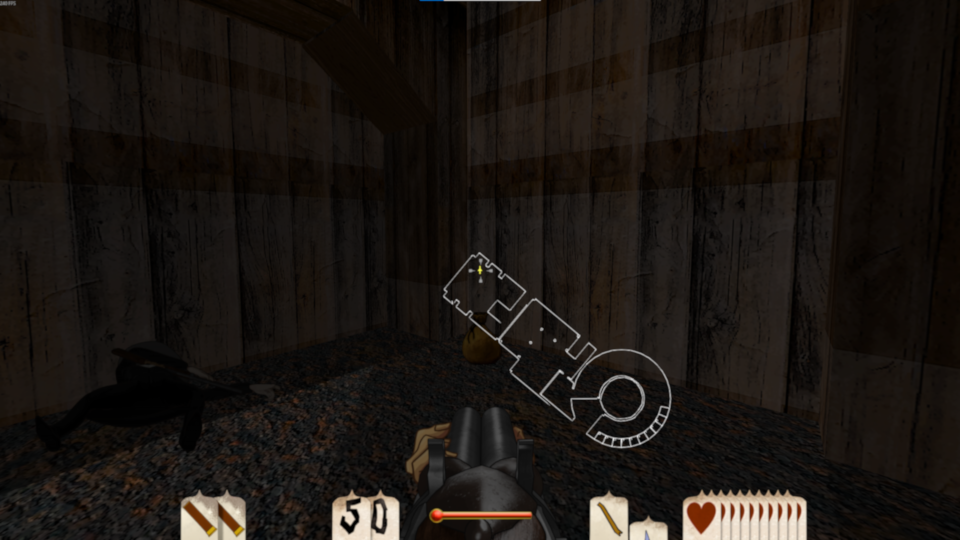
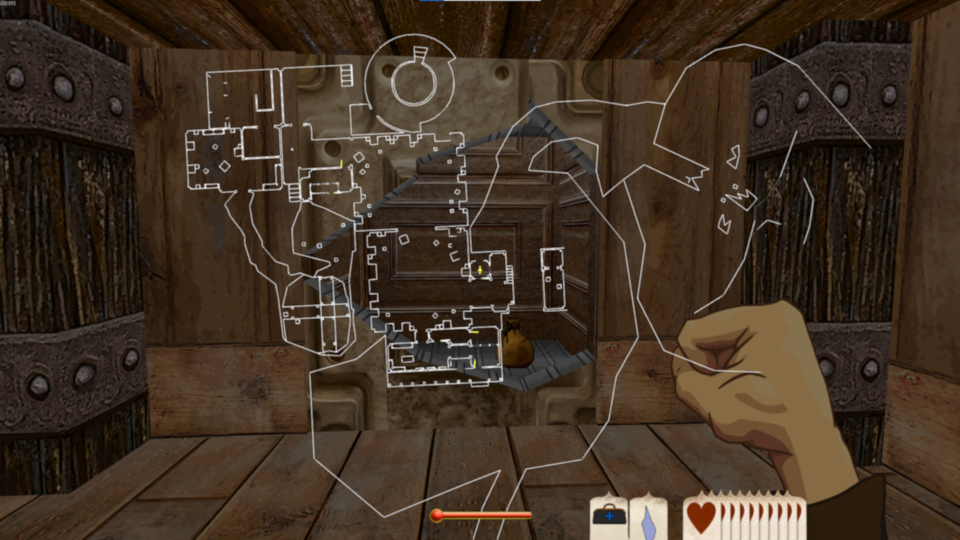
There is a sack of gold located within the crates on the upper-floor of this small building. If you cannot find this location, use the secret walkthrough guide referenced at the bottom of the guide.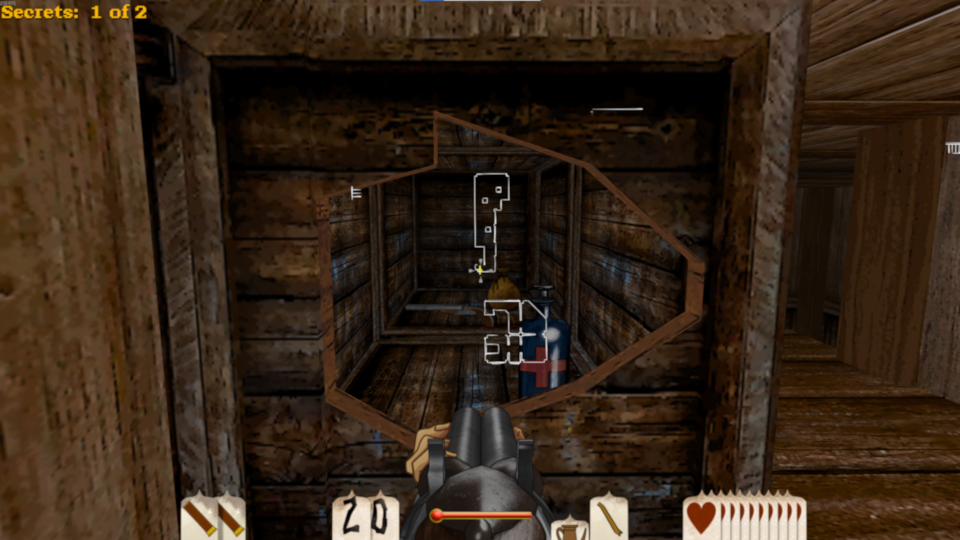
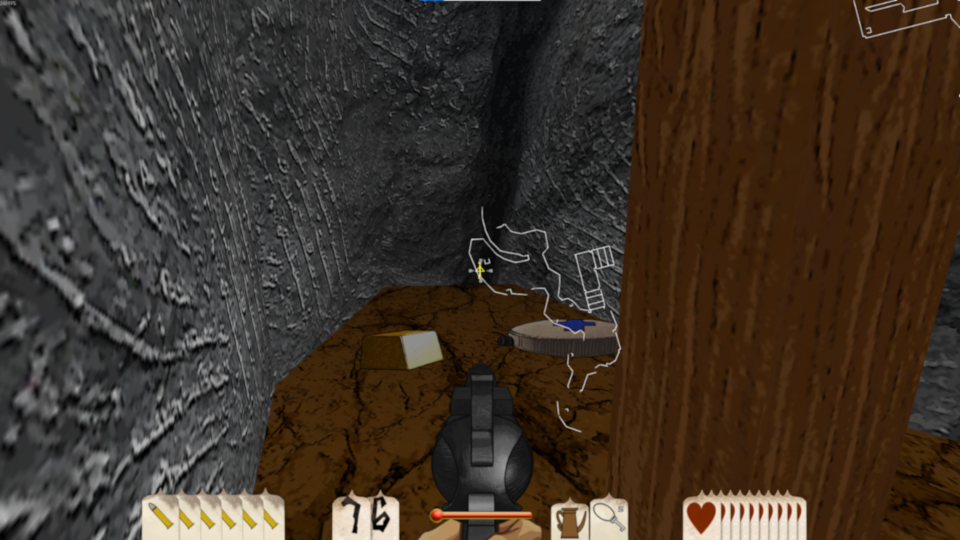
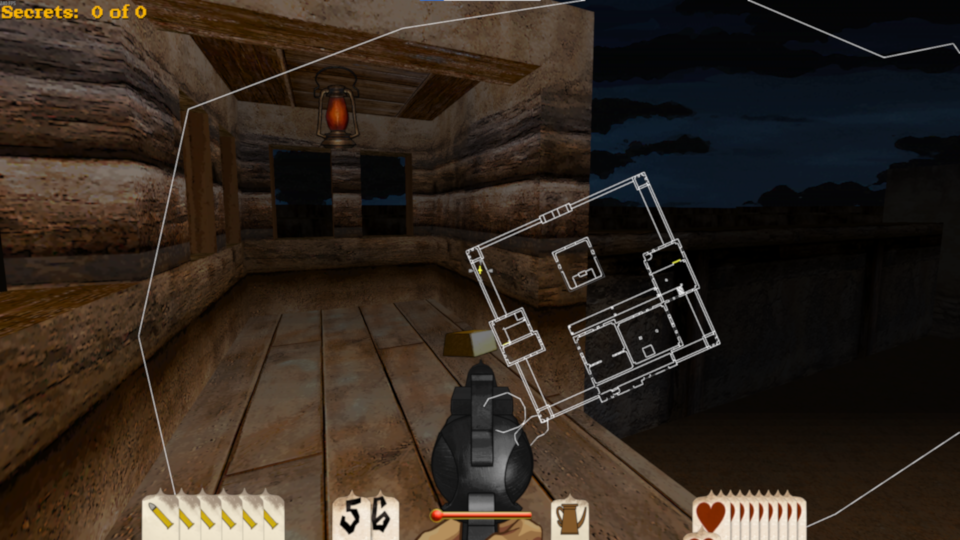
On the cliffside there is yet another sack of gold. You can reach the cliffs by taking a running start from a box near the building labeled with DANGER signs or from the 2nd-floor window of a nearby building.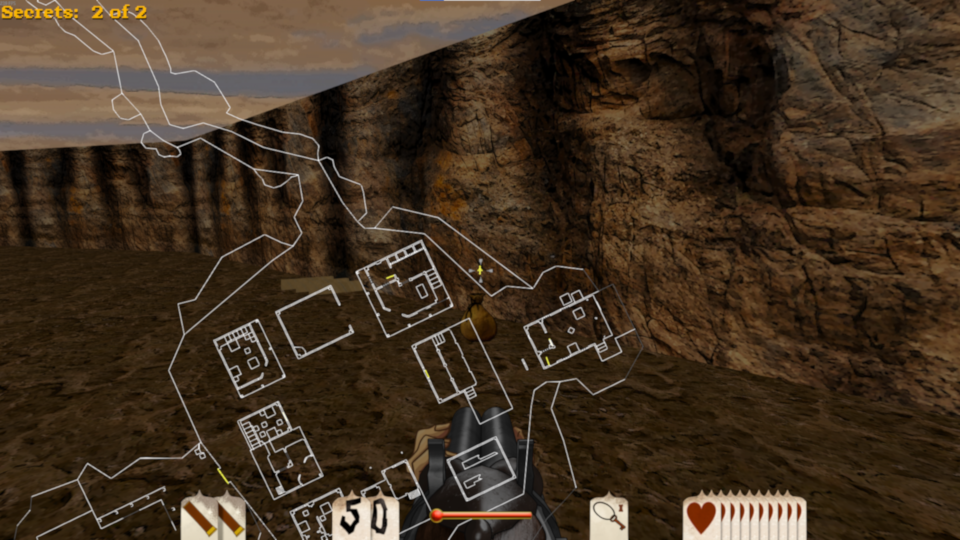
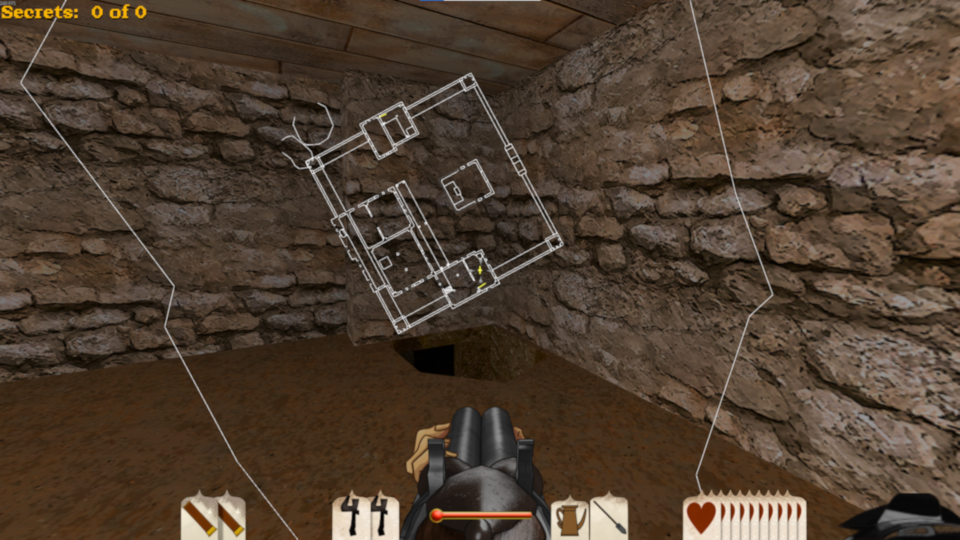
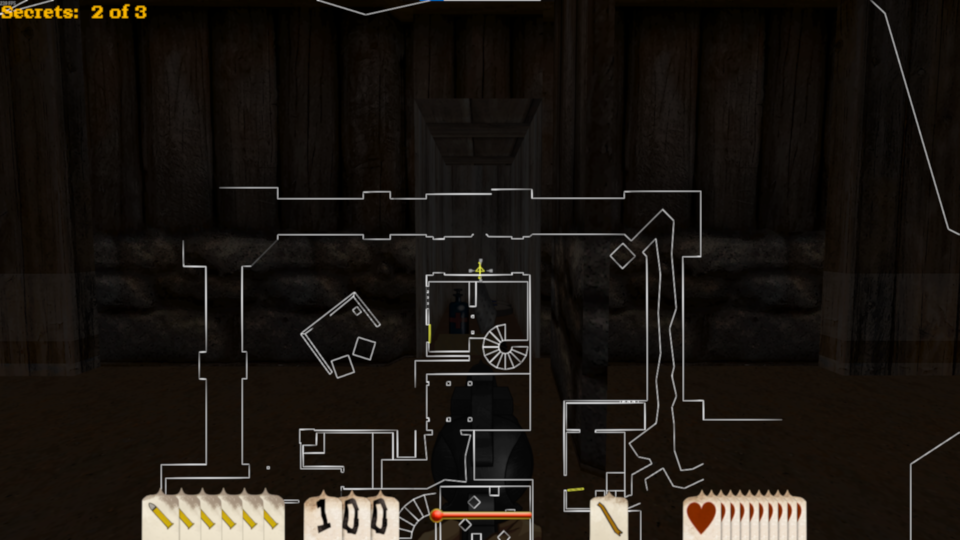
The next two gold bars are located in a cavern area beneath the DANGER building. You can access this area once you are inside the building by pressing a button upstairs, then running to the door that opened in the shed within the same building and pressing that button. You’ll see one of the DANGER signs lift away revealing the entrance shown.
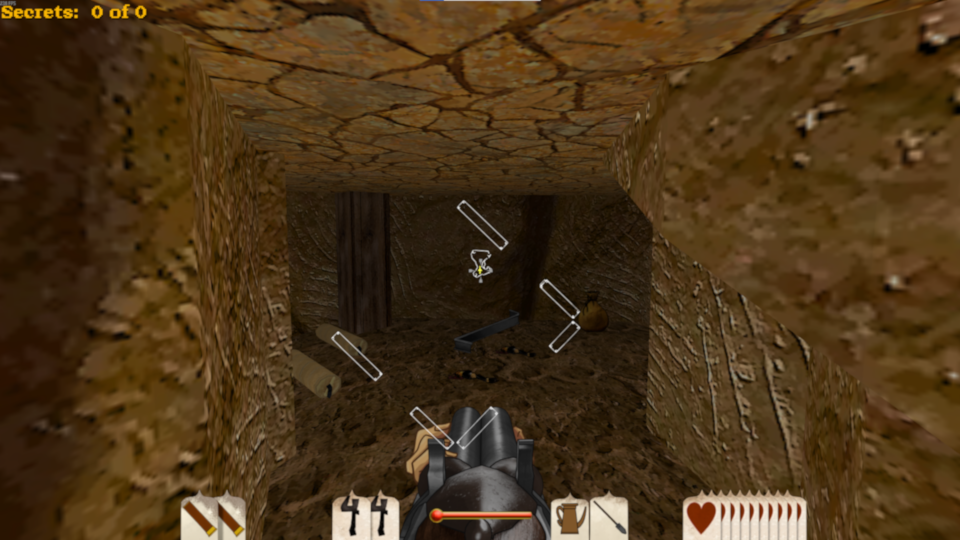
Here is a gold bar within said cavern.
This was the final gold bar I found in the Marshal Training missions due to how dark it is underwater (can’t use the torch to illuminate).
“Bloody” Mary Nash
The first secret and gold of the map is an idol. You can access it by jumping onto a wooden platform from some boxes located near the spawn of the map. Once here, push the crate below multiple times to reveal the passage to the idol and some spiders.
Grab the idol and enjoy the Indiana Jones reference to boot. Fortunately, no traps trigger.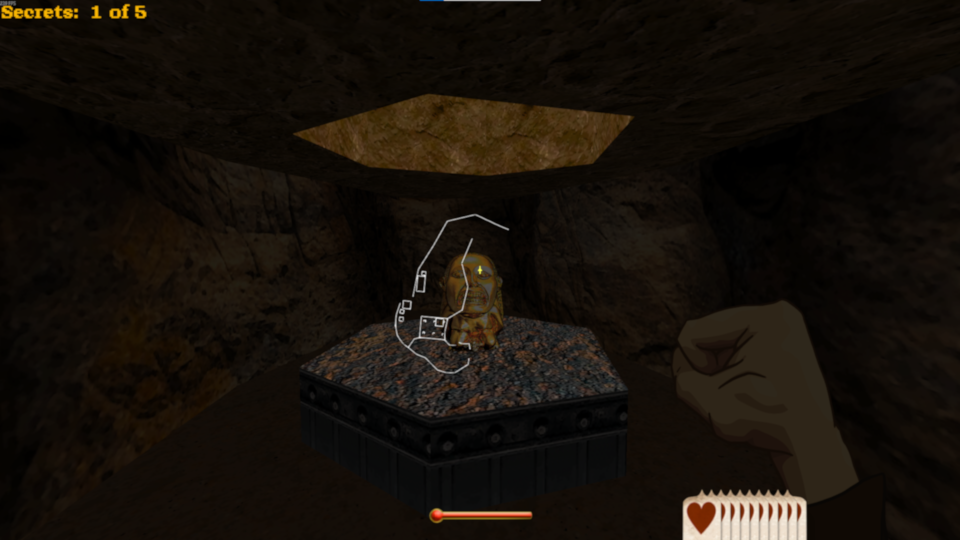
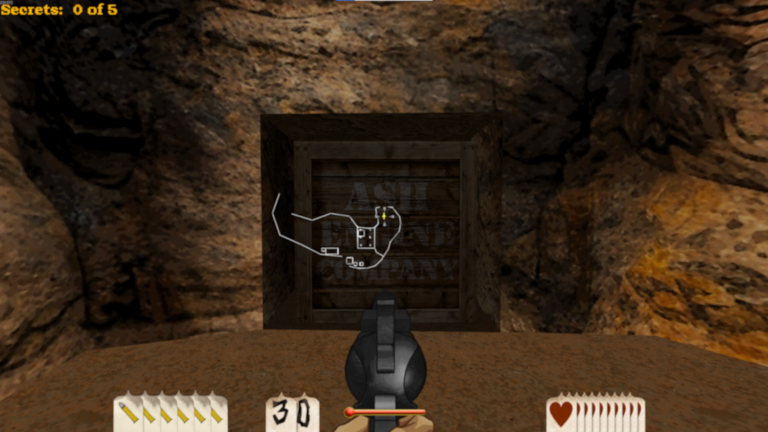
Early in the mission there is a poster that can be blown up with dynamite, revealing a gold bar and a secret.
Here is a secret that is revealed with dynamite on a crate in one of the large multi-level rooms. No gold though.
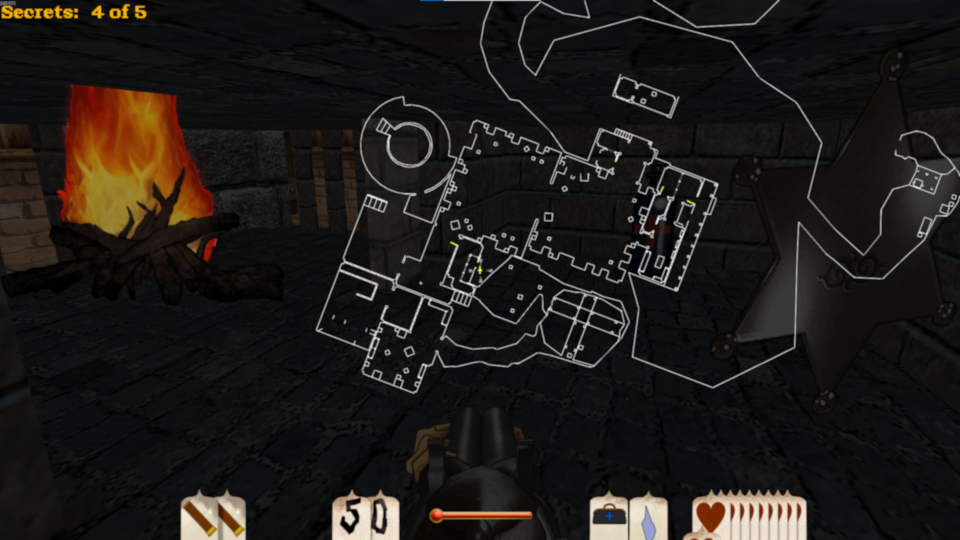
There is an elongated oven / furnace that has 3 gold bars in it, accessible from a sliding door on the side. Be quick though, it is quite toasty!
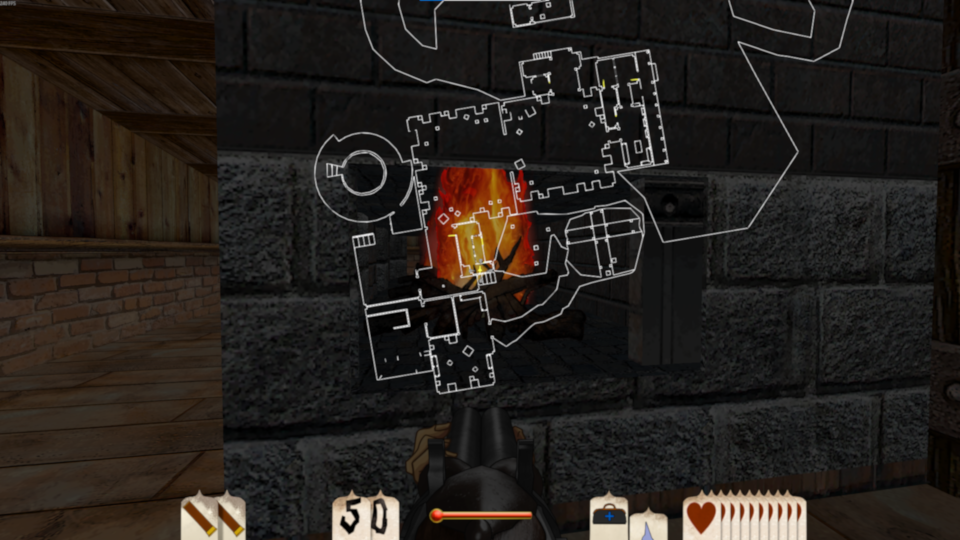
Within the same oven is another secret, there is no gold within the secret, but there is an elixir and a sherrif’s badge ripe for the picking.
Gold sack underground beneath a wooden bridge.
Here is a gold bar that is located close to “Bloody” Mary Nash’s hiding spot.
There is a sack of gold in the bottom area of “Bloody” Mary’s location.
The final secret is a safe that appropriately contains a sack of gold. A dynamite is needed for entry.
“Buckshot” Bill Morgan
Before you even enter the fort, walk to the opposite corner of the structure and you will find a sloped region with spiders and 2 sacks of gold.
Upon entering the fort, proceed to the small chapel. You will find a gold bar behind the lectern.
Gold bar at corner tower of fort.
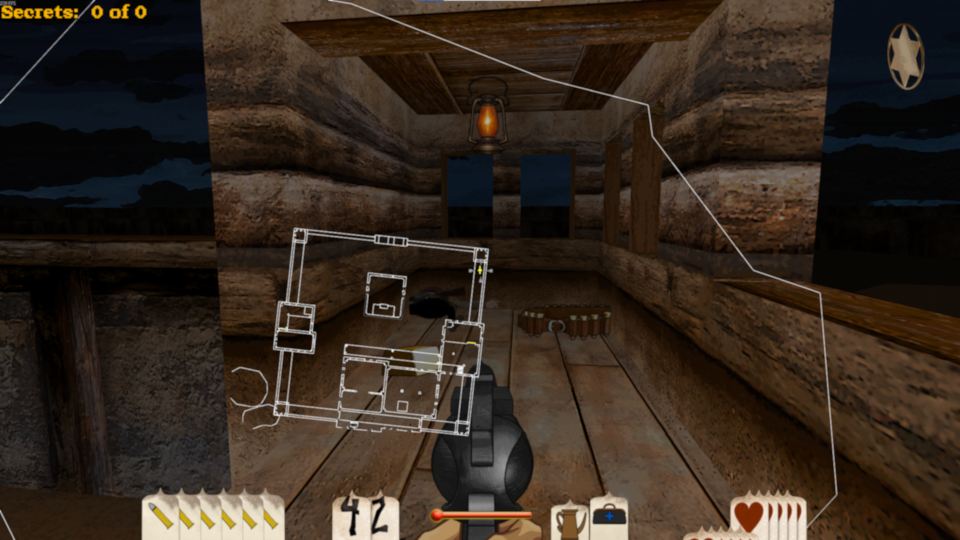
Two gold bars outside of a locked room.
In the locked room from the prior image, collect a sack of gold.
Another gold bar located in a tower overlooking the entrance.
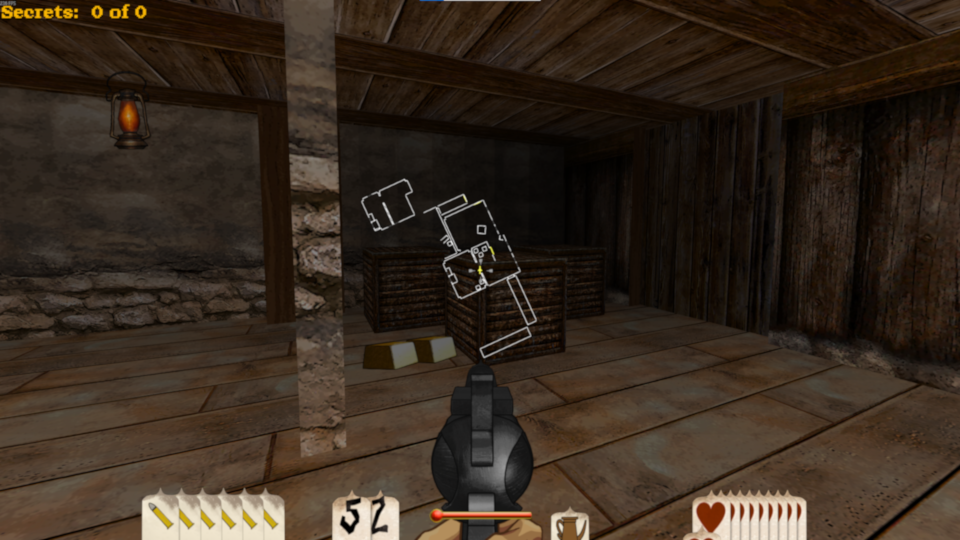
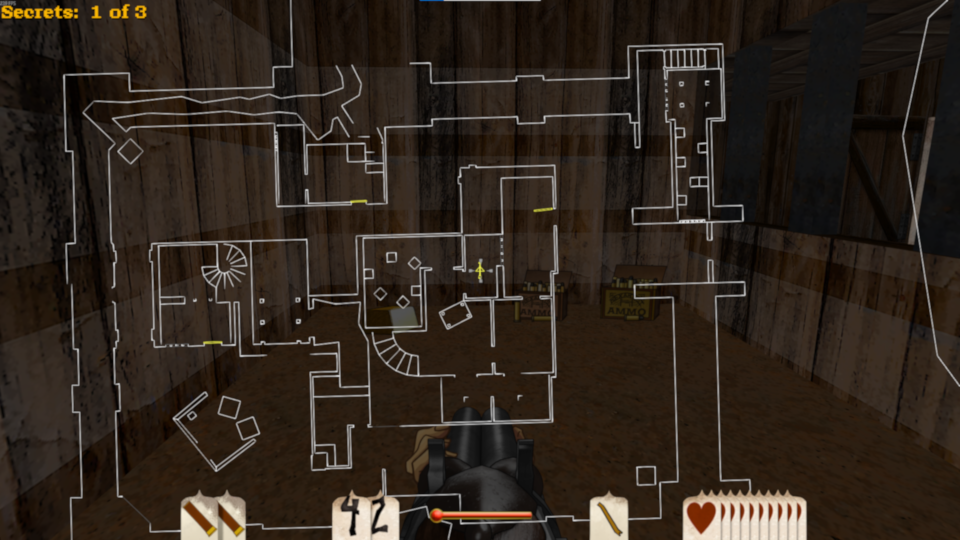
To get to the final sack of gold in the level, as well as the crowbar, you need a shovel. See screenshot of the location in which you must dig to access the goodies.
Here is the sack of gold (i.e. the goodies) I mentioned.
“Buffalo” Bill Morgan protects the final sack of gold. It is possible to snipe him with the carbine rifle from the location with a sherrif’s badge. Not bad if you don’t want to go Shotgun versus shotgun with him.
Spittin’ Jack Sanchez
If you go around the right side of the fort, you will come across an overpacked horse-stable. Inside of the stable is a secret underground tunnel that leads to spiders and eventually a sack of gold.
Continue down the path shown above and you will find a crack in the wall, blow it up with dynamite and proceed.
At the end of this path there is a sack of gold. You can use a lever to return to the entrance of the fort, or backtrack through the spider den where you came from.
Inside the fort, there is an area where there is an underground tunnel that is barely covered by large crates and a wall. If you climb on the wall and jump towards the center structure you will reach a secret and a sack of gold. See below to see the center structure I am referring to. It is the building my crosshair is on.
From the center structure do a crouch jump towards the dark window seen in the prior screenshot. You will get your sack of gold and a boiler plate.
Along one of the inner-walls of the fort, there is a secret that must be interacted with. It contains no gold, but a boiler plate that should offer protection, especially useful when confronting Spittin’ Jack Sanchez.
Once you enter Sanchez’s lair, there are multiple gold bars laying about. See below for one of them.
Hey look, there is another gold bar!
Close to Spittin’ Jack Sanchez’s spawn is a sack of gold for the taking. . . too bad I took it before I snapped a screenshot, Sorry!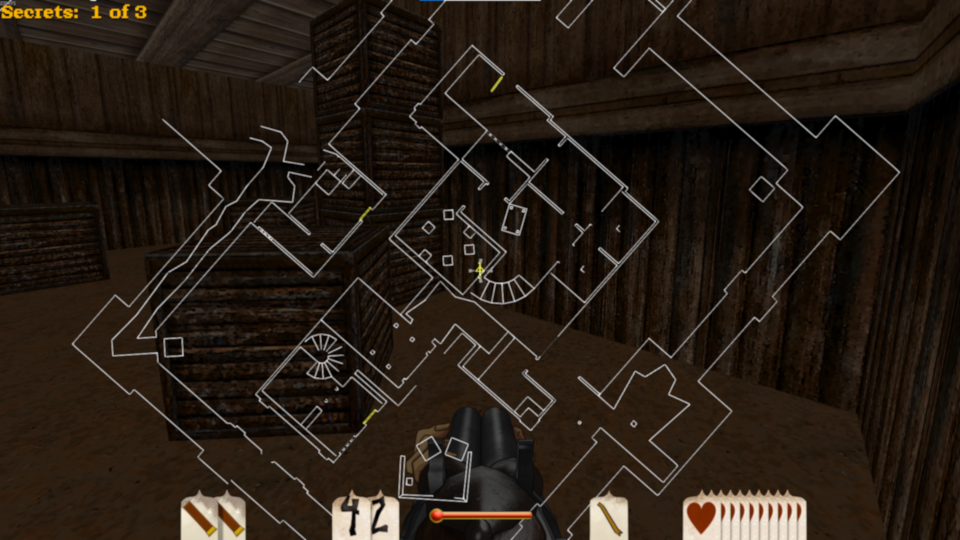
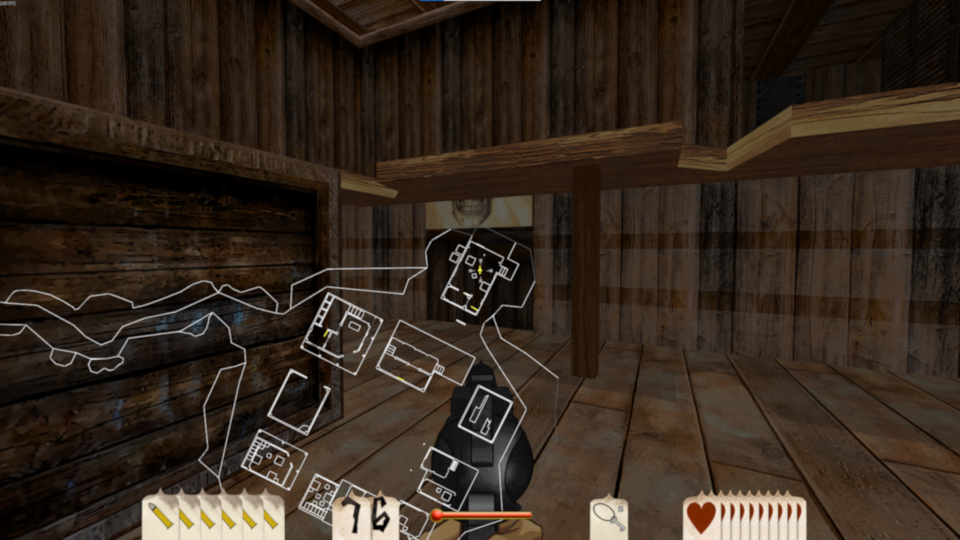
Marshal – Bonus Mission
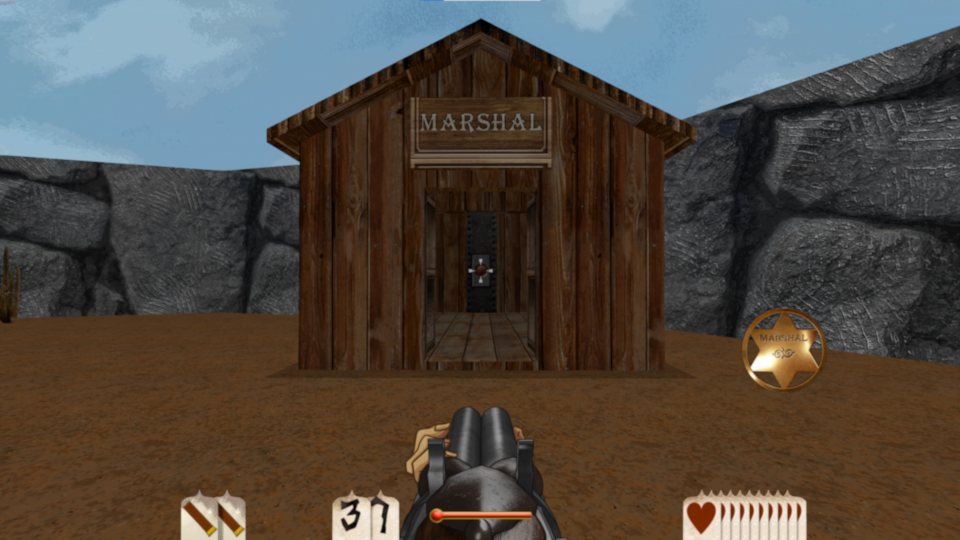
To access this level, you must have enough points from playing the prior Marshal Training missions in order to achieve the Marshal badge, as displayed on the right side of the screen. Go to the following shed in the hub to enter the bonus level.
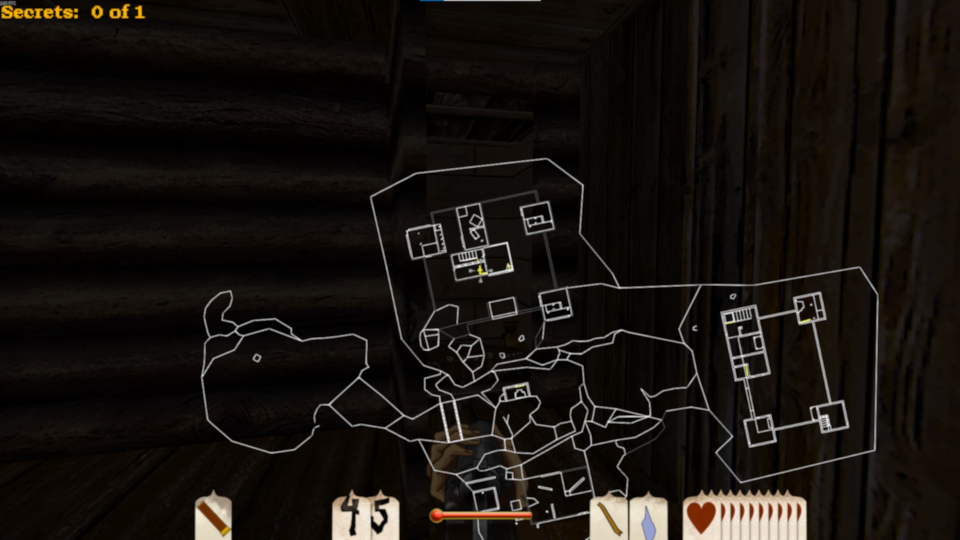
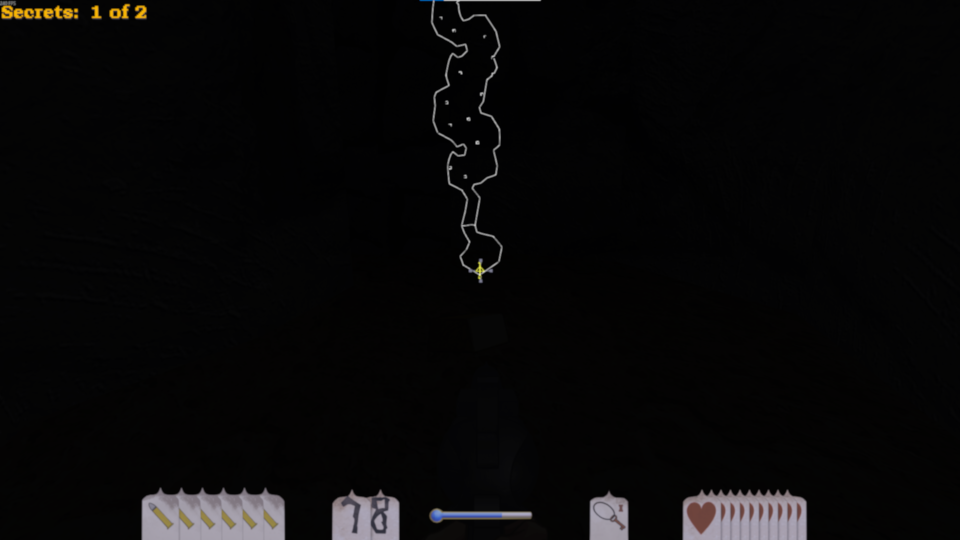
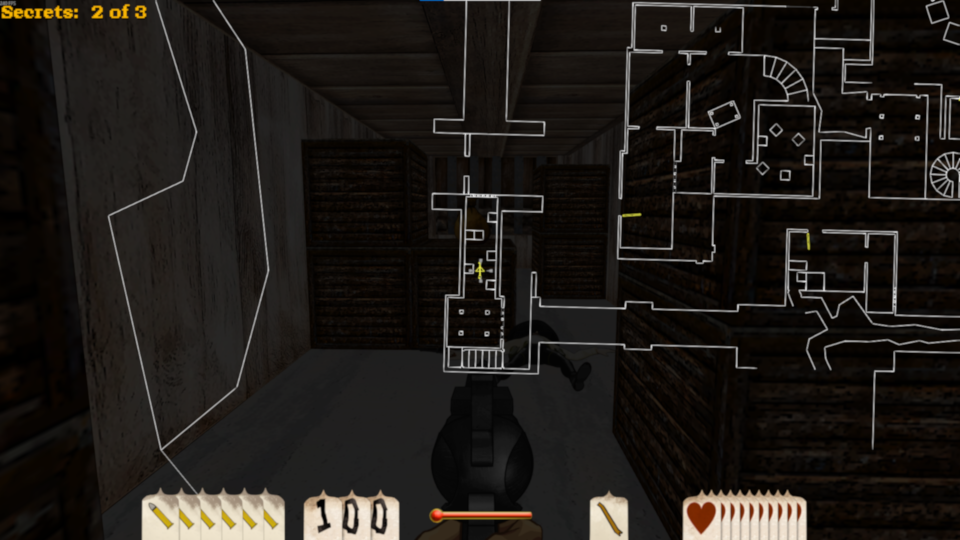
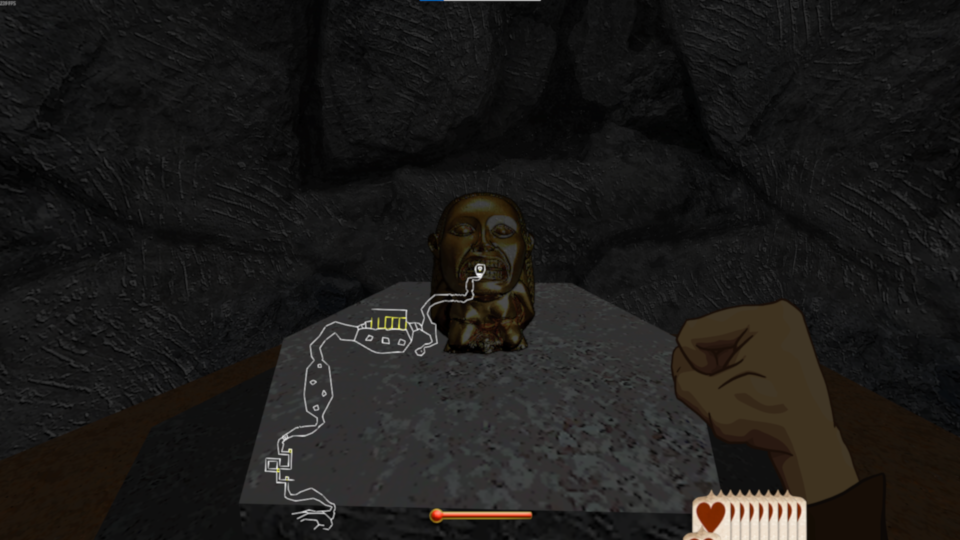
In the screenshot below, I took the shortest route in the “maze” (if you can even call it that) and left the map overlay for your viewing pleasure. Collect the idol you earned and enjoy your achievement!
Youtube Link for all Outlaws Secrets
My guide pin-points the locations of all the gold in the game, which is not in the video since gold was inconsequential to the game until the Them Thar Hills achievement was born; however, you can find all of the gold specifically in the secrets in their video.