This guide serves as the official walkthrough to finding all Tendril Relics in the Vindefiant demo, after quite a few requests with help on finding the last few relics people have missed.
Finding all 13 Tendril Relics unlock a new mechanic for Alyx, one that you can find in the full game!
Head to the guide index for help on each individual Relic.
Tendril Relic #1
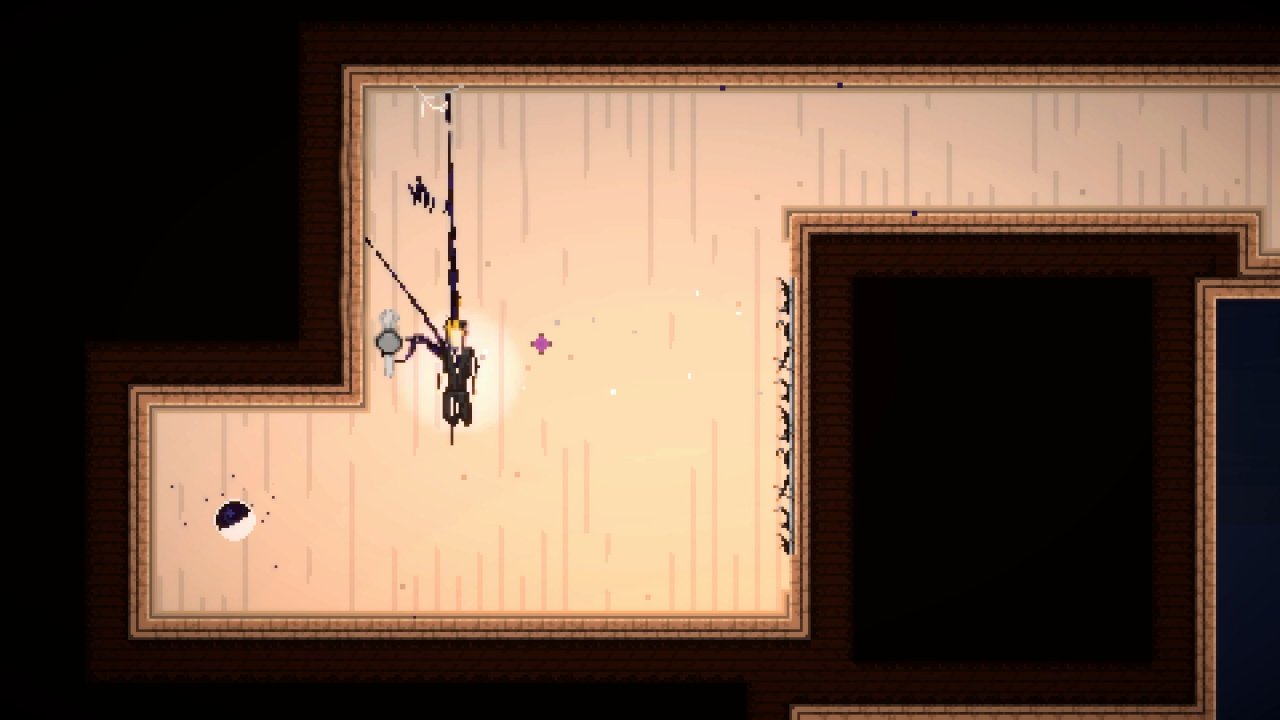
Head to this screen and you’ll find a weak-looking platform below you. Dash into this platform to reveal a room you see in the previous screen.
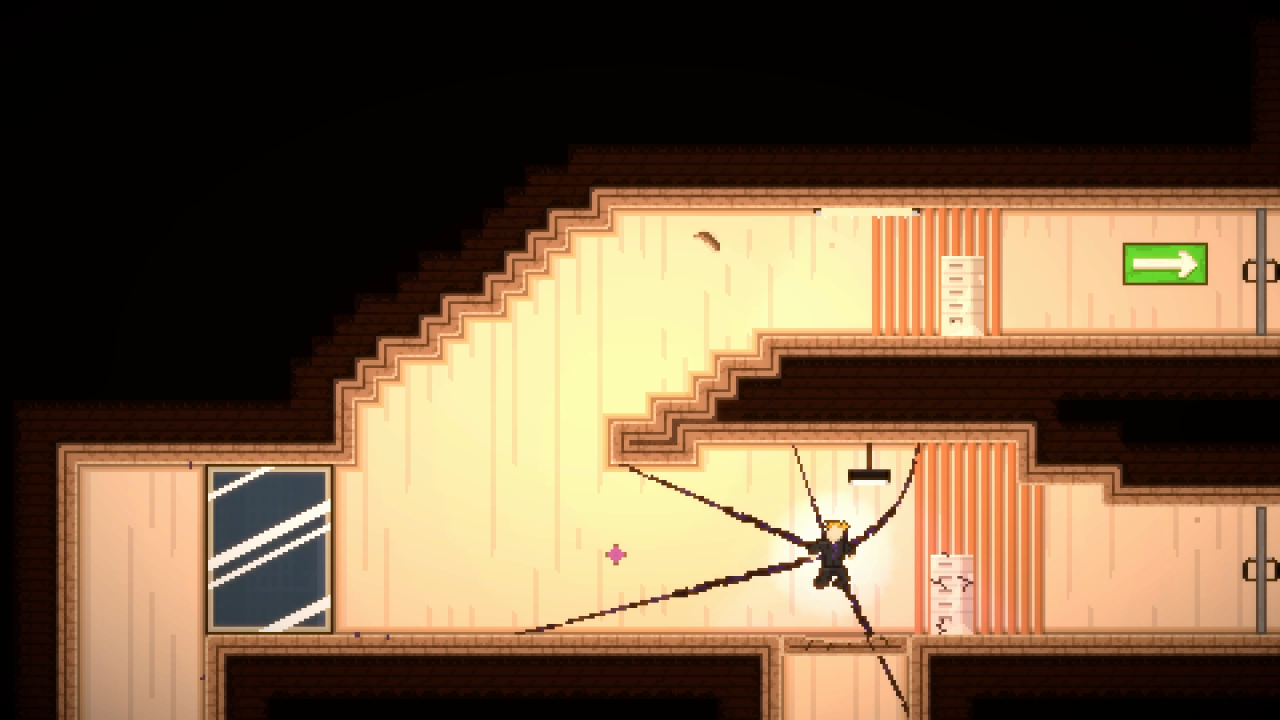
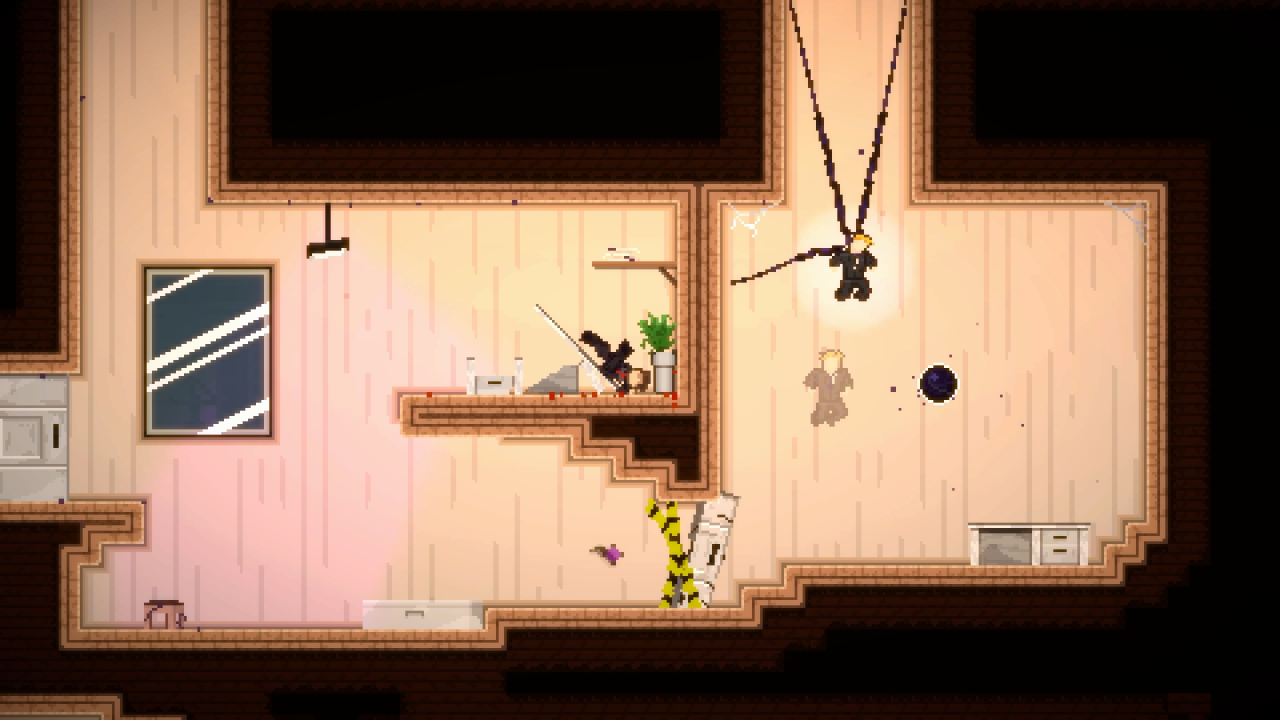 Dash into a Relic to collect them and add it to your tally.

 Dash into a Relic to collect them and add it to your tally.
Tendril Relic #2
In this screen you’ll find another weak wall, this time on the ceiling in the upper left.
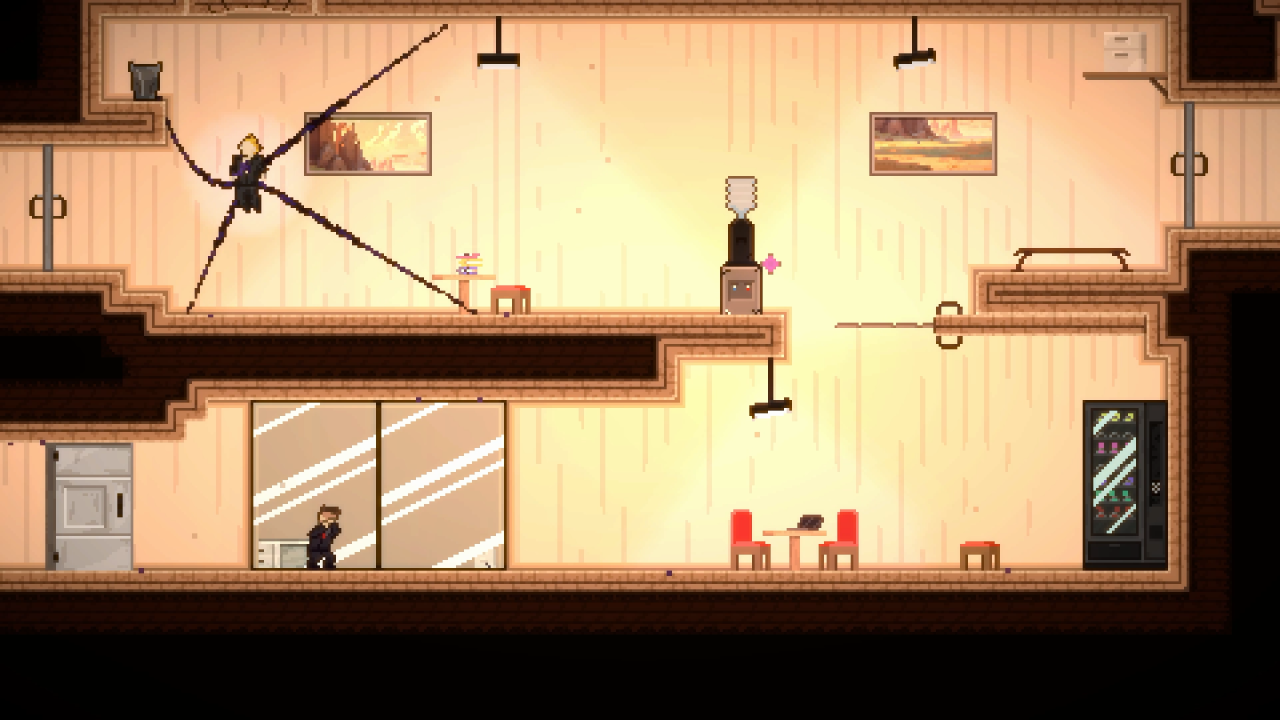
Dashing into it will reveal a bathroom. If you pull open the far right cubicle door you reveal relic #2.
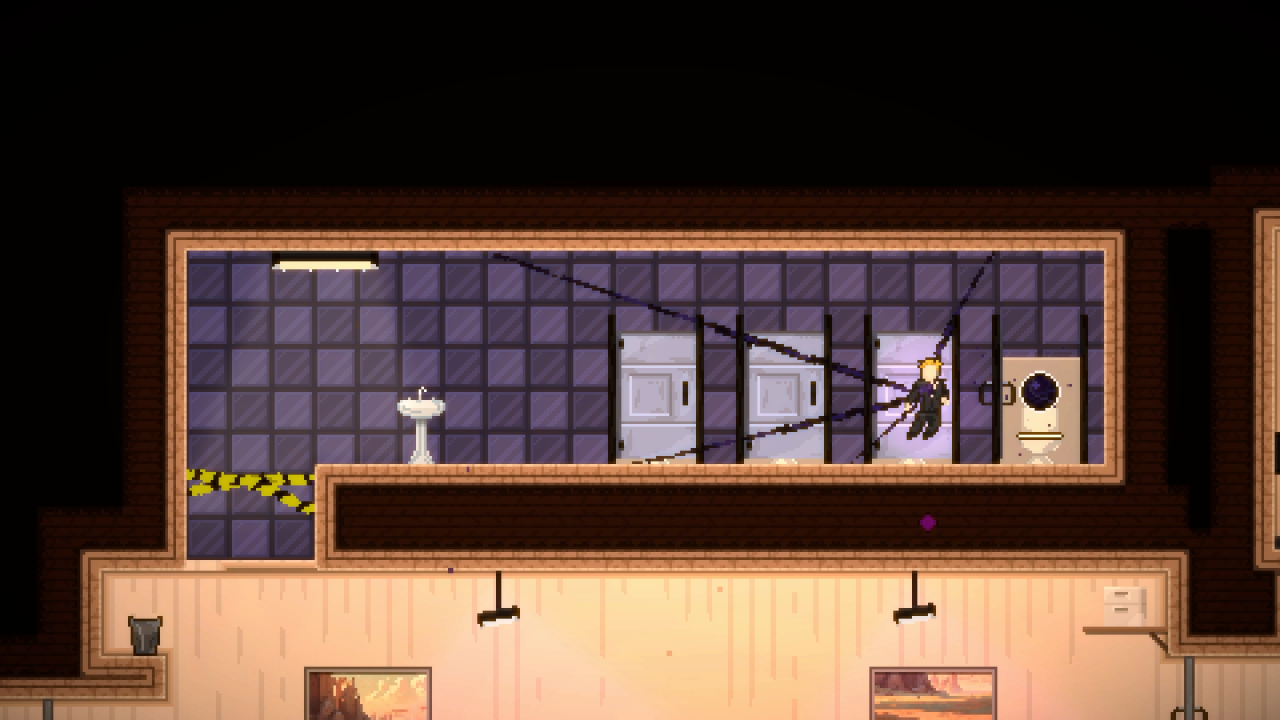
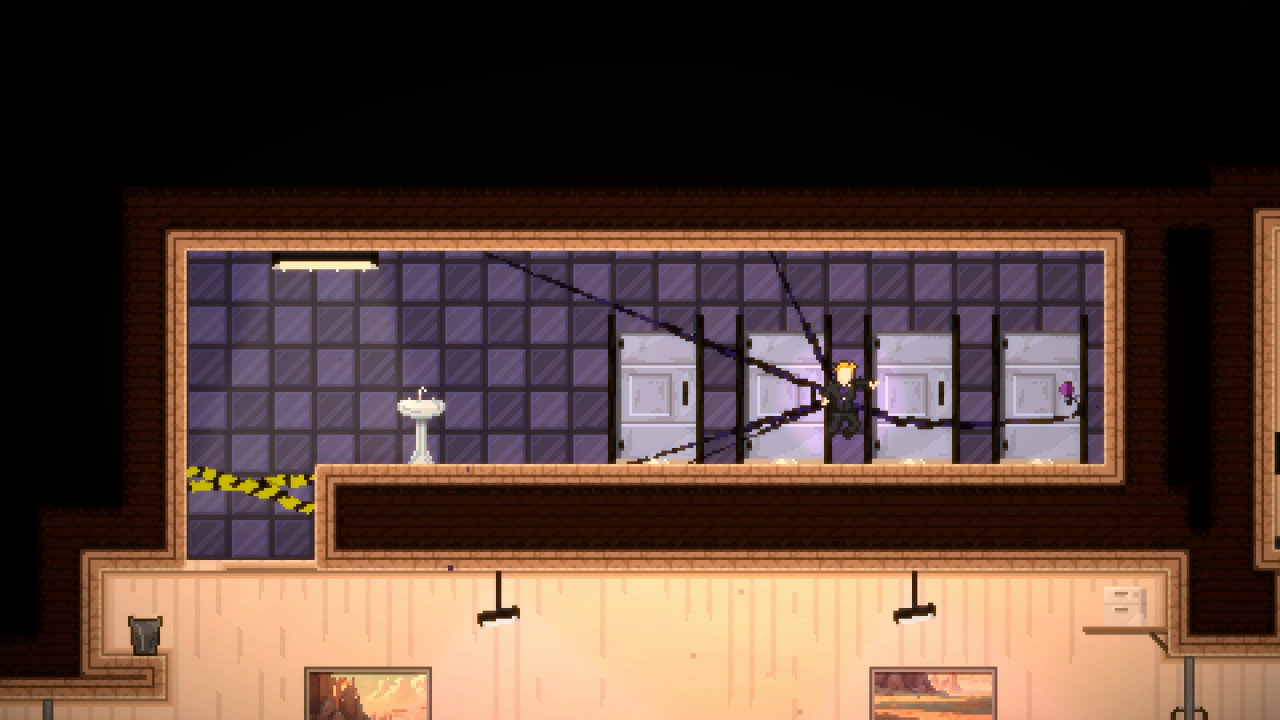

Dashing into it will reveal a bathroom. If you pull open the far right cubicle door you reveal relic #2.


Tendril Relic #3
This screen requires the player to move the sliders to match the panel in the top right to progress, however there is a second hidden panel in this room.
If you head to the bottom, there is a weak wall you can dash into, revealing a new area with the hidden panel.
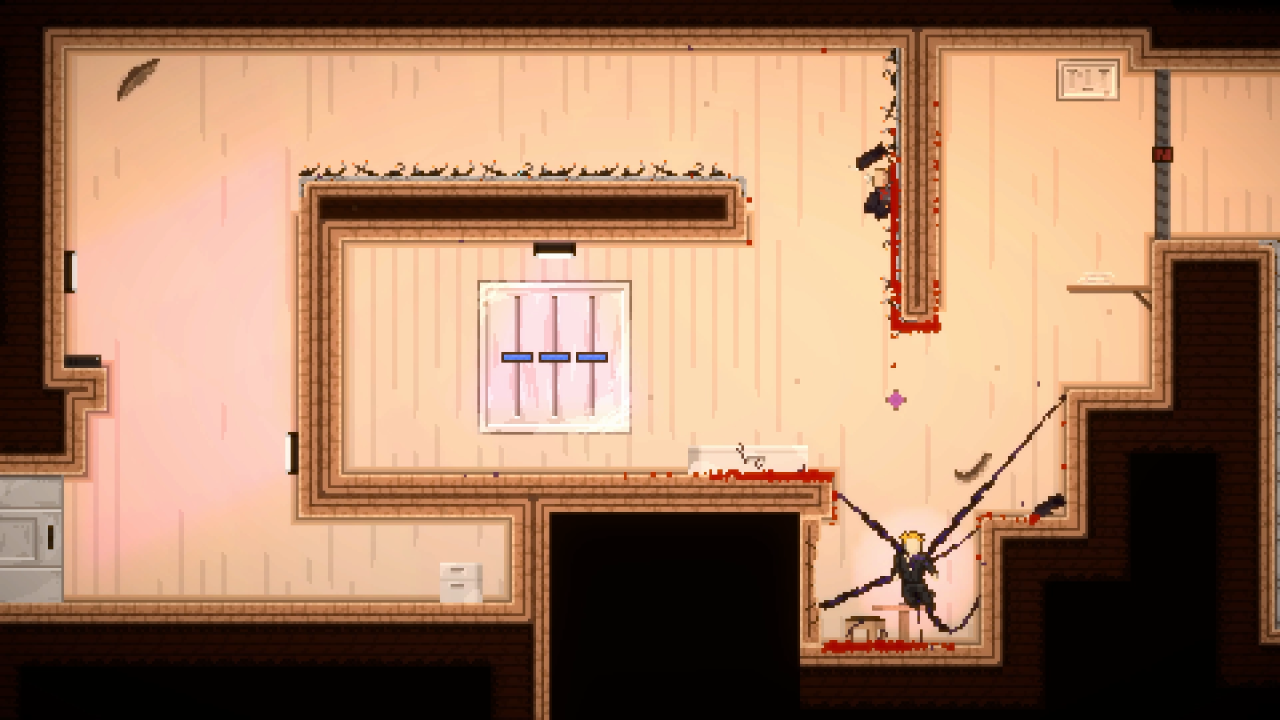
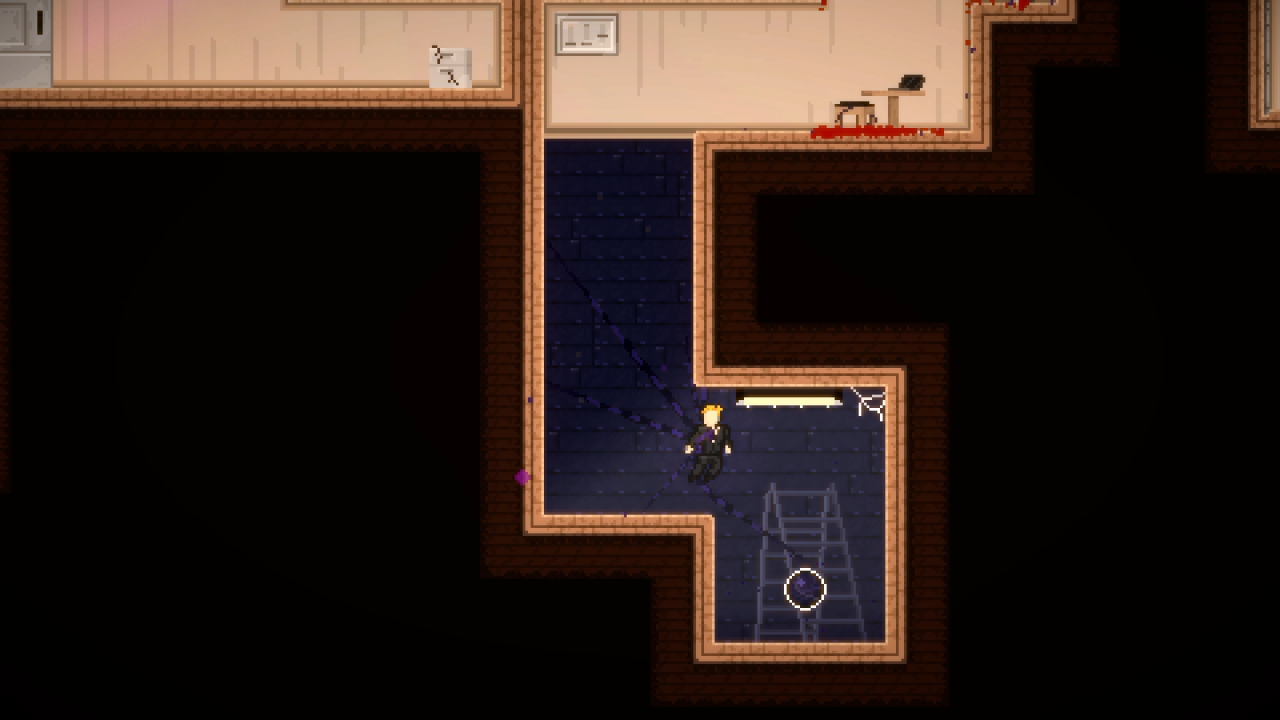
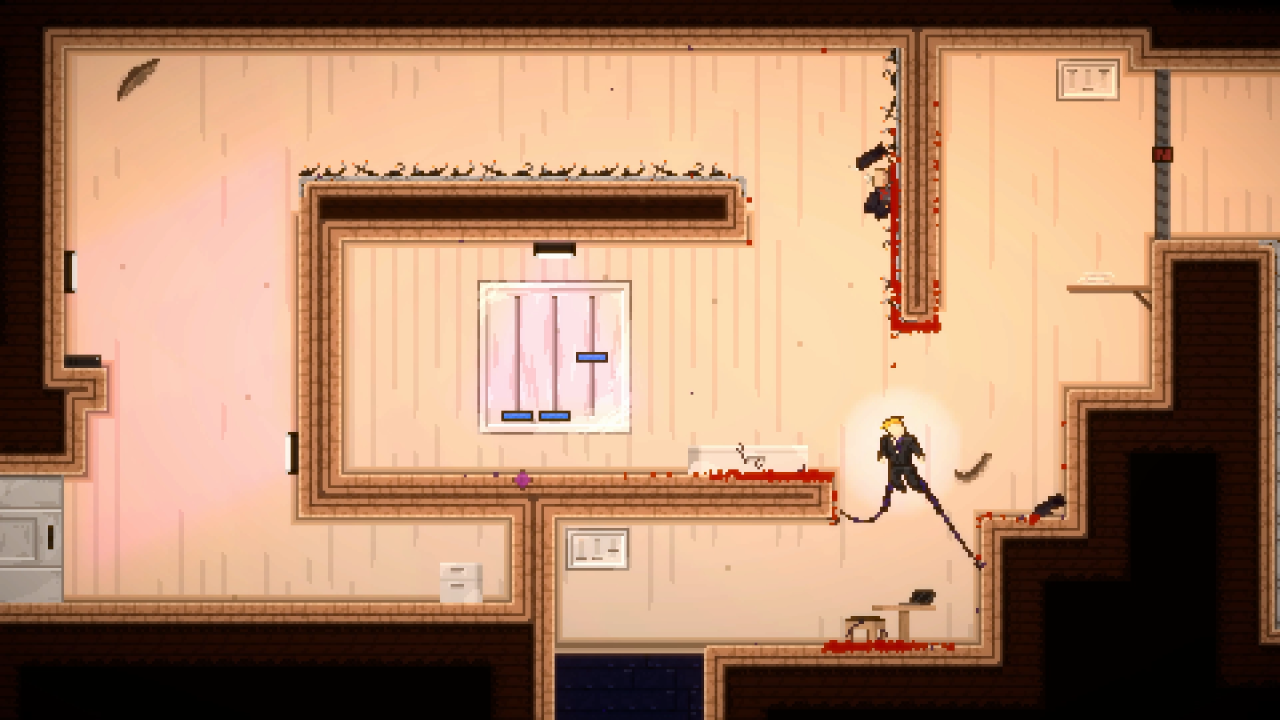 Match the sliders to this panel to unlock the security door at the bottom and collect relic #3.
Tendril Relic #4
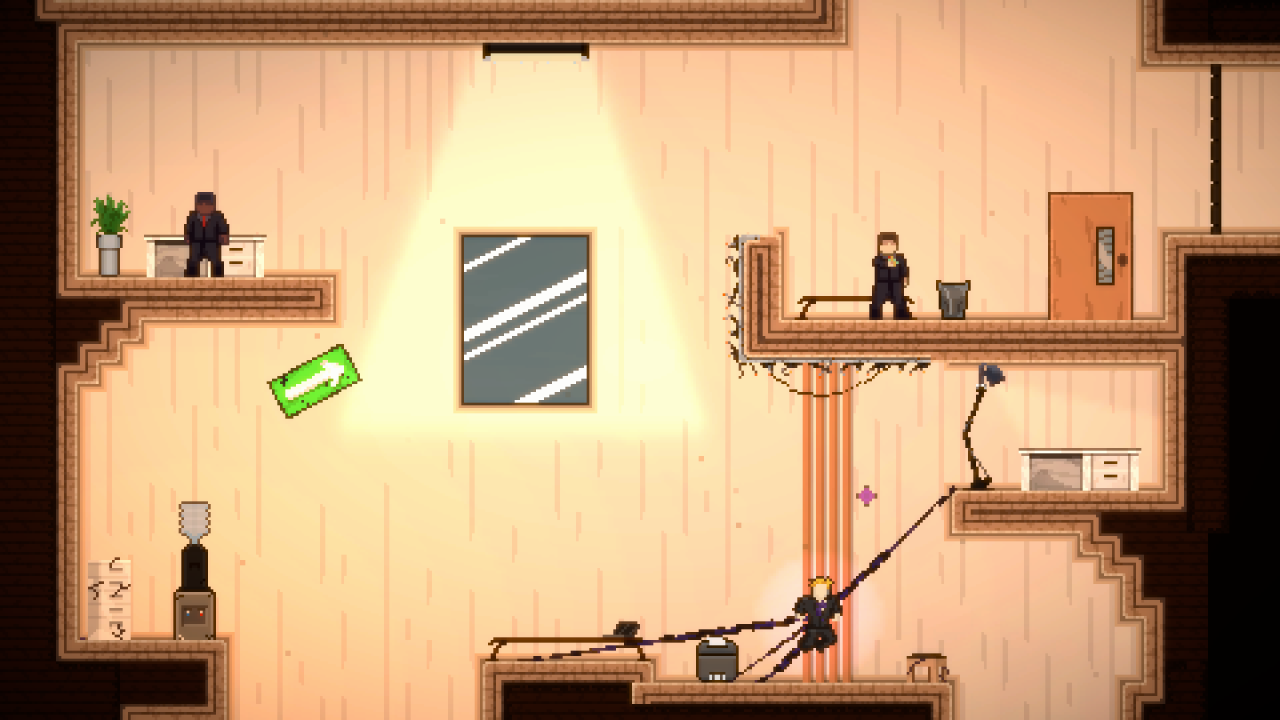
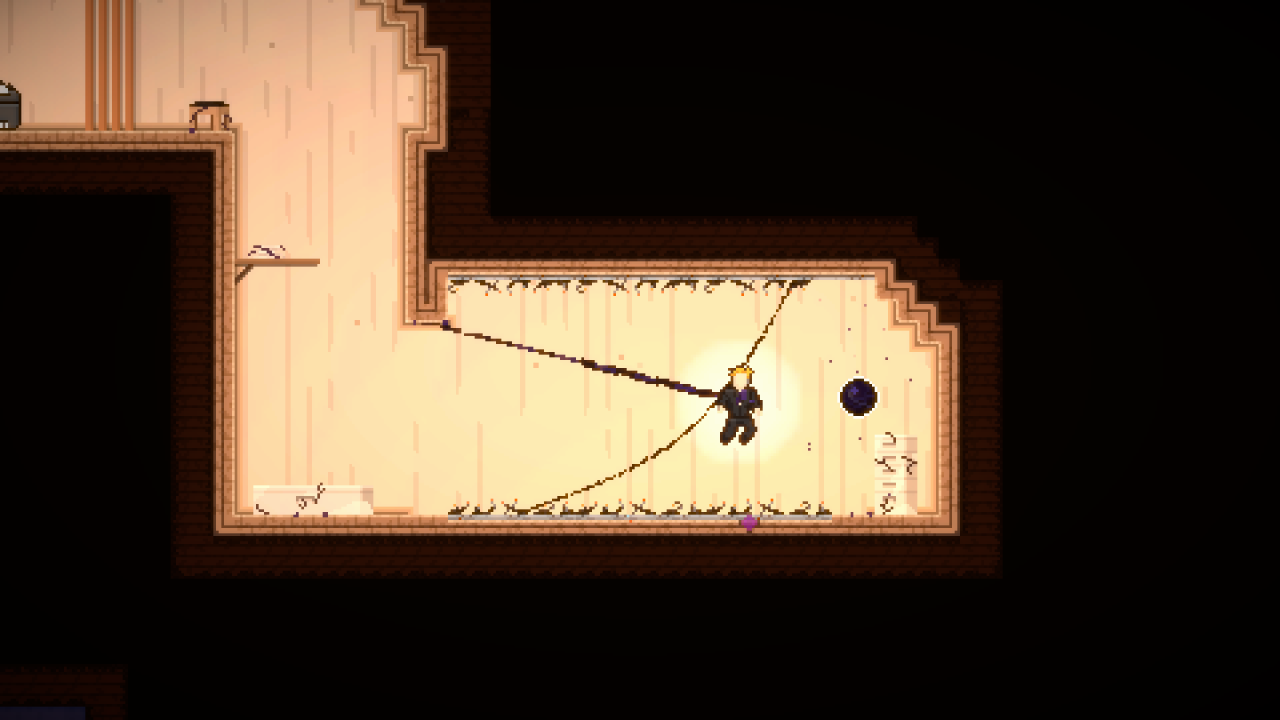
In this screen you’ll notice a few exits. To find the relic you need to head down into the bottom right one. From there, dash past the spikes and with some precision you can collect the relic without hitting the wires beforehand.


Tendril Relic #5
In this screen there is a hidden entrance to another screen on the lower right side. Simply move into the wall and watch it fade away.
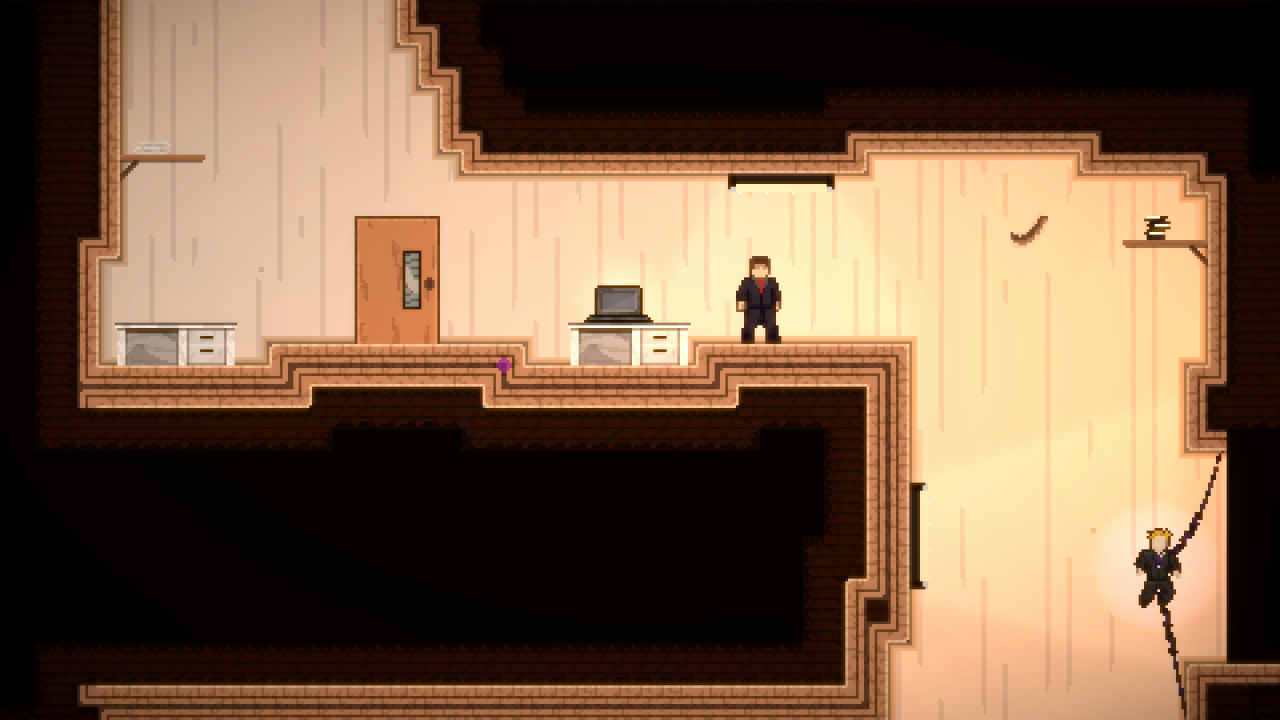
Once there, dash up into the fan and let the wind take you to the right. For some added space hold downwards to help avoid the upper wires and collect relic #5.
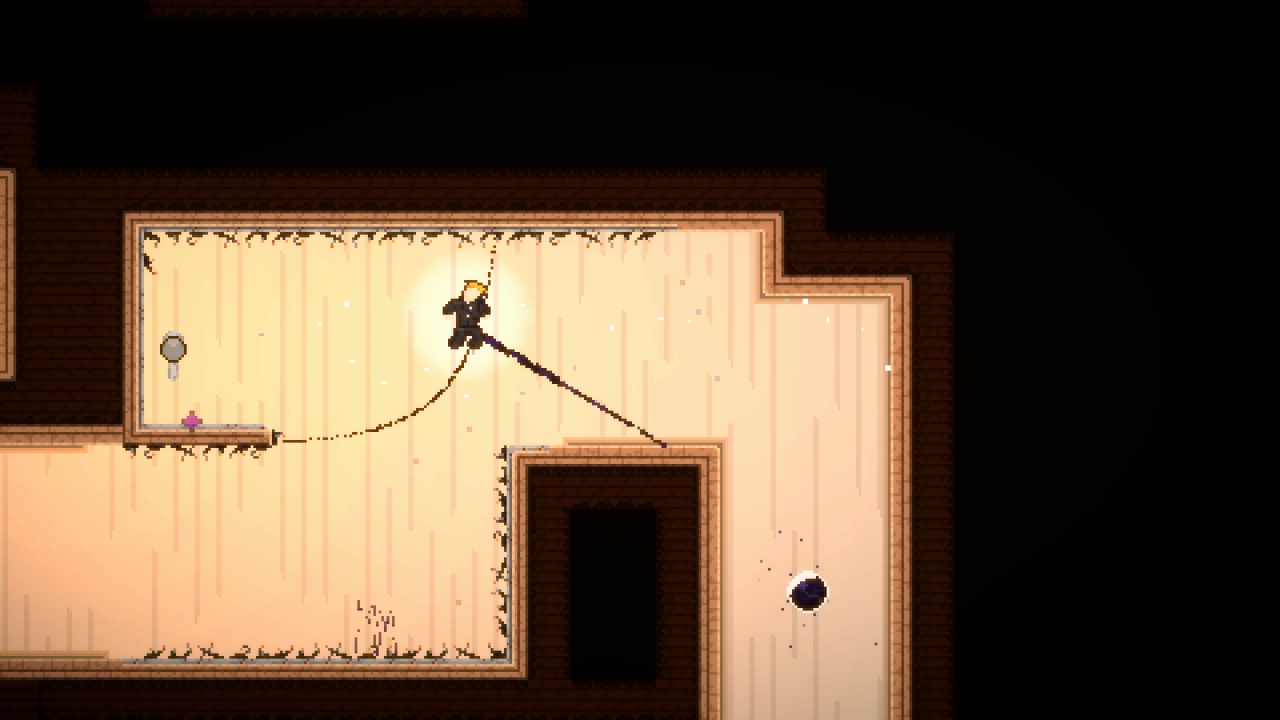

Once there, dash up into the fan and let the wind take you to the right. For some added space hold downwards to help avoid the upper wires and collect relic #5.

Tendril Relic #6
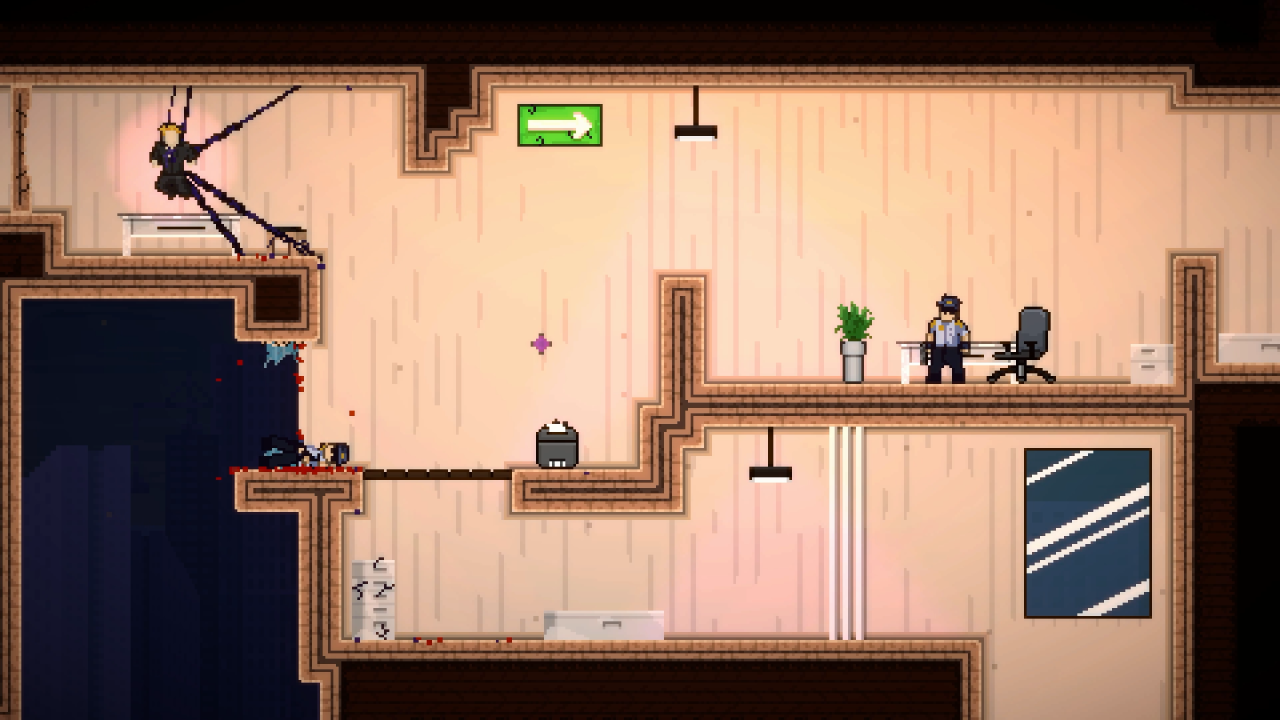
In the screen where you encounter the first security guard, head to the upper right to find a swinging door. Just push past it and head to the next screen.
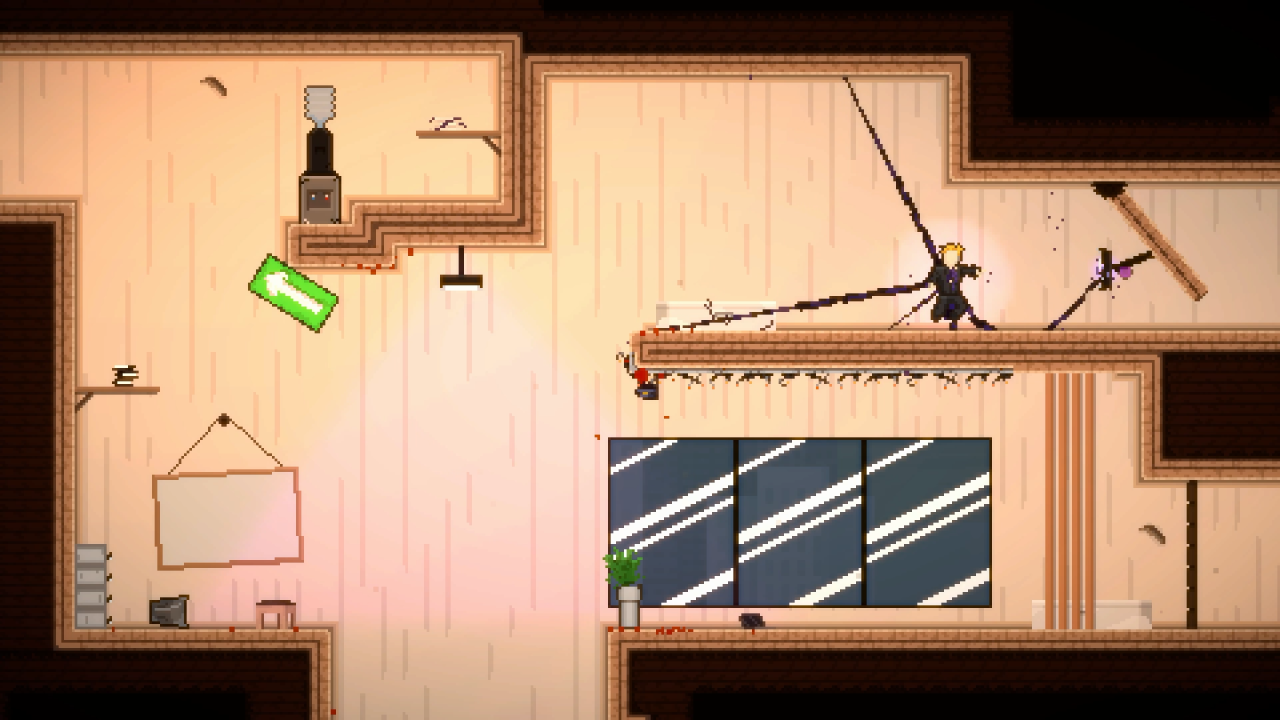
From here, carefully navigate your way through the wires and utilise your dash if needed to collect the sixth Relic.
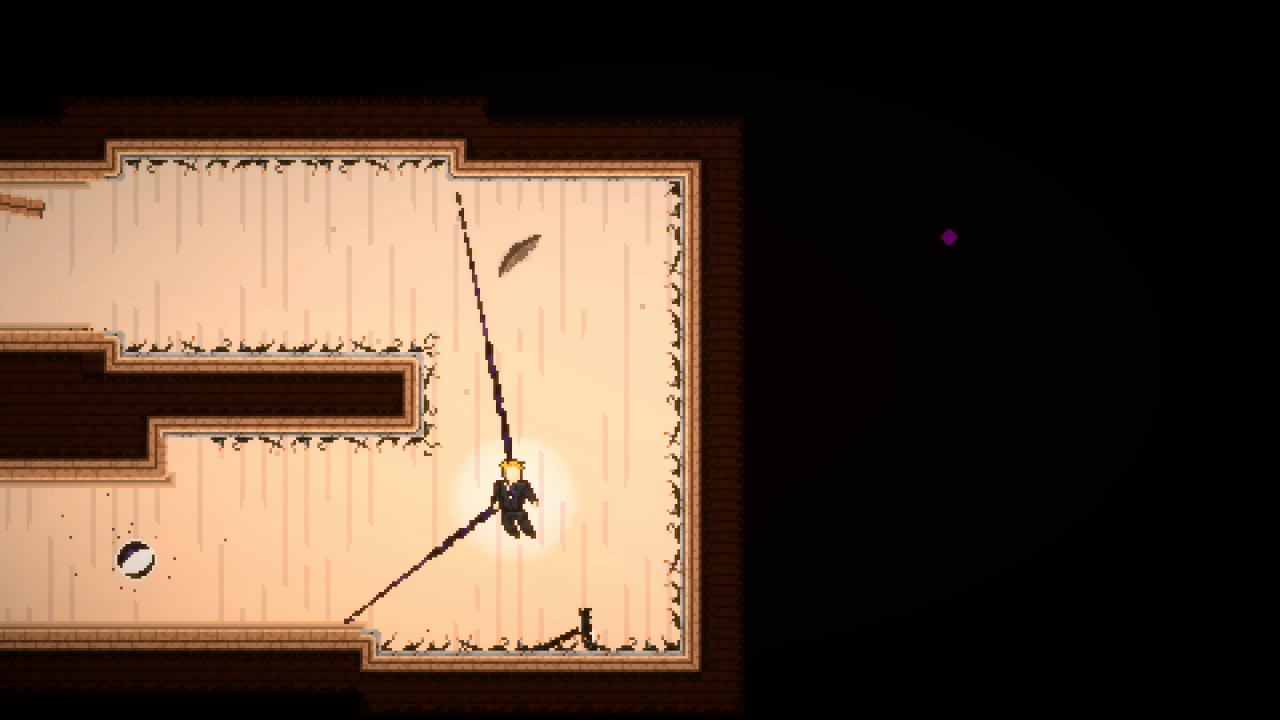

From here, carefully navigate your way through the wires and utilise your dash if needed to collect the sixth Relic.

Tendril Relic #7
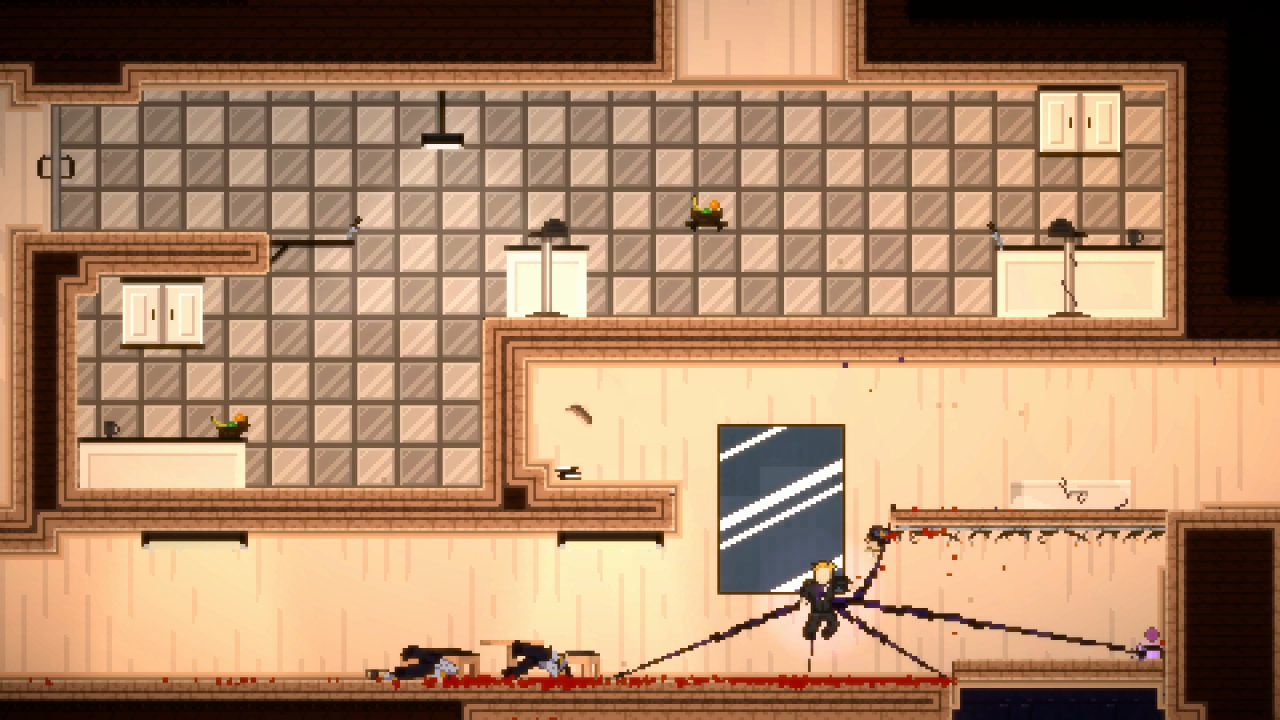
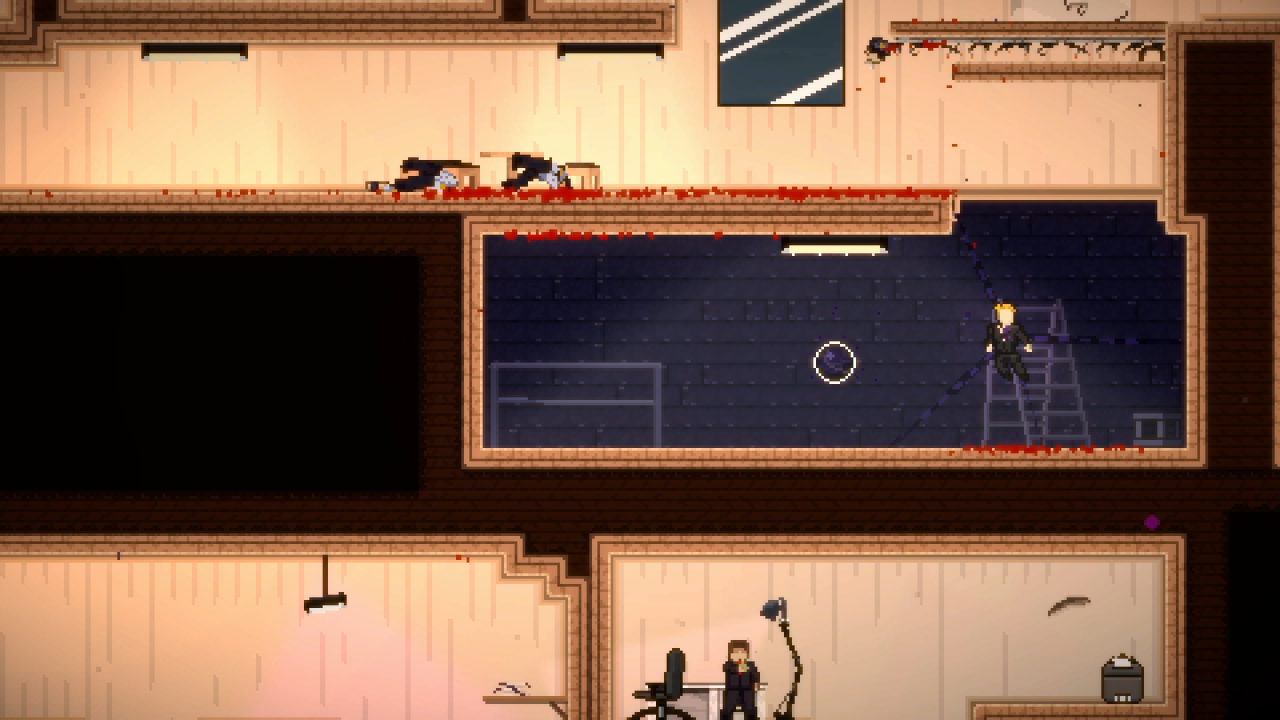
For this relic, in the first kitchen screen you’ll notice a handle on this section of the ground. Pull it up to reveal a gap in the floor, opening up a storage room with the next relic.


Tendril Relic #8
In the left kitchen screen, on the far left there’s a relic locked behind a door. Head to the far left wall to gain access to the handle keeping that door down. Simply pull it up and collect the next relic.
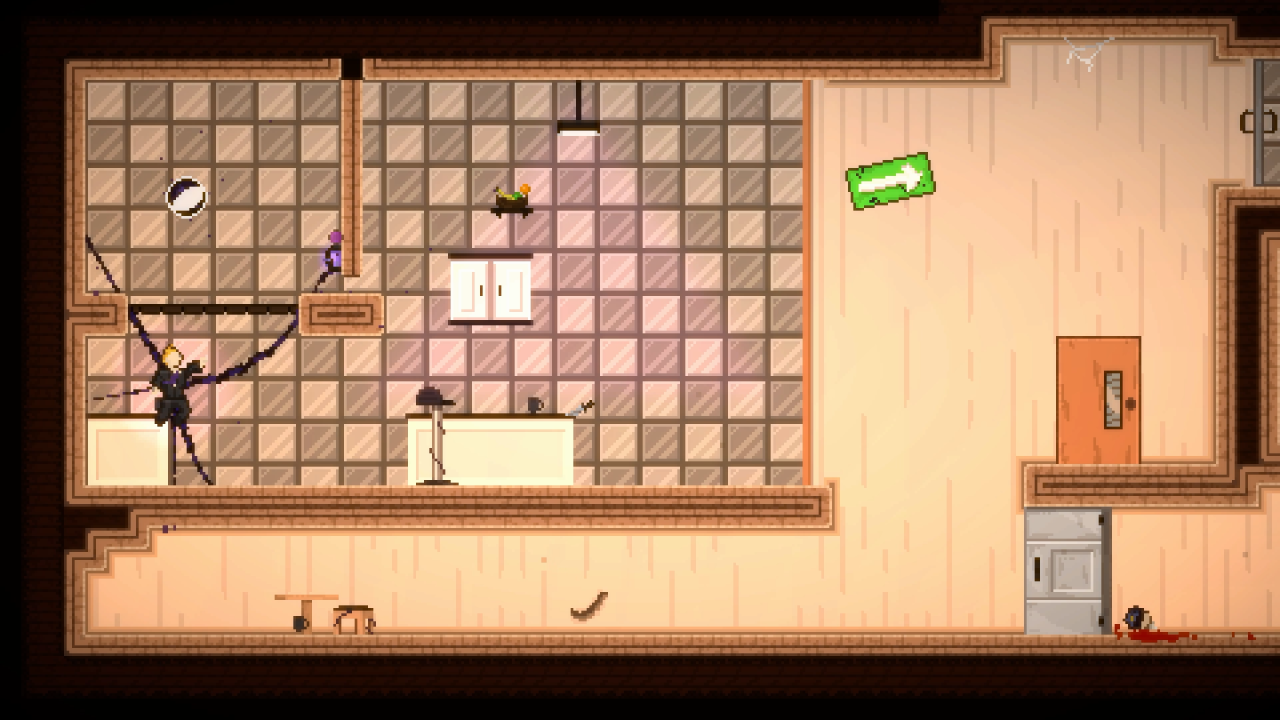

Tendril Relic #9
As you traverse through the office, this screen requires you to grab the fan blades and move them out of the way. However if you move right, past the fan instead of up you’ll find a new screen.
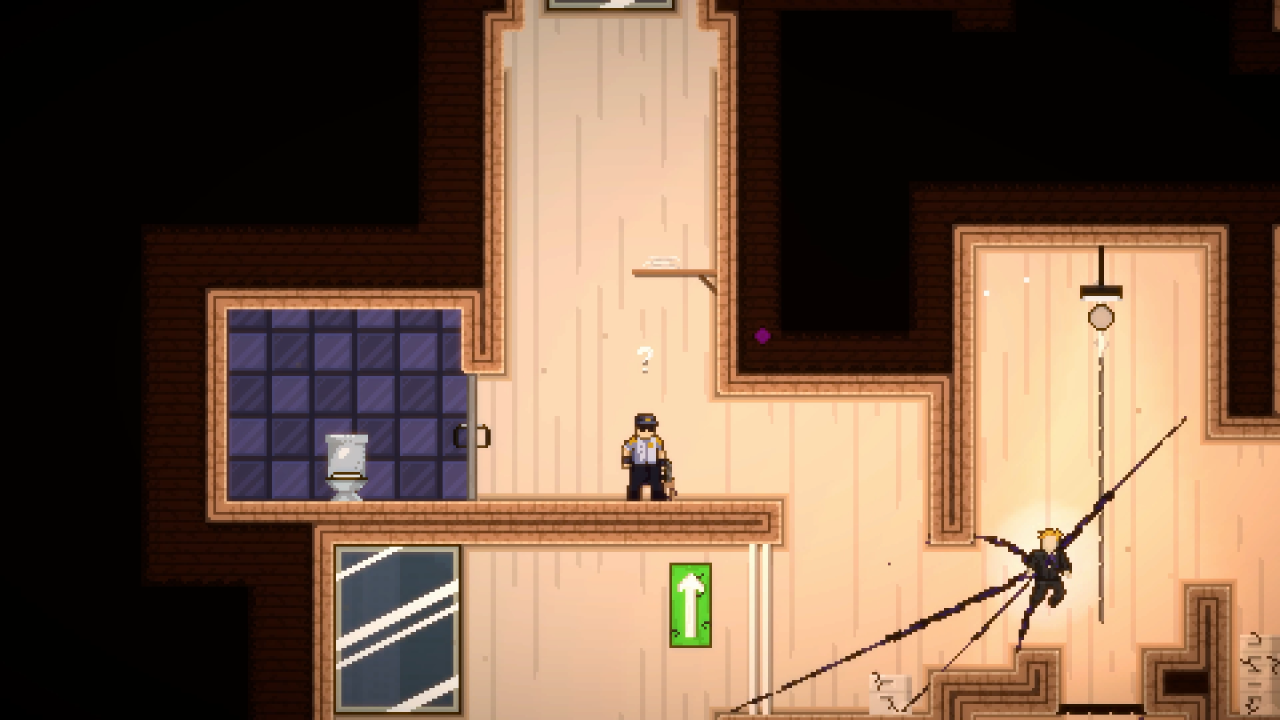
In this screen you’ll notice a locked door, along with a glass panel covering a lever on the ceiling. Smash this panel and pull the lever to the other side to unlock the security door, granting you furhter access.
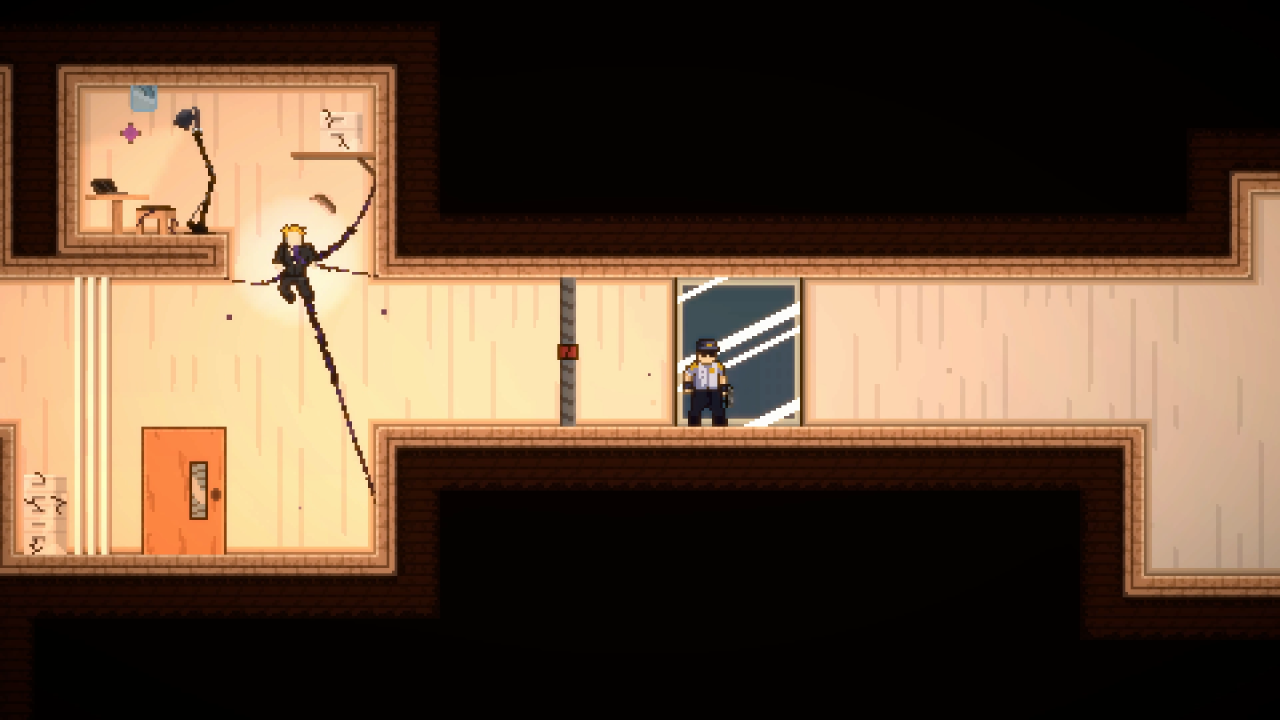
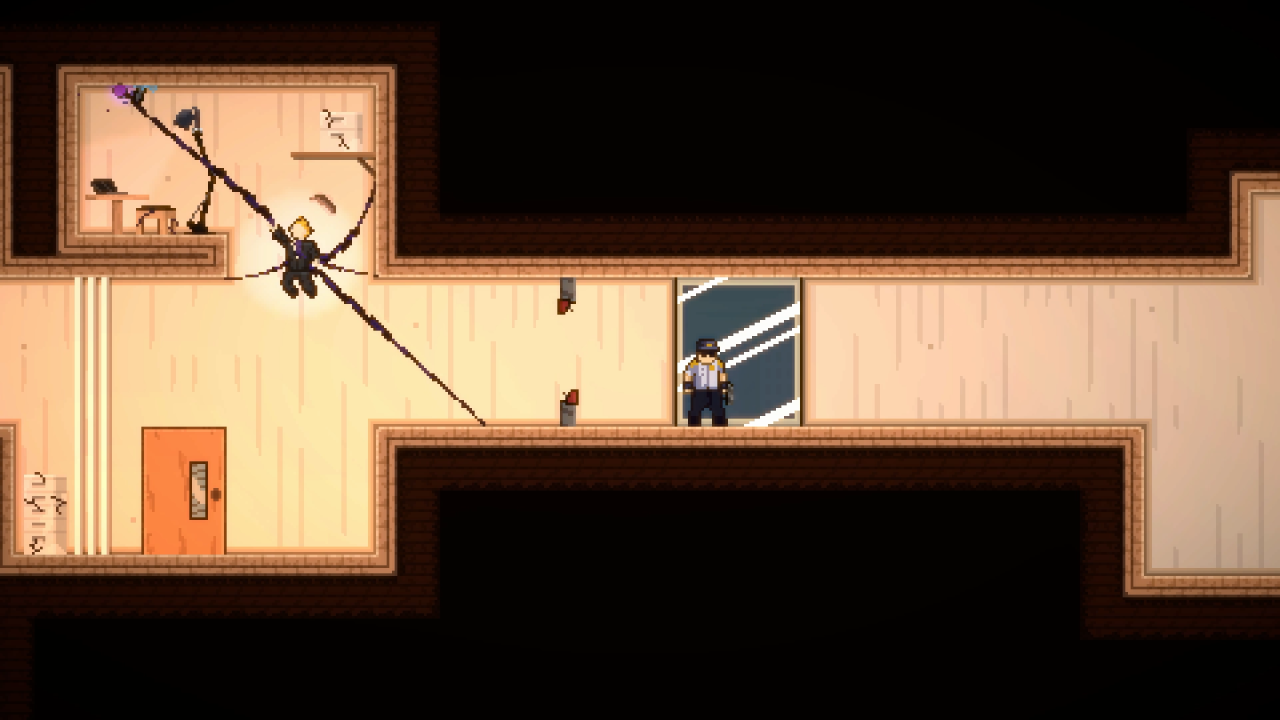 Finally, progress to the next screen and collect your ninth relic.
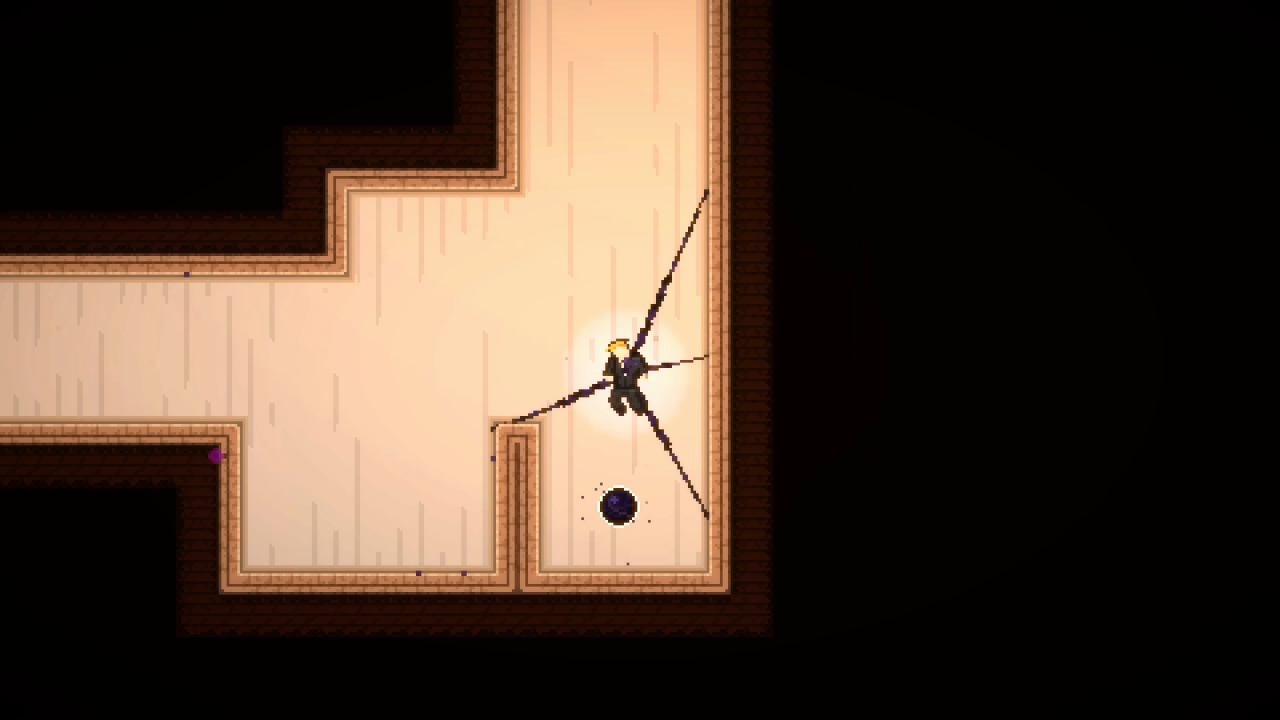

In this screen you’ll notice a locked door, along with a glass panel covering a lever on the ceiling. Smash this panel and pull the lever to the other side to unlock the security door, granting you furhter access.

 Finally, progress to the next screen and collect your ninth relic.
Tendril Relic #10
In this screen, you’ll find a small fusebox in the upper right. If you grab and smash it, you’ll notice nothing actually happens.
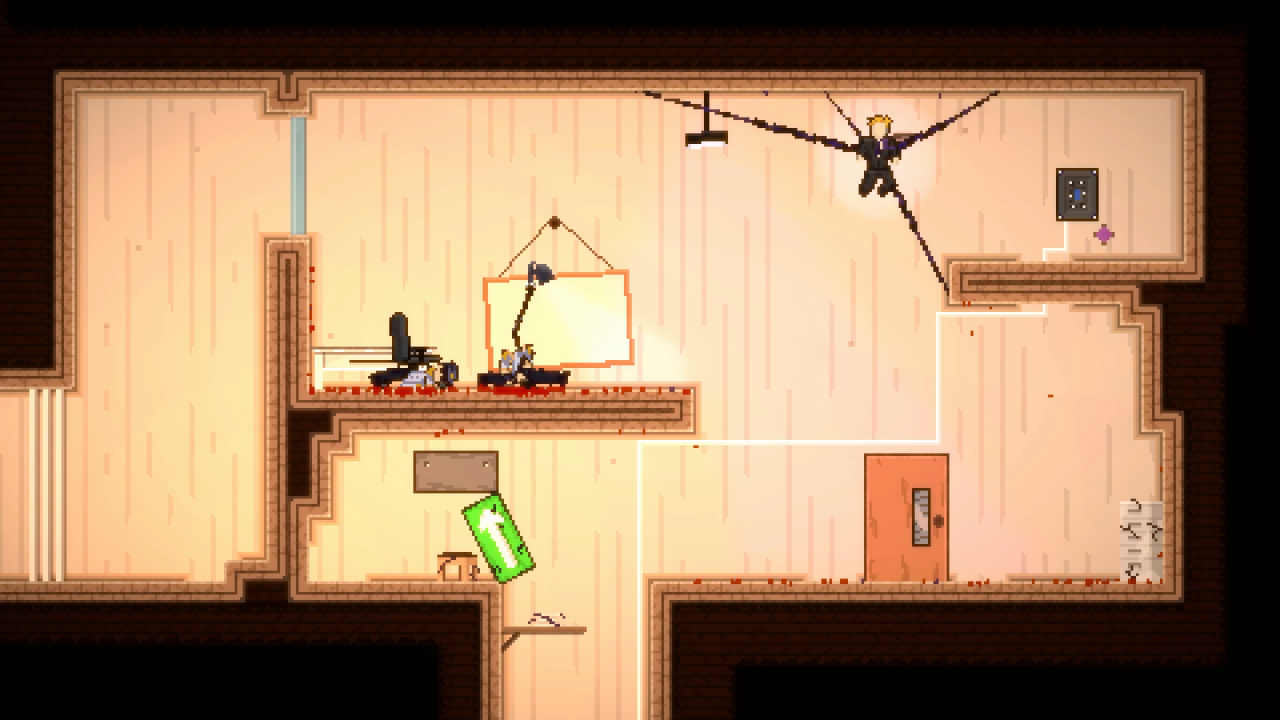
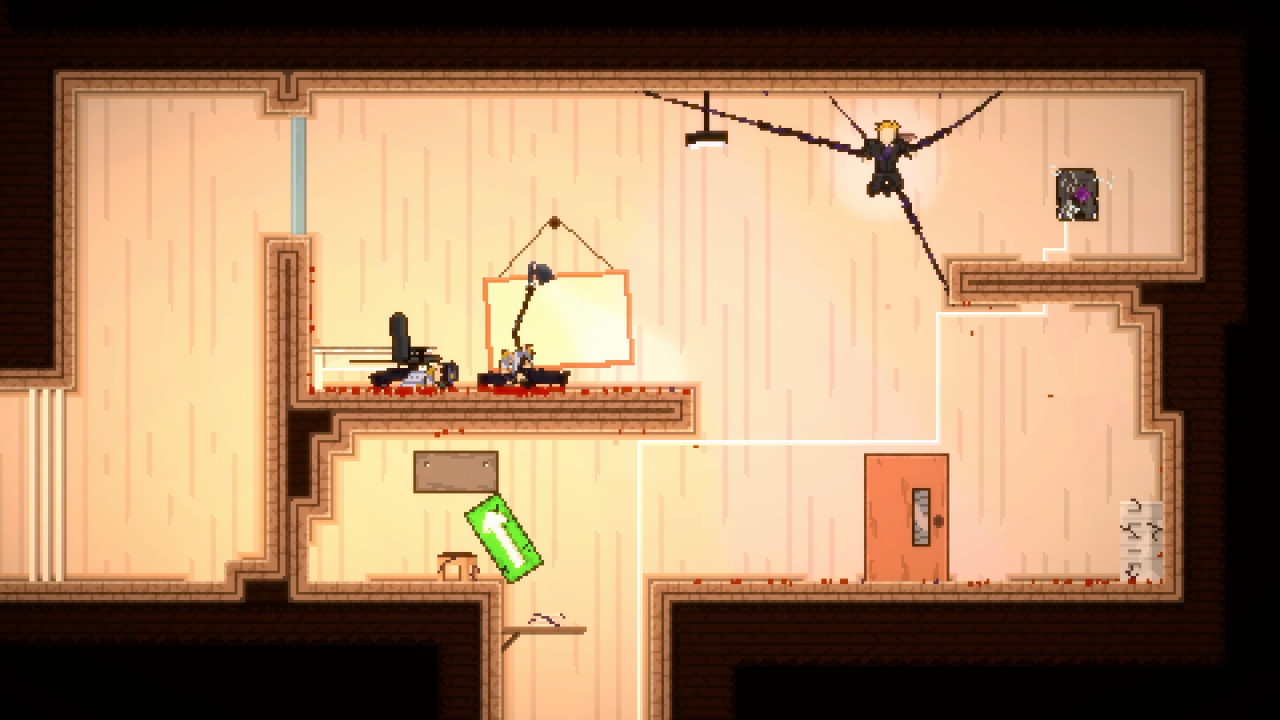 However if you follow the white wire coming out of the fusebox all the way to it’s destination, a security door that was previously there is now gone, revealing your next relic.
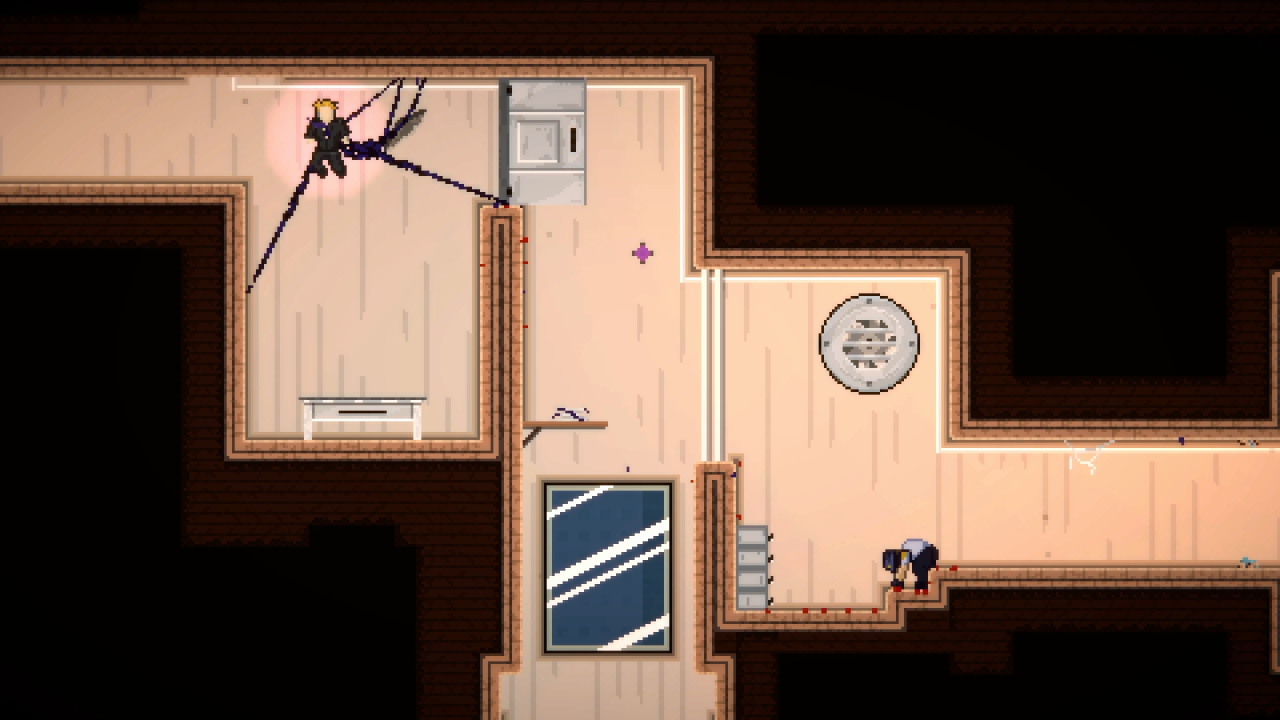
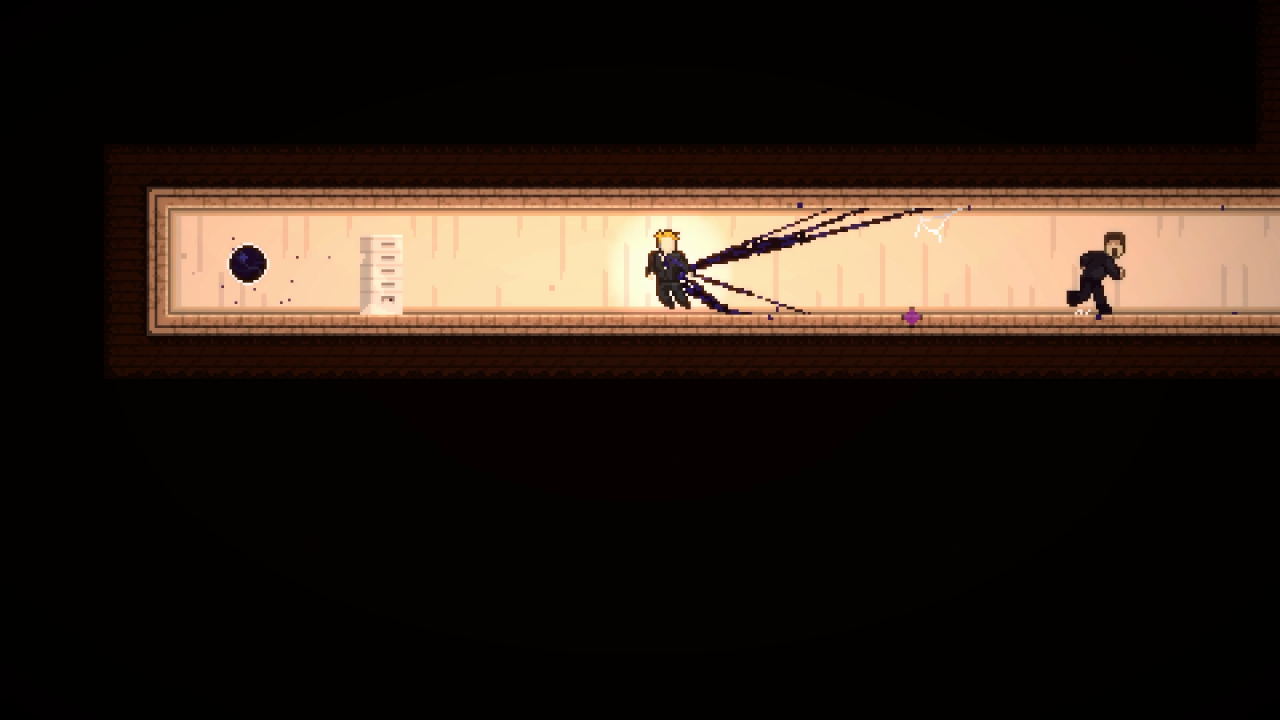

 However if you follow the white wire coming out of the fusebox all the way to it’s destination, a security door that was previously there is now gone, revealing your next relic.

Tendril Relic #11
In one of the last screens, there’s another thick glass window. Use whatever way you want to destroy the glass.
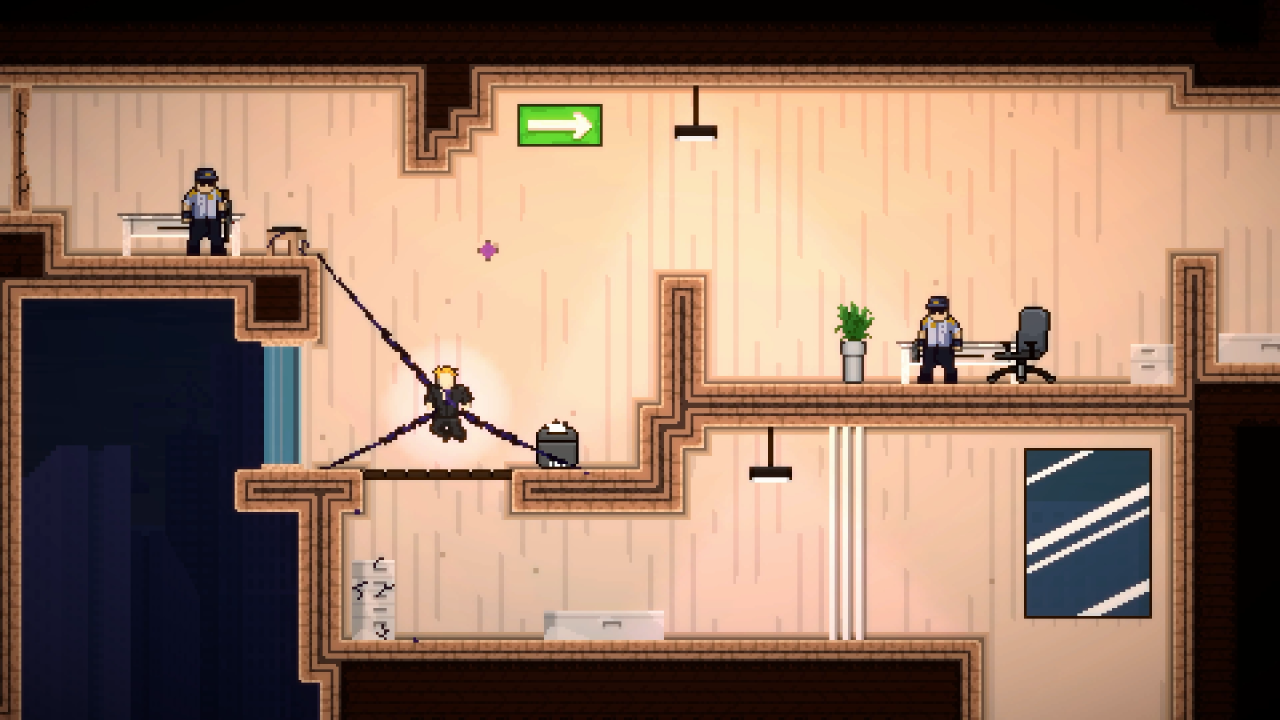
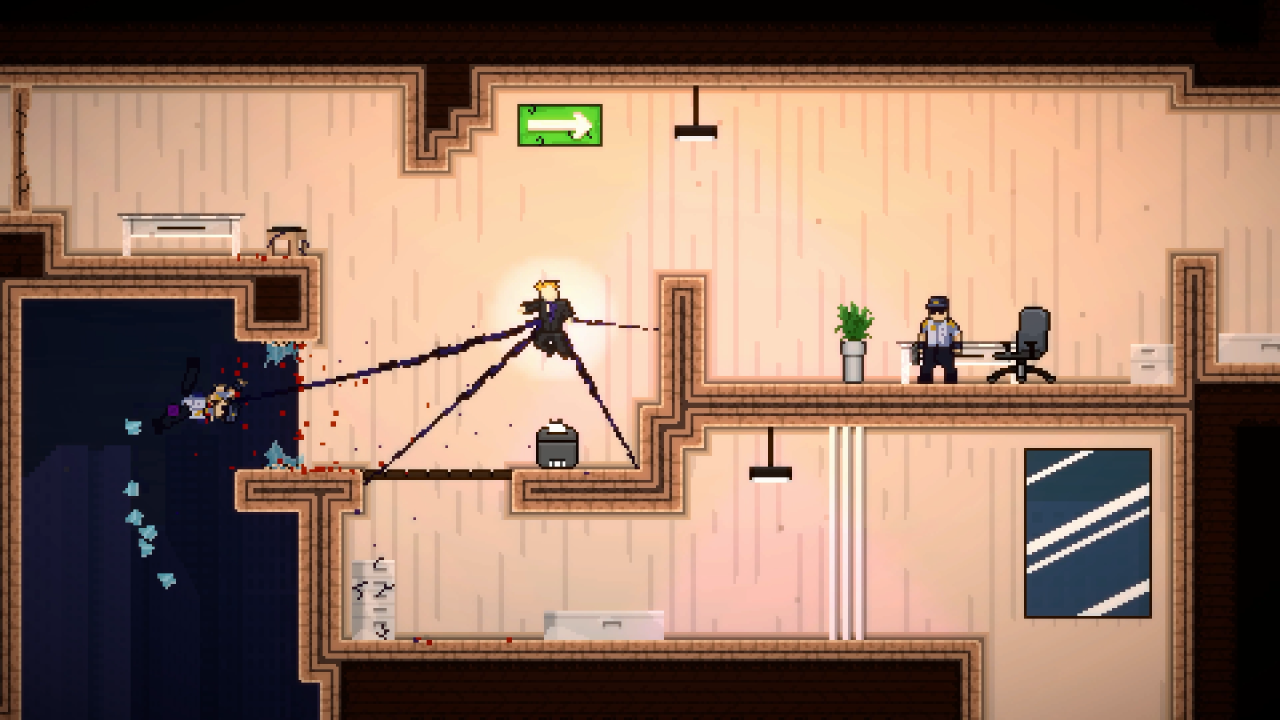 From there, head through the newly-created gap and to your next relic.
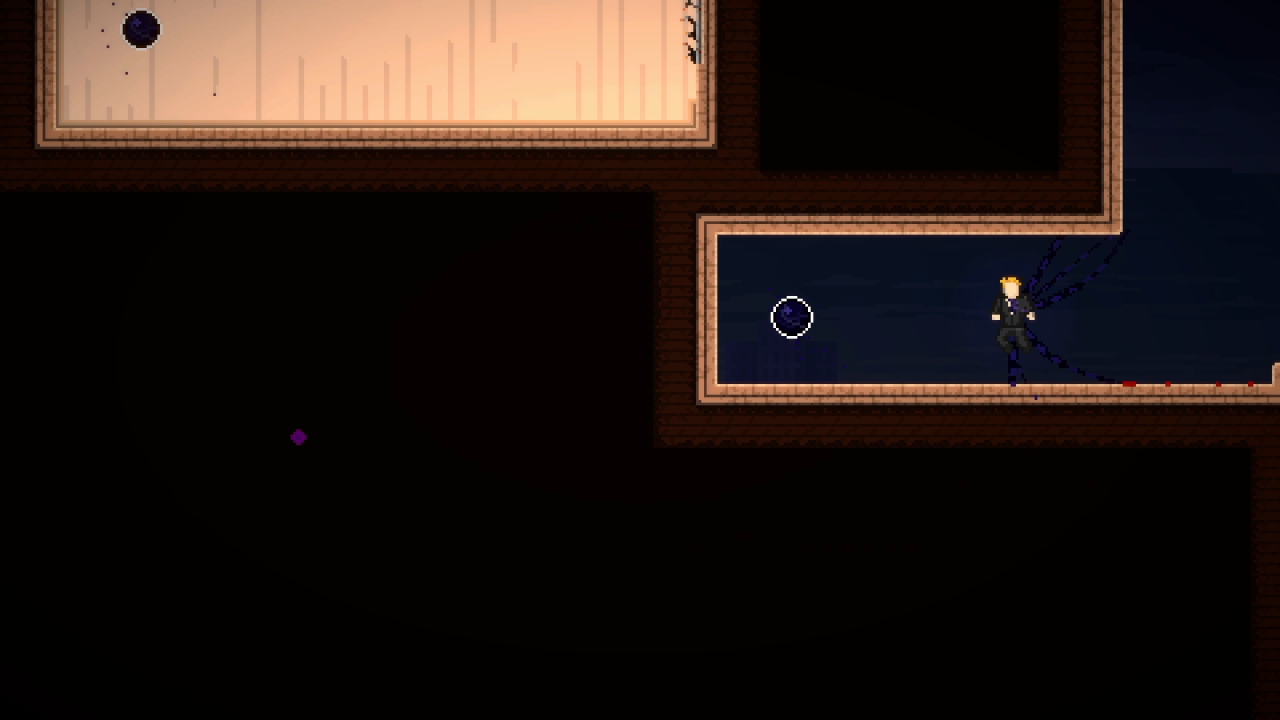

 From there, head through the newly-created gap and to your next relic.
Tendril Relic #12
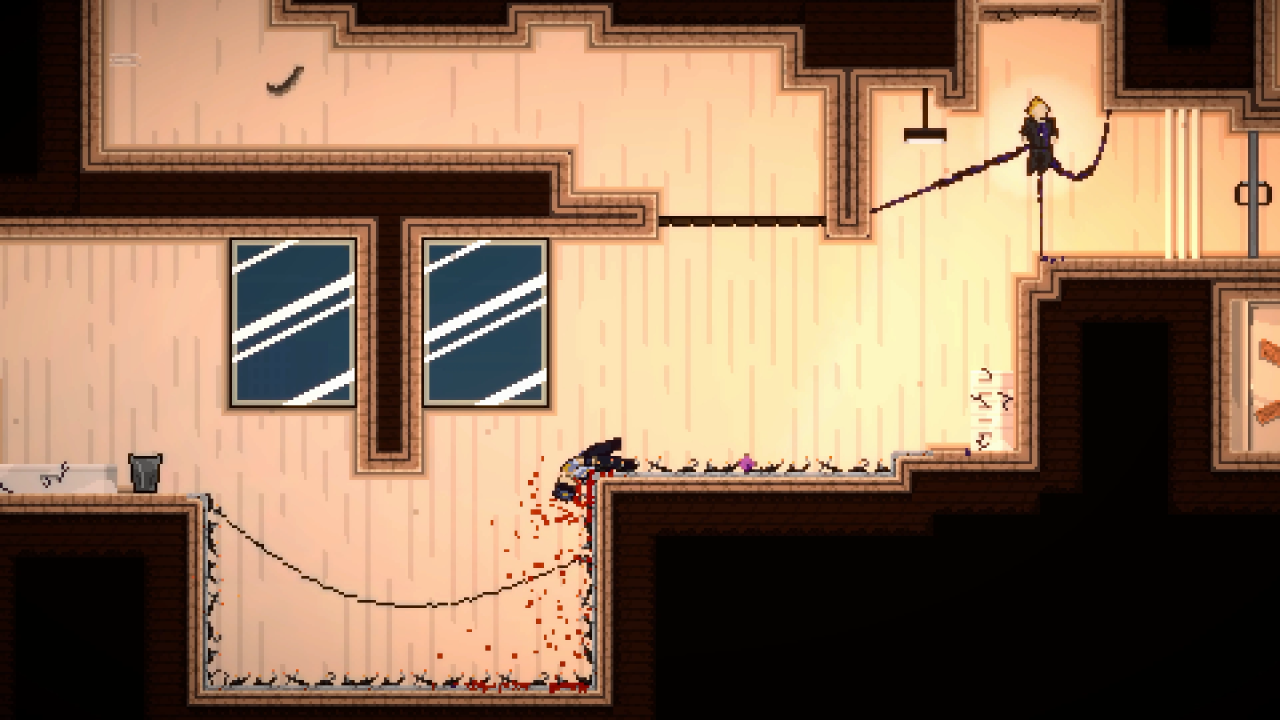
In the same screen as the previous, you’ll notice another weak wall in the upper left. Dash through to find another fan blowing towards some wires.
The best way to get past is to dash downwards as close to the left wall as possible, and collect your twelfth relic.
The best way to get past is to dash downwards as close to the left wall as possible, and collect your twelfth relic.


Tendril Relic #13
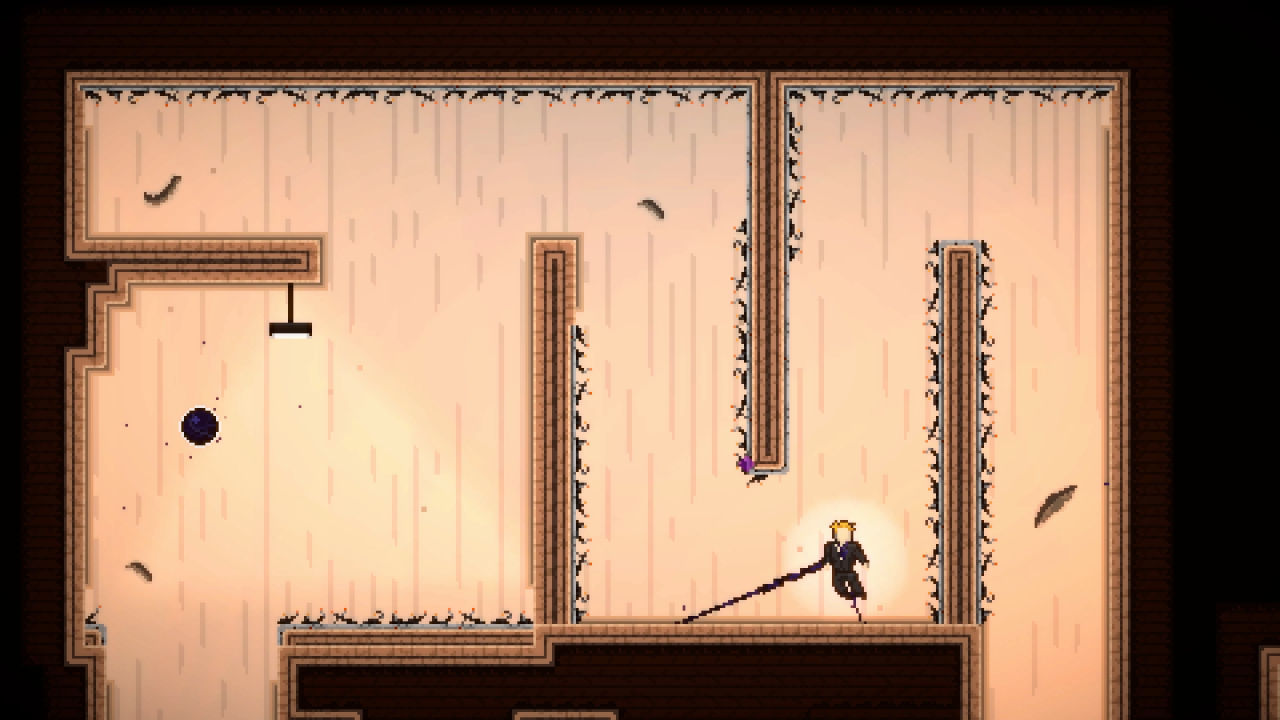
For the 13th and final Tendril Relic, instead of heading through the door on the right in one of the last screens, dash upwards into the weak part of the ceiling and head through.
From here, use some precise and steady movement to navigate around the wires and collect your final relic.
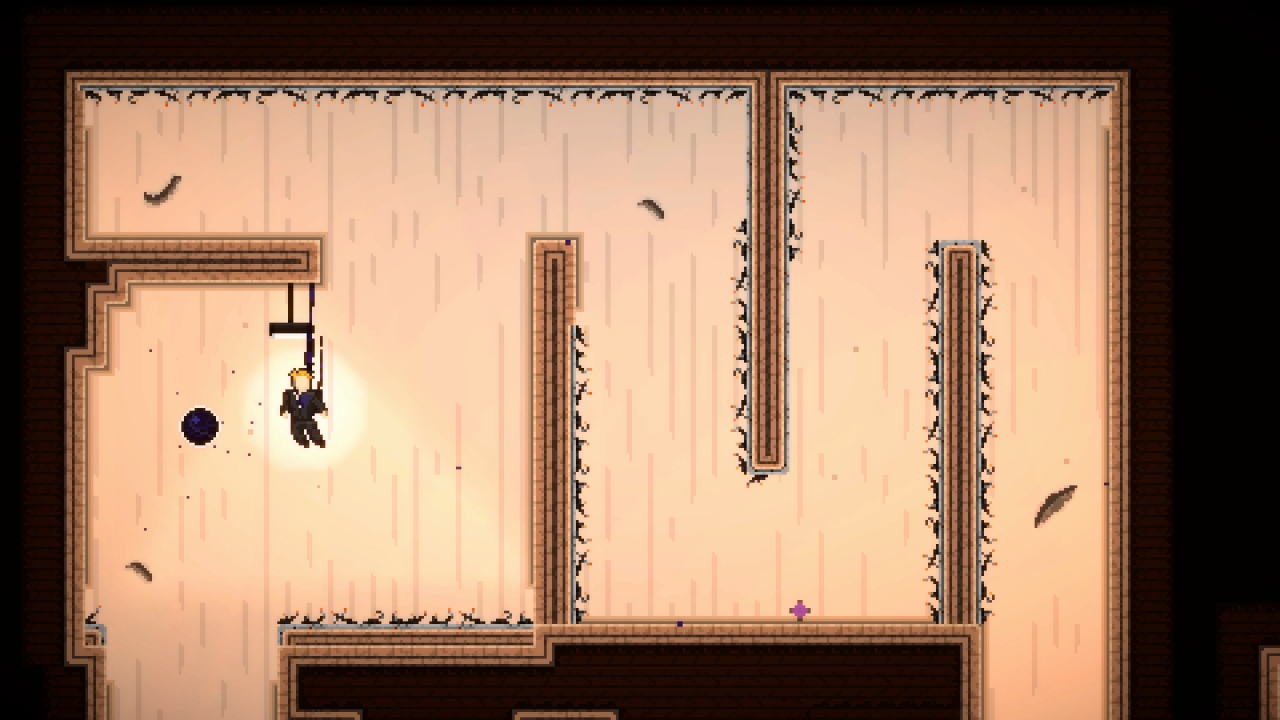

From here, use some precise and steady movement to navigate around the wires and collect your final relic.


All Tendril Relics collected!
And that’s how to find every Tendril relic in the Vindefiant Demo!
Make sure to wishlist the game on Steam to be ready for release, and try the demo for yourself. Happy hunting!
Make sure to wishlist the game on Steam to be ready for release, and try the demo for yourself. Happy hunting!
