A list of all the collectible locations (tribe lore, relics, and keys)
Introduction
THIS GUIDE CONTAINS SPOILERS FOR THE GAME! VIEW AT YOUR OWN RISK!!
This guide is a work in progress. As I complete the game I am adding more things to the guide. Feel free to let me know any you find that I haven’t added yet.
Things to remember:
- The guide was made as I collected the items. Some may be out of order of the way you find them. That’s okay! We all play games differently.
- I don’t believe any of the collectibles are soft locked after story events, but these are the ones I would be wary of:
- Ram Tribe 1
- The game will give you new abilities to help you locate the items! Don’t forget your runes.
Raven Tribe
“In ancient days, a fox came to this island from across the sea, running through the sky, amidst the northern lights. Upon his back was a child called Eona, the last of the Aurorians. We are her descendants.”
- This memory can be found during the tutorial. Following the raven will lead you to a door that needs you to pull a chain to be opened. Next to the door is a skeleton in black robes. At his feet is the first Word of Memory.
“In ancient days, Eona, the mother of all, had many children. From them came the Fox Tribe, Bear Tribe, Ram Tribe, Wolf Tribe, Stag Tribe, and Raven Tribe. For hundreds of years the tribes lives in peace and each were blessed by the light of their animal guardians.”
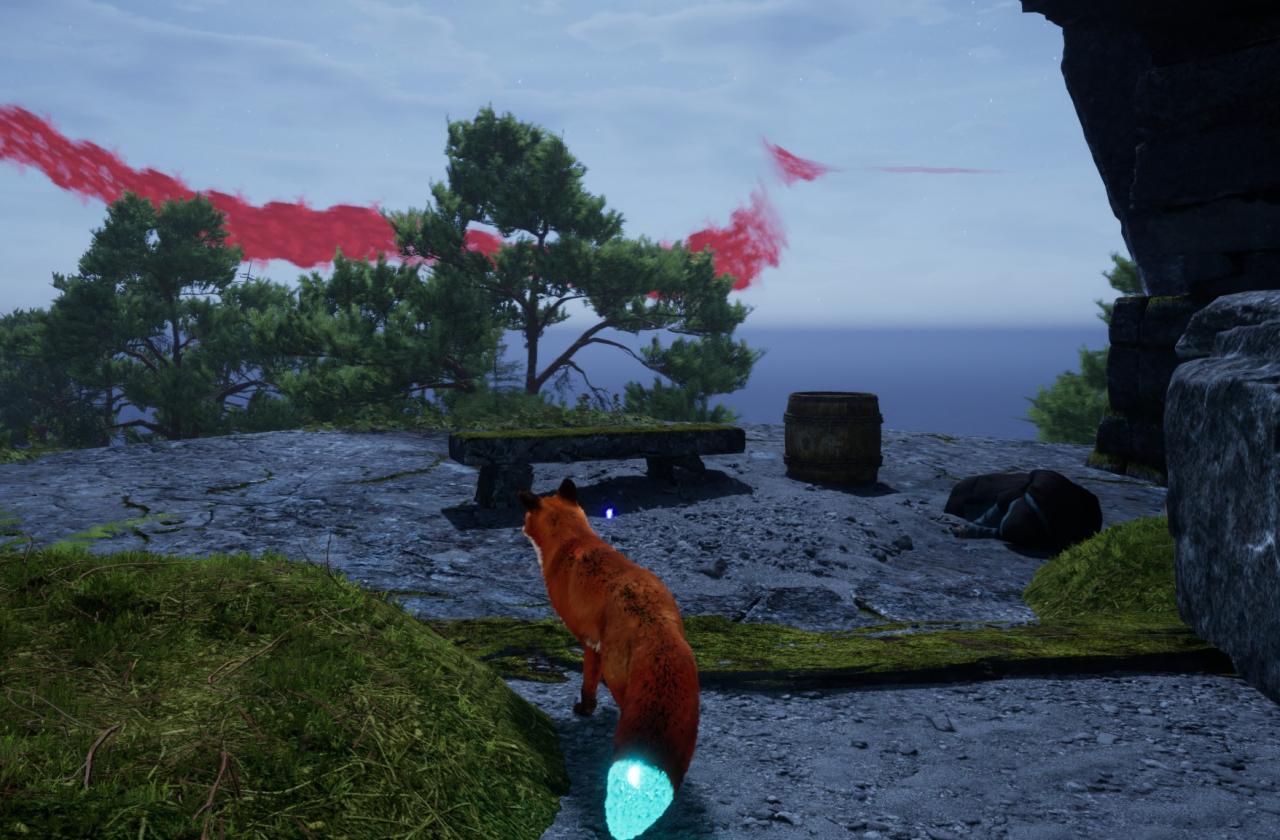
- Upon entering Fox Village, take the right path until you come across a giant archway.
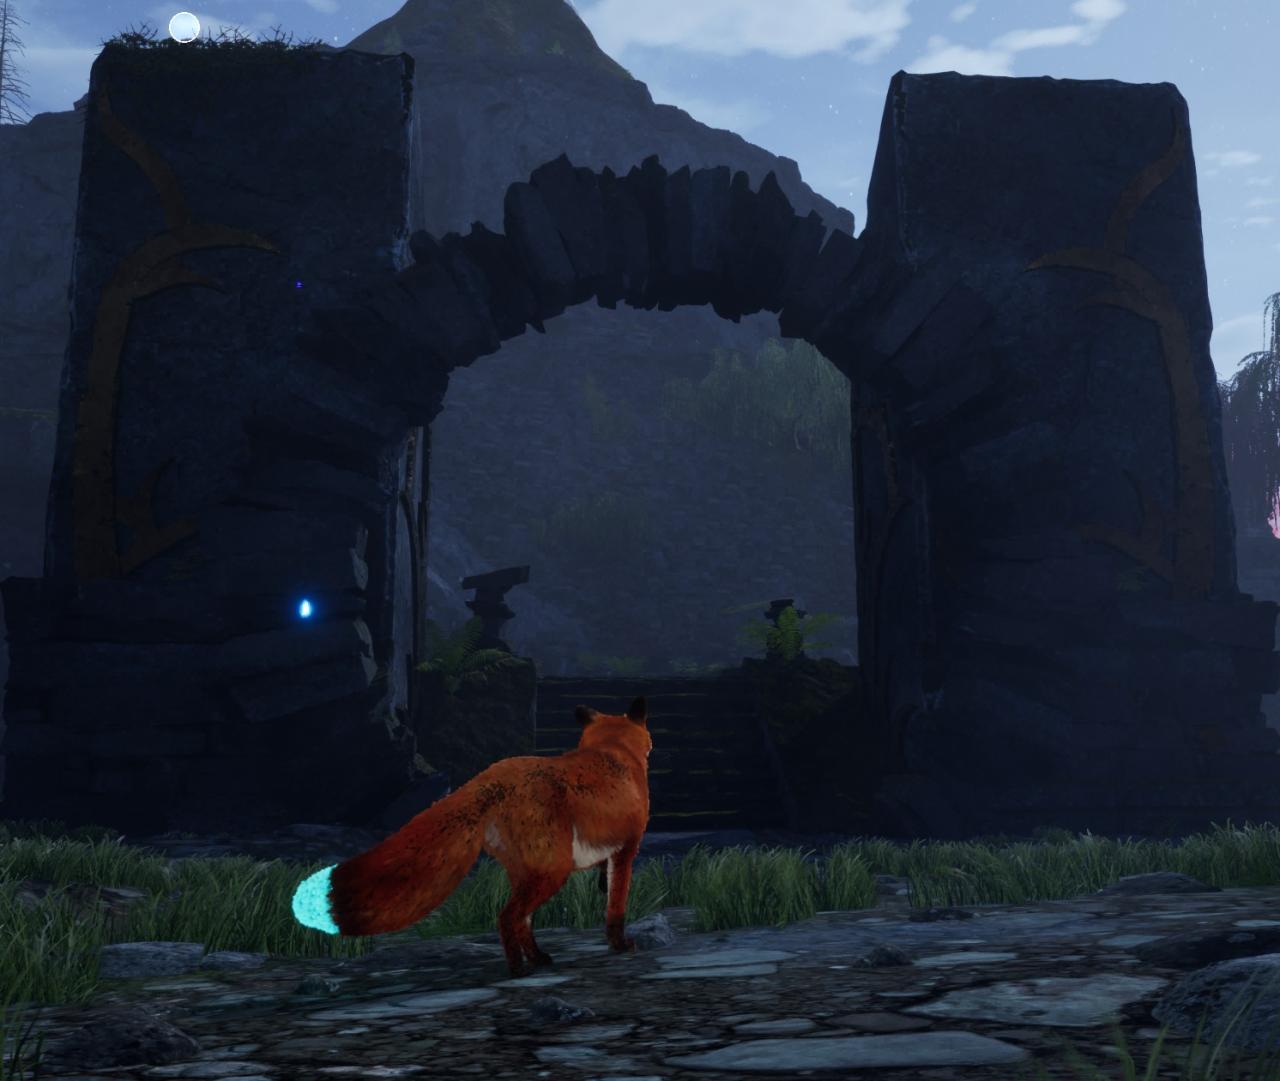
- go right and you’ll find a little opening overlooking the valley. The scroll will be sitting on the bench.
“Memory tells me of a war raging south of Misthaven. The shaman Grimnir has awoken the Bear Guardian, infecting it’s spirit with a sickness from beyond our realm. How far will he go? Are we safely beyond his reach?”
- As you progress the main story you’ll be chased off a cliff by the Bear Guardian. Now in Misthaven, go to the little river and you’ll see the scroll sitting on a few rocks near a small purple flag.
Fox Tribe
“Though, in nights calm light when dreams doth take me, I see our guardian run through the sky. The fox yet lives in lands far off and will return long after I have died.”
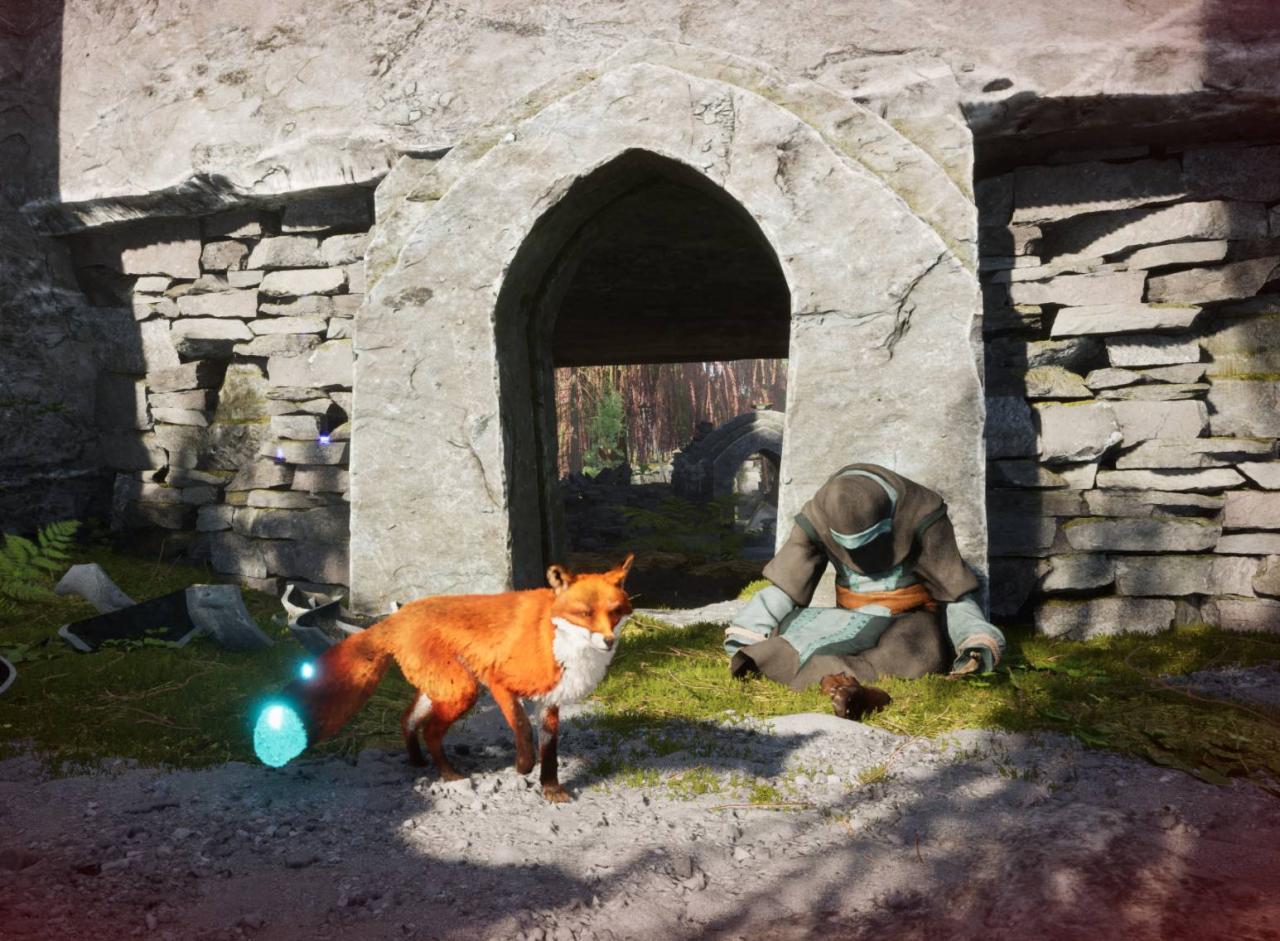
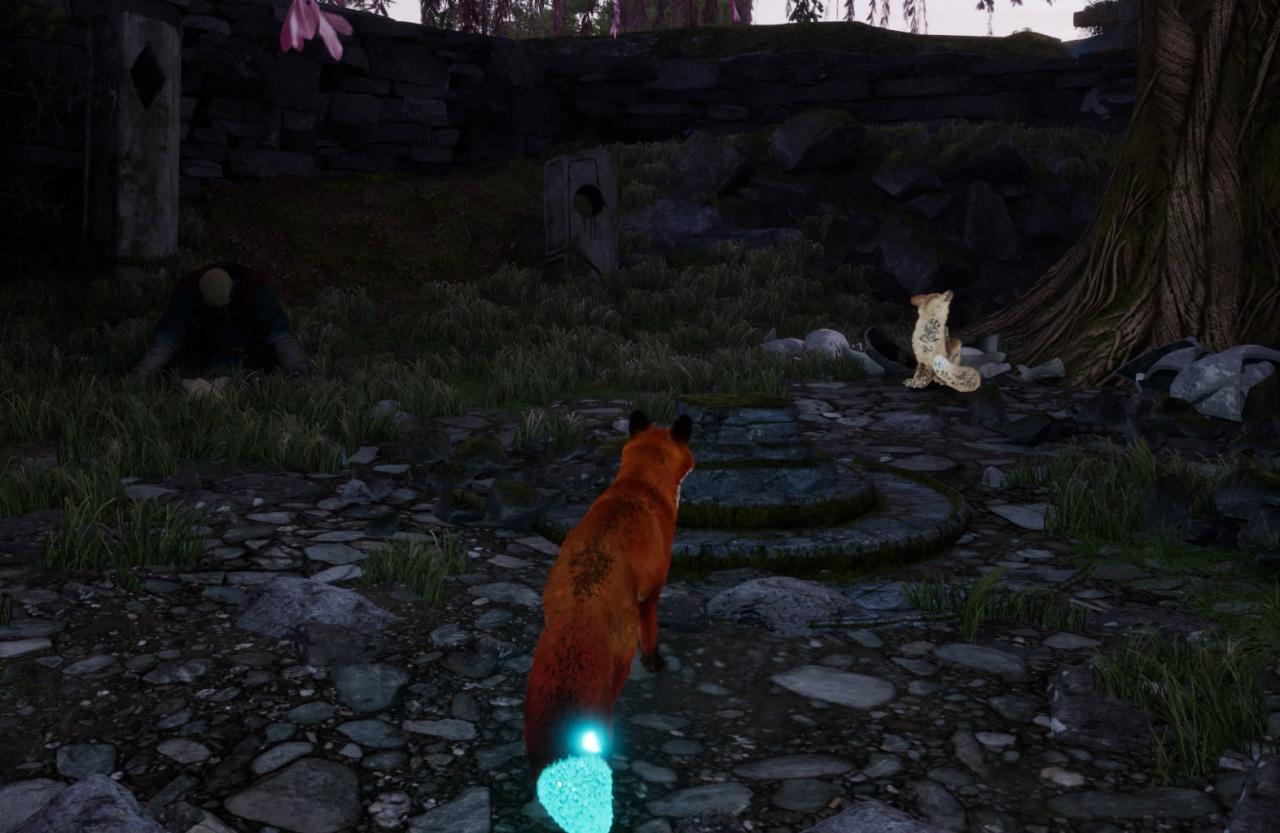
- When you first enter the Fox Village follow the path until it splits.
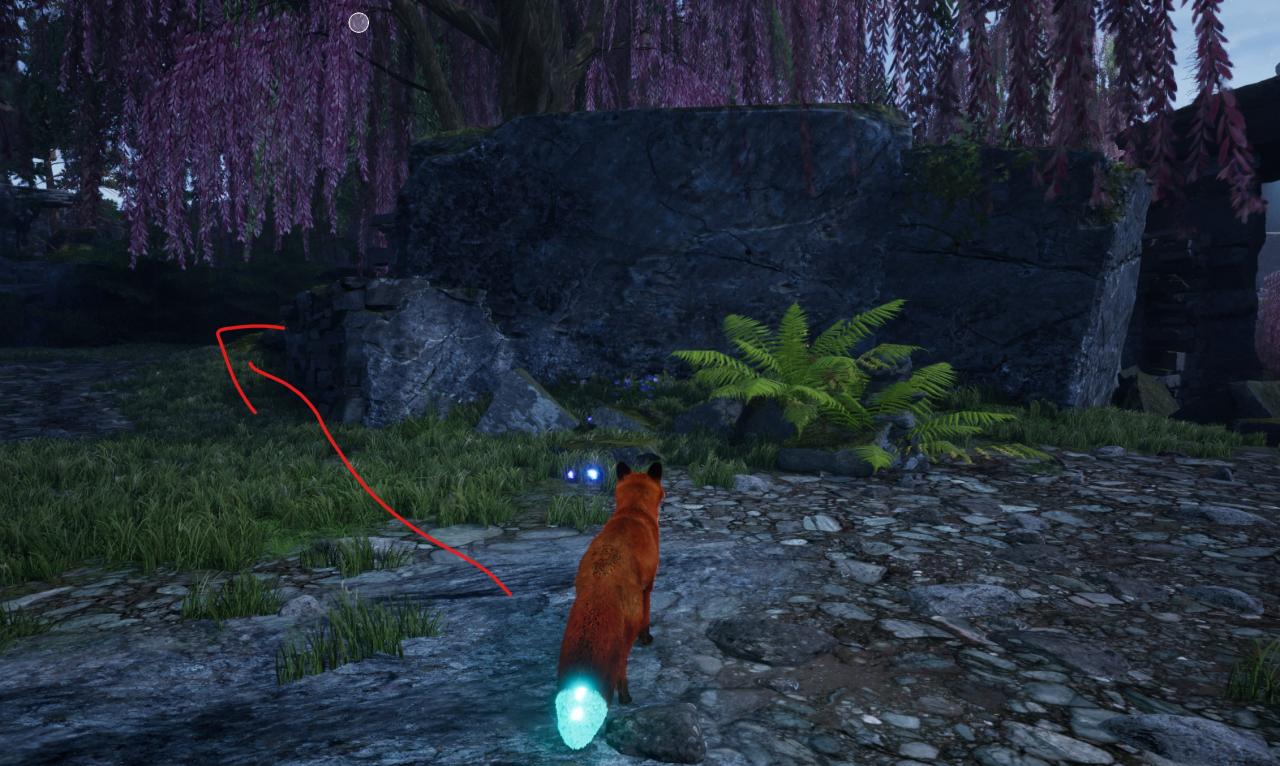
- Take the left path until it circles around to a tree, a tan fox, and skeleton. The paper will be on the alter in front of the three.
 2
2“In my day, a shaman called Grimmnir of the Bear Tribe broke the peace between tribes and began a great and terrible war. Those true to the old alliance united and fought against him.”
- This scroll is found immediately after finishing the first “puzzle” and opening the door to a council room. This scroll is hard to miss.
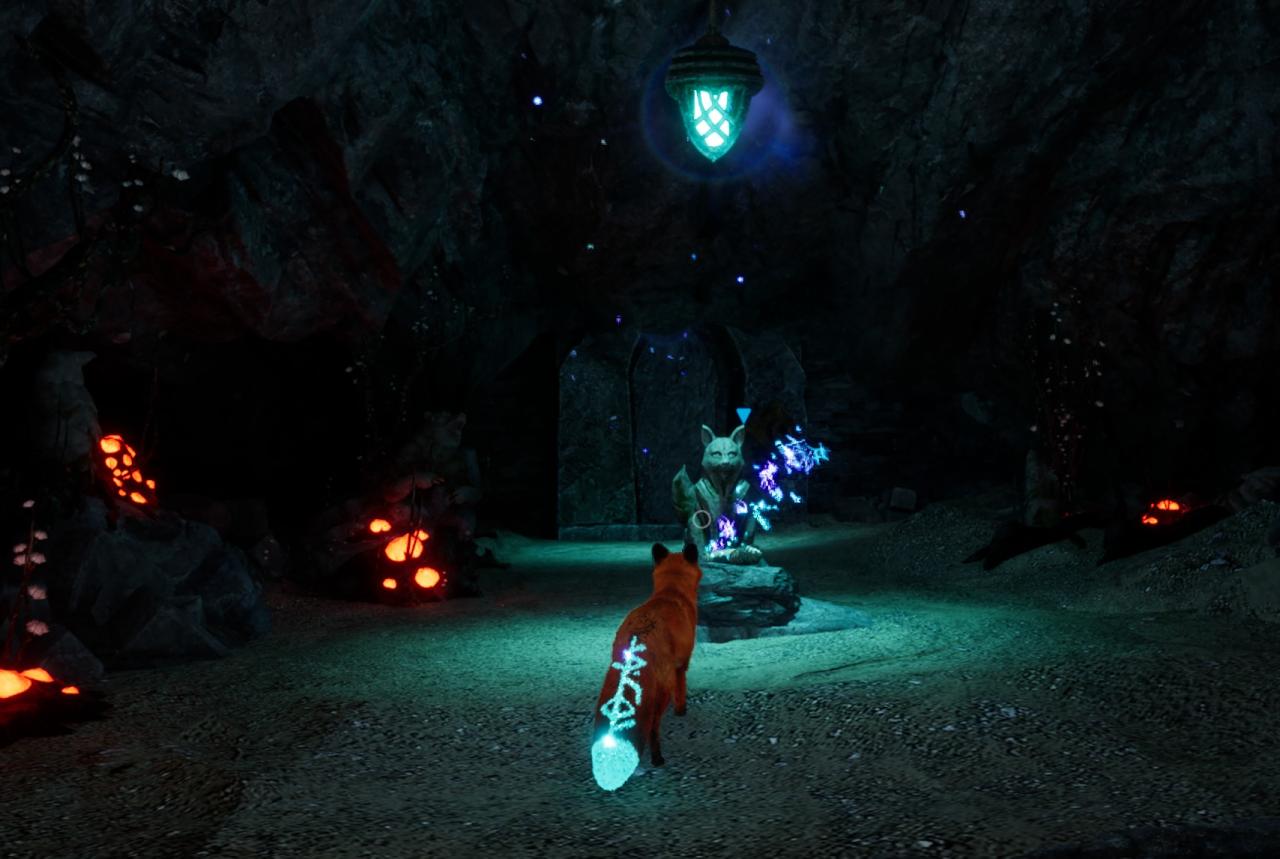
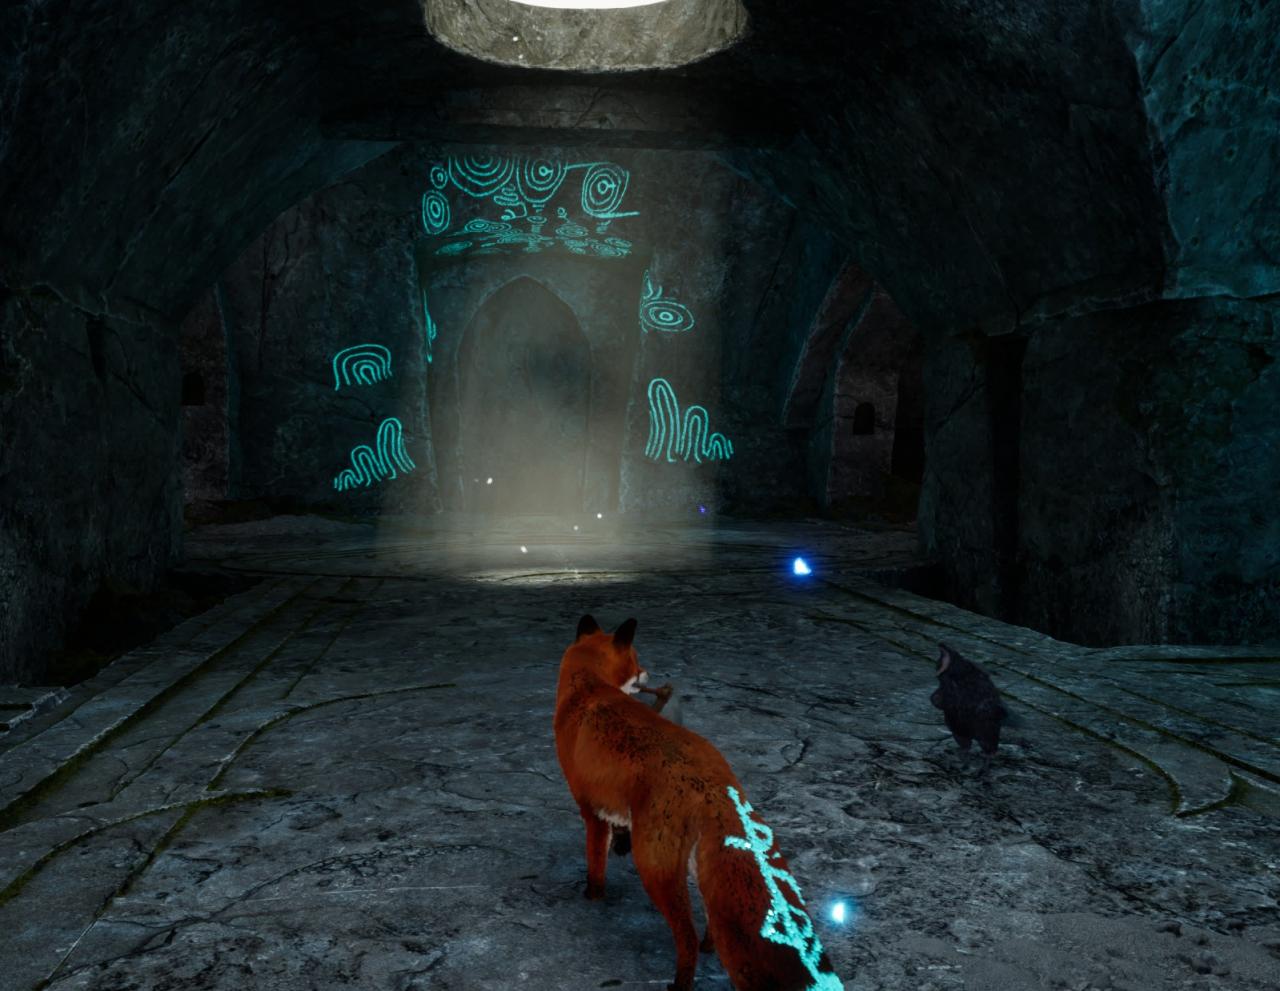
3“Grimnir, consumed by envy and hate, sought to corrupt the light of all the animal guardians. One by one, he subjugated them to his will. However, the Fox eluded him and fled far from his realm, never to be seen again.”
- As you progress you’ll walk through a cave tunnel. You’ll find a fox alter with the scroll sitting on top of it.
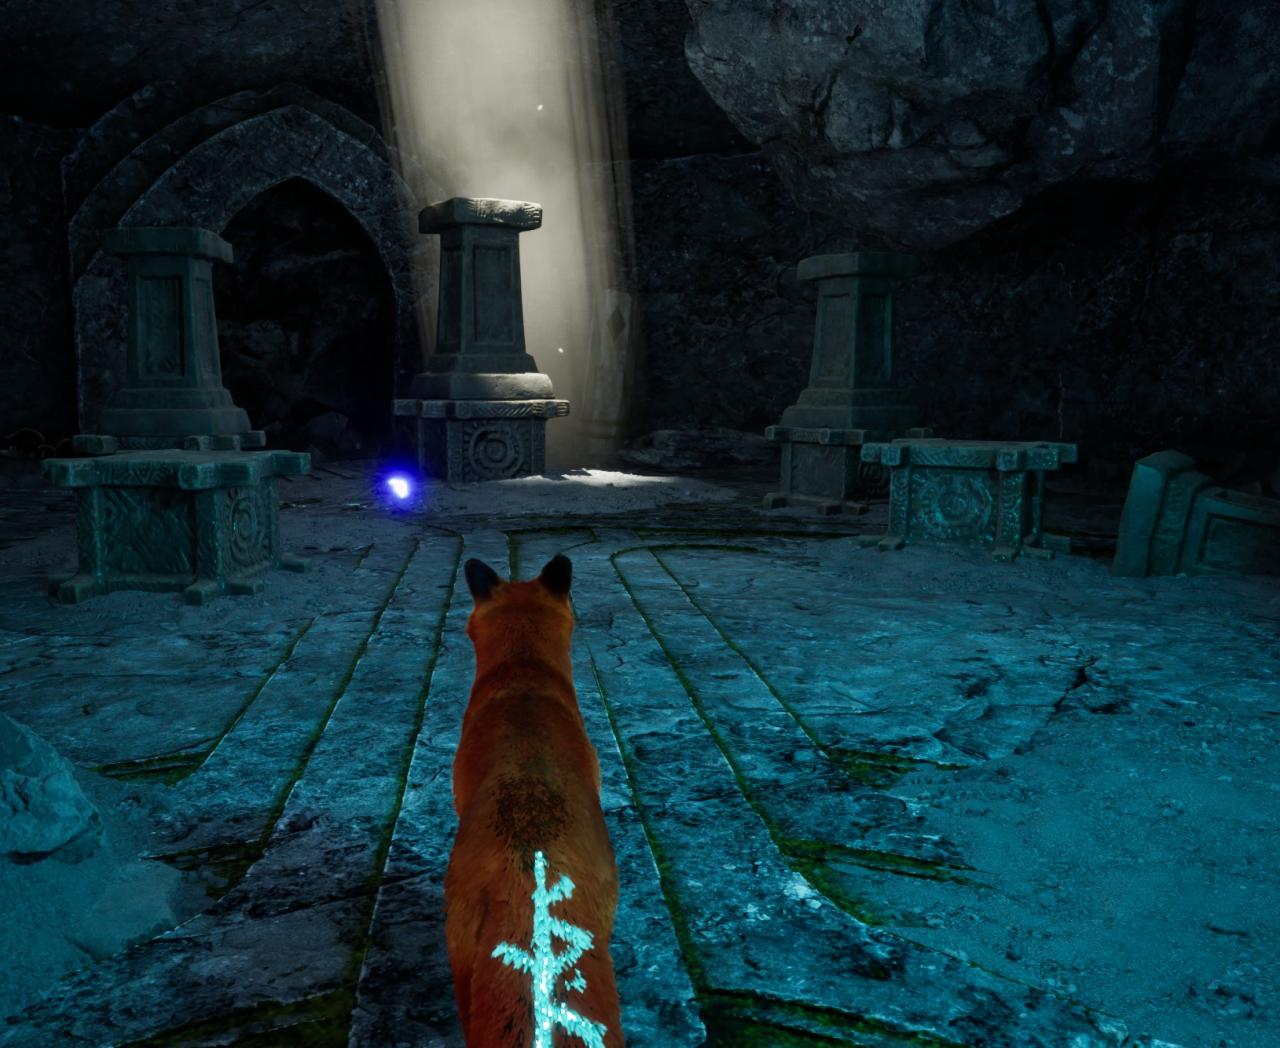
4“The staff of Grimnir shall remain here, unmoved, until the Fox Guardians return.”
- As you enter the Palace of Peace you’ll notice that your fox grows to be on edge. Progress forward following the red wisp in the air. It’ll lead you through the colosseum like building to a little room.
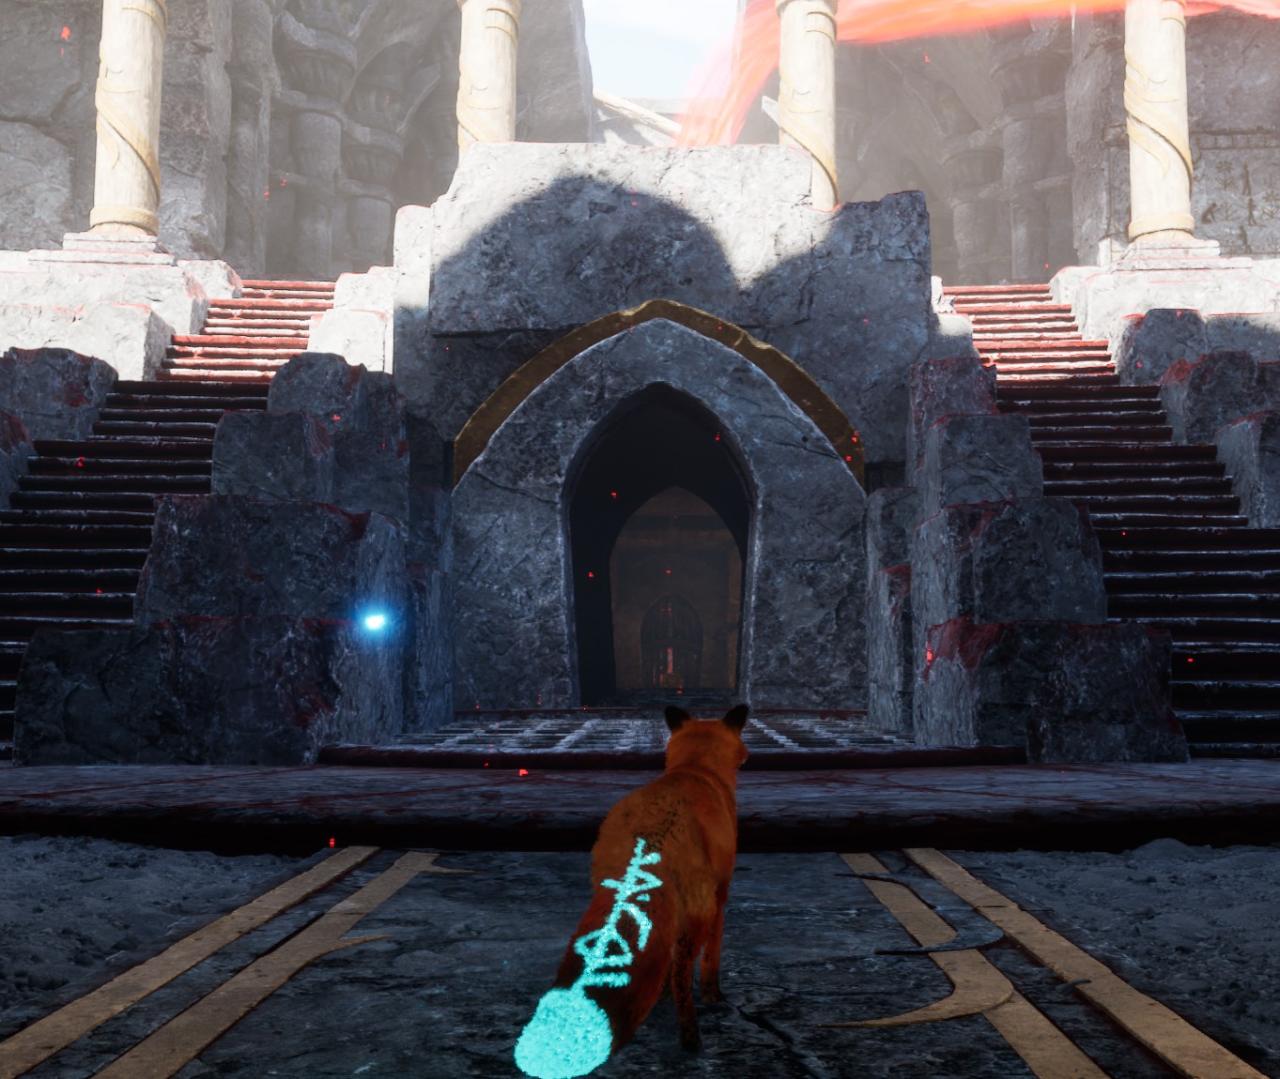
- Inside is the scroll and a chest.
- This scroll is found immediately after finishing the first “puzzle” and opening the door to a council room. This scroll is hard to miss.
Ram Tribe
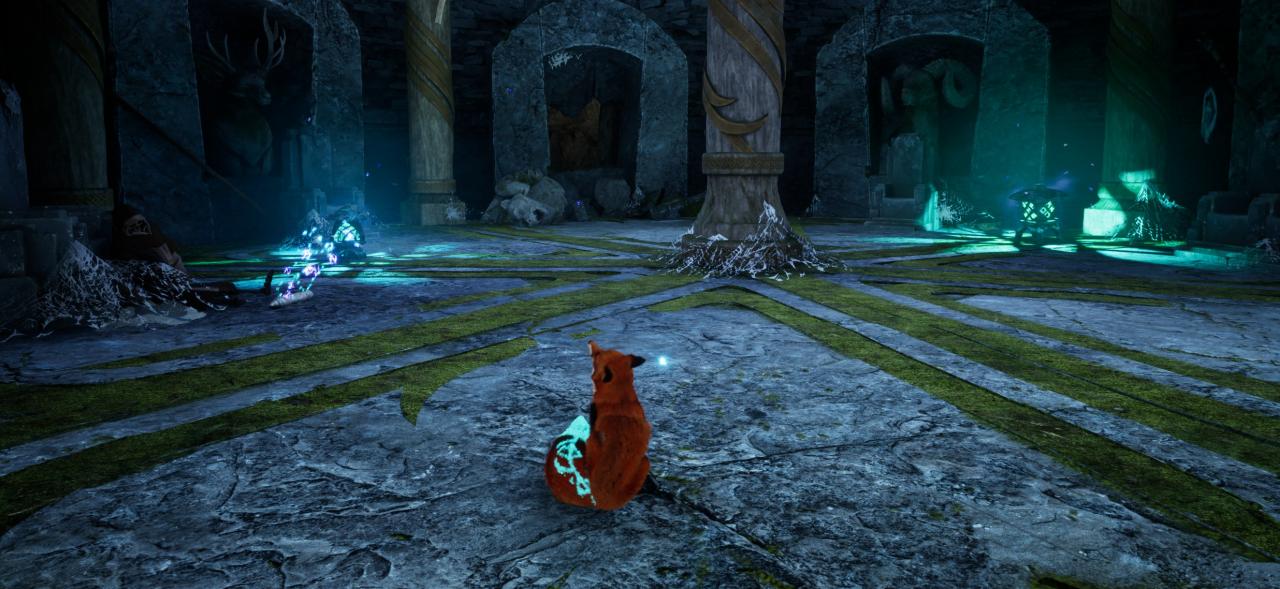
“For his atrocities, Grimnir was sentenced to death and the war ceased. Yet the land bore the stain of his ill deeds and the guardians could not be cleansed of their corruption.”
Slight story spoiler: continuing down the story path will cause the area to erupt into lava. You might still be able to get this scroll after this happens, but I am not 100% sure.
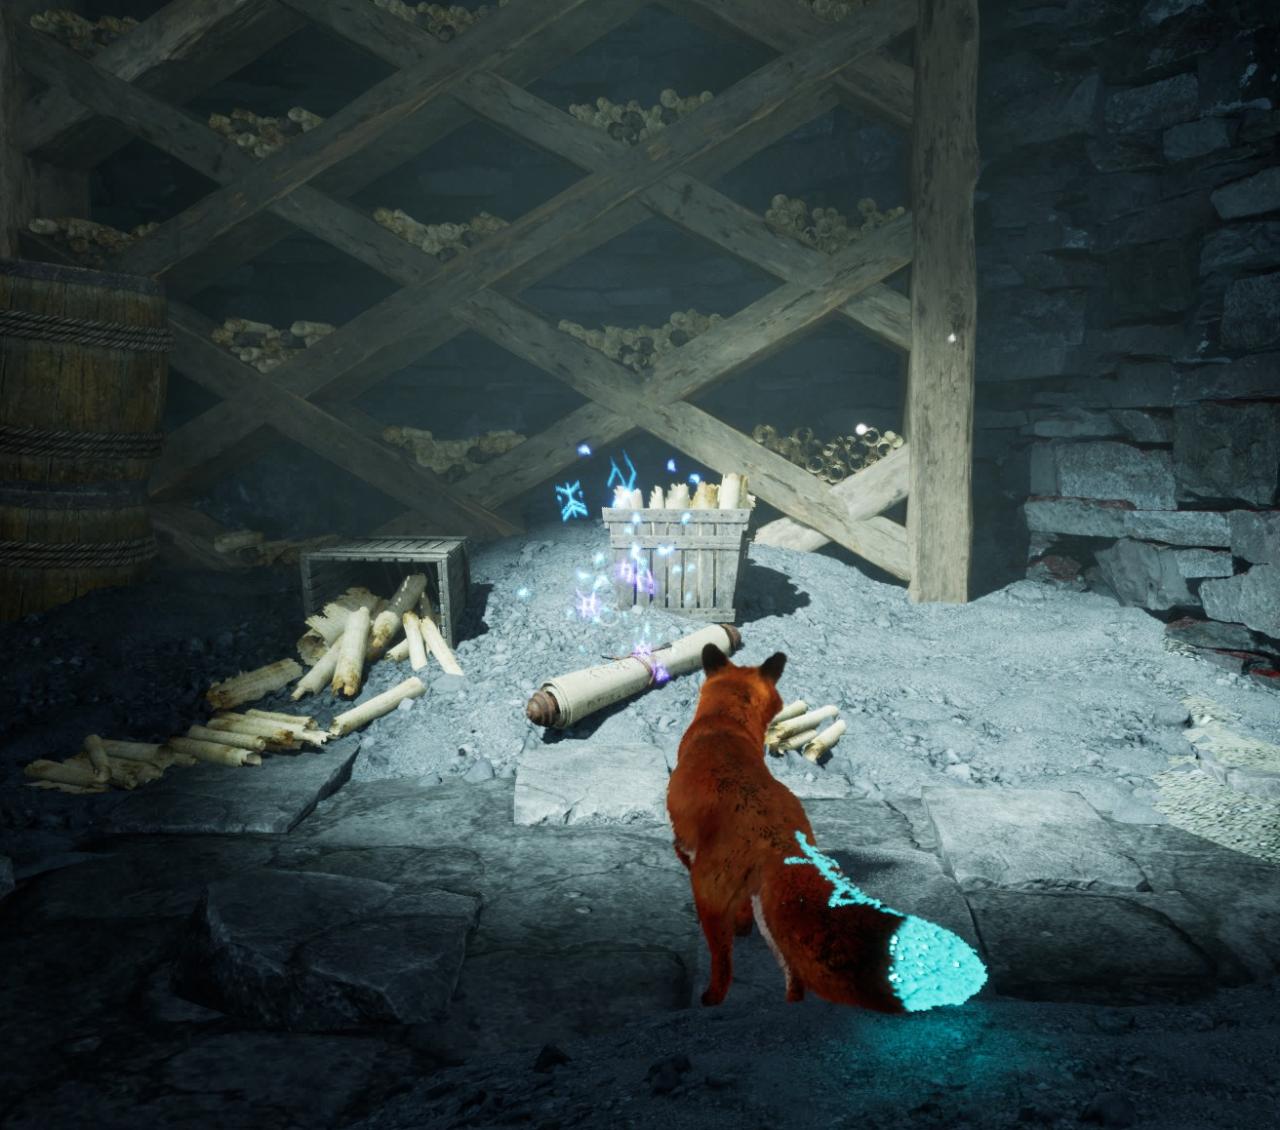
- Following the main path will lead you into a big cave. After a quick cutscene you’ll see two towers.
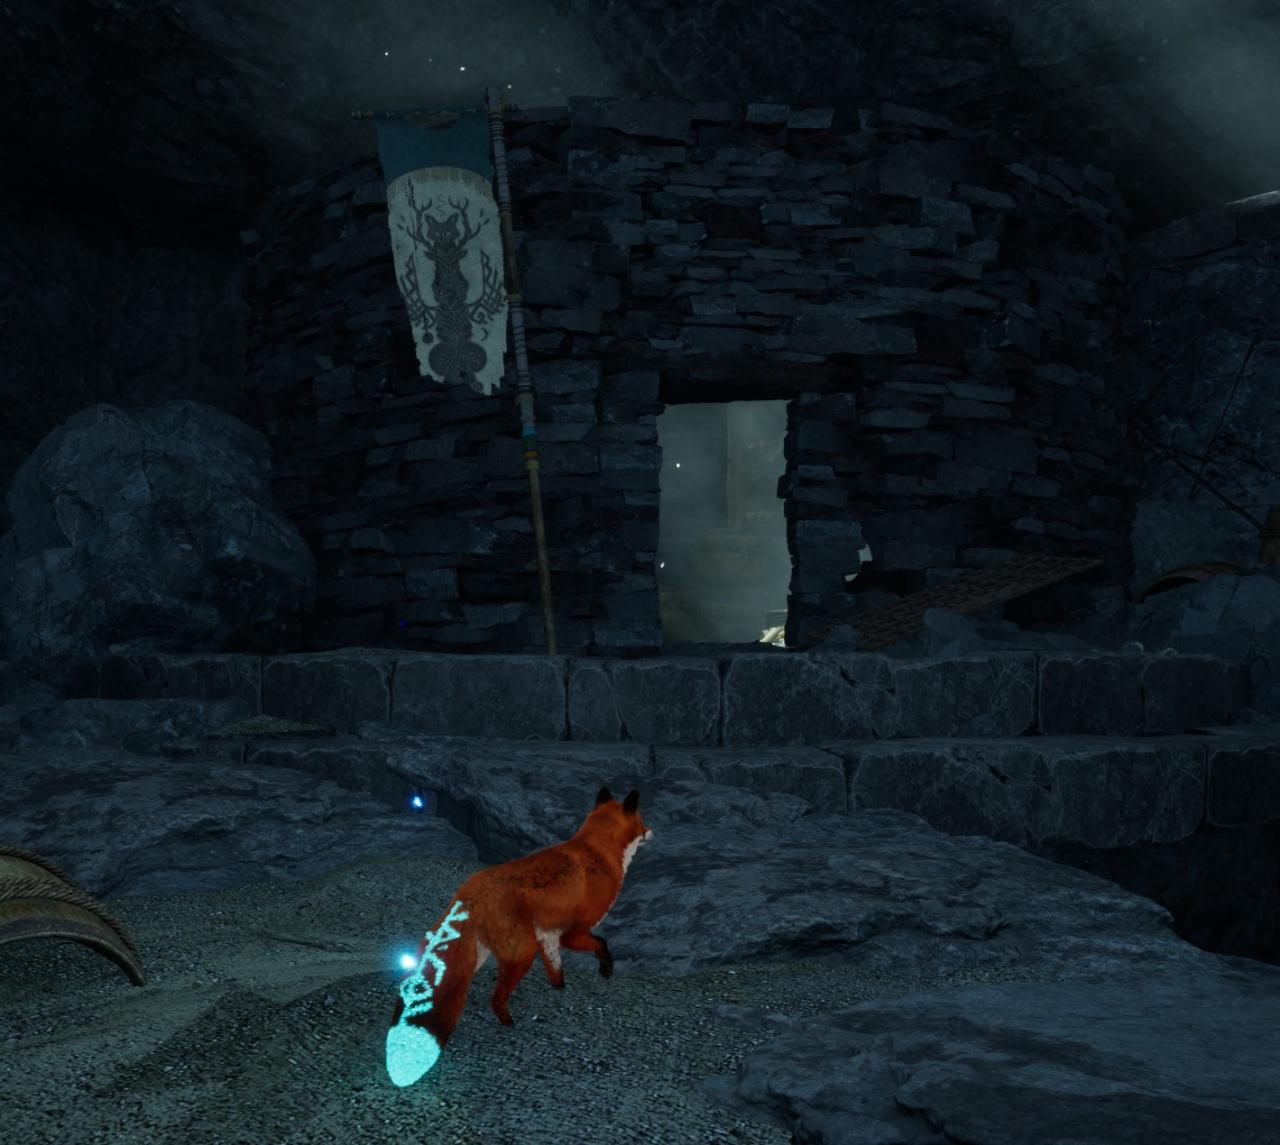
- The one on the left has an open door. Inside is a whole bunch of scrolls and one giant scroll (for you!)
Bear Tribe
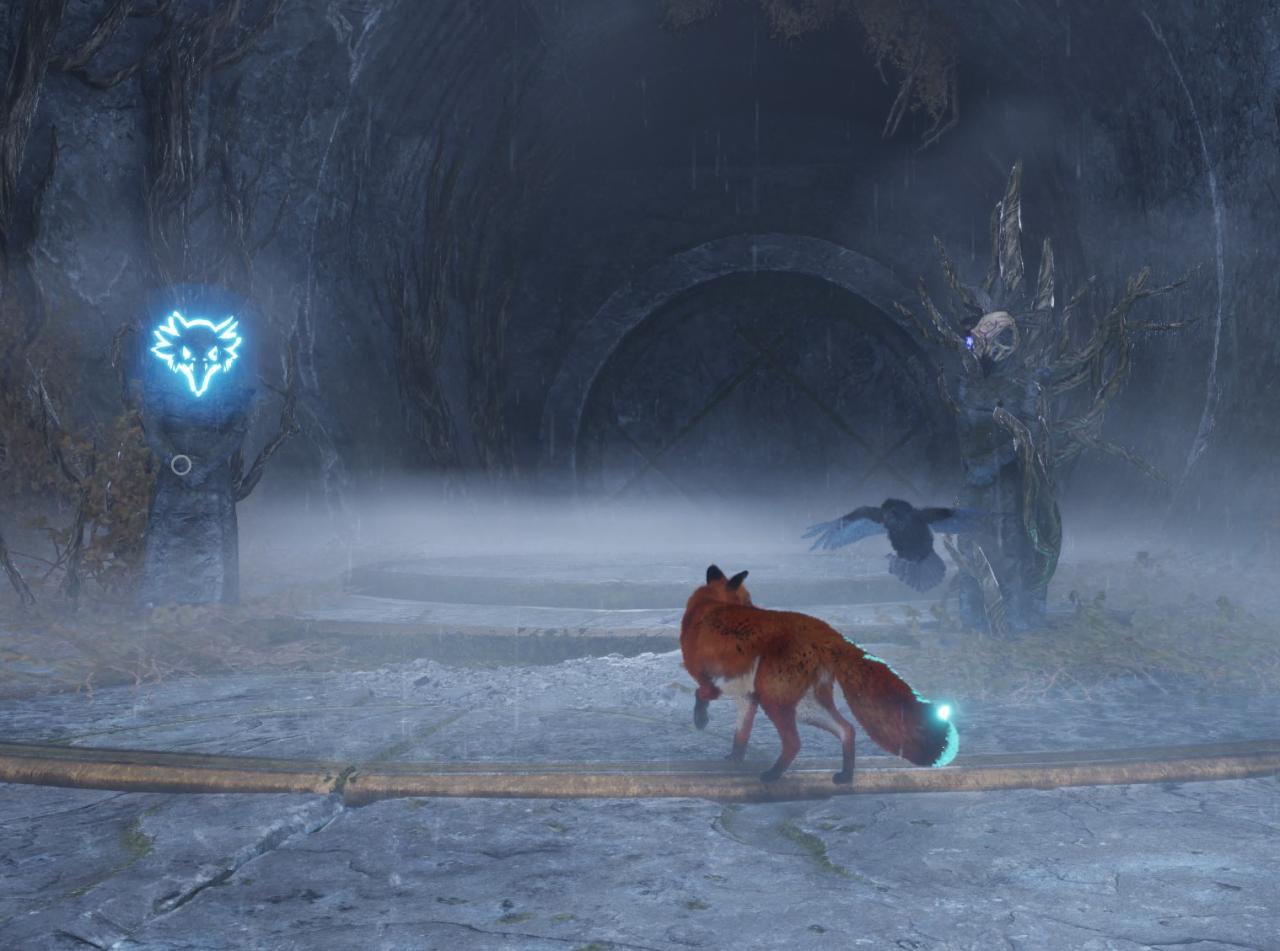
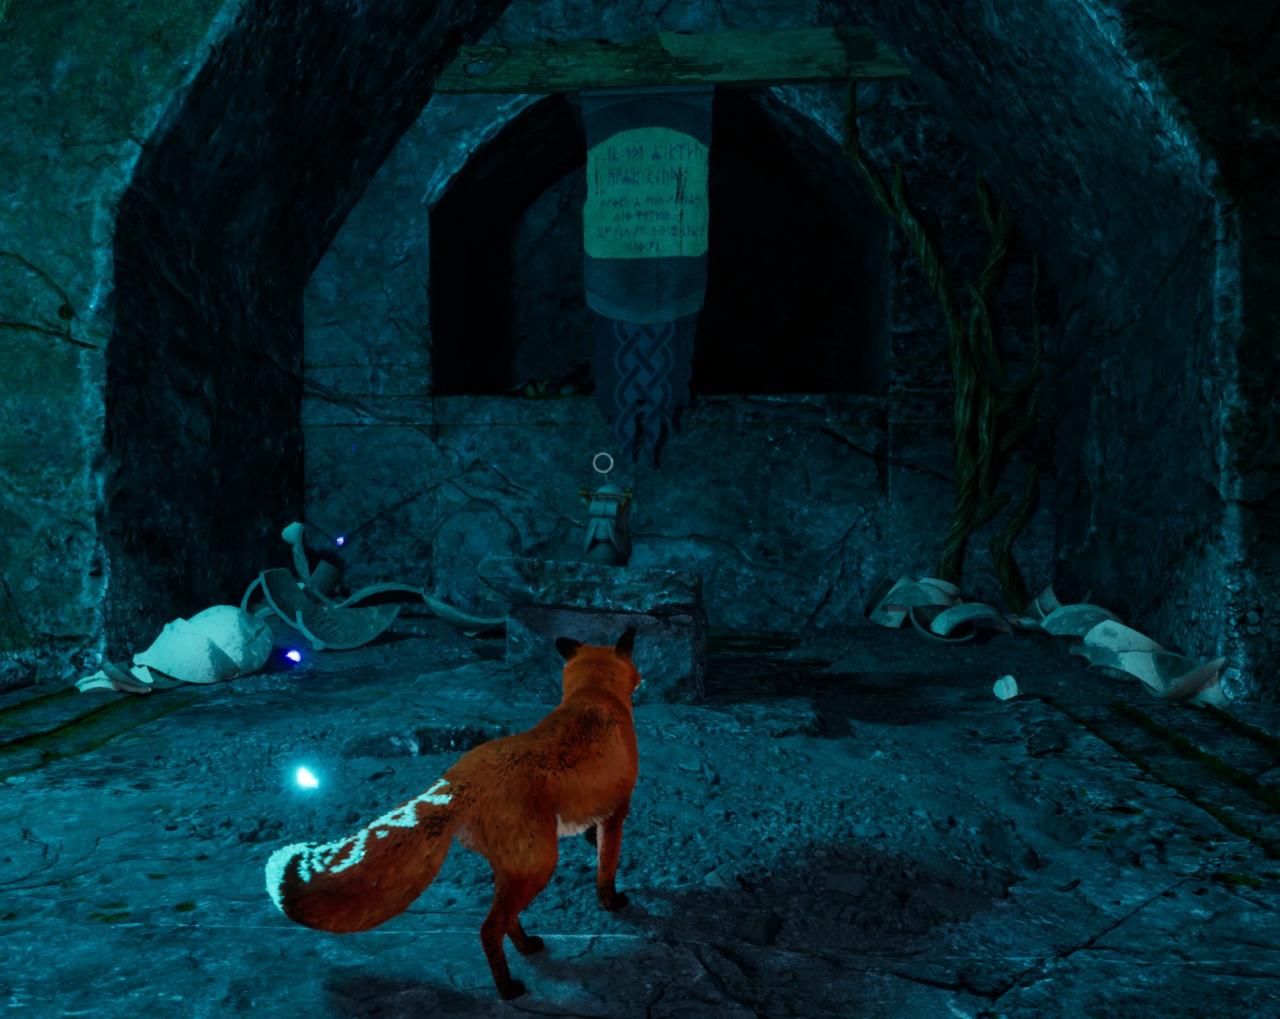
“In Misthaven there dwelleth a lesser raven, named Thought. Lock her away, she is of no use to us.”
- Located in the Ruins of Nûmhjûk. You’ll see a statue holding an outline of a staff. Behind that is a door. The scroll is next to the door.
Relics
I completed this puzzle before I realized it was a puzzle. My apologies.
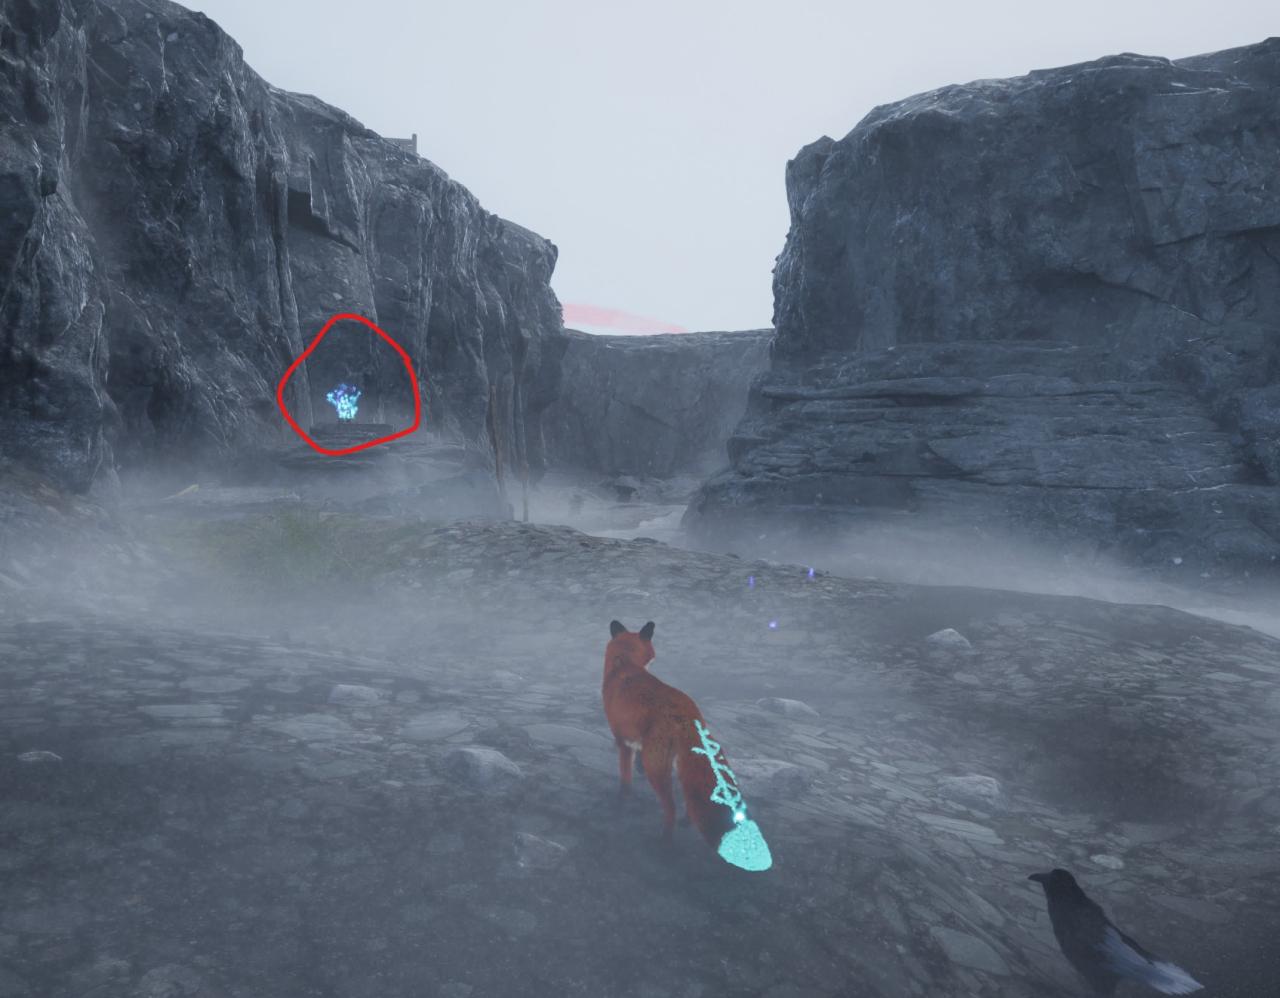
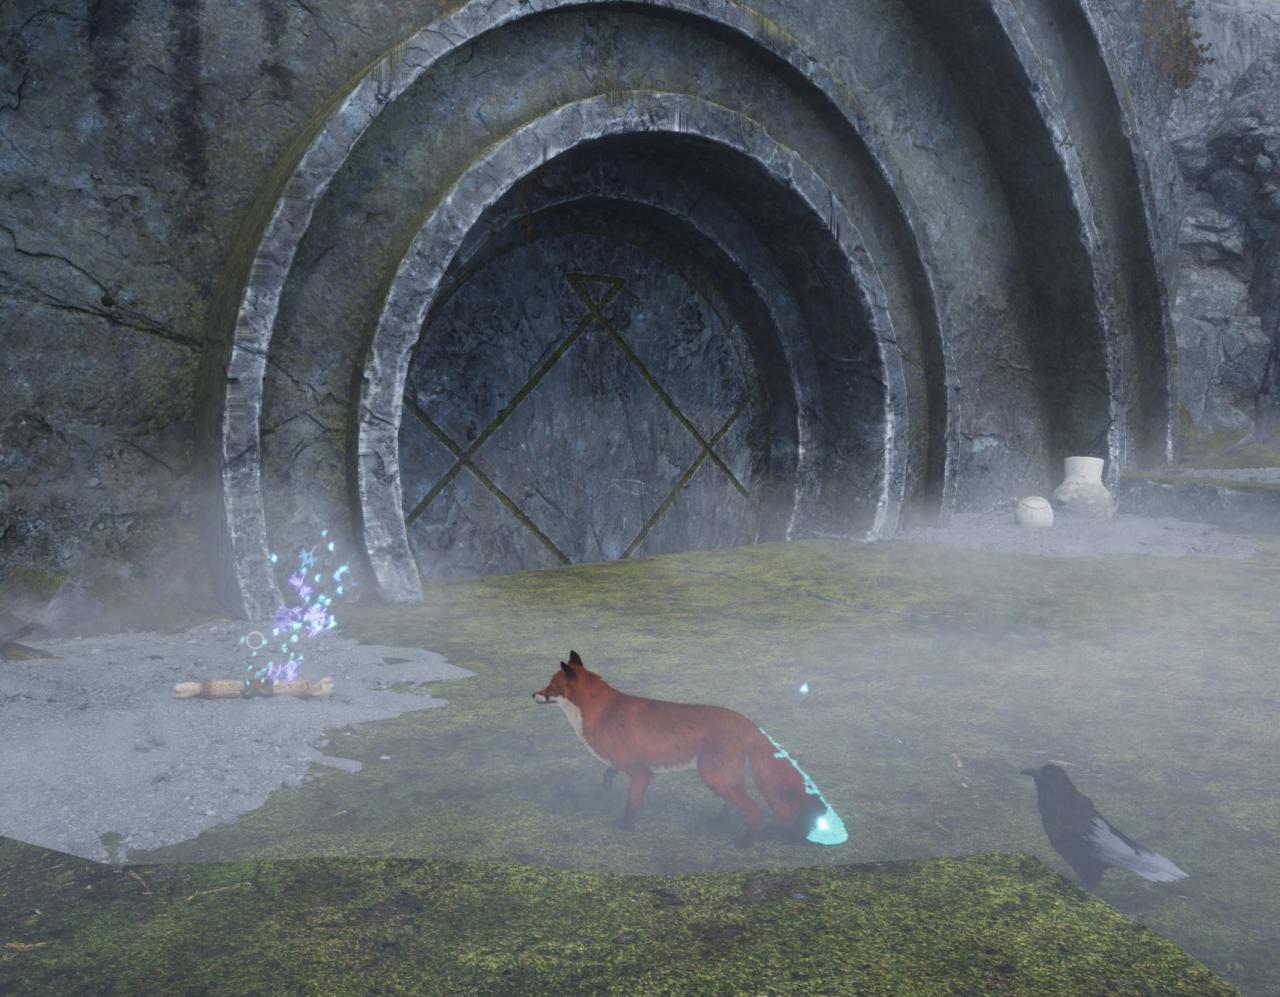
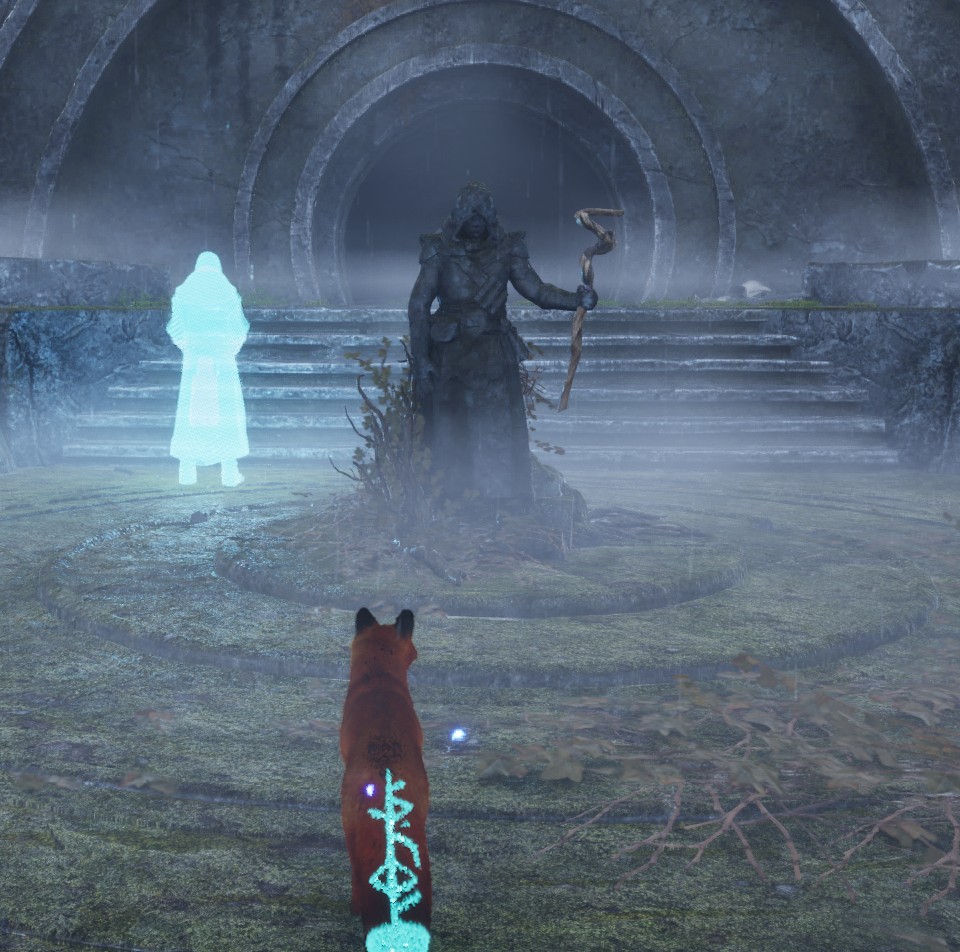
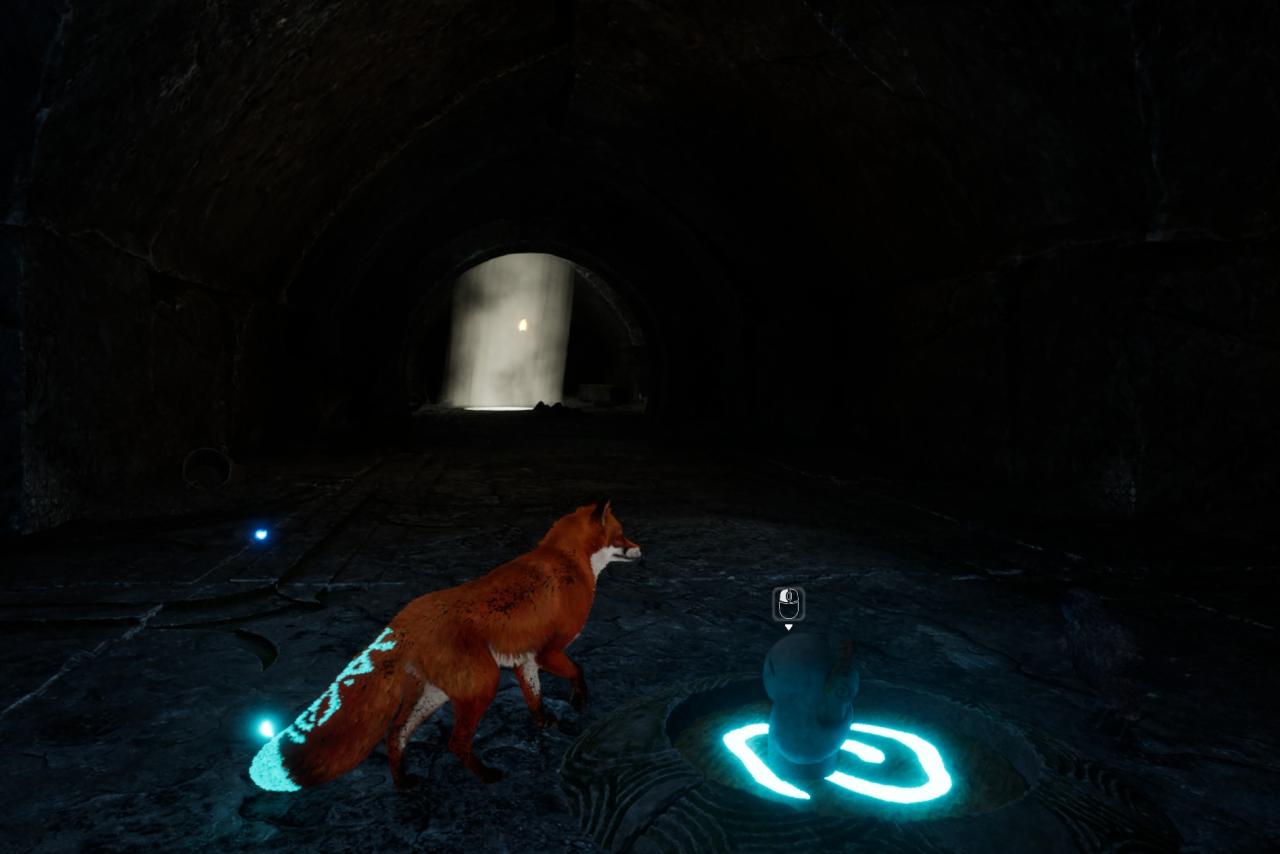
- This can be found in the Ruins of Nûmhjûk. You’ll see a little entryway with an empty room.
- Going in an alter will rise from the floor and a red spirit will dart to the next room.
- Chase after the spirit and cleanse them, bring them back to the alter, and a door will open with the staff. Bring it back to the statue to collect the relic.
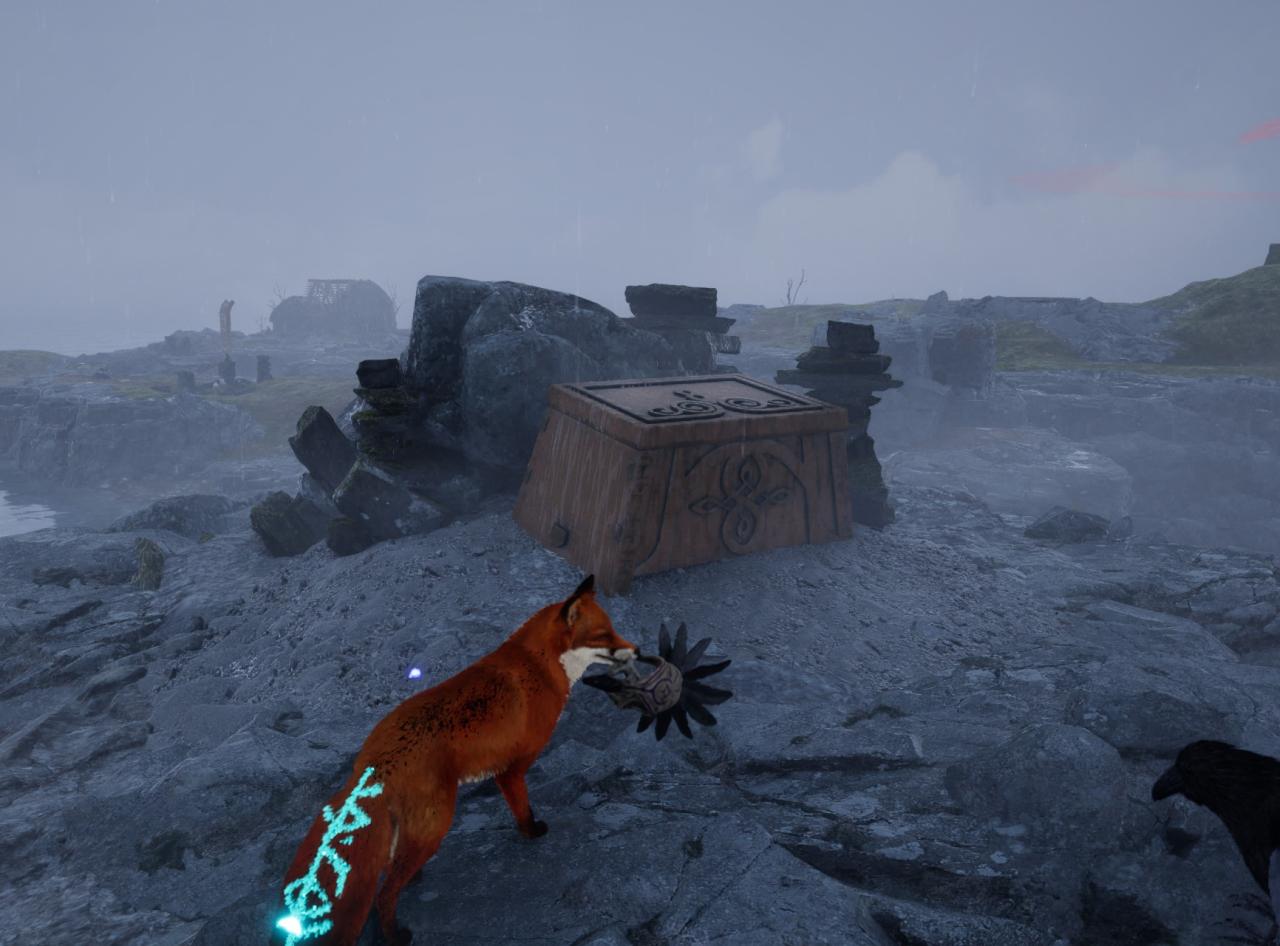
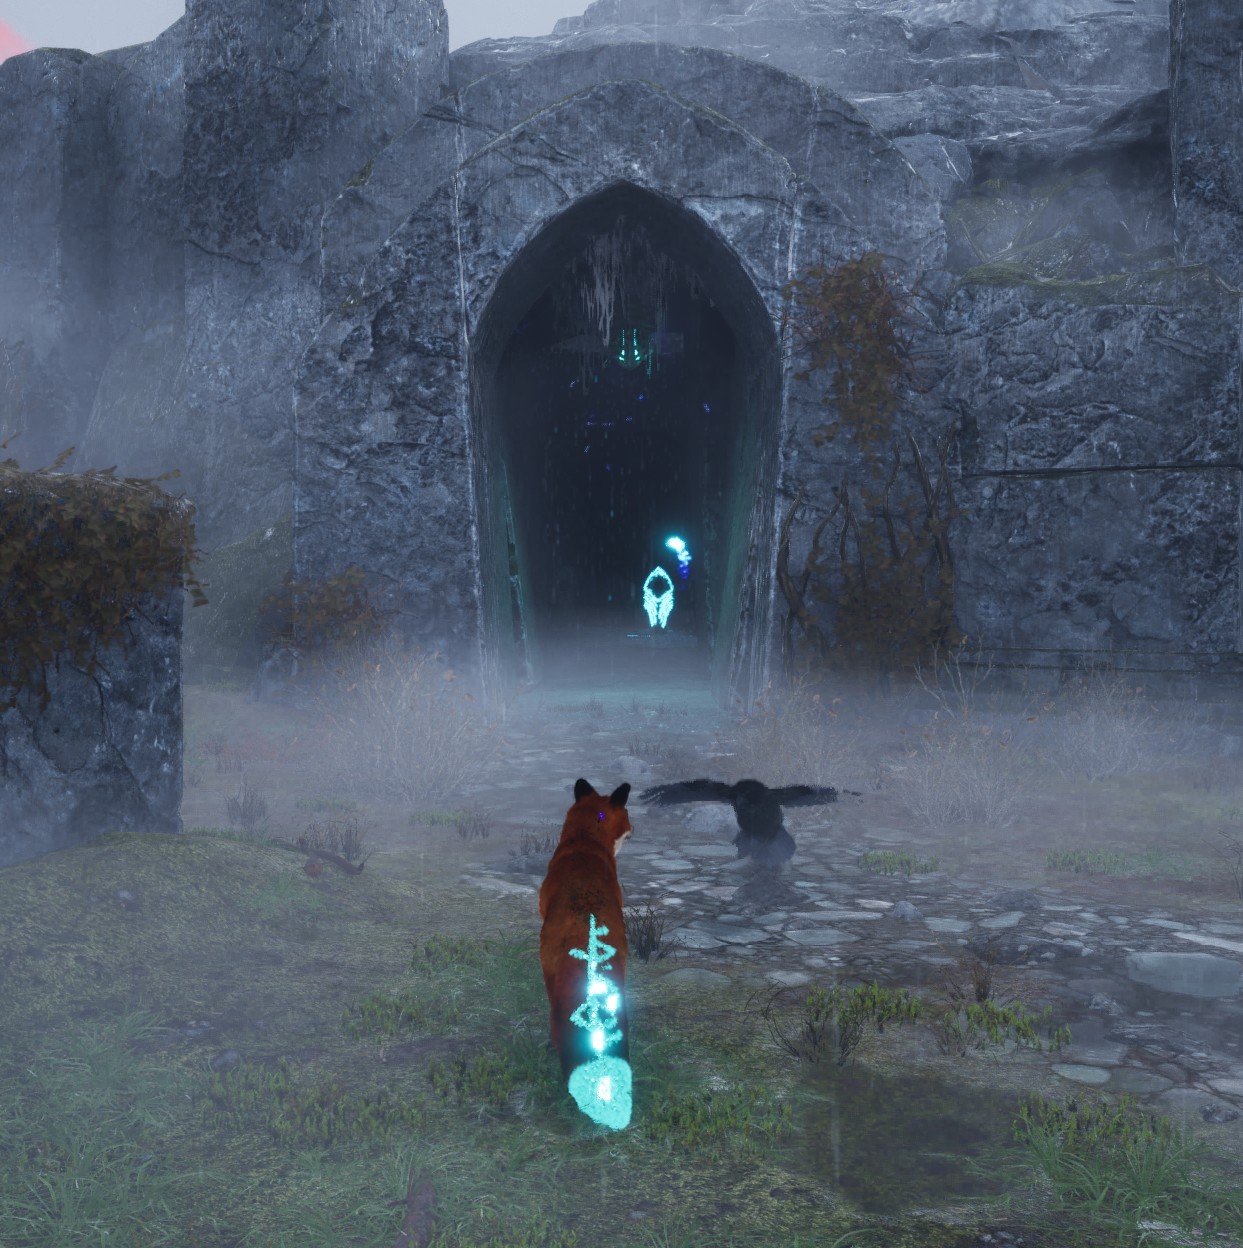
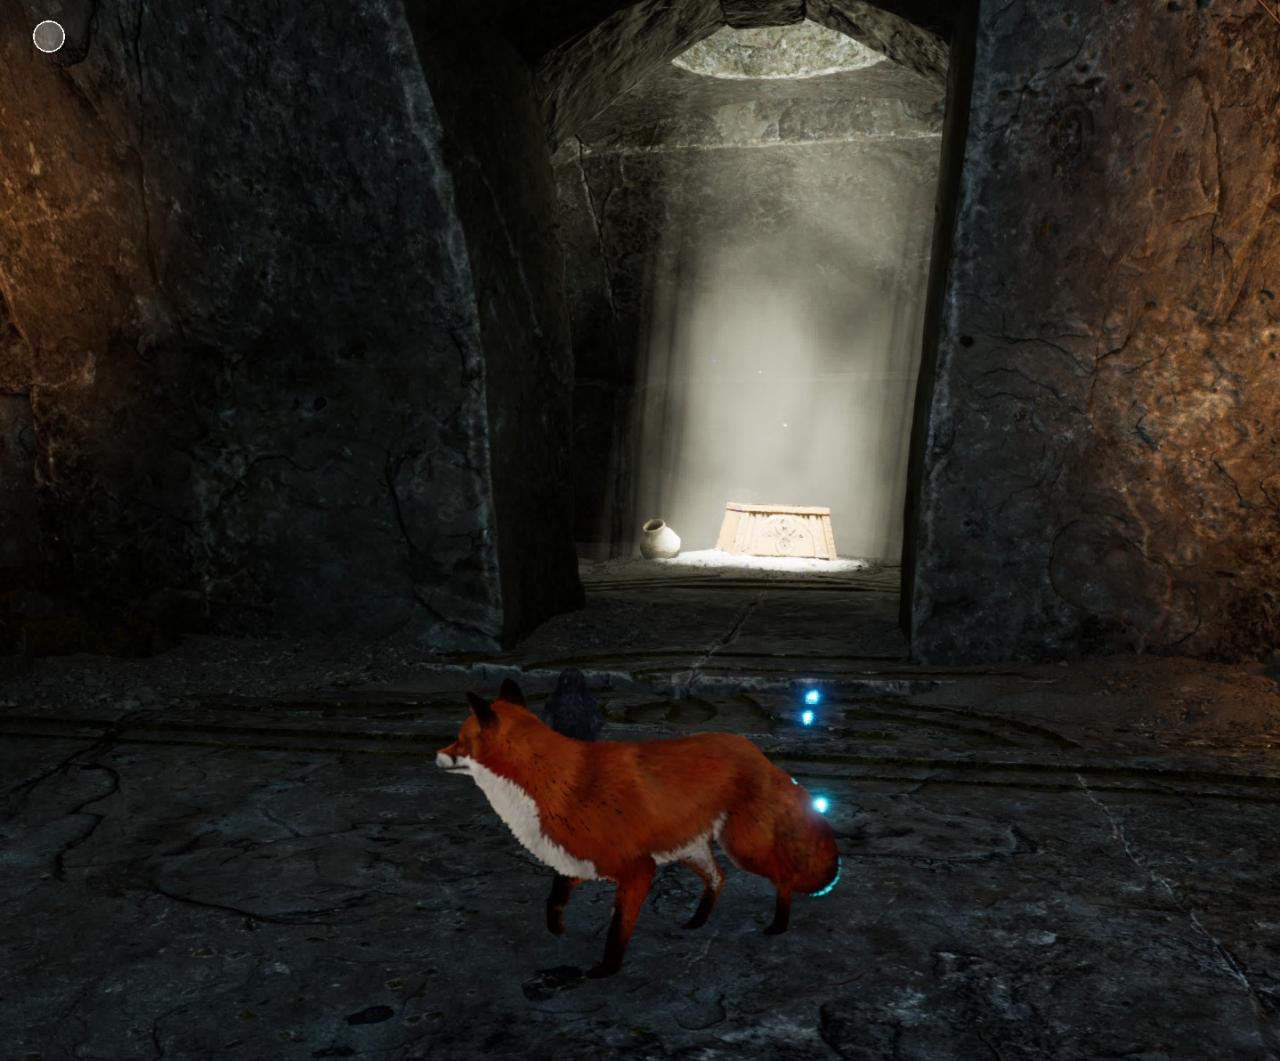
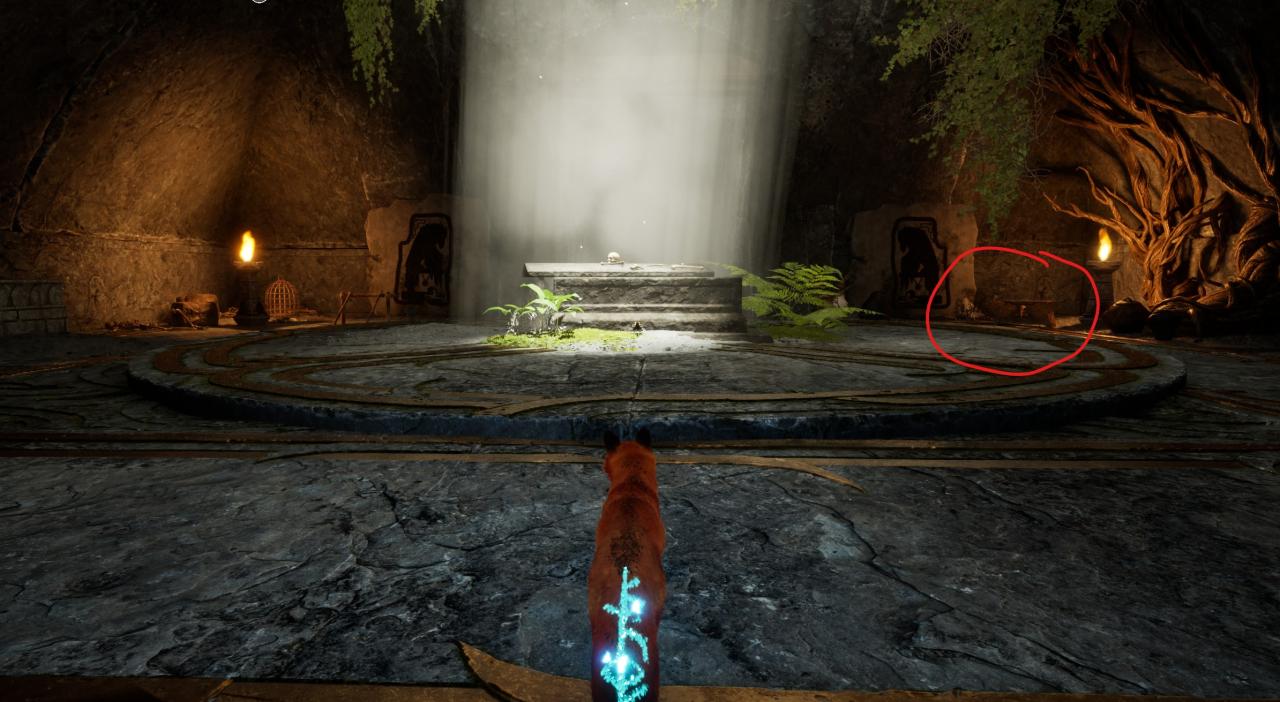
- This is one of the relics needed to move forward with the main story. You’ll find it in the Seer’s Crypt.
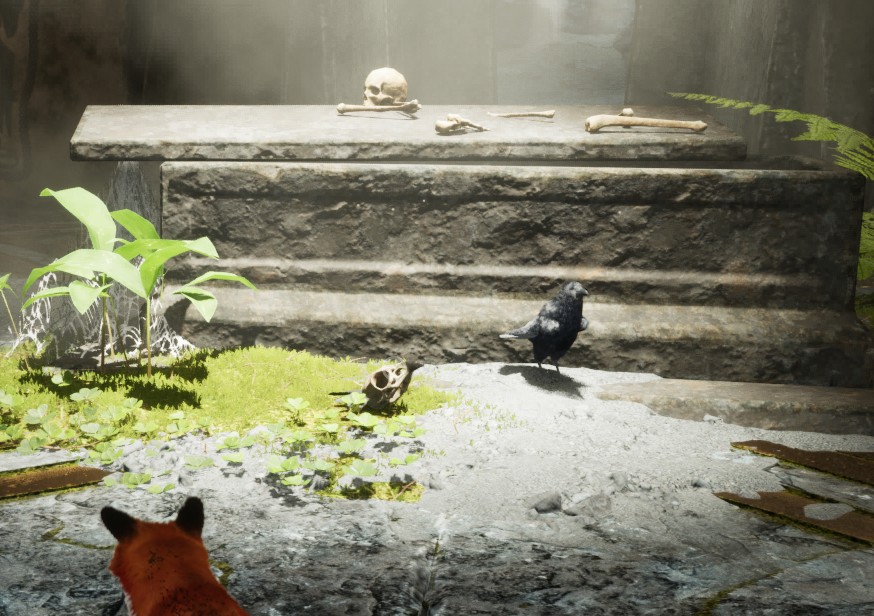
Pick it up and take it with you out of the crypt. You’ll spot the red wisp guiding you to a big door with two statues. Place the skull on the statue to unlock the relic.
Chests
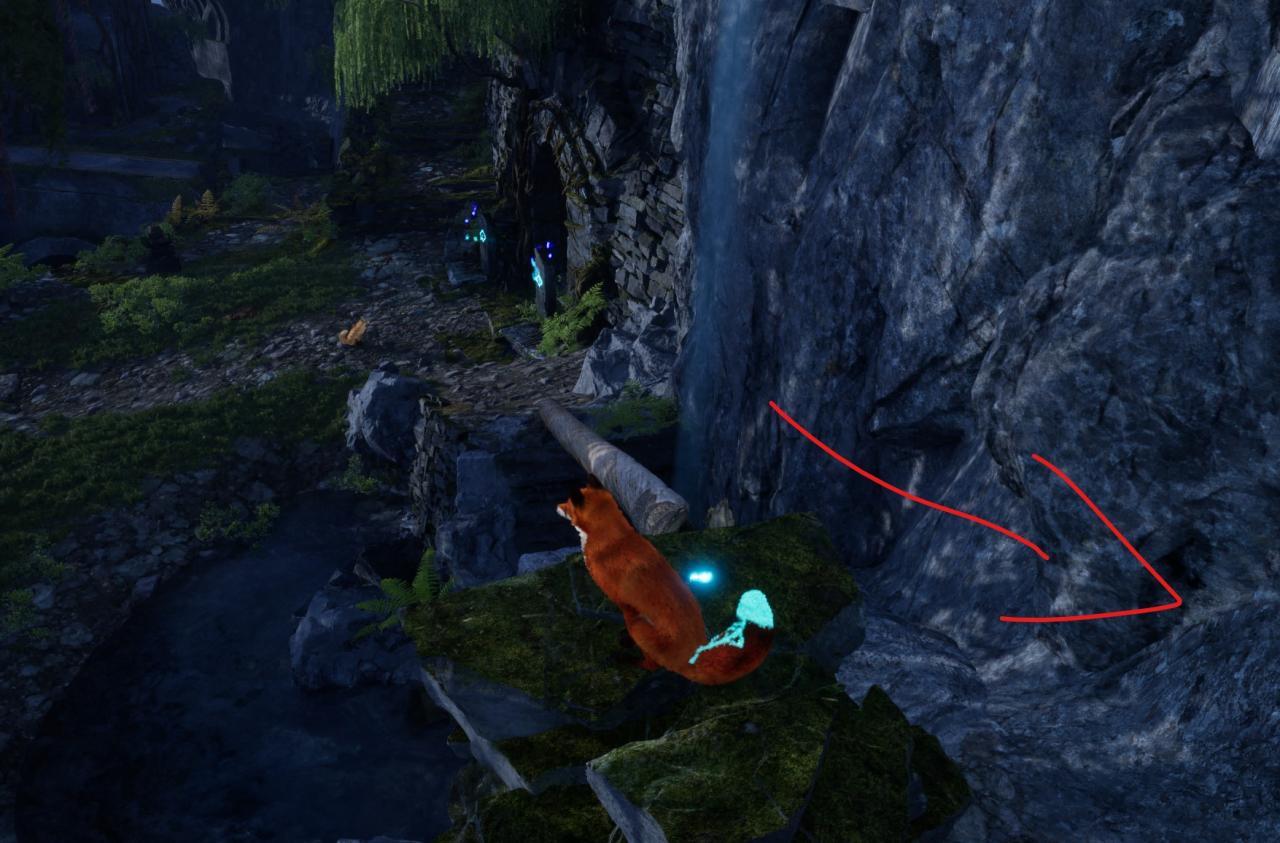
During the first puzzle you will find this chest. On the right path follow the log up and your raven friend will swoop down to give you a mini tutorial.

This chest is a part of the main storyline. It is impossible to miss. You need the contents to open the door to the staff.
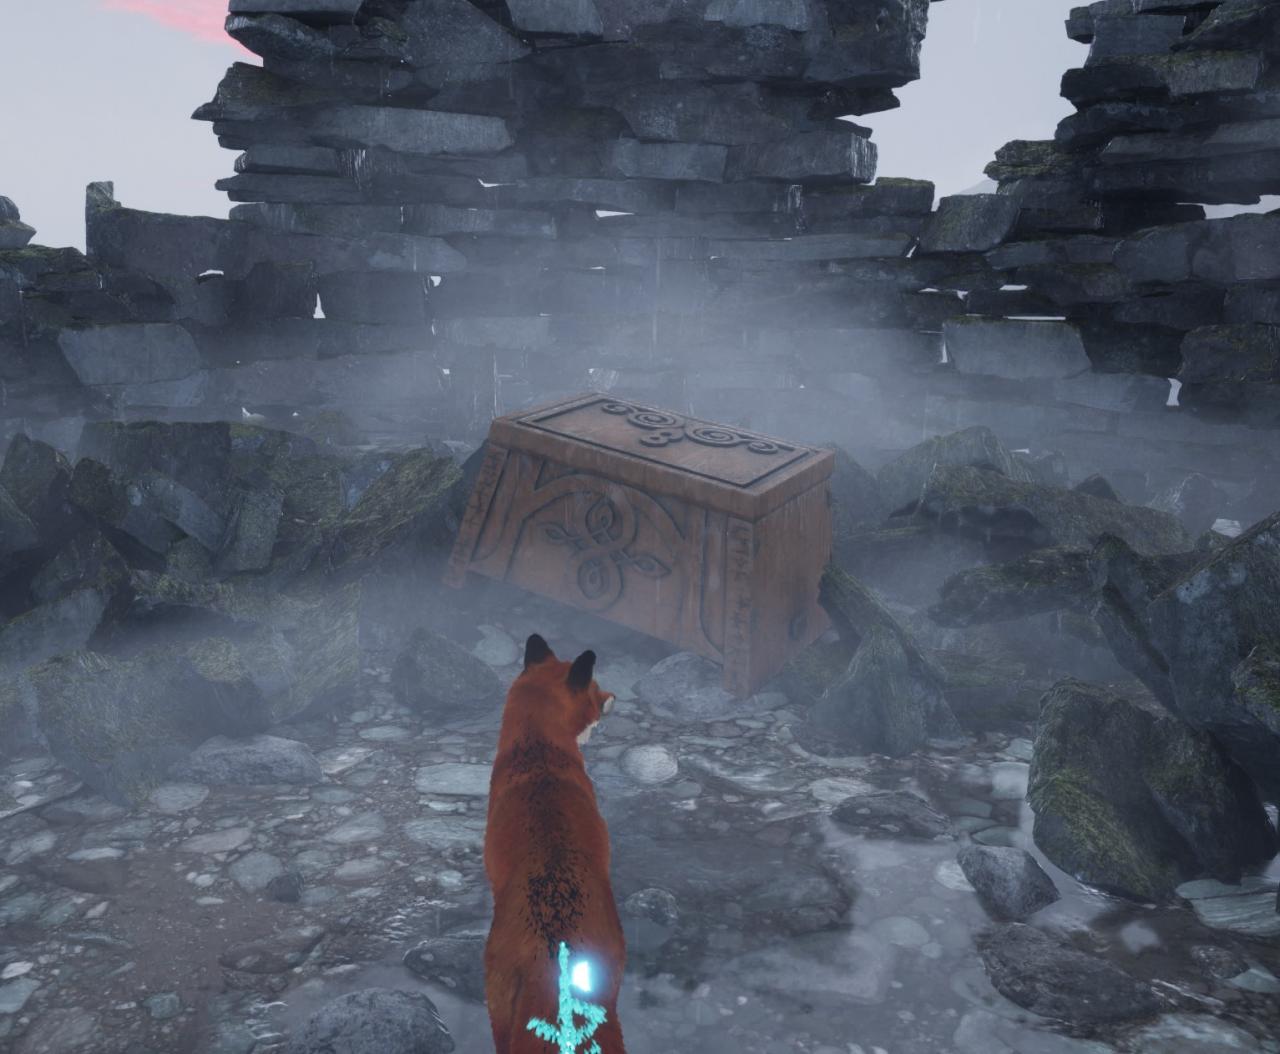
Found in the Ruins of Nûmhjûk. After completing the puzzle for the relic the door will open to reveal this chest.

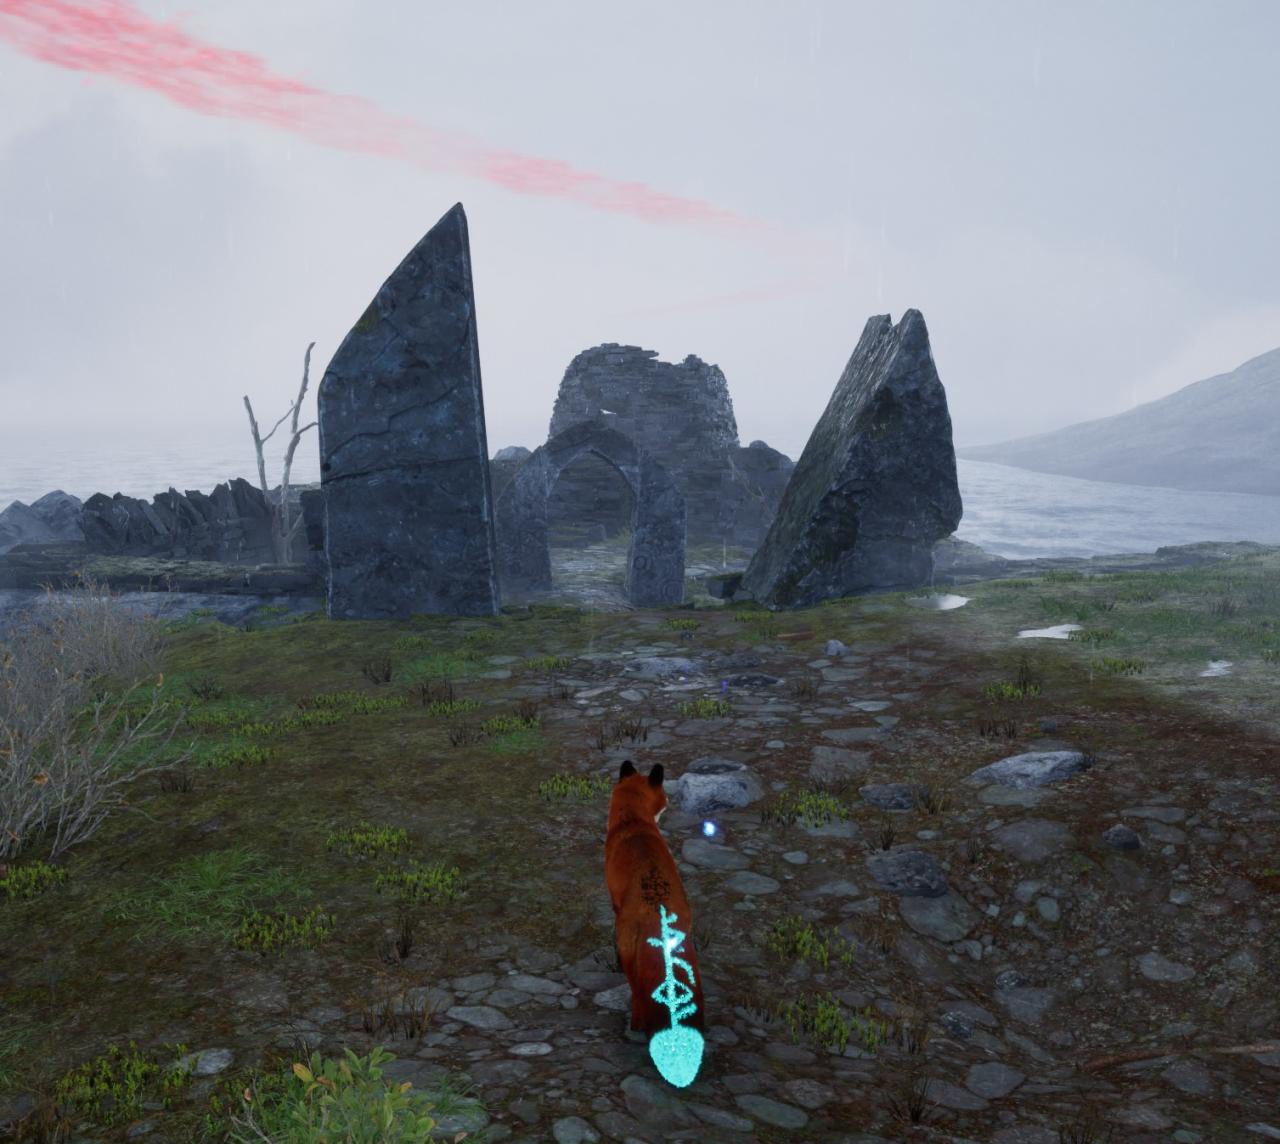
Upon leaving the Ruins of Nûmhjûk go to the left and around the cliff side.
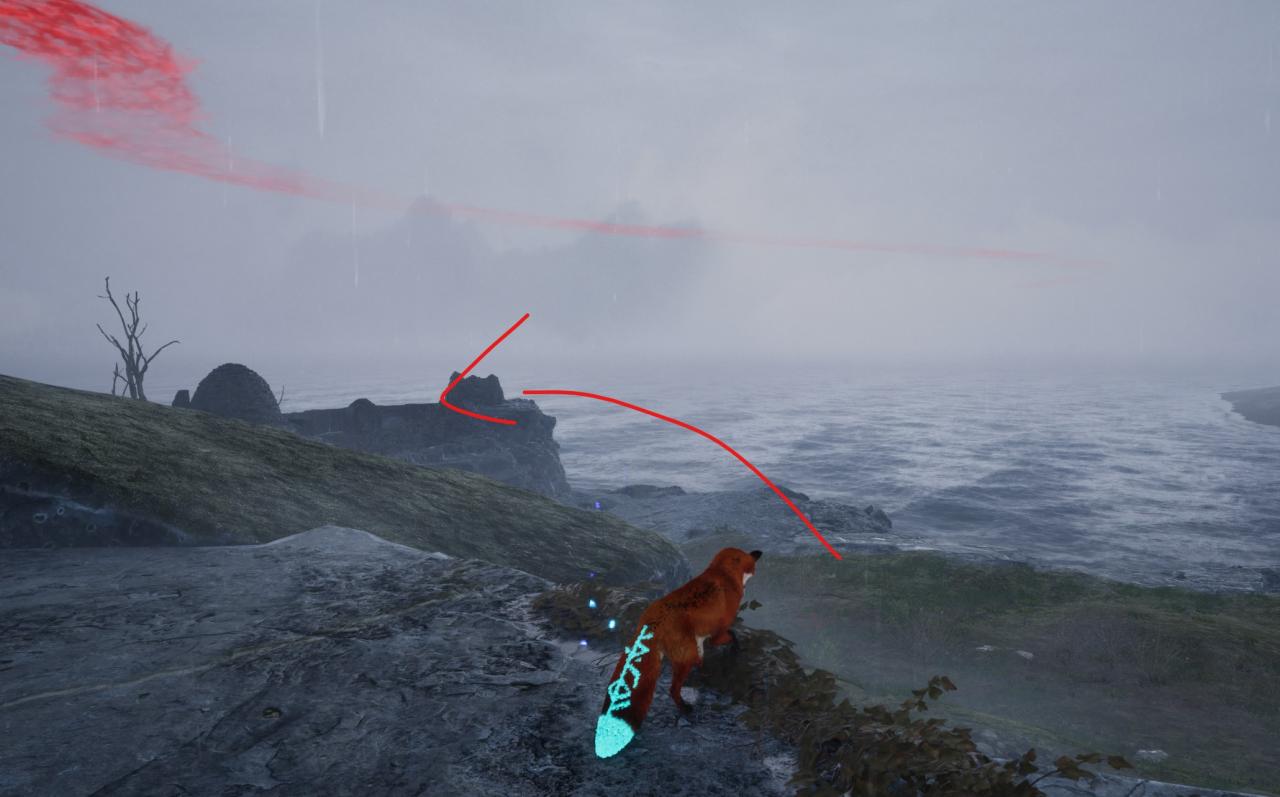
You’ll find a stone structure with two open archways. The one furthest back contains the chest.
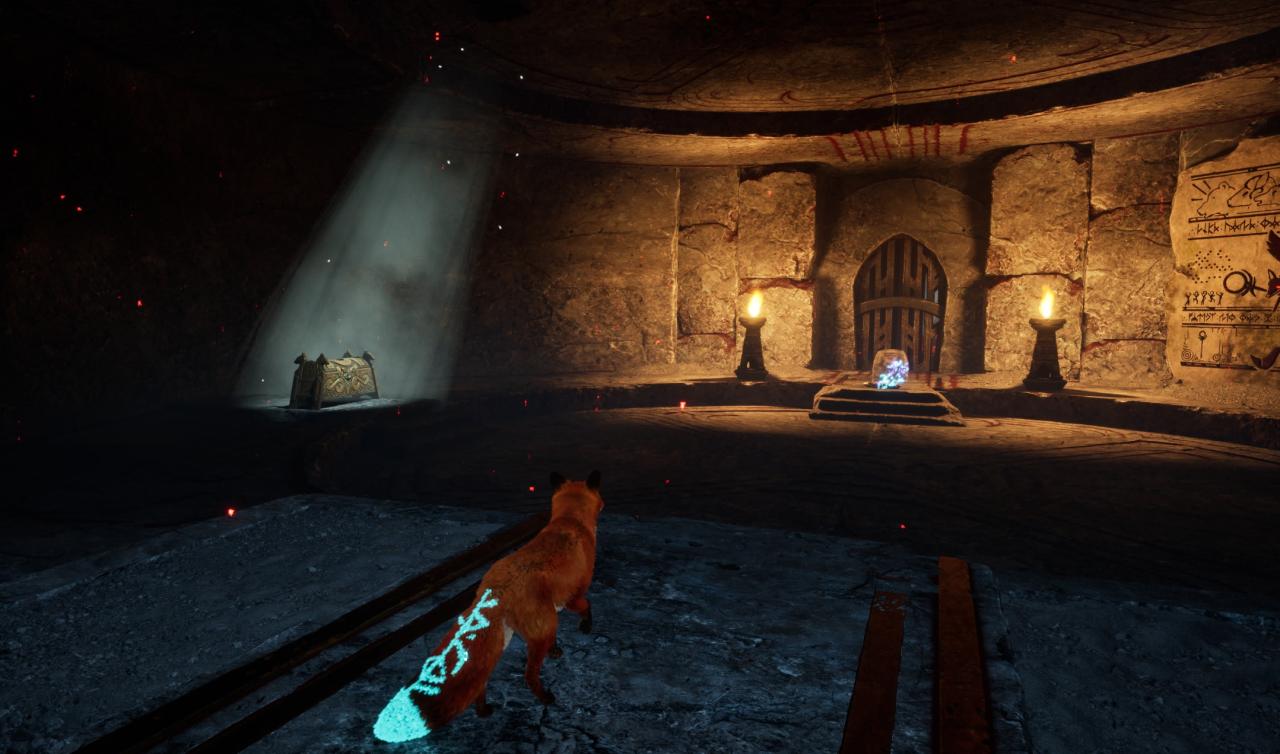
Inside the Seer’s Crypt:
– the left side is a room with blue glowing symbols. Inside there is a door on a timer. Step on the switch to open the door and be quick to get across.
Once inside, grab the statue on the platform.
Take it with you outside the room (there is an exit to the right) and across to the water to the room on the right. There is a switch in the middle of the room that can be weighed down with the statue.
Climb up the slope and you’ll find the room with the chest on the right.
Solve the puzzle with the giant rock attached to a rope to get into the big room in the Seer’s Crypt. You’ll find this chest on the right side of the room near one of the raven carvings.
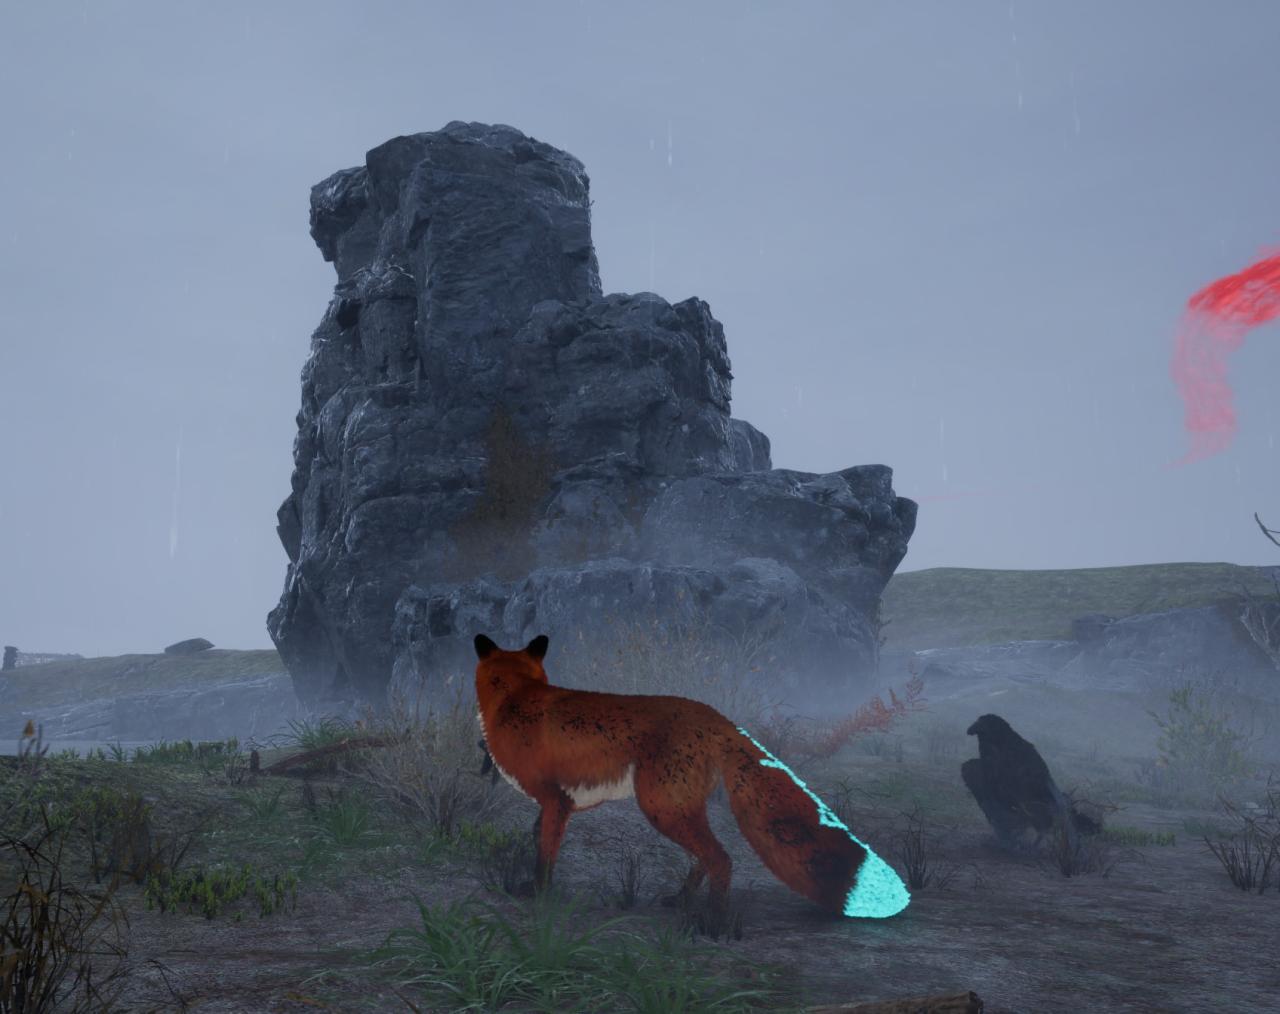
At Hermit Lake there is a big rock formation that you can climb up. The chest is at the top.