This guide will walk you through the process of modifying ammunition using Cheat Engine (CE), a popular tool for game modification. Please note that the use of CE may affect the game’s stability and could potentially lead to bans in online play. Proceed with caution and always respect the game’s terms of service.
How to Mod with Cheat Engine
Step 1: Acquire Cheat Engine
Before you begin, ensure you have Cheat Engine installed on your system. This guide does not cover the installation process of CE, but you can easily find tutorials on YouTube or the official CE website.
Step 2: Launch the Game and Cheat Engine
Start your game and run Cheat Engine concurrently. You need to have both applications open to proceed with the modification process.
Step 3: Understand the Basics
This guide assumes you have a basic understanding of how to use CE. If you’re unfamiliar with the tool, it’s recommended to watch some introductory videos on YouTube to get a grasp of the fundamentals.
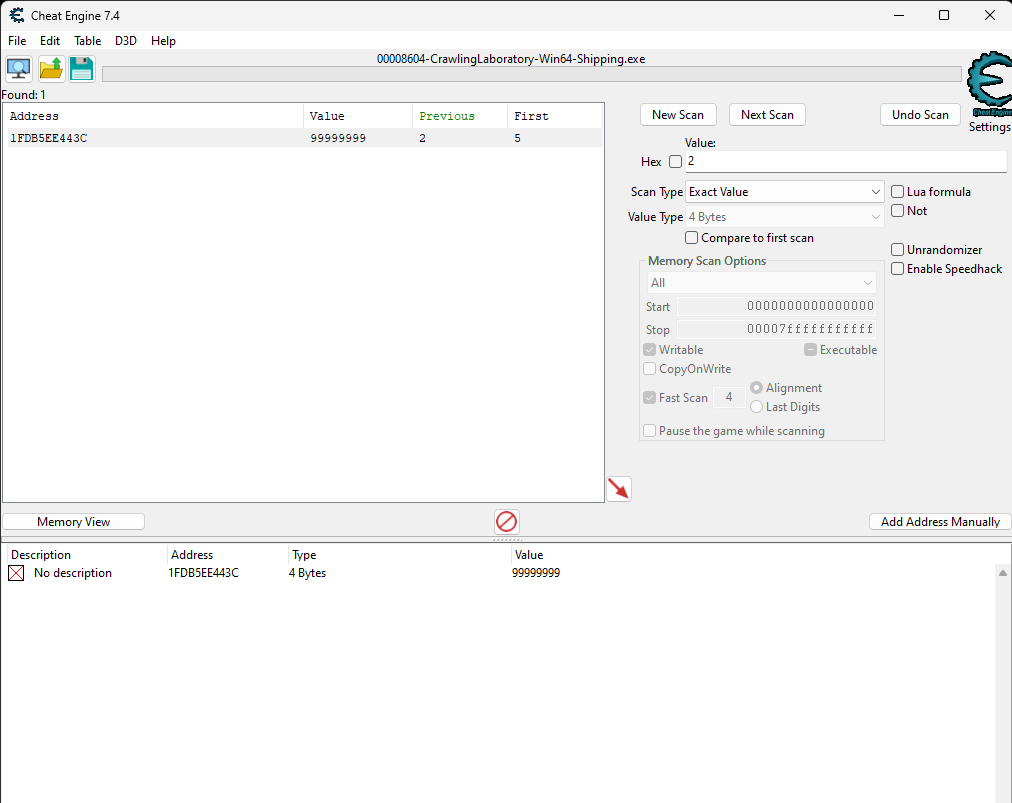
Step 4: Finding the Ammo Value
To modify ammo, you first need to locate the specific value in the game’s memory that corresponds to the ammunition. This can vary greatly between games, so you’ll need to do some research or experiment to find the correct value.

Image: PKM493
Step 5: Modifying the Value
Once you’ve identified the ammo value, use Cheat Engine to modify it. This typically involves changing the value to a higher number to increase the amount of ammo you have in the game.
Step 6: Save Your Changes
After modifying the value, make sure to save your changes. Some games may require you to restart or relaunch the game for the changes to take effect.
Step 7: Enjoy Your Customized Experience
With your ammo modified, you can now enjoy the game with your new settings. Remember, the goal is to enhance your experience, so use these modifications responsibly.
