Walkthrough with solutions and explanations and without story or jump scare spoilers. Also a quick checklist and collectibles guide.
Introduction
Blasfemia is a game where the player explores an apartment looking for clues and items to progress. In this guide I will aim to provide all the information I’ve gathered so far, while keeping spoilers to a minimum. This game does have frequent jump scares, some of which are scripted and some happen randomly. The random ones seem to happen more frequently if the player stands still in one place too long. As for the scripted ones, I’ll let you find those out for yourself (sorry!).
WASD – Movement
E – Interact, the dot crosshair turns from hollow to filled when the player is close enough to interact with something
Ctrl – Crouch, this will be required to interact with lower items
Tab – Holding Tab will display current inventory
Left Click – Holding Left Click will allow the player to zoom in slightly to see something better
F – Toggle flashlight, this is found later in the game
The Apartment is not wholly accessible from the start. The player will be required to find ways to access other rooms, as well as finding items and performing actions that progress the game. A lot of these items and interactions happen at specific locations, but some items are randomly placed.
Lights On and Off: The apartments basically has a light world and a dark world. That is, when the lights are off, there are different items placed around than during the times when the lights are on. Make sure to explore both versions of the apartment to find what is needed. The player can turn lights back on by interacting with the fuse box near the entrance door. The player can turn the lights off only if the phone in the living room is off the hook, by interacting with the phone. Later the player will find a flashlight which allows them to toggle the lights on and off at their will.
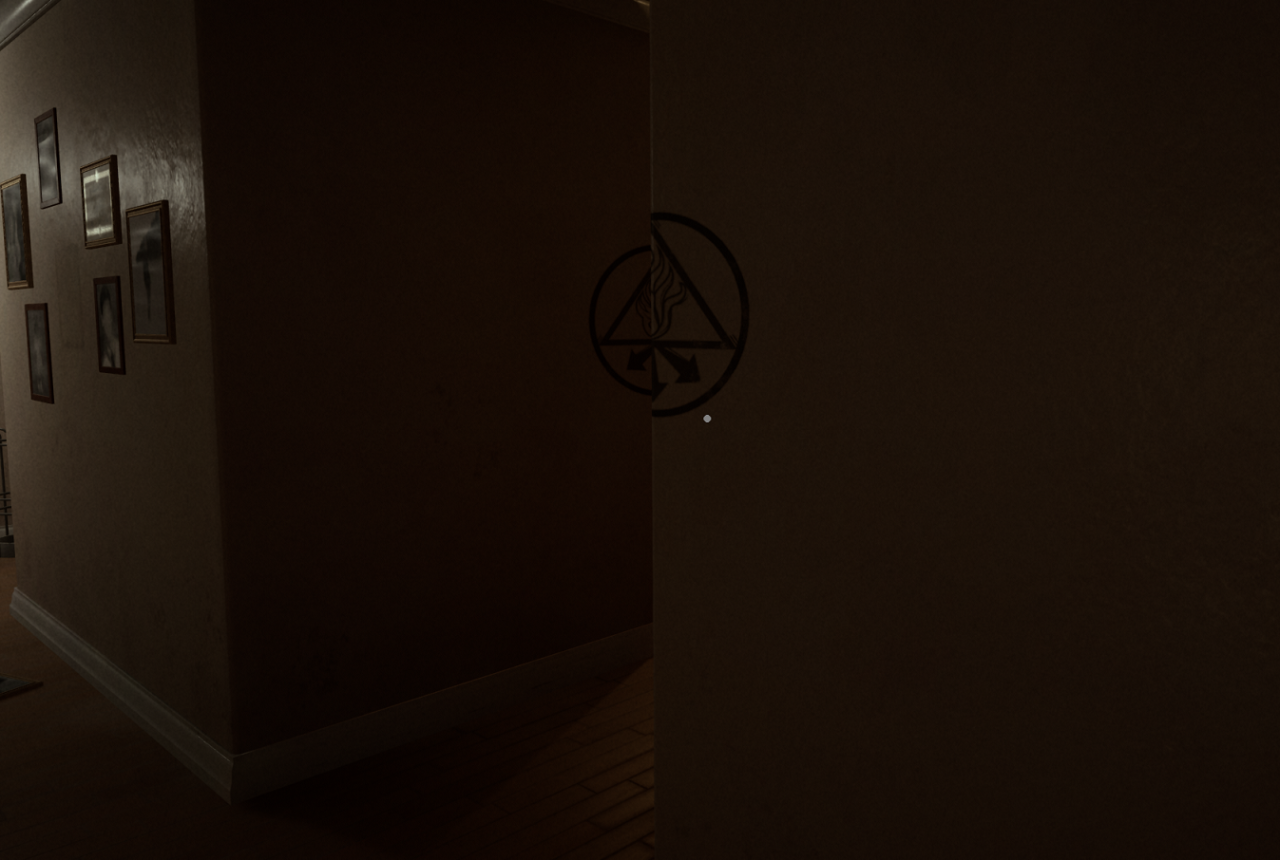
Static Vision: In later parts of the game the player’s vision will have a constant static effect. To remove it, approach the entryway door. The flashlight will not work while this is active.
Death: The game does have checkpoints and it is possible to die and be sent back to the previous checkpoint. At some points in the game the player will be chased, which can only happen when the lights are out. It won’t happen every time the lights are out, and it’s not always obvious when you’re being chased except for a specific tell. The player will hear their heart beating. When this happens the player must rush to the fuse box near the entrance doorway and restore power. Note that when the lights are out and the heart beating isn’t present, the player will instead hear footsteps and other commotion. It is important to learn the difference.
Ranking: The game does have a ranking system which seems to capture death total and time spent. I do not know exactly which conditions are required for each rank yet, but I do have some ballpark figures to go with:
- S – Unobtained as of now
- A – I got this at around 24-26 minute completions with 0 deaths
- B – I got this around a 40 minute completion with 0 deaths
- C – I got this around 50+ minutes with 0 deaths
- F – I got this on my first multiple hour run with 7 deaths
If you learn more please leave a comment and I will update.
Game Modes:
On a first play the game has a single mode with the single goal to escape the apartment. Upon completion of the game you can unlock New Game+ which seemingly provides new clues to understand the situation of this apartment. There is also a Specialist mode that can be unlocked after beating New Game+, which is basically Hardcore mode, as a single death will end the run and “everything is more punishing”. I’m unaware of what other changes exist beyond permadeath.
Endings:
There are multiple endings that can be obtained depending on the player solves the game. There is both a Good Ending and Bad Ending in the normal route which is decidable and explained at the end of Part 3 with spoiler blocks. There is also a secret ending that is as of yet unknown by me.
Doing the normal ending results in being “brought back” to the apartment 3 times. Some item locations will be randomized and I will note these. Anytime the lights are turned off, head back to the entryway to toggle the fuse box to restore power. To avoid spoiling jump scares, I will omit these steps from the walkthrough. And remember, if lights are off and you hear heartbeats, you are being chased and can die if restoring power is too slow. Final warning!
You can also skip to the Checklist if wanting a more streamlined guide.
Walkthrough – Normal Ending – Part 1
Each Part the player wakes up on the couch in the living room. You will have access to the living room, kitchen, entryway foyer, and the hallway. Locked are the Parent’s room, Clara’s room, and the bathroom. Within the entire apartment the player will need to find a few randomized items which can be located on tabletops, inside drawers, and other unique locations. The randomized items in this Part to watch out for are:
- Scrap A – Available in starting areas or bathroom
- Scrap B – Available in starting areas or bathroom
- Scrap C – In parent’s bedroom, but may not be immediately available, or in bathroom
- Scrap D – In Clara’s room
- Parent’s Bedroom Key – Available in starting areas
- Keypad 1 – In parent’s bedroom
- Keypad 9 – In Clara’s room
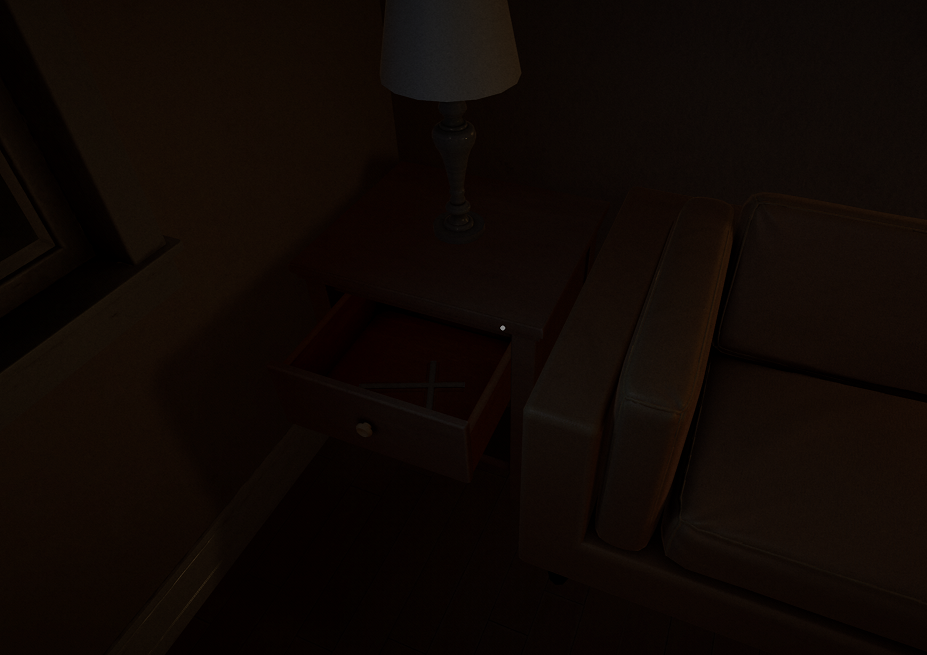
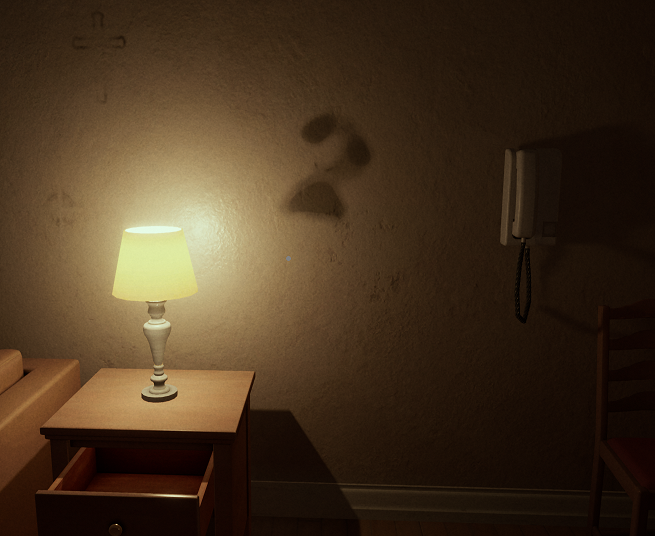
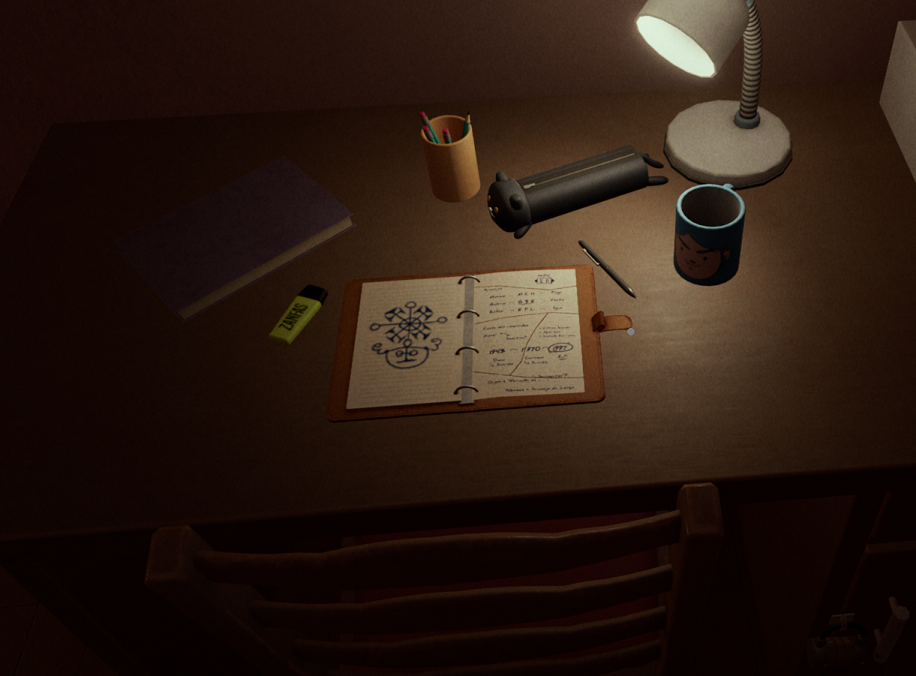
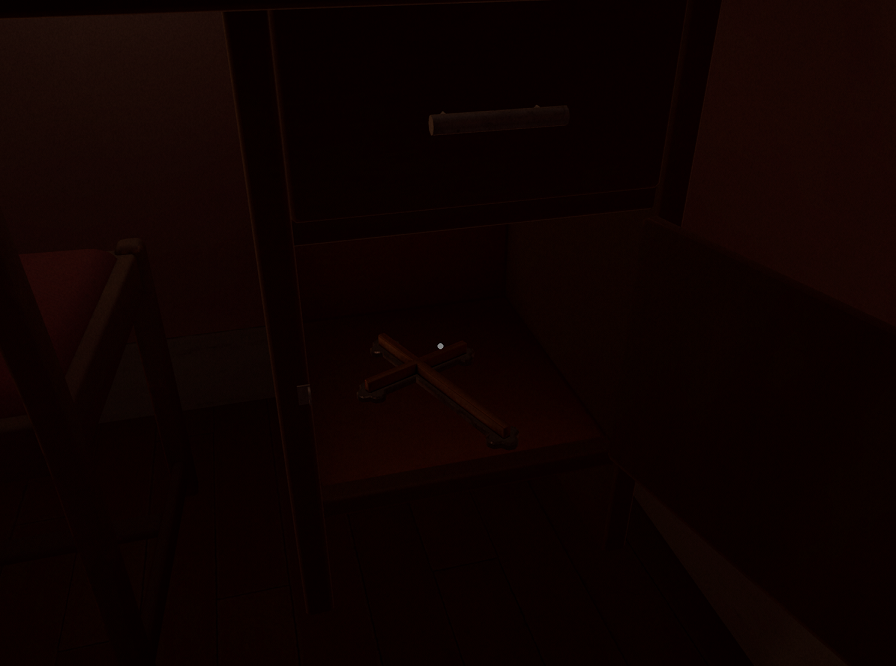
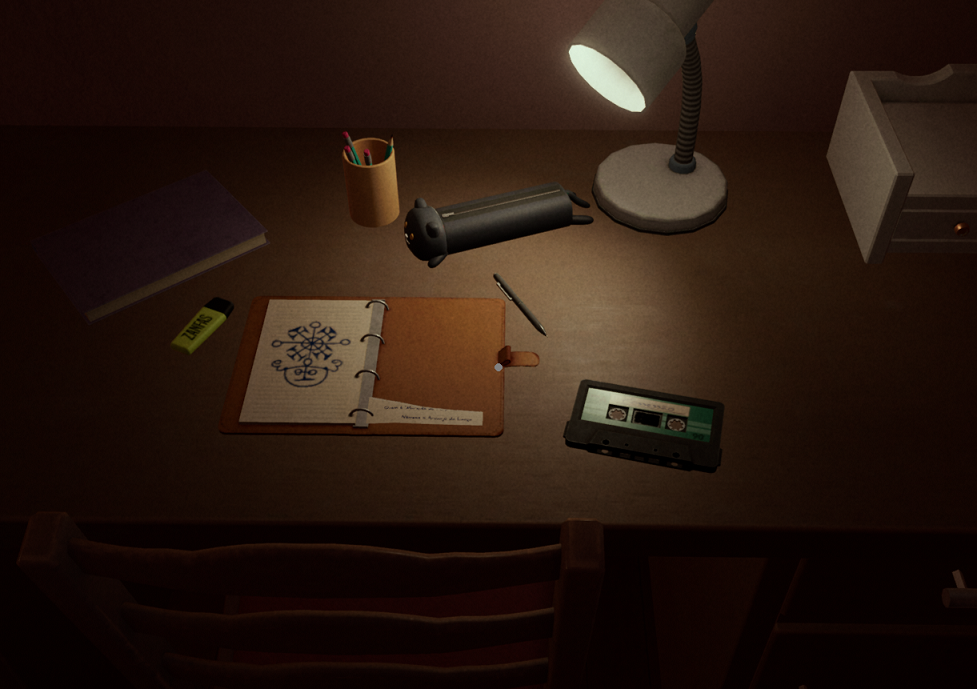
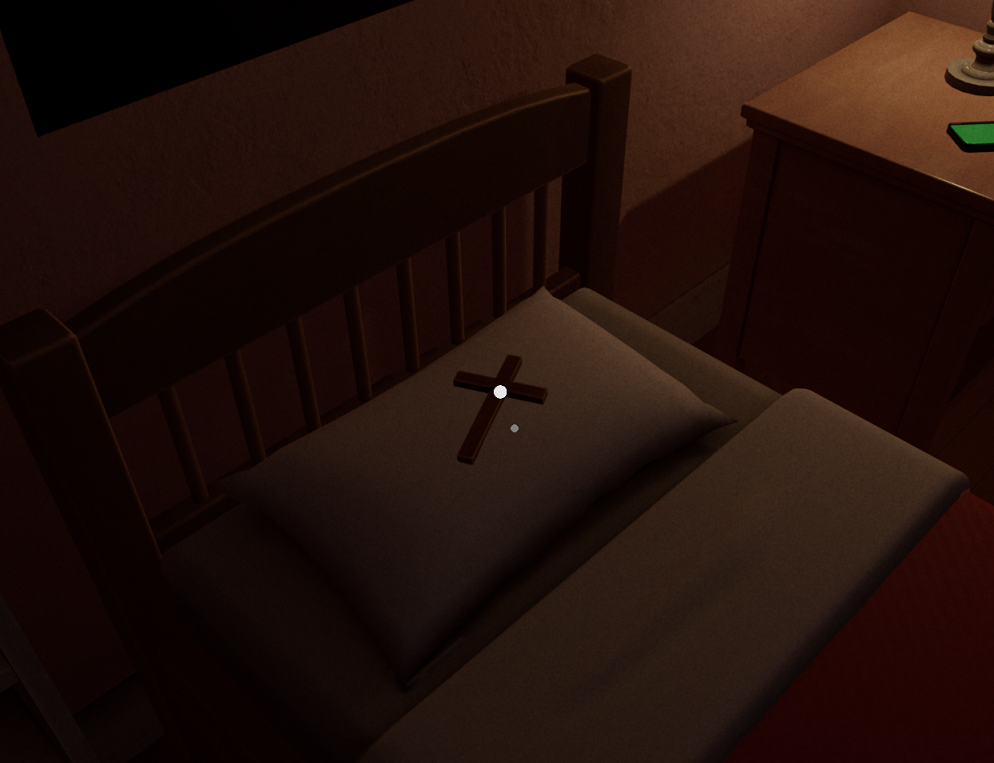
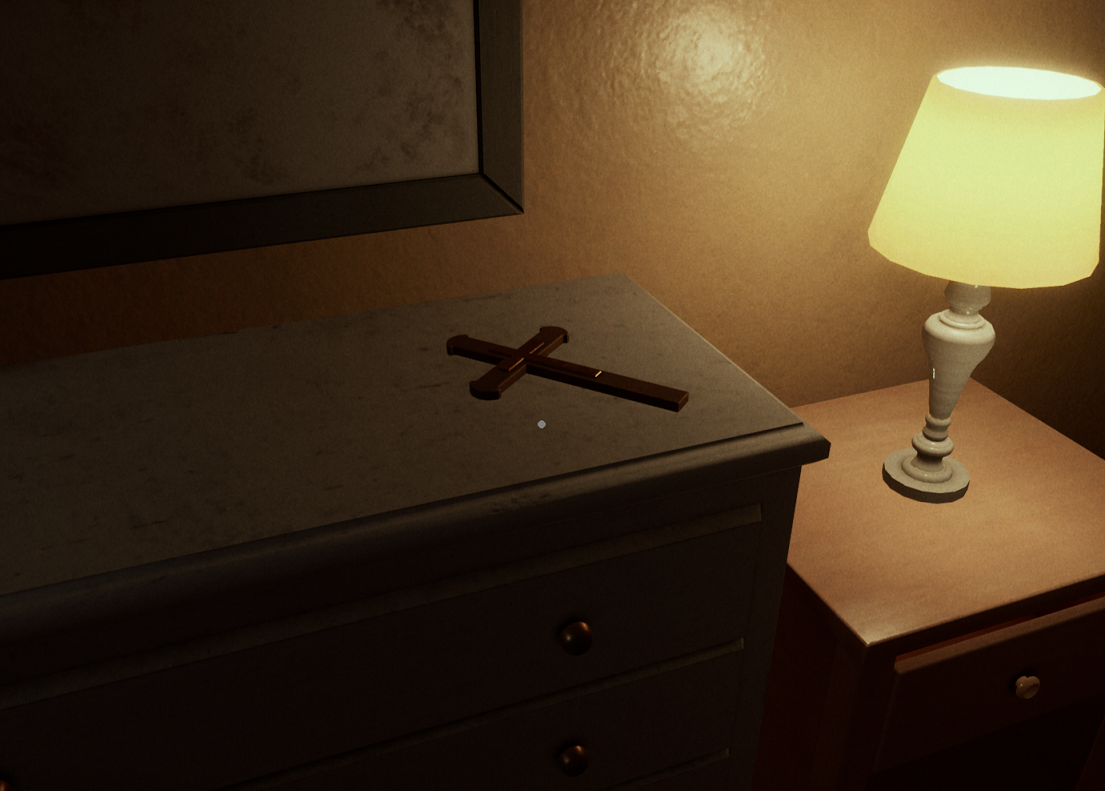
The Twin Cross will be in the drawer to the left of the couch.
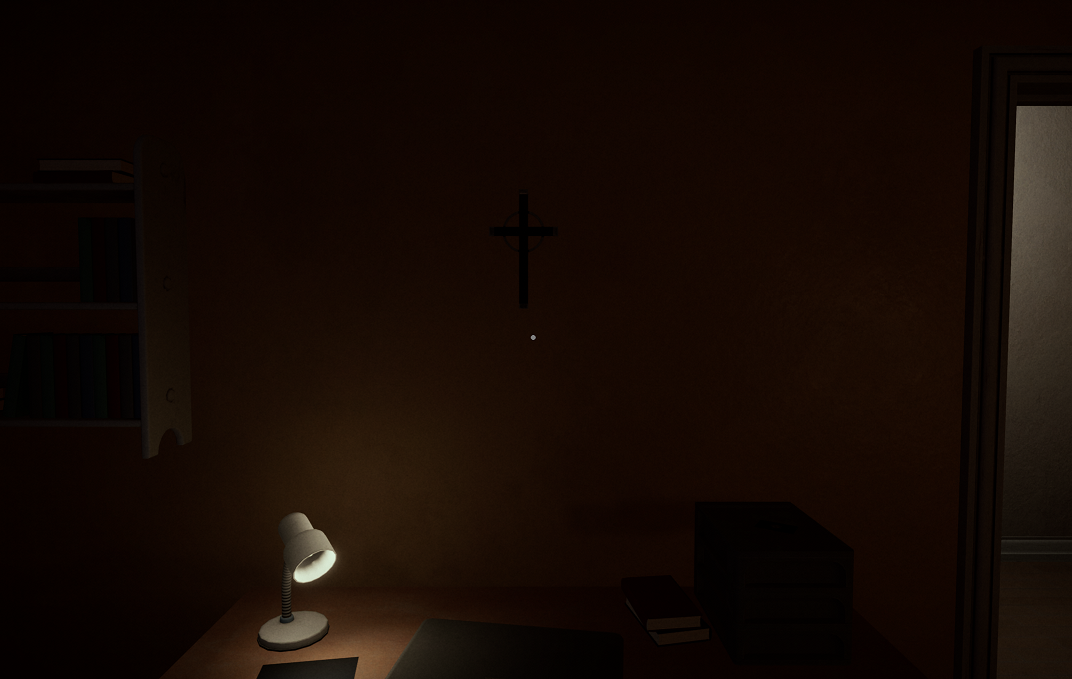
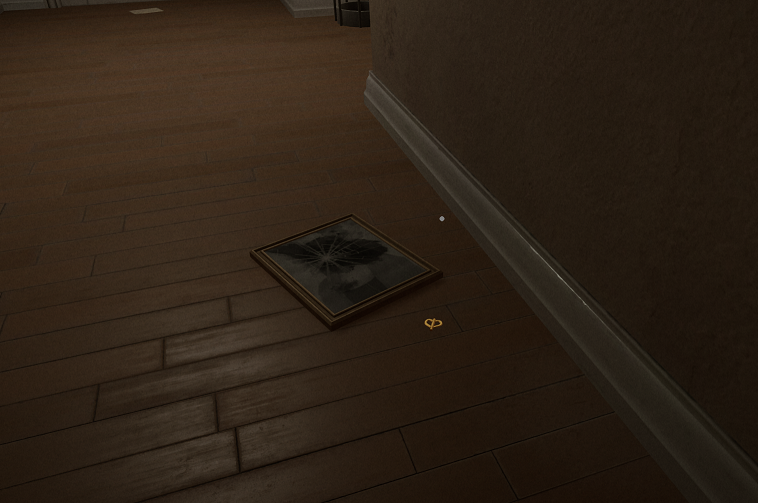
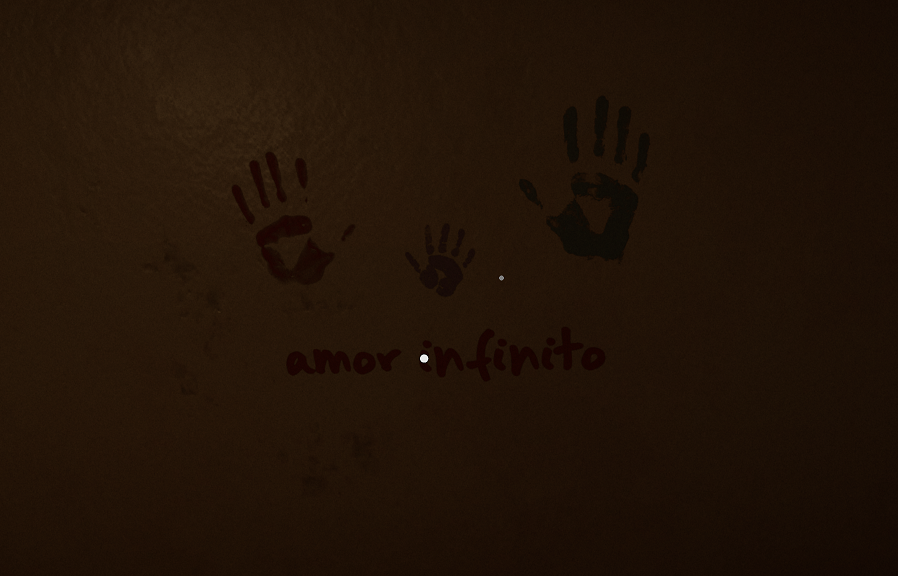
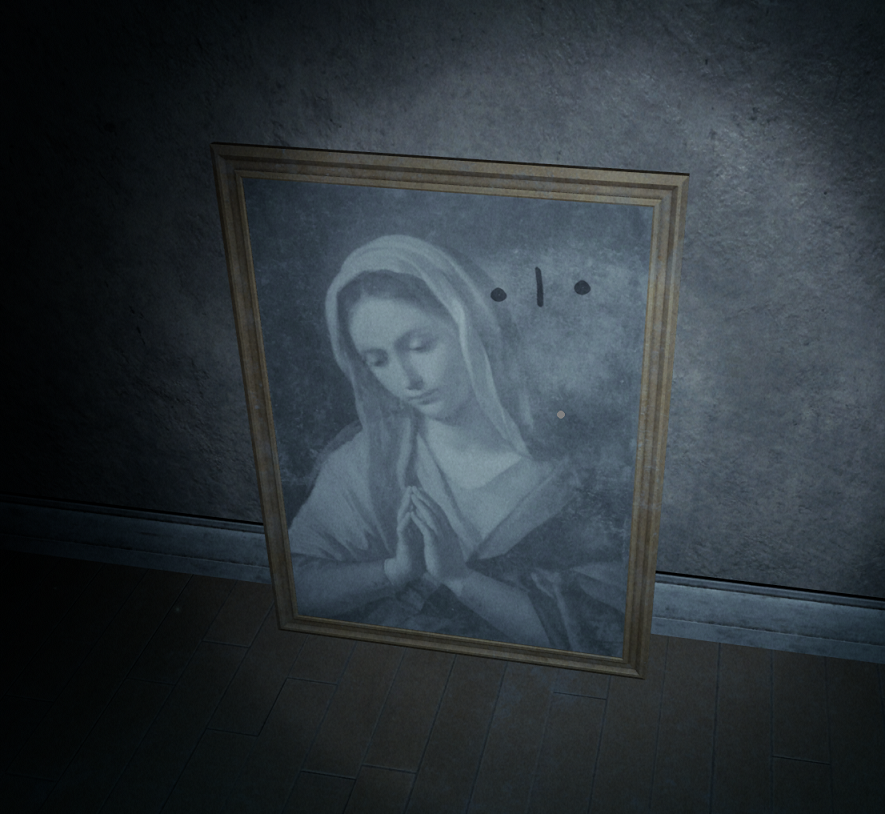
Examine the missing cross above the couch, slightly covered by the painting. This will make the painting interactable. Click on the painting to remove it to expose all missing crosses.

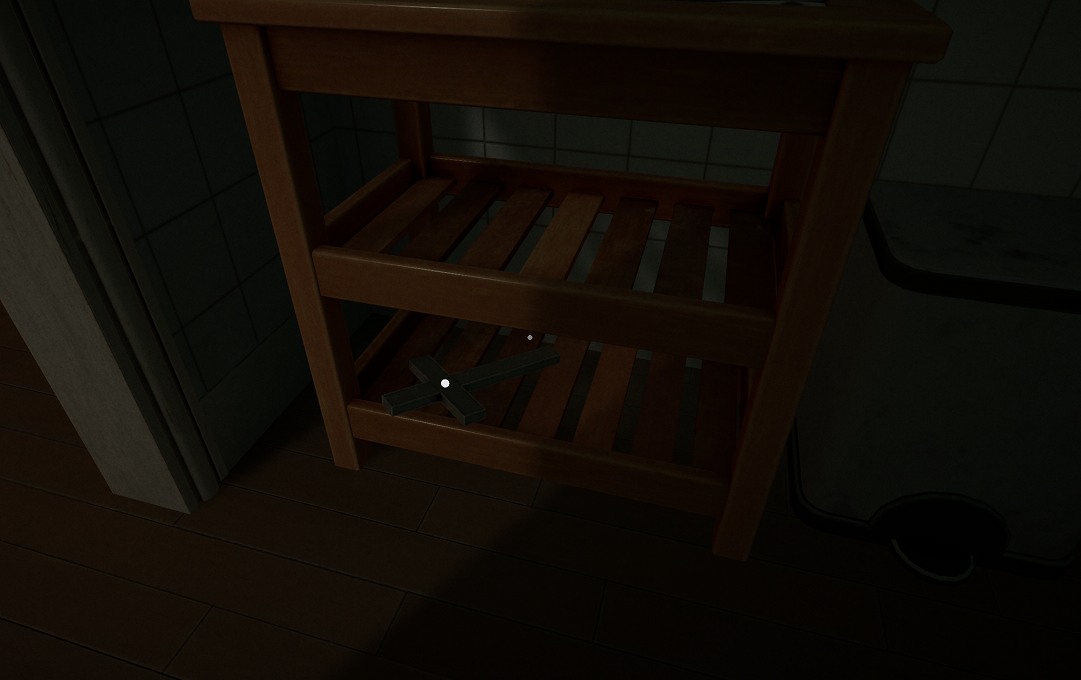
In the kitchen, find the Silver Cross on the bottom shelf.
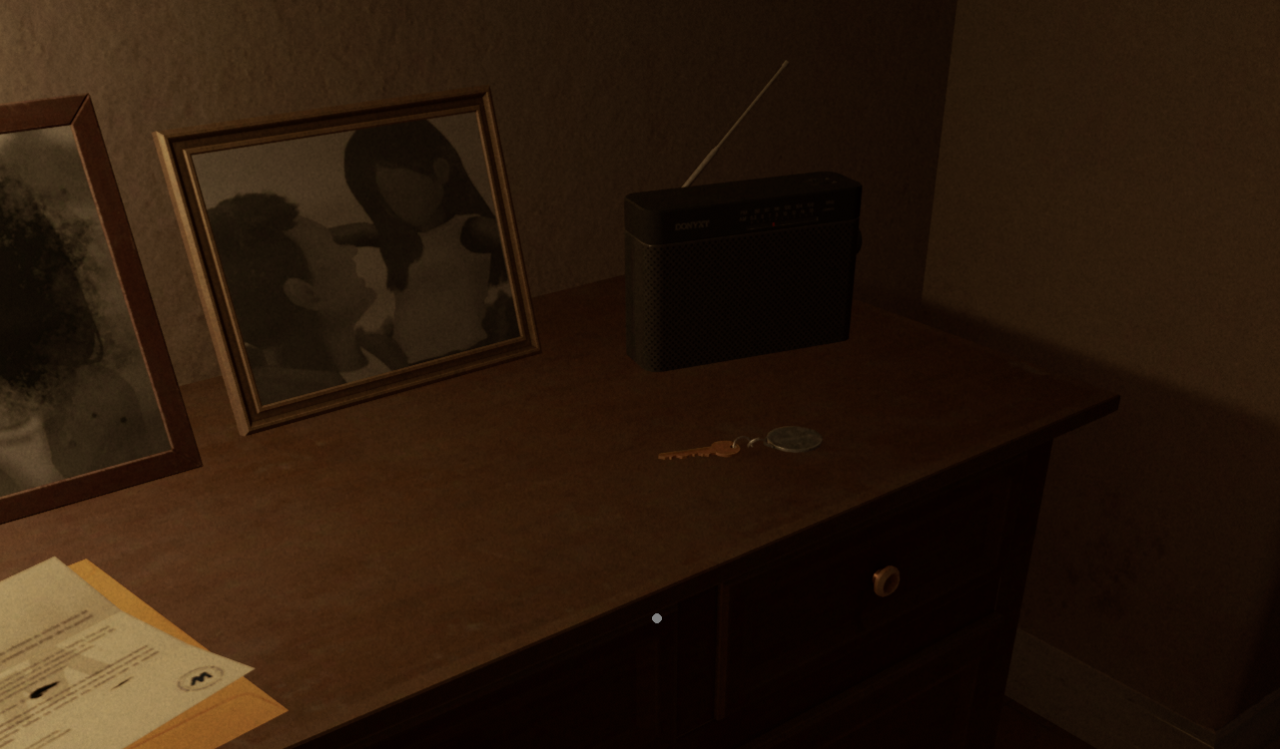
Once 2 crosses and the Parent’s Bedroom Key are collected, head to the parent’s room which is the back left door in the hallway and open it. Above the desk in the room is the Ornated Cross.
Inside the Parent’s Bedroom find the randomly placed Keypad 1. Also check to see if Scrap C is available. It might unlock in here later, or appear in the bathroom.
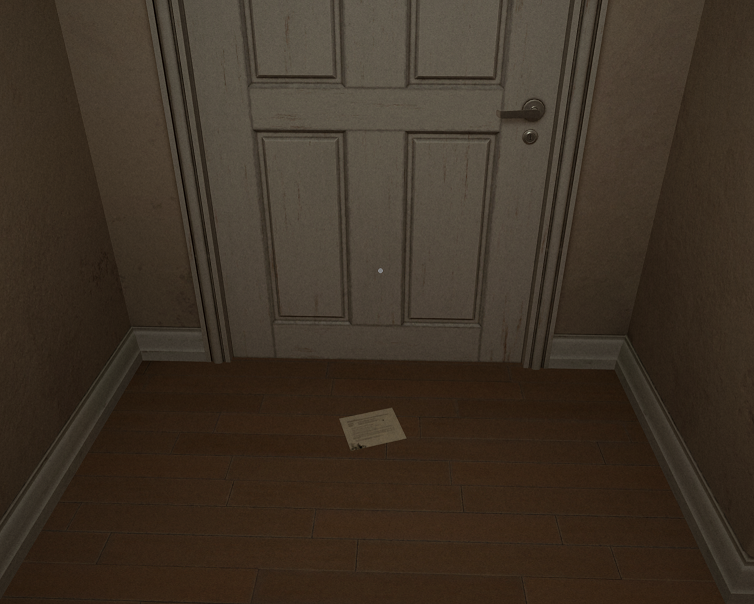
Exiting the Parent’s Bedroom will trigger the radio to turn on. Ignore it and proceed to the entrance door and crouch to read the note that gets slipped underneath.
Head back to the parent’s room until the door shuts. This will spawn the numbers 1, 2, 3 in certain locations which need to be collected. Find #2 on the wall by the couch.
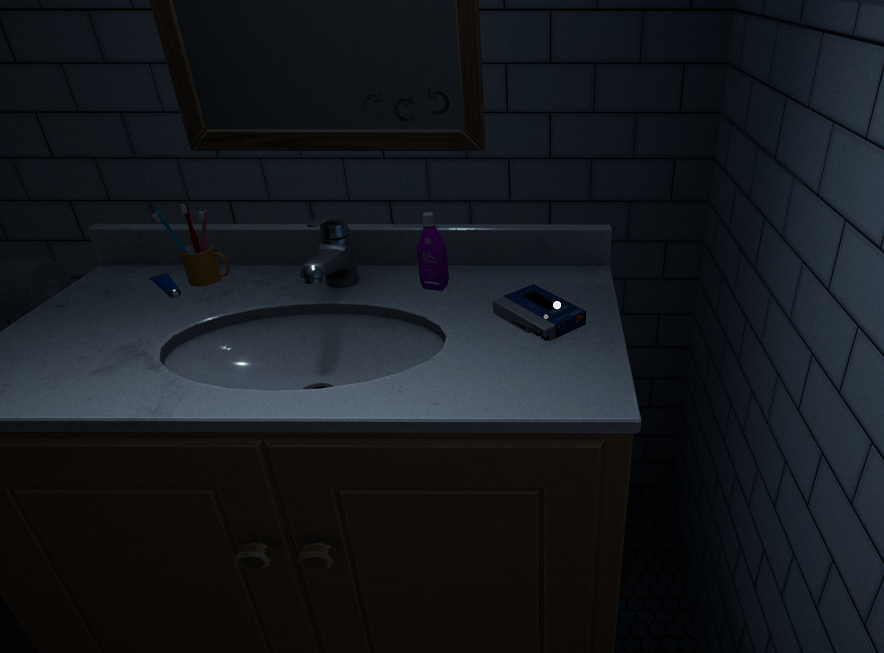
Proceed to the parent’s bedroom which will get the bathroom to open. Pickup the Voice Recorder on the sink.
Then get the #1 on your way out. Also check for Scrap C in the bathroom if not already found.
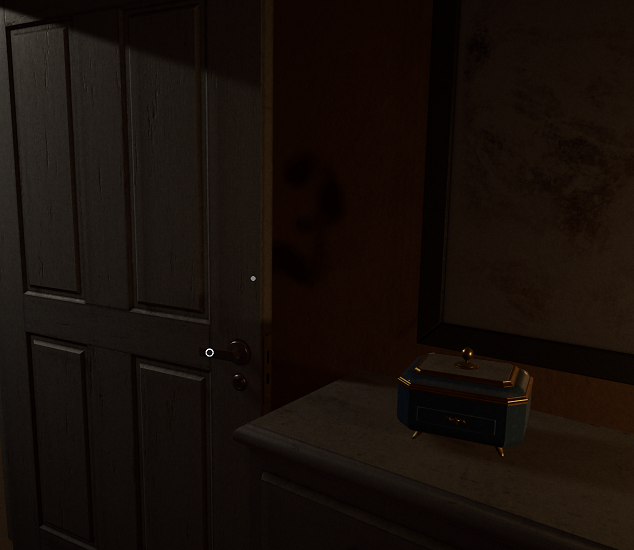
Back in the parent’s room find #3 behind the door.
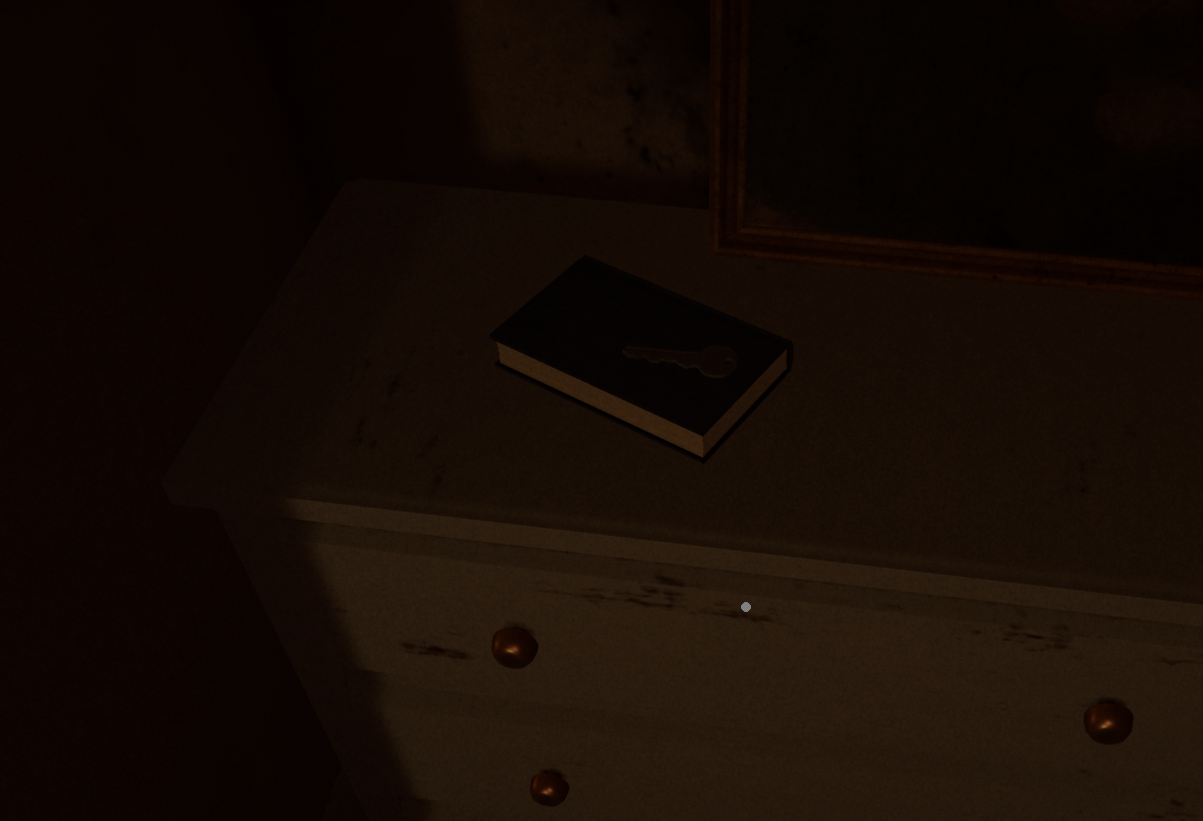
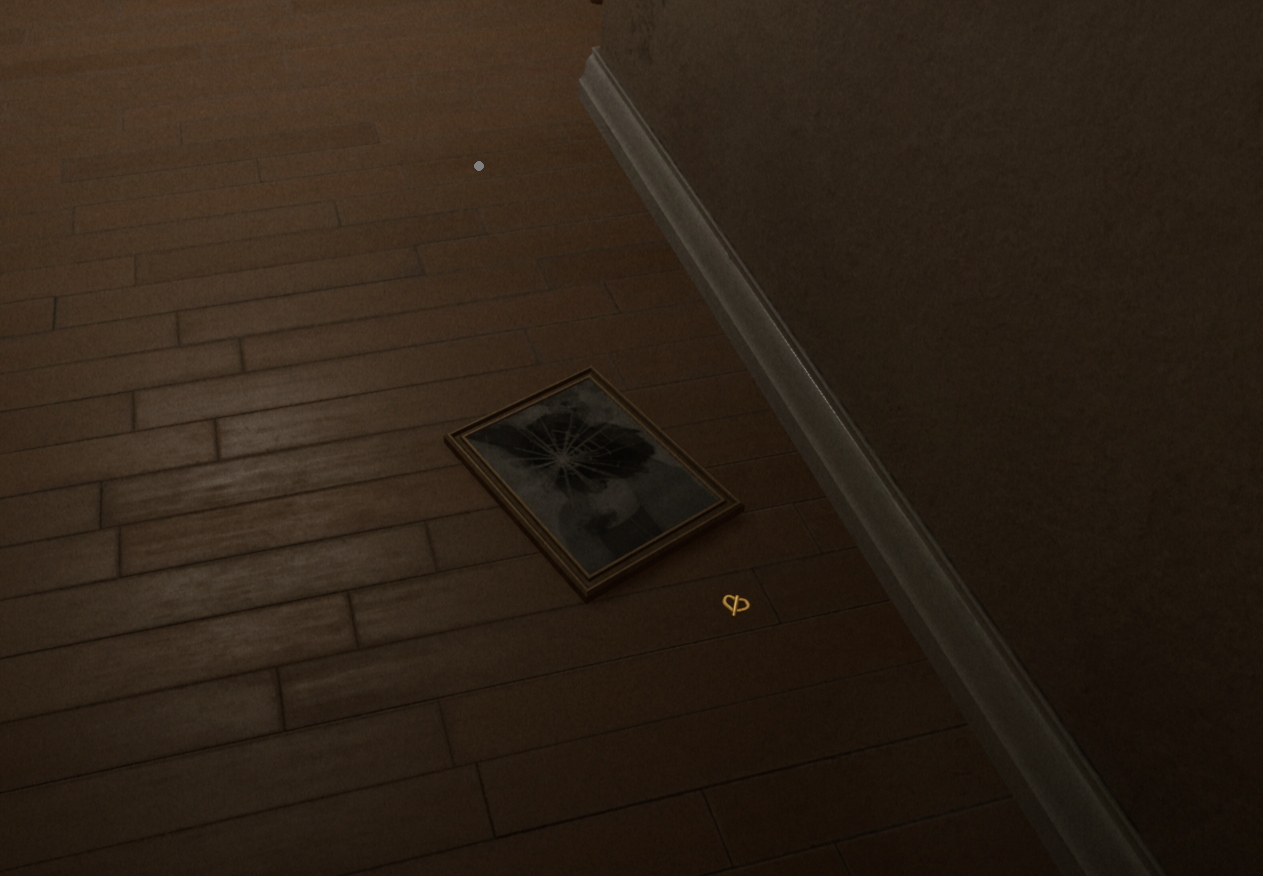
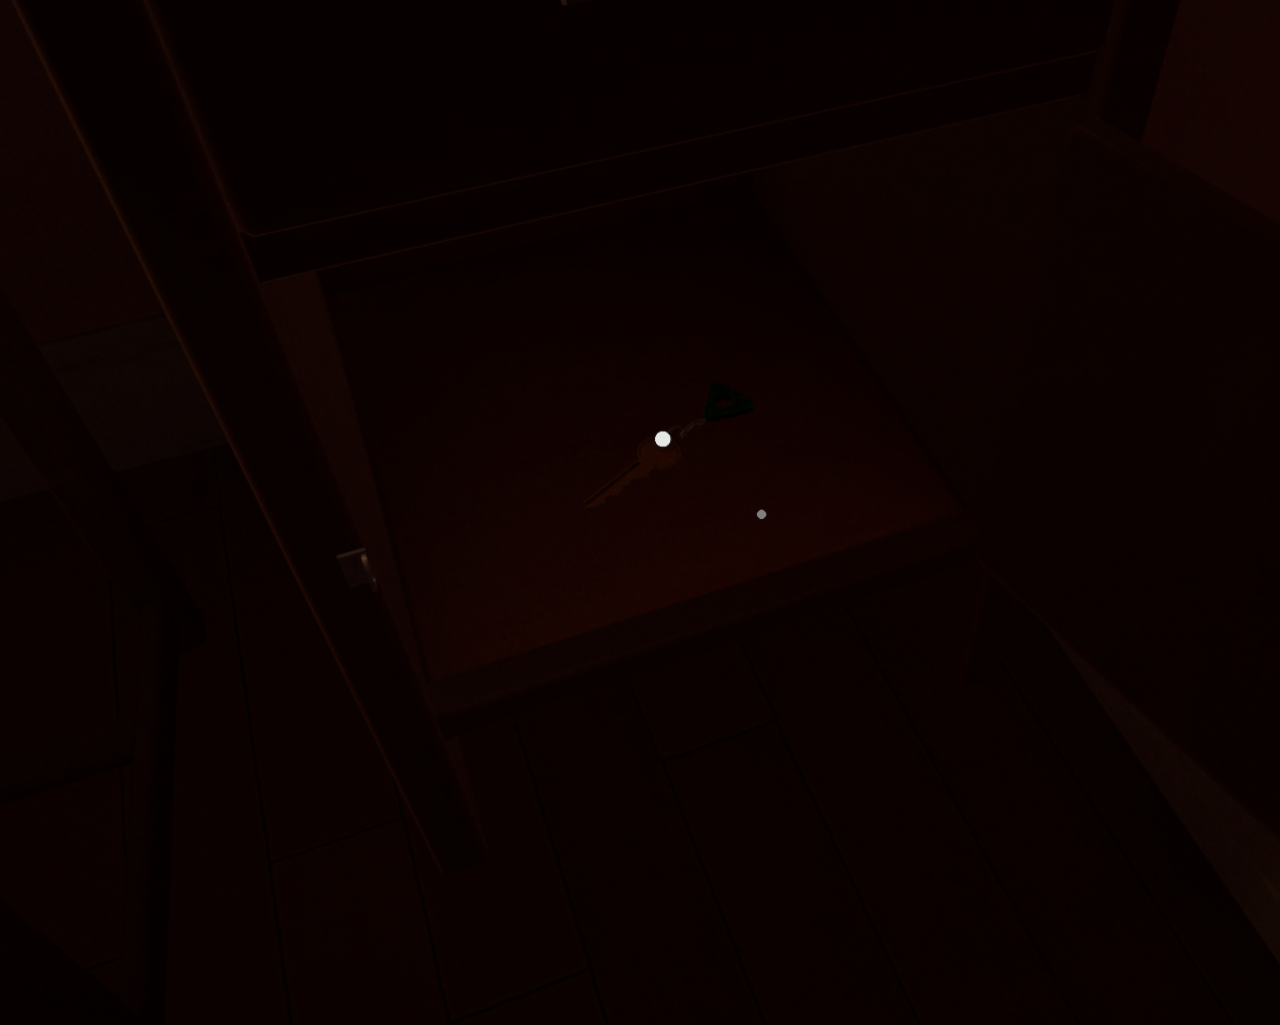
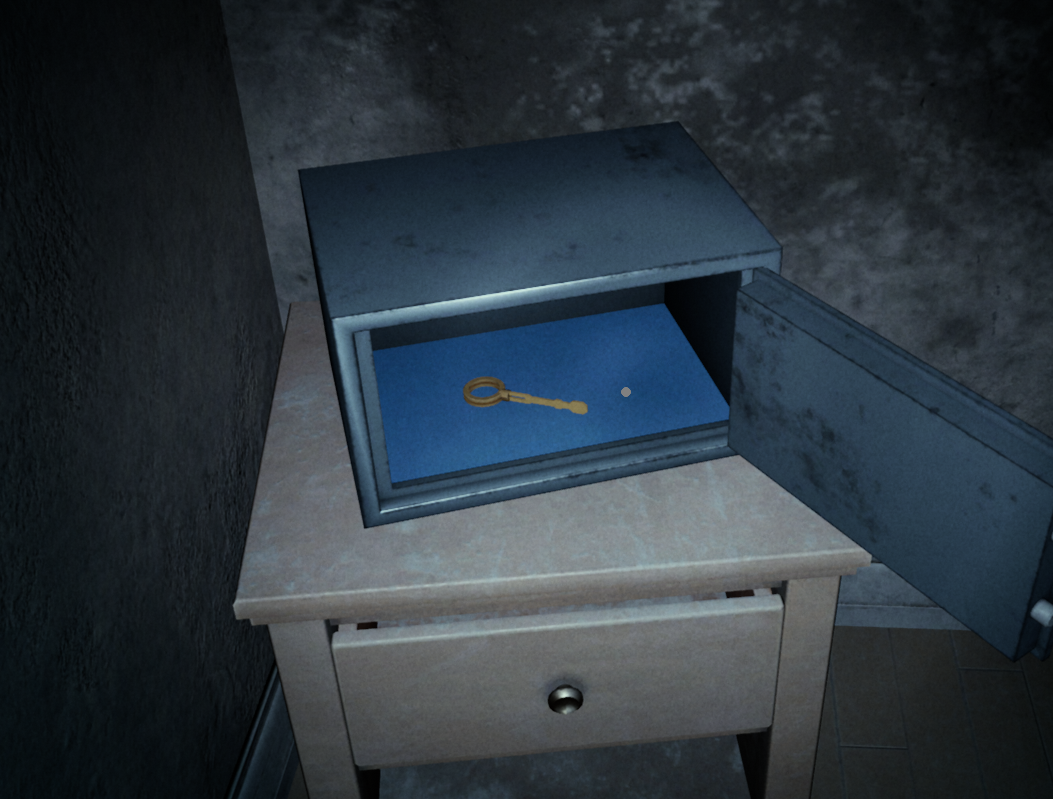
After collecting all three numbers, a picture in the entryway will fall revealing a Turn Key on the floor. Crouch down to get it.
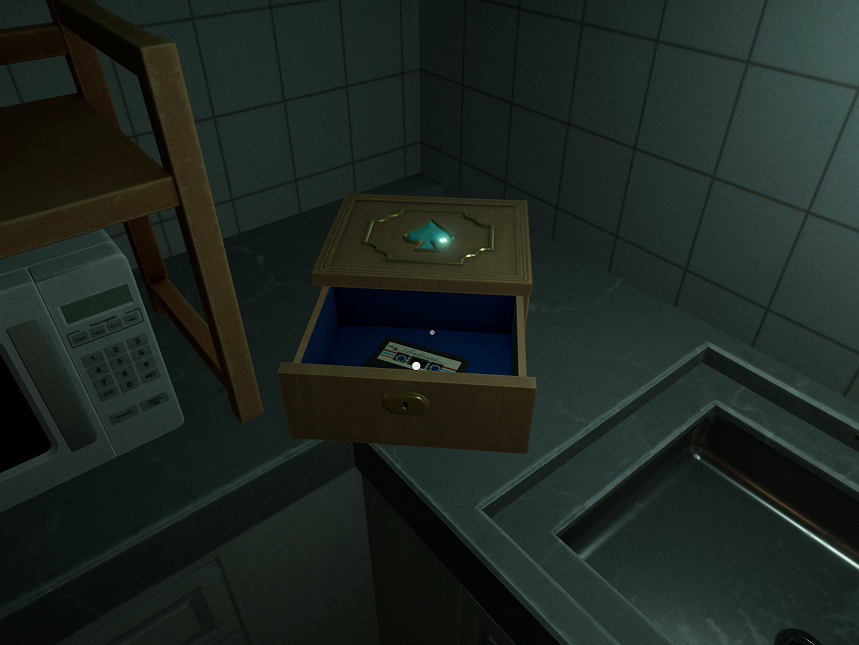
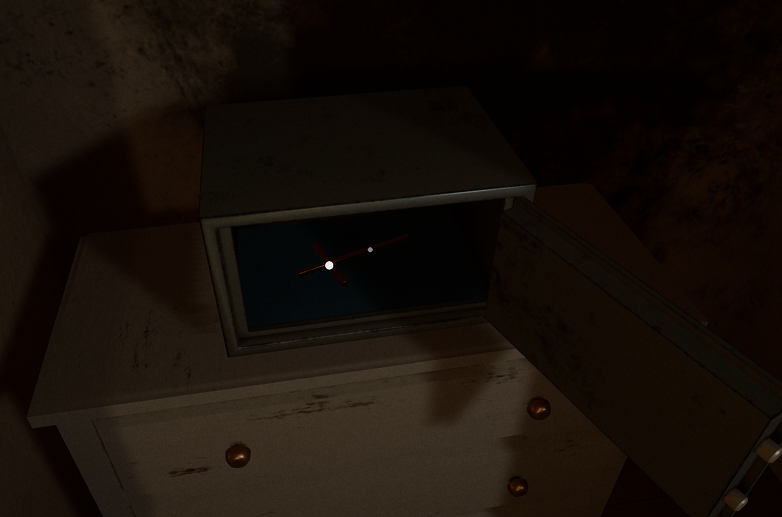
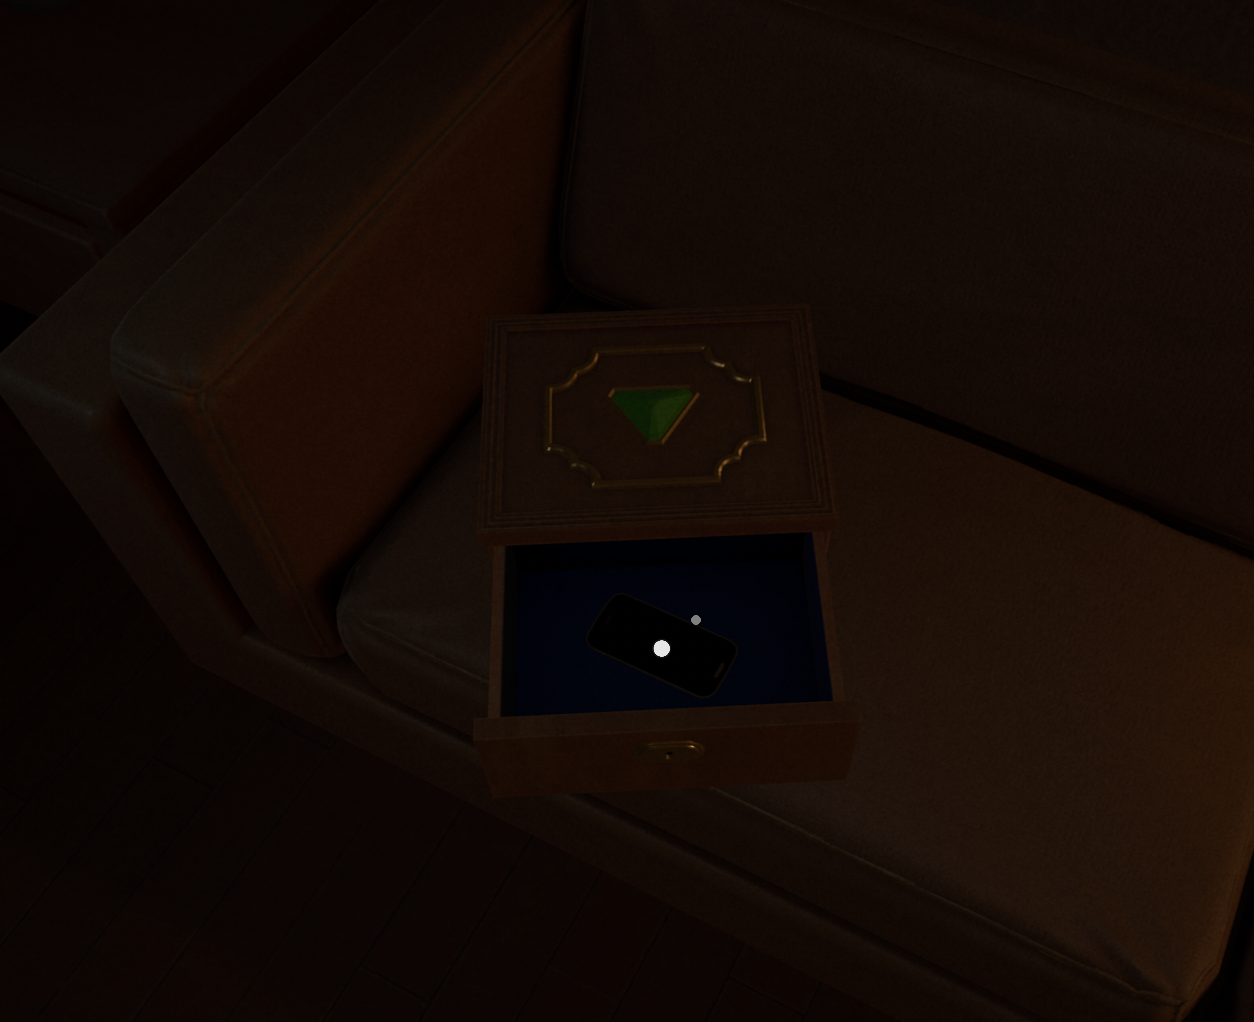
Back in the parent’s room, open the box on the dresser and open it using the code found on the bathroom mirror (Right, Right, Left). Pick up the Cyan Ace Key. This will also open the parent’s closet but ignore for now unless still missing Scrap C.

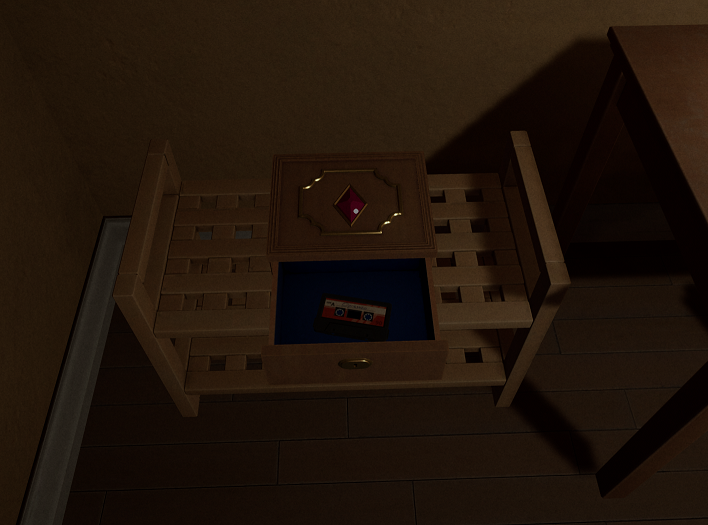
Open the Cyan Ace box in the kitchen to get Tape 1.
Go to the TV and turn it off after the tape ends and it turns on. Then look at the bathroom mirror. Finally go pick up the wooden cross in the entryway.
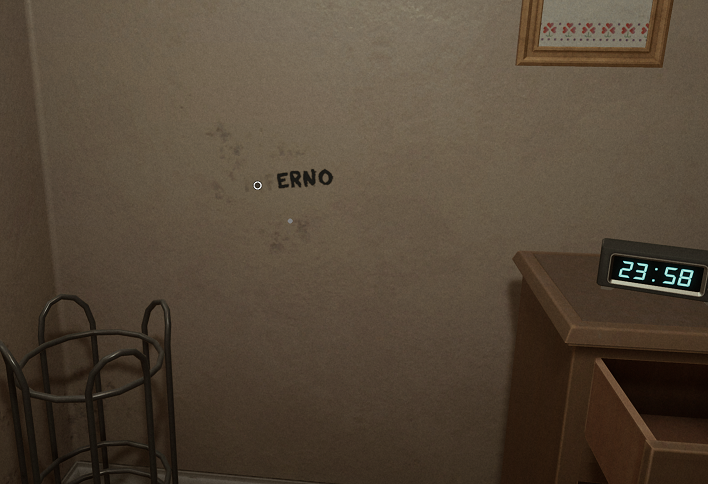
There is now some writing in the entry way with missing letters. Take letters from the handprint wall art and place them in the missing spots three times to restore the missing word.
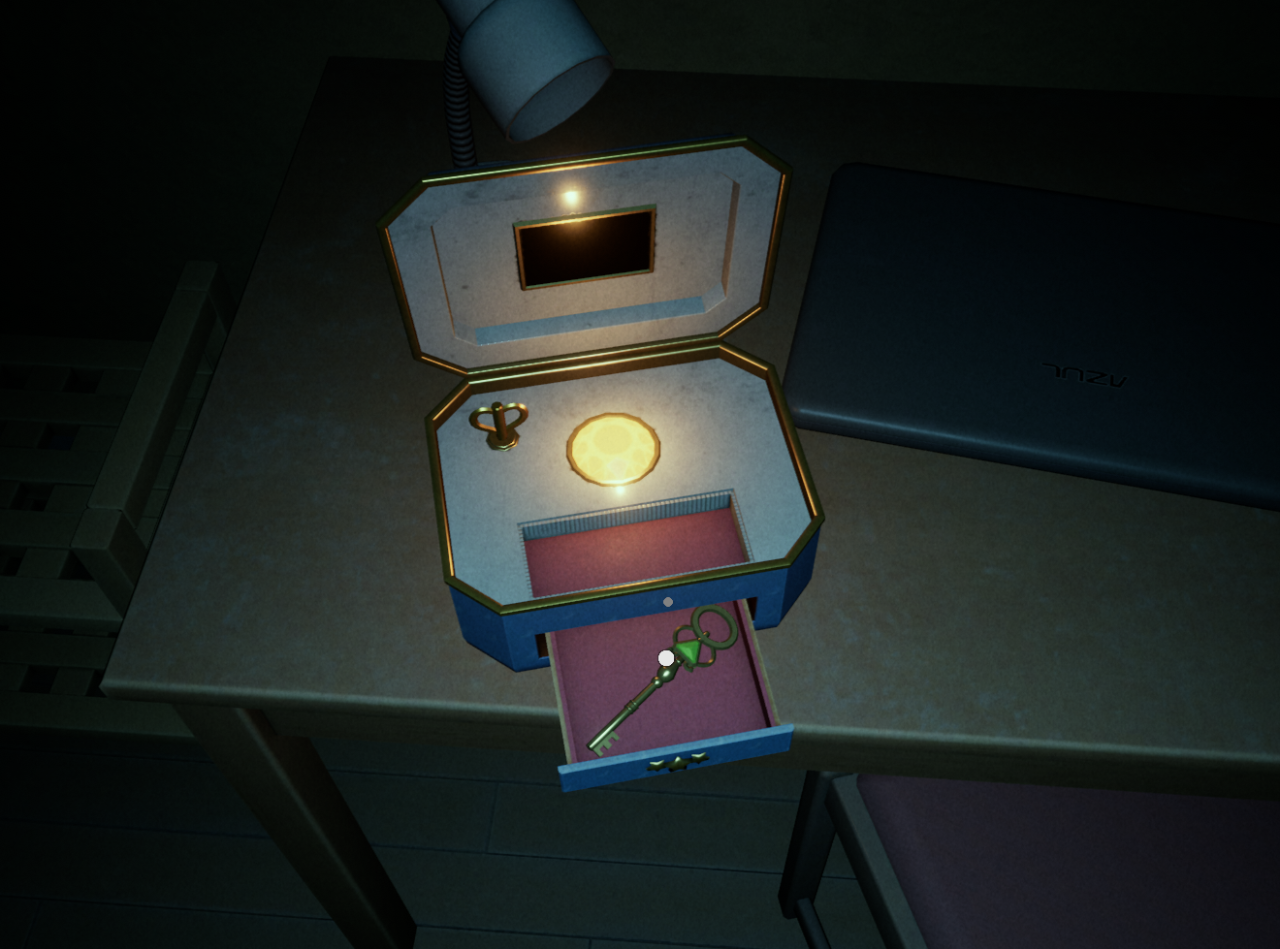
Crouch and use the dangling phone in the living room to enter the dark apartment. Head to the parent’s bedroom to get the Pink Diamond Key.
Turn the lights back on and go back to the parent’s room to open the diamond box revealing Tape 2.
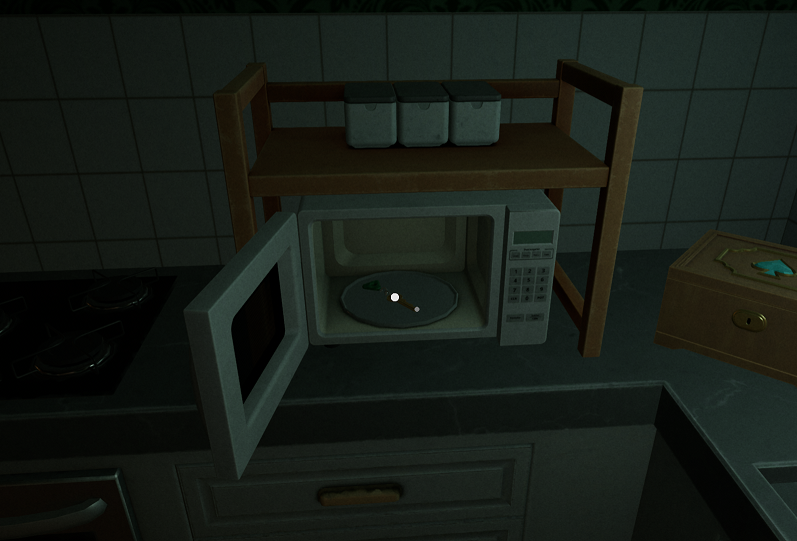
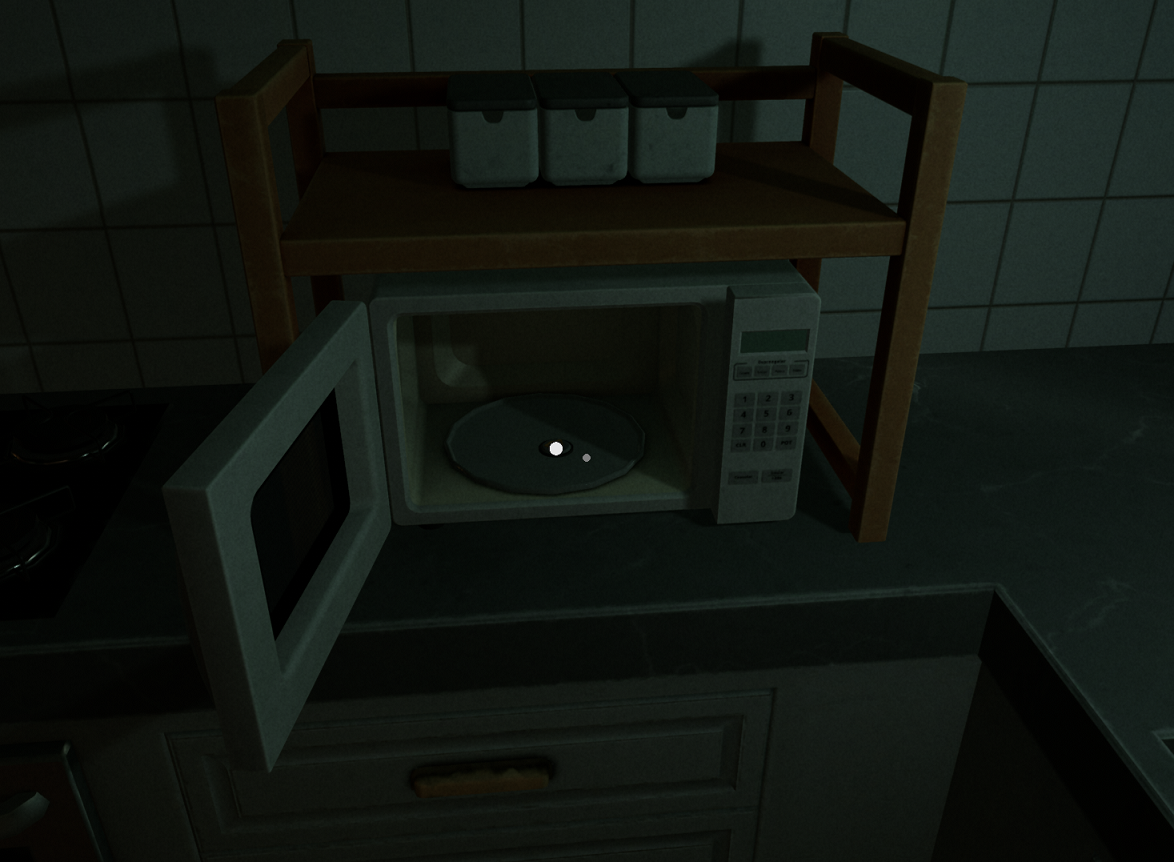
Head to the living room and turn off the TV three times. Then head to the microwave in the kitchen to get Clara’s Bedroom Key.
Open Clara’s room and find the randomly placed Keypad 9 and Scrap D.
Assemble the four scrap pieces into Clara’s notebook. While also serving to give codes for the safe and desk lock, it is also required to get Beveled Cross to appear later.
Open the lock on Clara’s desk using the password from the notebook (GBR) to get the Elaborated Cross.
In the parent’s closet place Keypad 1 and Keypad 9 onto the safe and open it using the code from Clara’s notebook (1997) to get the Golden Cross.
In the bathroom crouch down to get the Beveled Cross. Reminder to complete Clara’s notebook for this to appear.
Go to the living room and place all 7 crosses. Then grab Tape 3 from Clara’s Desk.
Return to the entrance door to complete the cycle.
Walkthrough – Normal Ending – Part 2
Part 2 contains no randomly placed items.
We awake back on the couch with everything reset and new puzzles to solve. Our first task is finding the three numbers again. Find #2 in the kitchen.

Find #3 in the parents room above the desk.

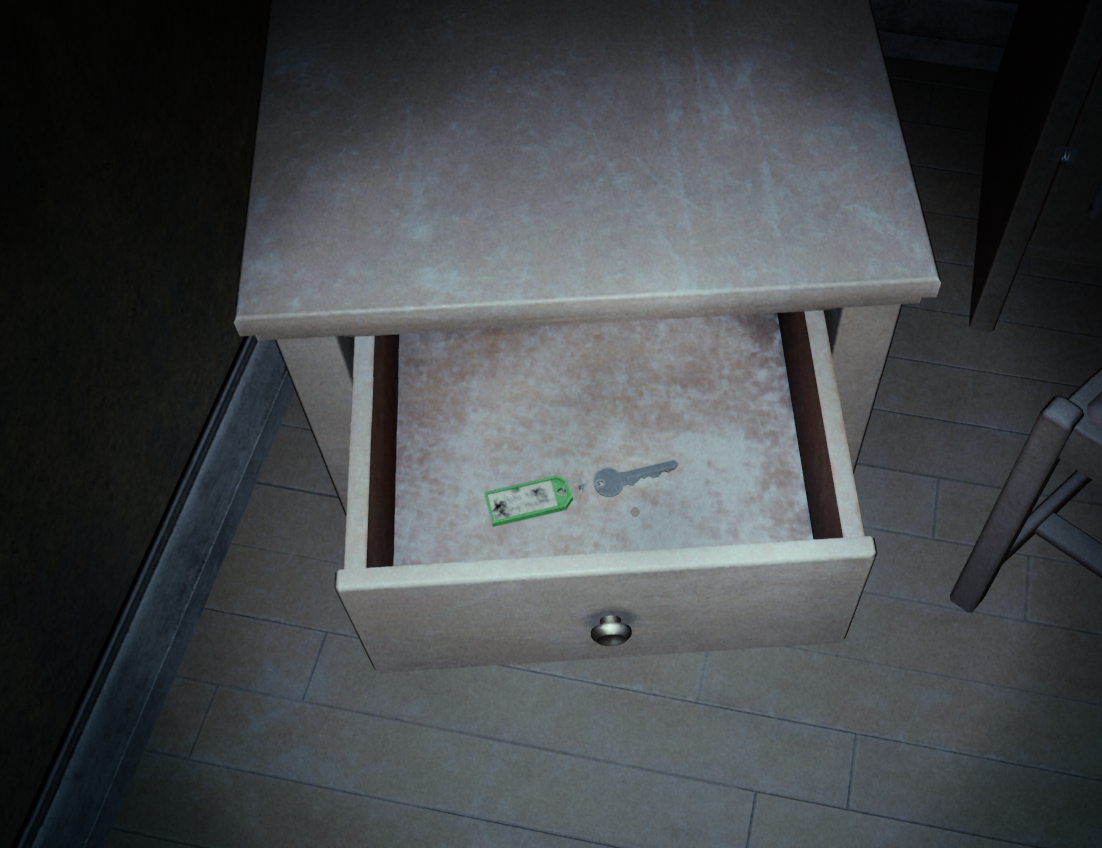
Find the Bathroom Key in the parent’s closet.
Find #1 in the bathroom behind the door.

Turn off the TV three times again, then pick up the Turn Key in the entryway. Then IMMEDIATELY head to the dangling phone in the living room to turn the lights off.
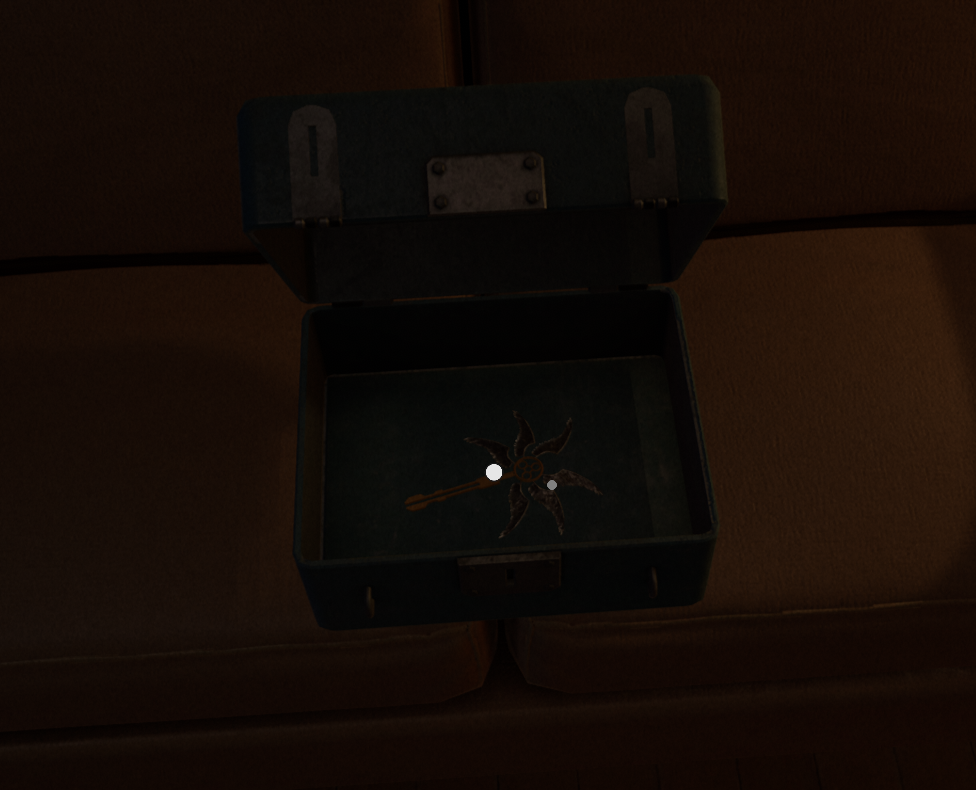
Go to Clara’s room in the dark and get the symbol above her desk.
Then get the bunny on her bed.

Open Clara’s locked desk drawer using same code as before from her notebook (GBR) to get Clara’s Bedroom Key.
Place the symbol in the open circle in the living room, then line it up with the other symbol until the circles line up perfectly. They will disappear once lined up.
Once the symbols have been aligned, the Parent’s Bedroom Key will appear on the hallway table.
Use the hanging phone in the living room to enter the dark apartment, and enter the parent’s bedroom. Open the turnkey box using the code on the bathroom mirror (Right, Right, Left) to get the Jade Triangle Key.
Open the Jade Box on the living room couch to get the Cell Phone and conclude Cycle 2.
Walkthrough – Normal Ending – Part 3
New in this Part are times when the player’s vision changes with a constant static effect. To remove it, approach the entryway door. The player will not be able to toggle the flashlight until this is removed.
There is 1 randomized item to find in this Part: Spare Bedroom Key (goes to parent’s room, not sure why it is renamed here). It seems to be always found in the dark apartment. Keep a lookout for it.
We awake on the couch. Time to find the numbers again, and they are in the same spots as Part 2. Find #2 in the kitchen.
Find #3 in the parent’s bedroom above the desk.
Find the Bathroom Key in the parent’s closet.
Find #1 behind the bathroom door.
Go to the living room and turn off the TV three times. Then approach the entrance door and it will open. Proceed through an alternate apartment to Clara’s room and find a Flashlight on her dresser.
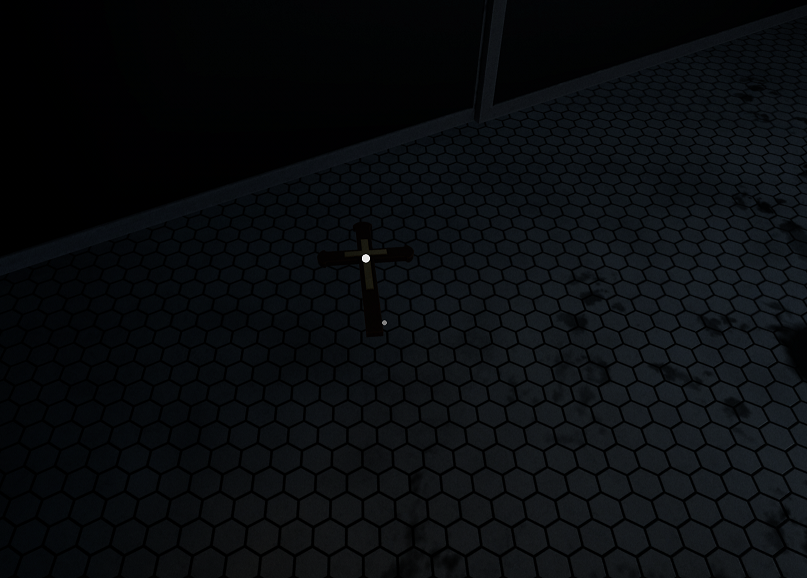
Turn the flashlight off (F) and grab the Wooden Cross off Clara’s bed.
Find the Golden Cross in the entryway bottom shelf.
Get the Silver Cross on the Kitchen’s bottom shelf.
Find the Twin Cross in the drawer left of the couch.
Open the parent’s room using the Spare Bedroom Key you have hopefully found by now. Recall it is in the dark apartment usually and randomly placed. Find the Beveled Cross on the parent’s bedroom dresser.
Get the Bathroom Key from the parent’s closet.
Swap to the dark apartment while in the parent’s bedroom and get the Entrance Key from the drawer. The entrance door requires two keys to escape, so no bother attempting to now.
Push the dresser aside to unblock the parent’s room door.

Unlock the bathroom and place the 5 crosses. Head to the kitchen to get the Medallion from the microwave.
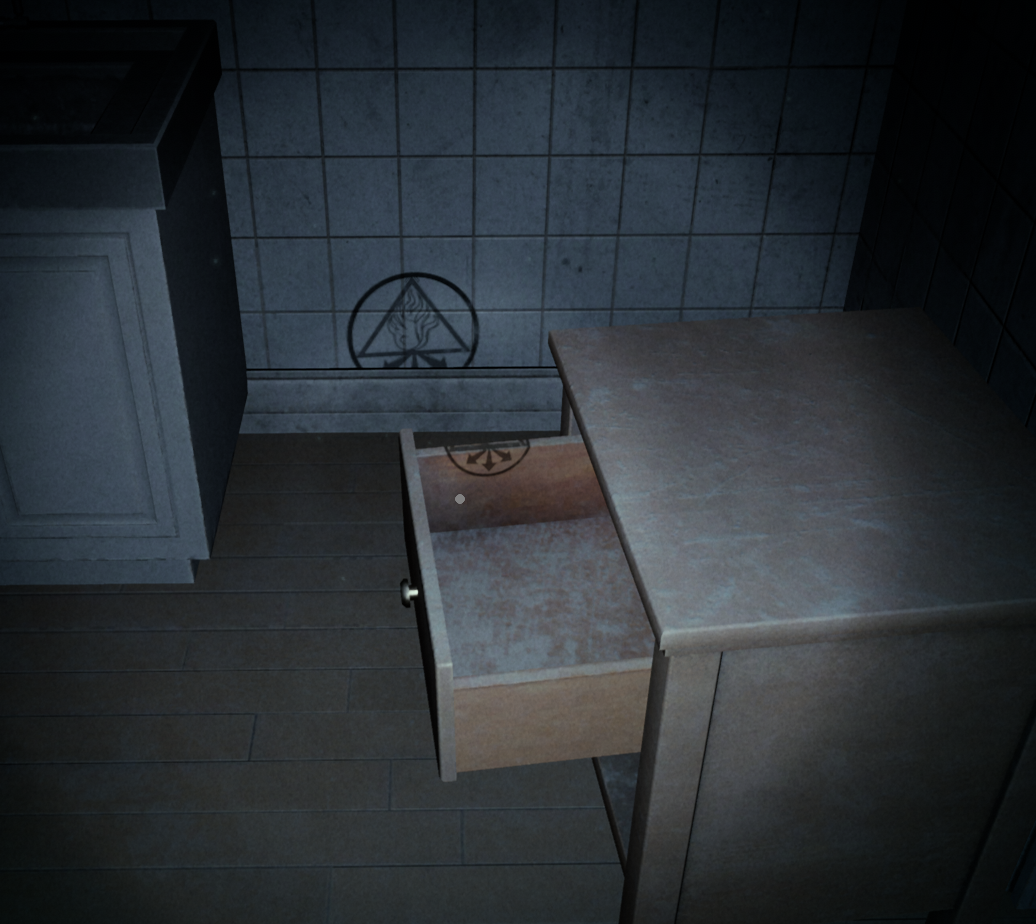
Enter the bathroom while it’s dark to find a symbol behind the mirror. Interact with the symbol to make the mirror interactable, then remove the mirror to get the symbol.

Enter the dark kitchen and open the drawer. Place the symbol in the empty circle and then align the circles by crouching. This will spawn the safe and the locked box in the living room.
Find the code for the safe either through the entrance door peep hole, or on the bathroom mirror. Once the safe is opened in the light living room, it will be empty. Now go to the hallway in the dark to find the opened safe with the Incomplete Key.
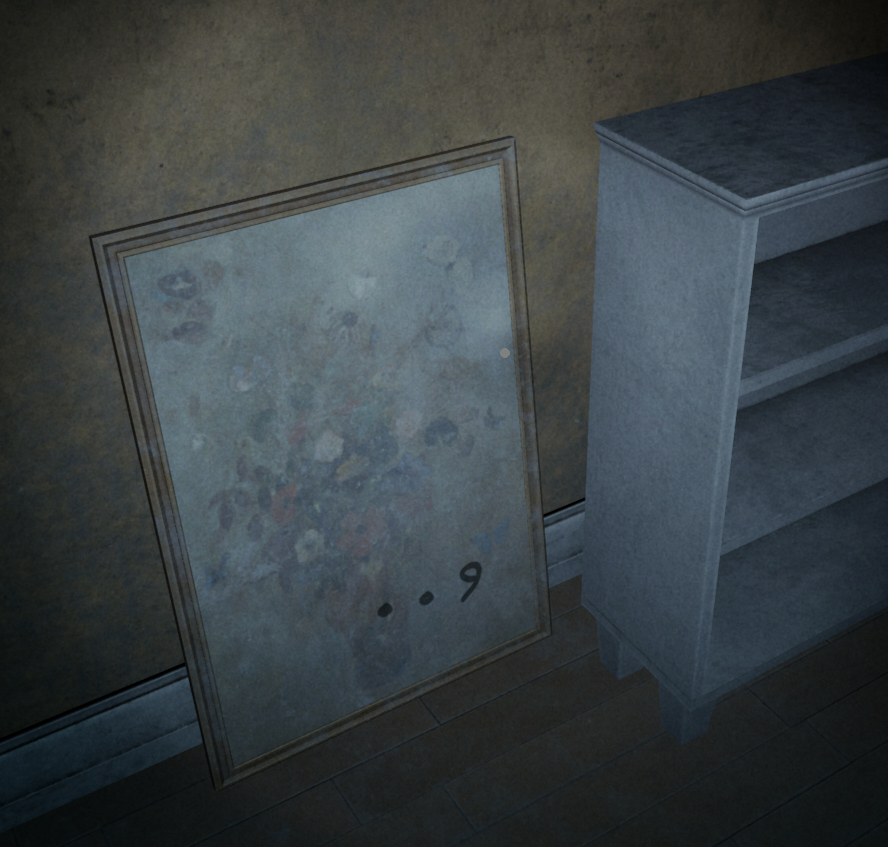
To find the code for the lockbox, we need to inspect 3 paintings in the dark apartment. The code is randomized so much be discovered each run. The first painting is in the living room.
The second painting is in the entryway.
 The third painting is in the parent’s room behind a shelf. You can interact with the painting to slide it out.
Use the code to open the lockbox in the living room to get the Winged Key. The key pieces will combine into a Modular Key.
Bad Ending: Just leave the apartment now. Explanation story spoilers: The door with the symbol was keeping the demon trapped with you. Opening it up without first sealing the demon allowed it to kill you and escape. You will have the option to proceed from the prior checkpoint if you want to witness this before going for the good ending, but it may impact your final rating.
Good Ending:
How to discover the clues, contains puzzle and story spoilers:
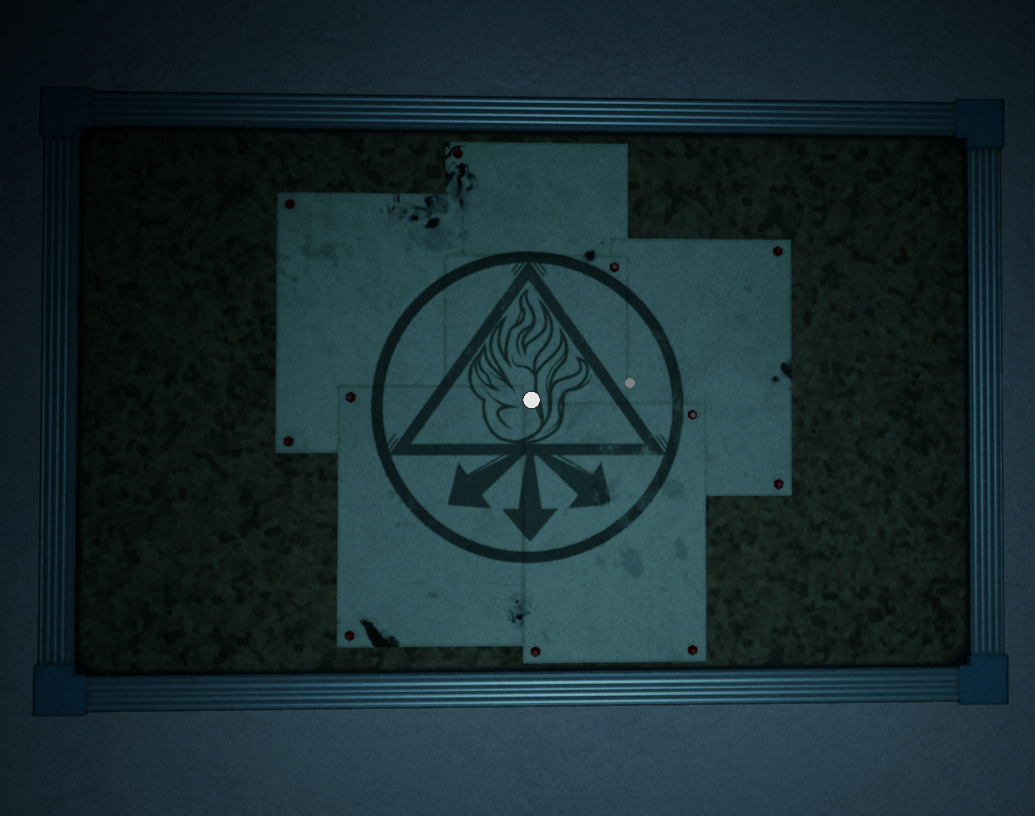
An entrapment ritual must be completed to seal the entity before we open the door. The closet in the dark parent’s room will now be open. Three symbols must be placed correctly. We learn the proper locations by using a few different pieces of information. First inspect Clara’s notebook to learn about the Arch Angels’ Elements (press E to translate). Then take note of the words in the light hallway above the cabinet: “open the menu while above the stars”. There are stars on the floor in the dark kitchen. Open the menu by pressing Escape (ESC) to learn where the angels are located. Finally, place the elements in the dark parent’s closet according to where the associated angels are supposed to be.
Solution:
Fire on top, Wind to left, Water to right. Then leave the apartment and use the elevator.
Normal Ending Quick Checklist
Part 1:
- Drawer left of couch get Twin Cross
- Examine cross under painting to remove painting
- Kitchen bottom shelf get Silver Cross
- Randomized items to find:
- Parent’s Bedroom Key
- Scrap A
- Scrap B
- Parent’s room above desk get Ornated Cross
- Randomized items in parent’s room:
- Keypad 1
- Scrap C (may appear later or in bathroom)
- Read note under entrance door
- Go back in bedroom for door to close
- Go to entrance door and turn lights on
- Near couch get #2
- Go to parent’s room to get bathroom to open
- On bathroom sink get Voice Recorder
- On bathroom wall get #1
- IF no Scrap C check bathroom
- Behind parent’s door get #3
- Fallen picture by entrance get Turn Key
- Parent’s room turnkey box (RRL) for Cyan Ace Key
- IF missing Scrap C check parent closet
- Open Cyan box in kitchen for Tape 1
- Turn off TV
- Look at bathroom mirror
- Floor by entrance door get Wooden Cross
- Place 3 letters in entryway
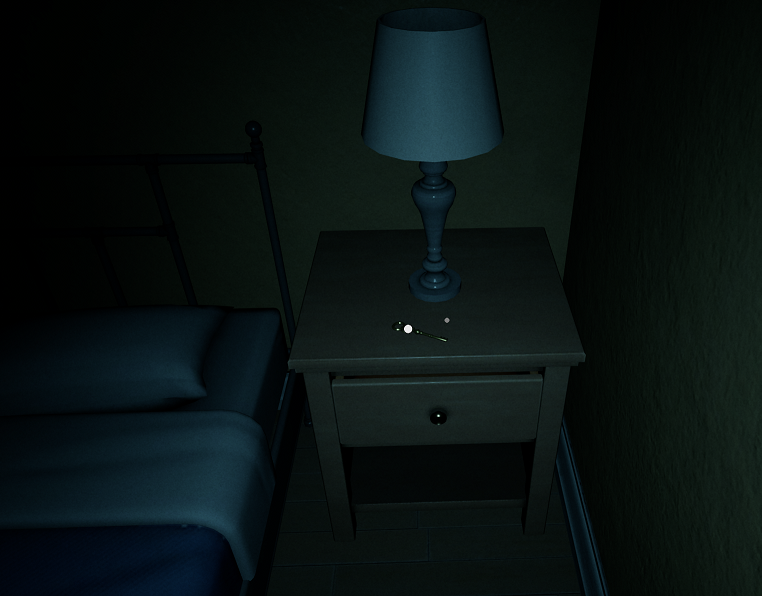
- Turn off lights, right nightstand for Pink Diamond Key
- Turn on lights, open box in parent’s room for Tape 2
- Turn TV off (3x)
- Microwave get Key to Clara’s Room
- Randomized items in Clara’s room:
- Keypad 9
- Scrap D
- Scraps into notepad (4x)
- Open desk lock (GBR) get Elaborated Cross
- Parent’s closet put Keypads onto safe
- Open safe (1997) get Golden Cross
- Bathroom floor get Beveled Cross
- Living room place 7 crosses
- Clara’s Desk get Tape C
- Go to entrance door and turn around
Part 2:
- Kitchen get #2
- Parent’s room get #3
- Parent’s closet get Bathroom Key
- Bathroom get #1
- Turn off TV (3x)
- Fallen picture get Turn Key
- Turn lights off
- Clara’s room get Symbol
- Get Rabbit
- Open Clara’s desk (GBR) get Bedroom Key
- Living room Symbol
- Hallway get Parent’s Bedroom Key
- Lights off, open parent’s room
- Open turnkey box (RRL) for Jade Triangle Key
- Couch for Cell Phone
Part 3:
- Kitchen get #2
- Parent’s room get #3
- Parent’s closet get Bathroom Key
- Bathroom get #1
- Turn off TV (3x)
- Entrance door to Clara’s room get Flashlight
- Clara’s bed get Wooden Cross
- Dark rooms randomized items to find:
- Spare bedroom key
- Kitchen Silver Cross
- Entrance Golden Cross
- Left couch Twin Cross
- Parent’s dresser Beveled Cross
- Parent’s closet Bathroom Key
- DARK parent’s drawer Entrance Key
- Push dresser
- Bathroom place 5 crosses
- Kitchen microwave get Medallion
- Bathroom then DARK get Symbol
- DARK kitchen place symbol make circle
- Open Safe and Lockbox get Winged Key
- DARK hallway get Incomplete Key
- Parents closet – Fire top, Wind left, Water right
- Leave entrance door
- Use elevator