This guide explains how to upload your maps to the Steam Workshop.
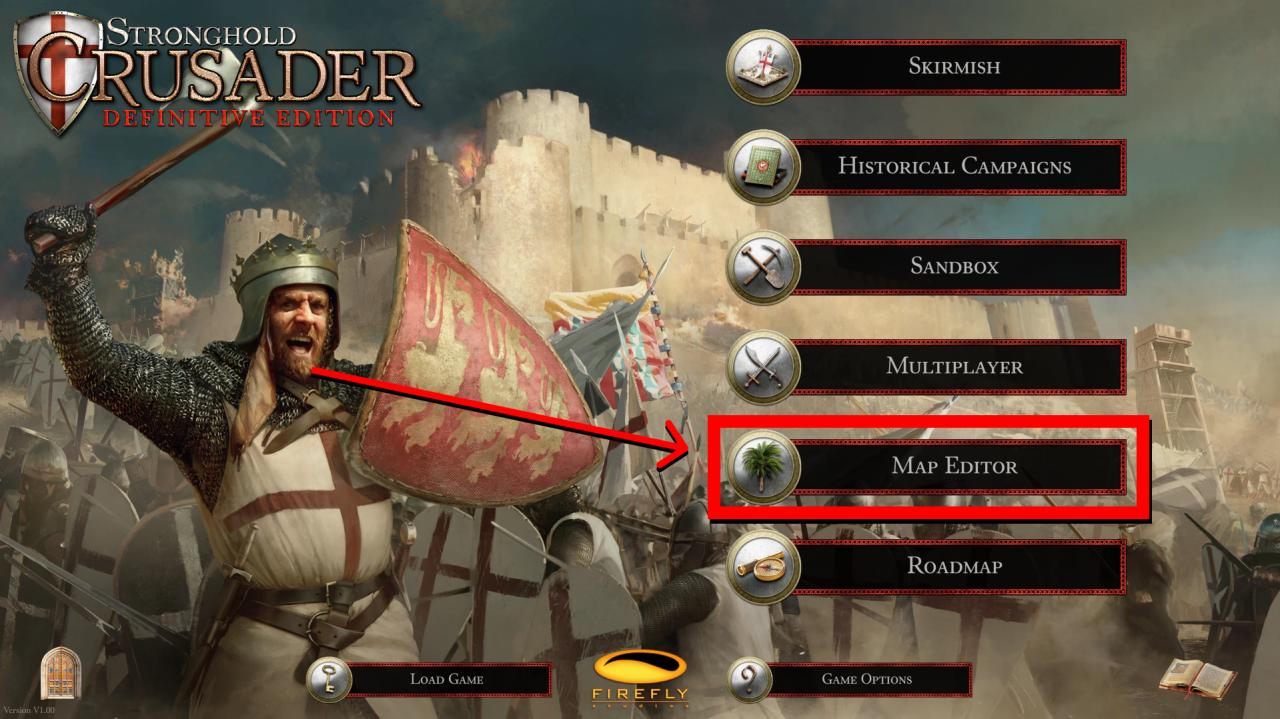
Open Map Editor
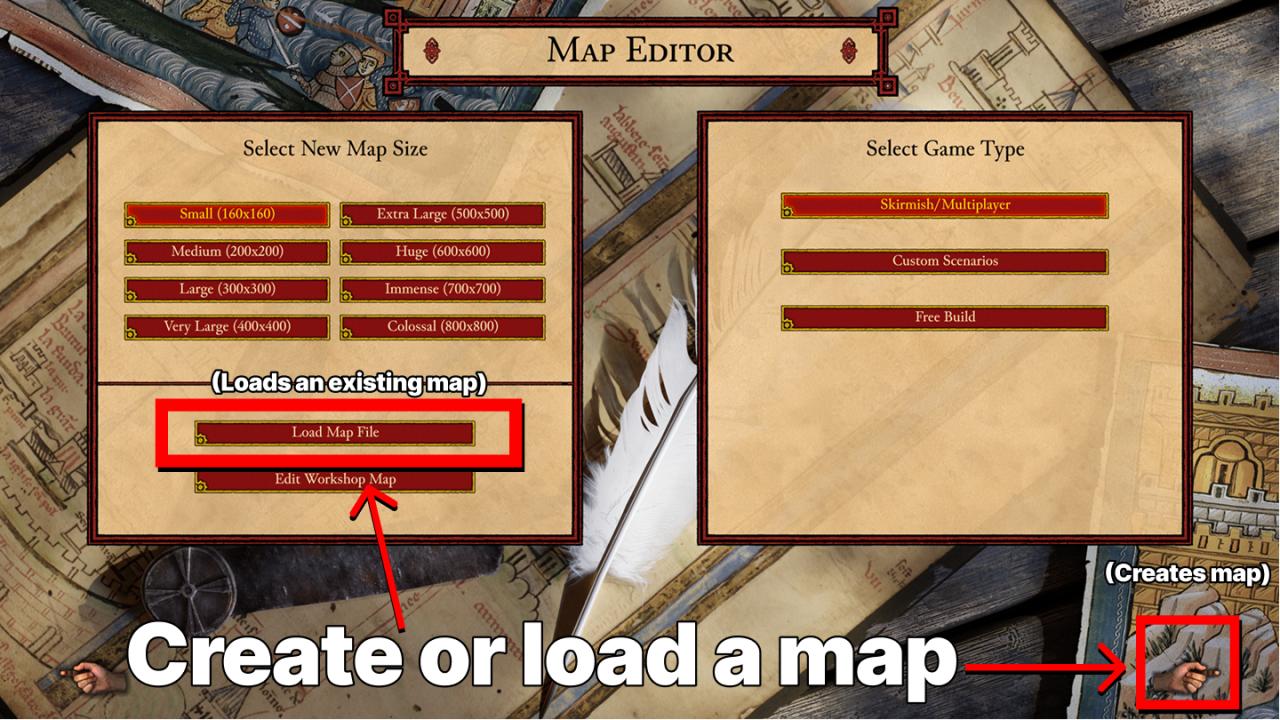
Open the game, click map editor, and create or open a map (this guide assumes you know how to make a map already).
Balanced or Unbalanced
Balanced means that all players have exactly the same experience no matter where they are located (usually these are symmetrical maps). Unbalanced means that some players might have unequal experiences depending on their position; usually this means someone has more/less resources than others. So for unbalanced, someone might have more access to wood or another player has more access to stone. A good rule of thumb is that if it’s not symmetrical, it’s probably unbalanced.
Here’s how to do that:
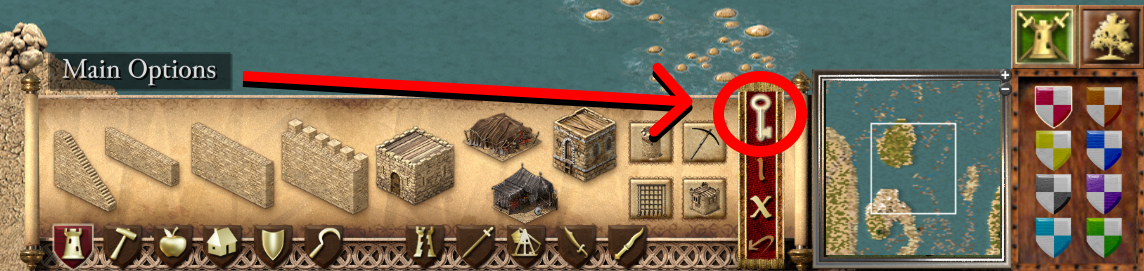
Click Scenario Editor in the top right of your screen
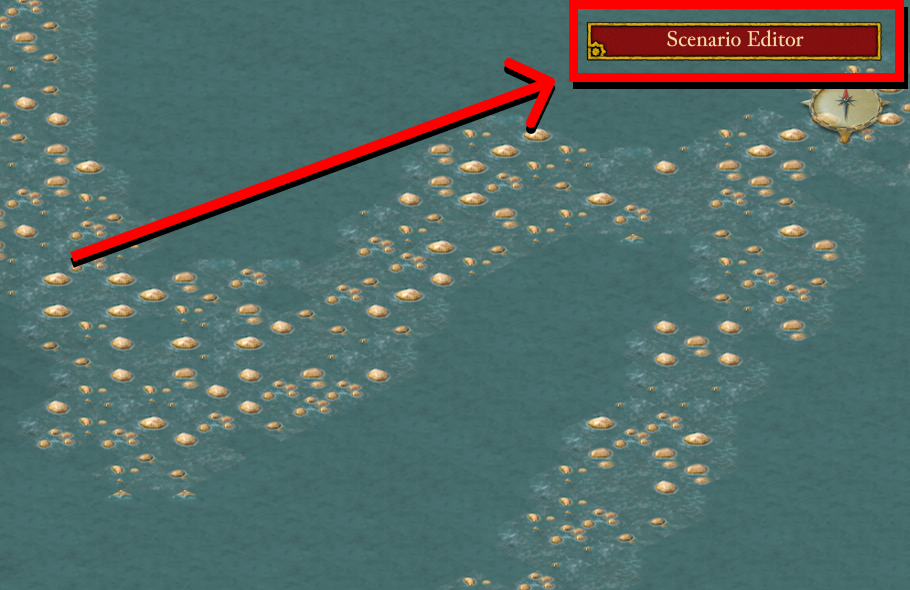
Then choose your balance by clicking the balance button. It will toggle between balanced and unbalanced.

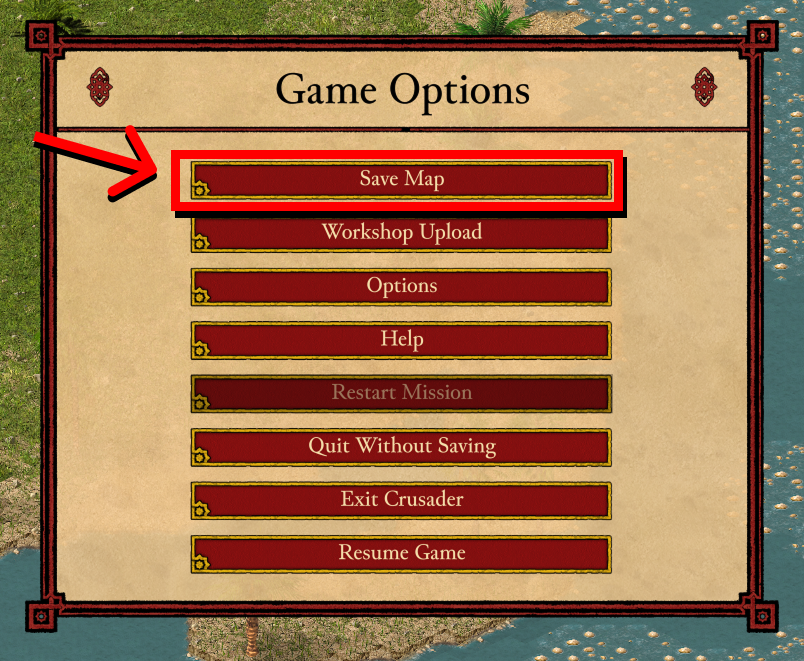
Save Your Map
Save your map.
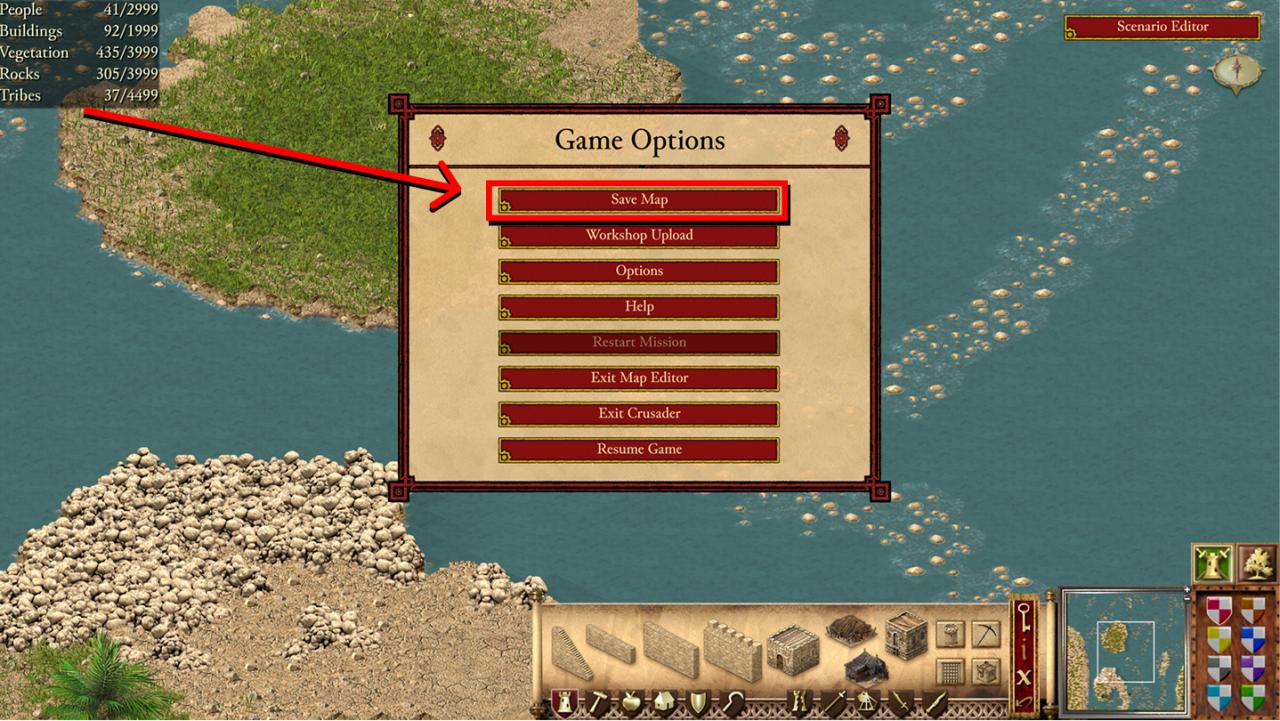
It will open this window:

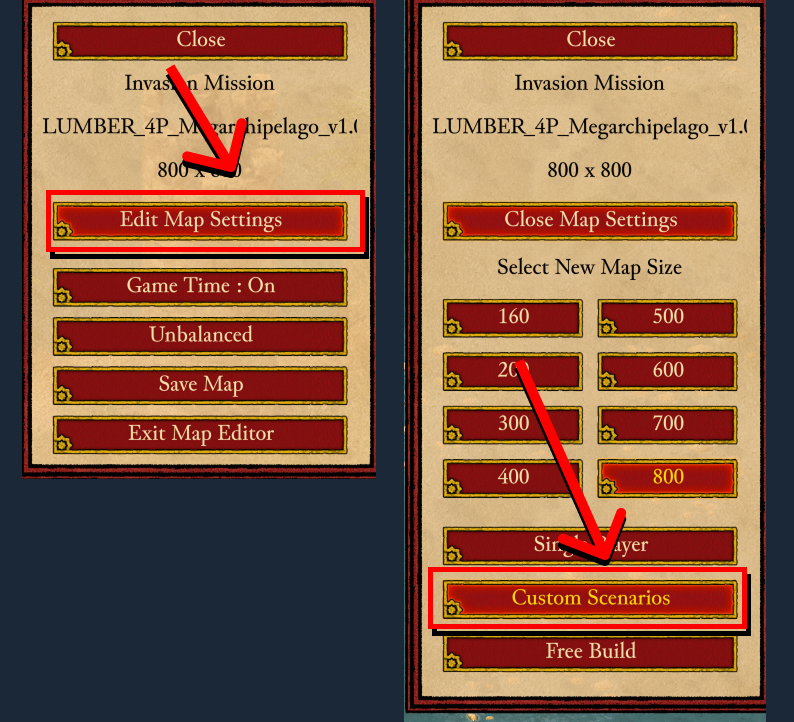
For Custom Scenarios ONLY. Is not available for Skirmish or Free Build maps.
Here’s how to do it:
In the top right corner, click Scenario Editor
Then click Edit Map Settings and select Custom Scenarios
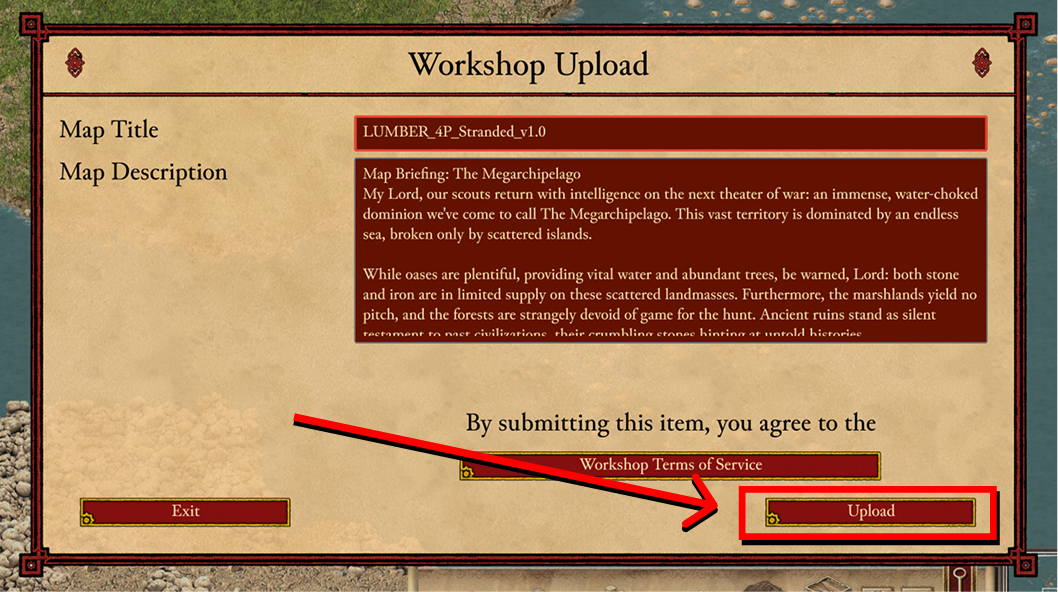
There are a lot of Custom Scenario settings you can configure but and they aren’t related to this guide, so I will move on to the part where you are uploading the map. You should see this when uploading Custom Scenario map:

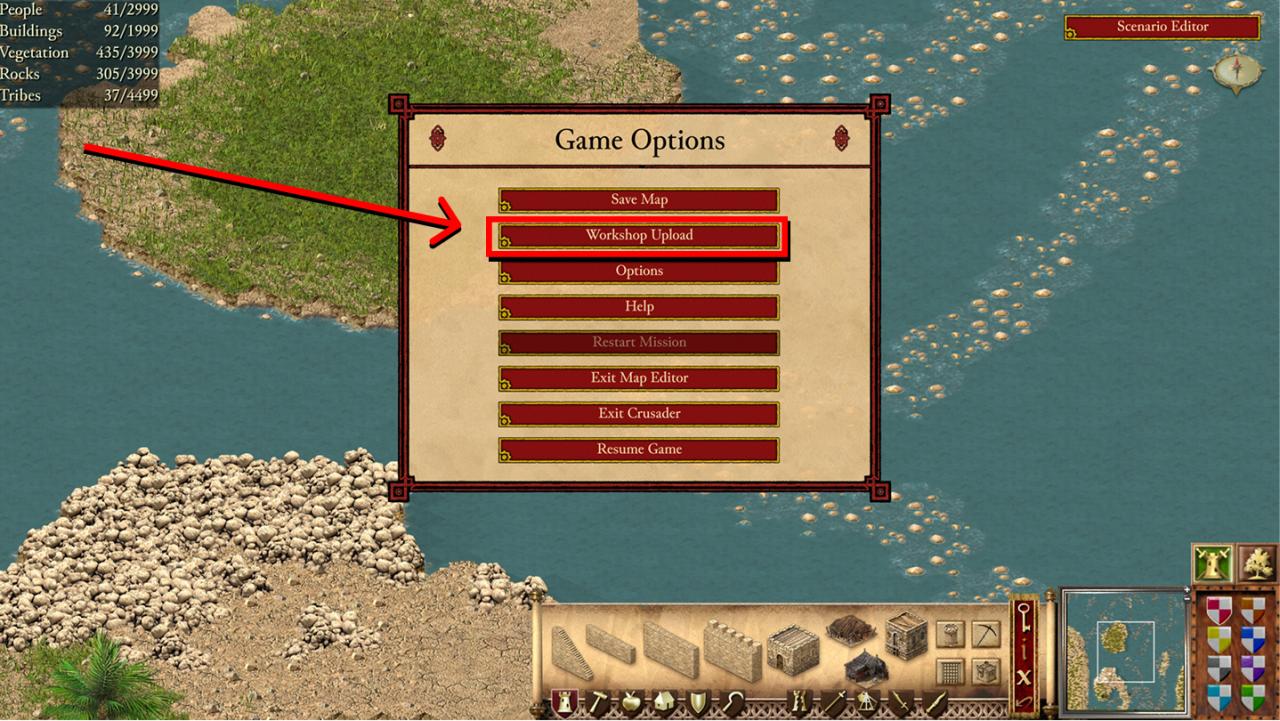
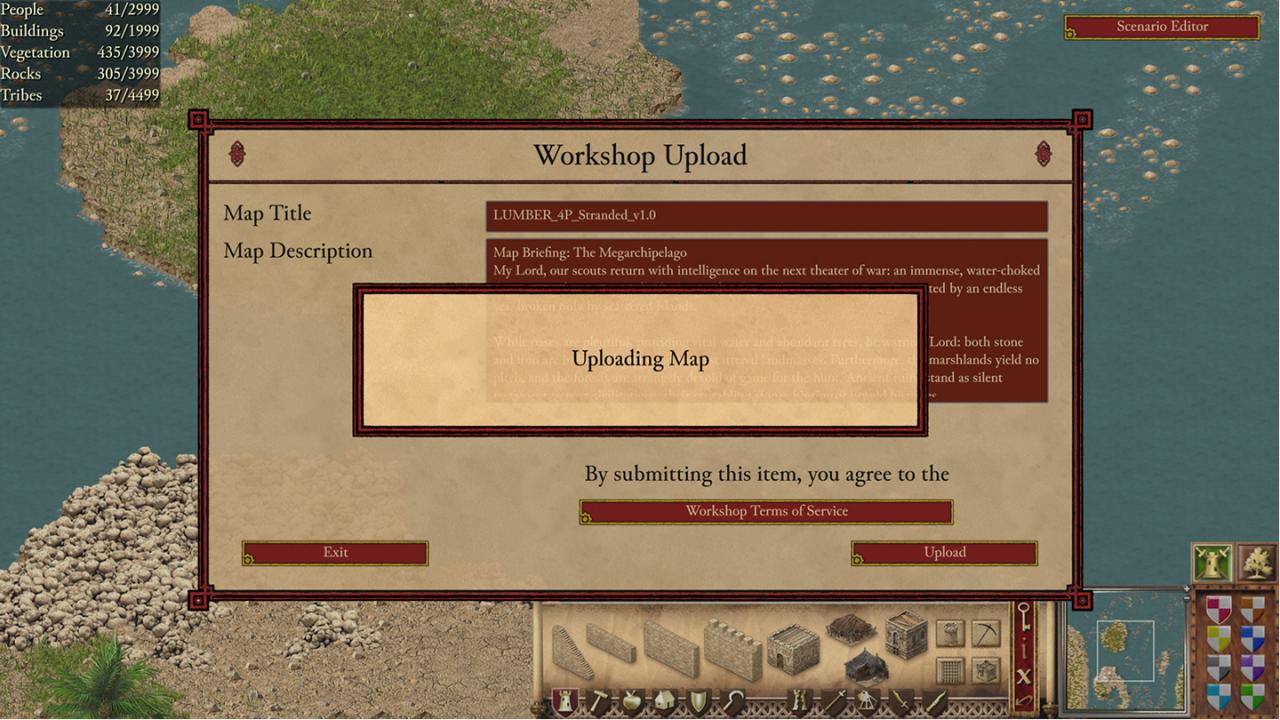
Upload
I like to format mine like this:
MyUsername_PlayerCount_MapName_Version
So in this example it is: LUMBER_4P_Stranded_v1.0
This helps users quickly sort their maps. You could also do something like:
LUMBER_2v2_Stranded_v1.0
So with that 2v2 in the title, the user knows it’s a 2v2 map (in my case it can be 2v2 or 1v1v1v1 so I just put 4P to show that it’s a 4 player map)
And you should see this:
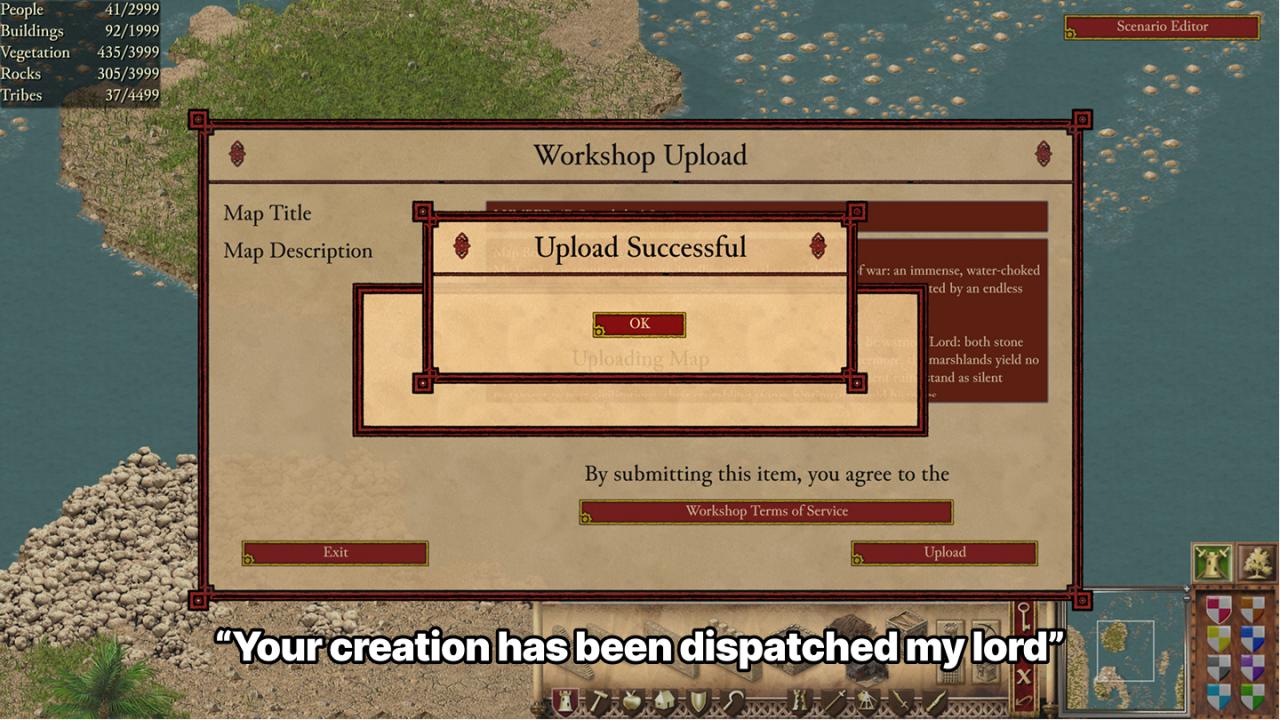
Quickly followed by this (and a voice that says ““Your creation has been dispatched my lord”):
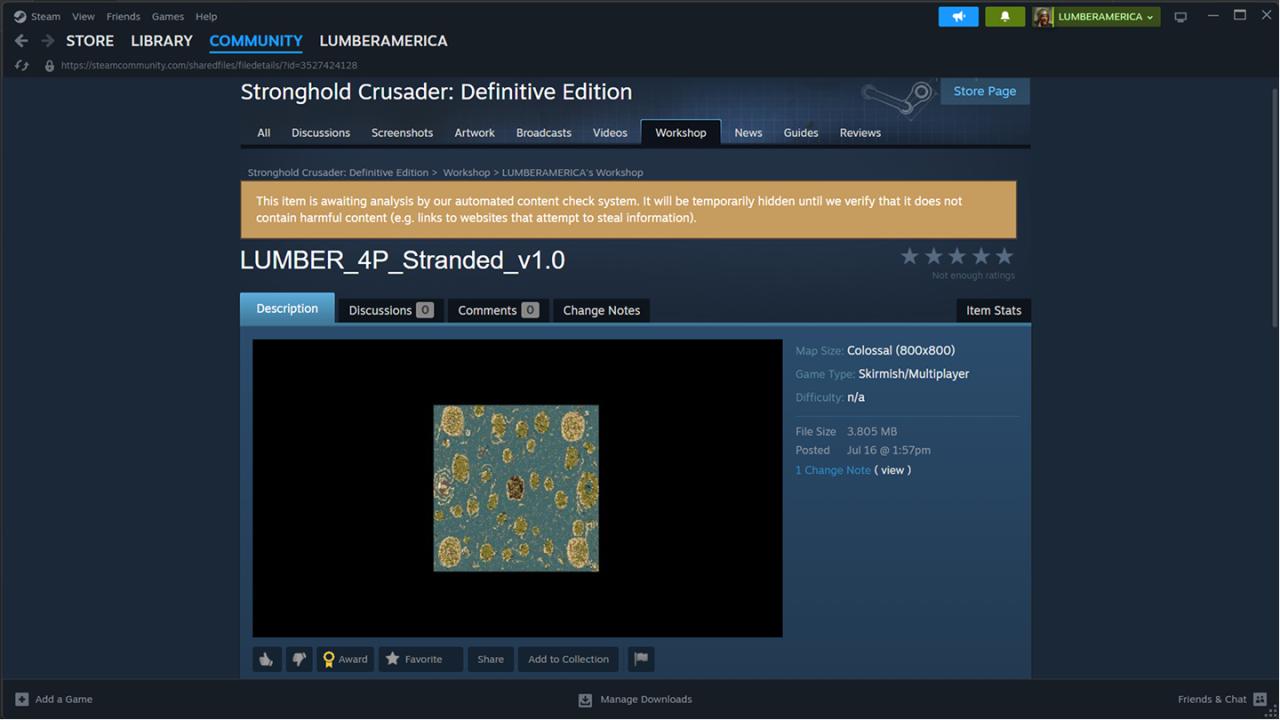
And then steam should open and you will see your Workshop map waiting to be approved by Steam’s automatic systems, like this:
Edit Your Post And Add Screenshots
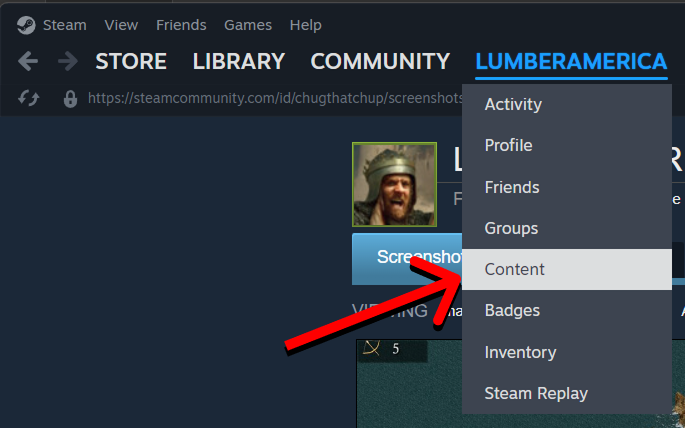
Let’s start by assuming you need to find your post (maybe you clicked something else in Steam and can’t find your post). Go to your post by following these steps
Hover over your Steam username tab and select Content
Click Workshop Items then click your post
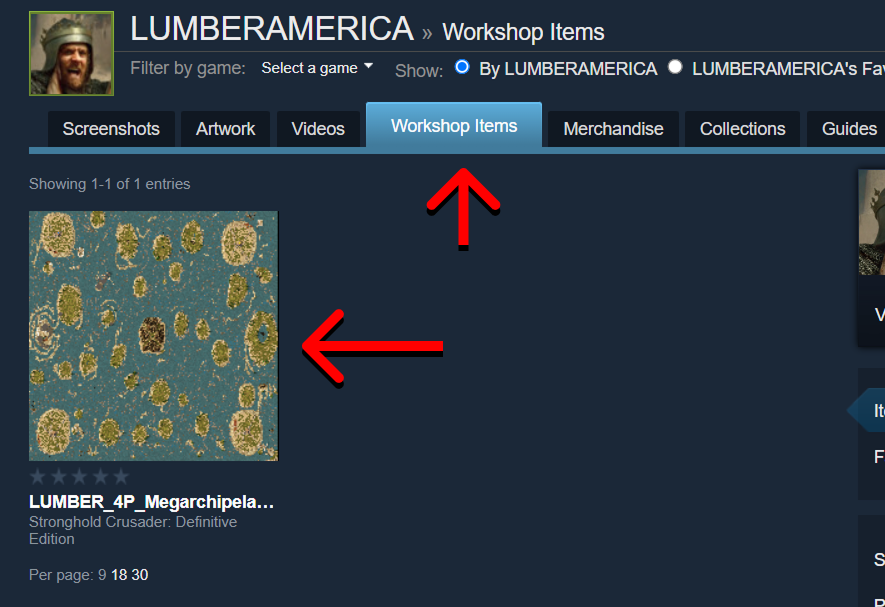
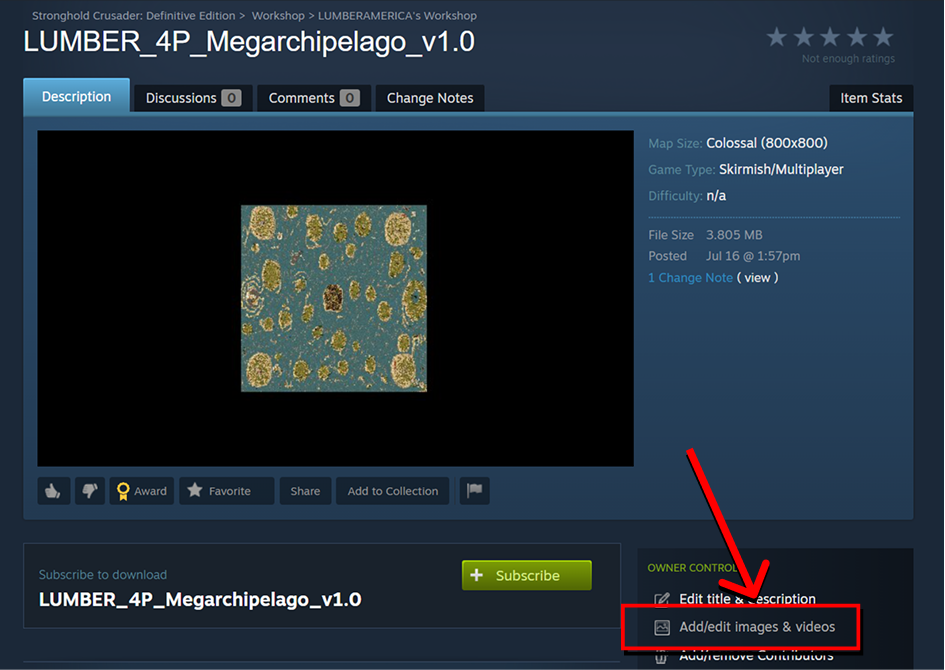
Click Add/edit images & videos
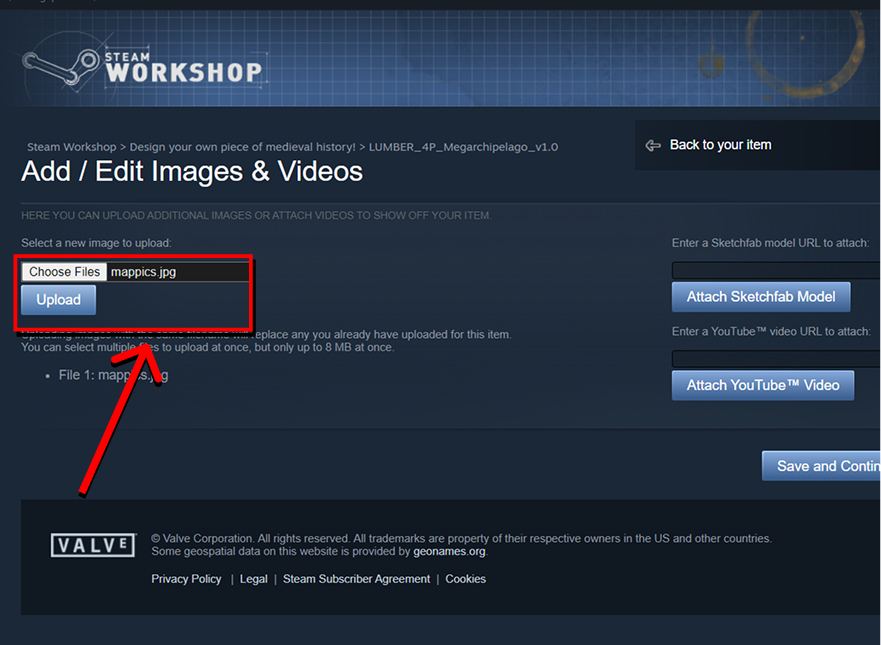
Now upload your screenshots (max size 2mb)
Save and continue
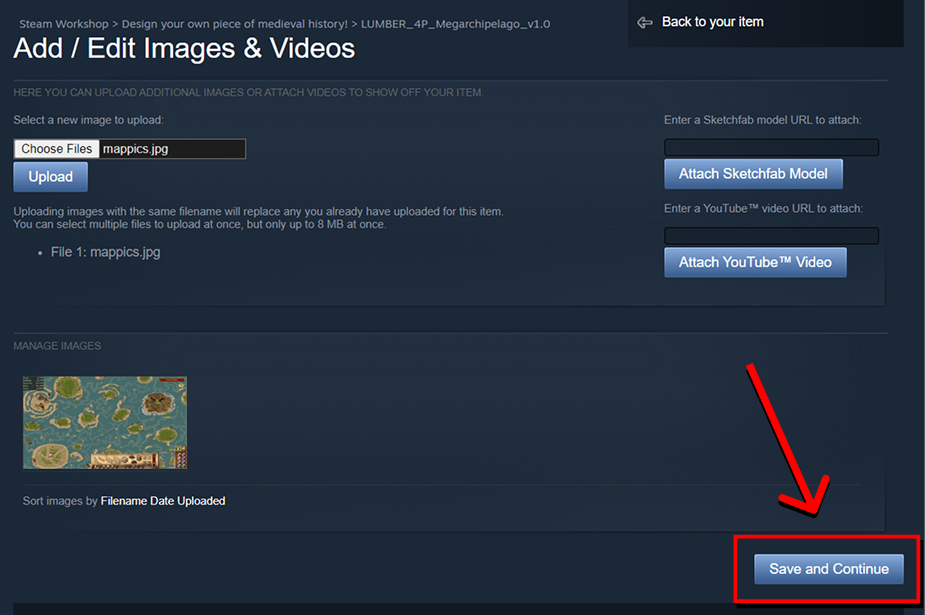
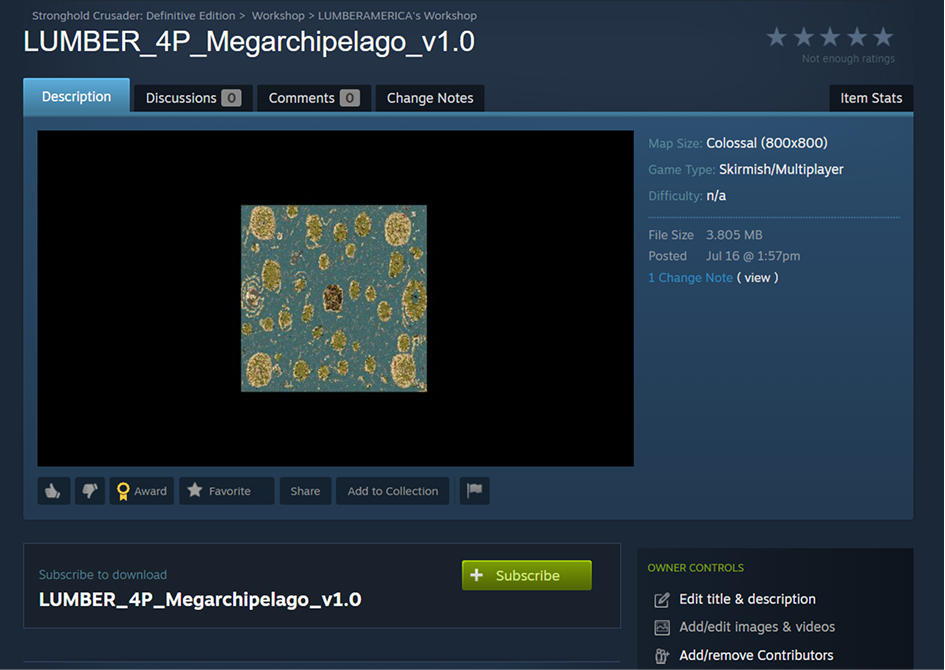
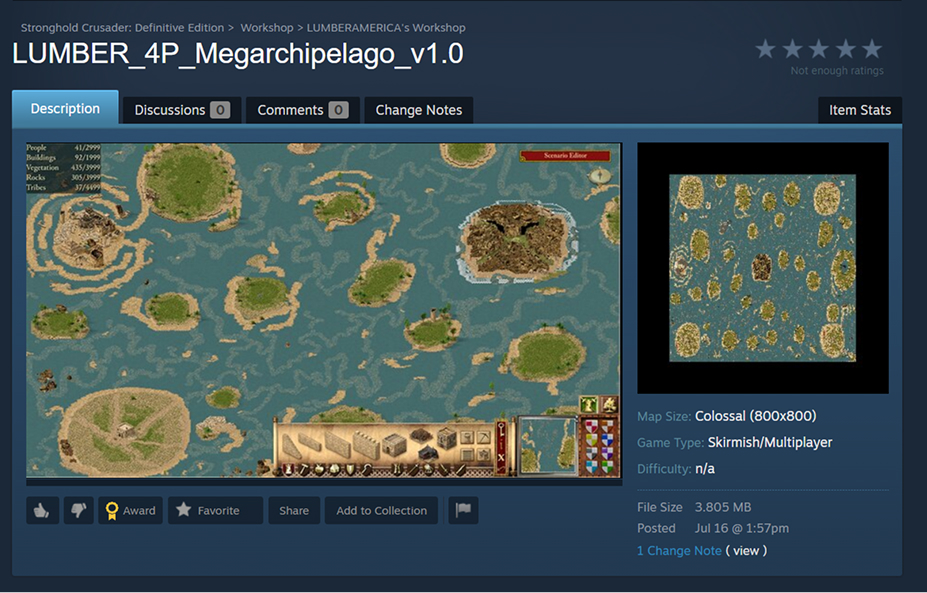
Now doesn’t this look a bit nicer? (old on the left, new on the right)
Edit/Update Your Workshop Map
Here’s how to do that:
First, open your Workshop Shop in the editor by going to the Main menu > Map Editor > Edit Workshop Map
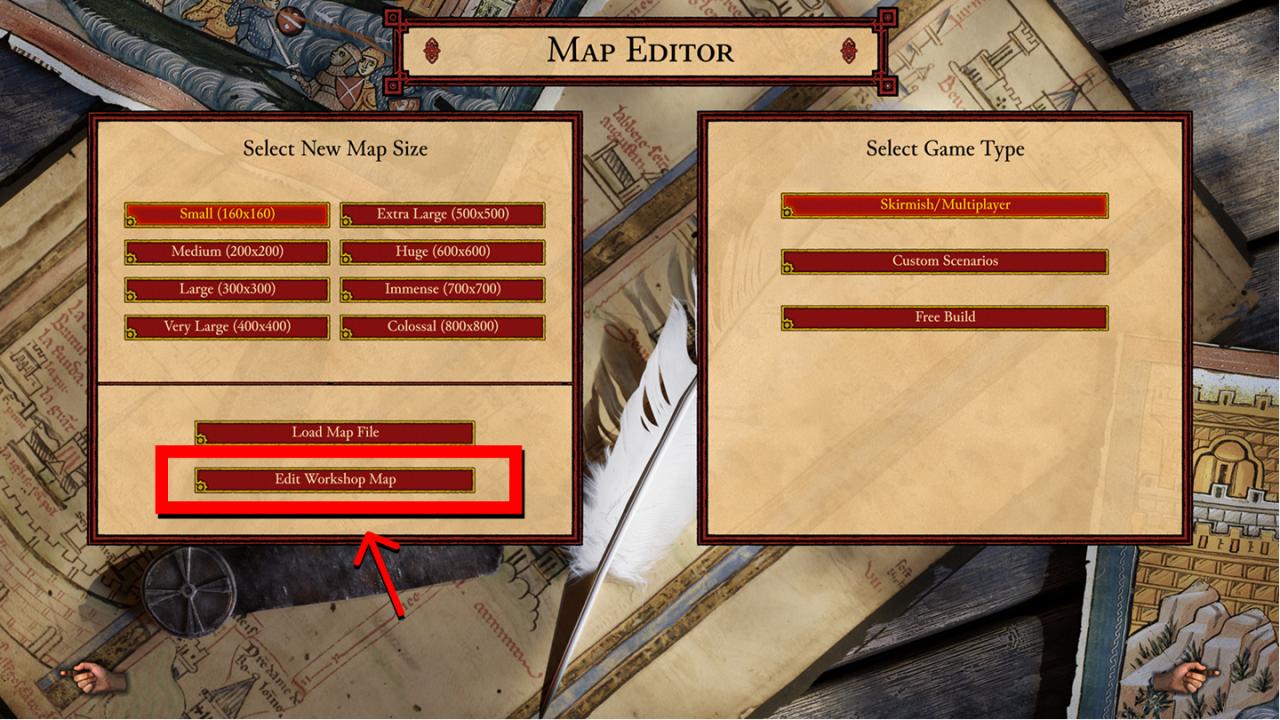
Then you will see your list of Workshop Maps. Select the one you want to edit/update and click Load Mapm
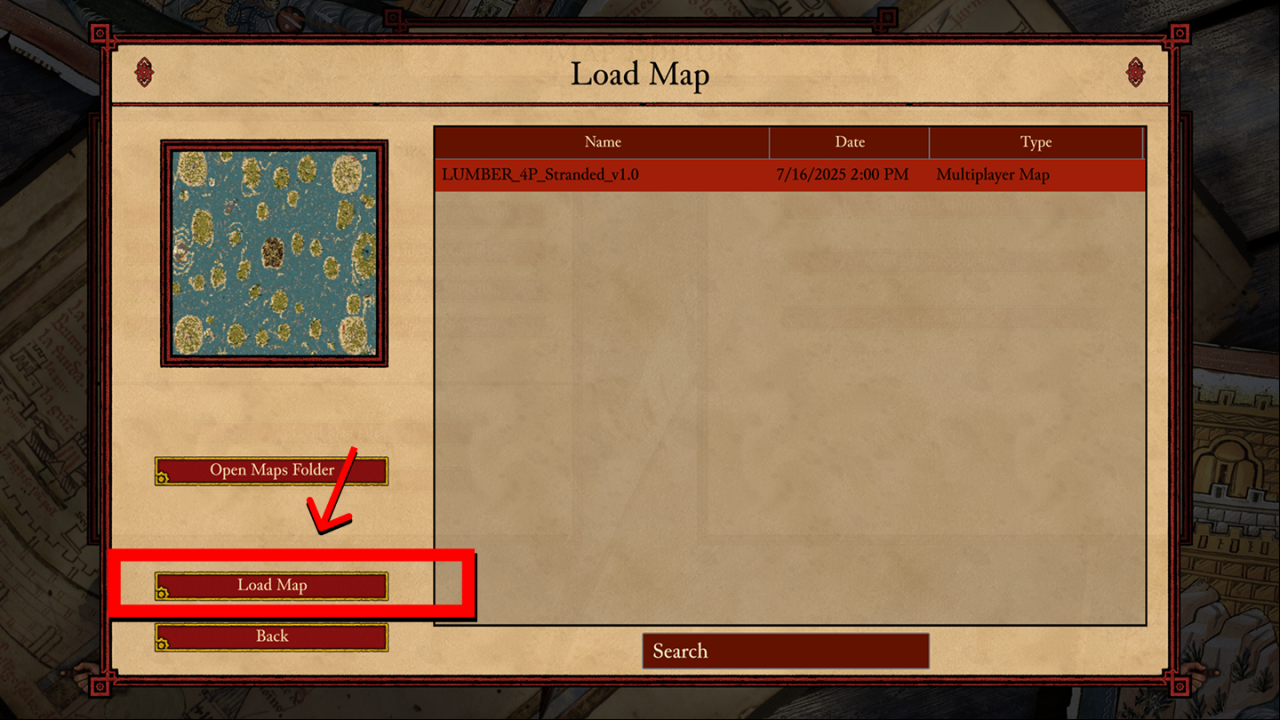
Now make your changes and when done, open the menu and save your map. I recommend updating the version number as well (like from v1.0 to v1.1)
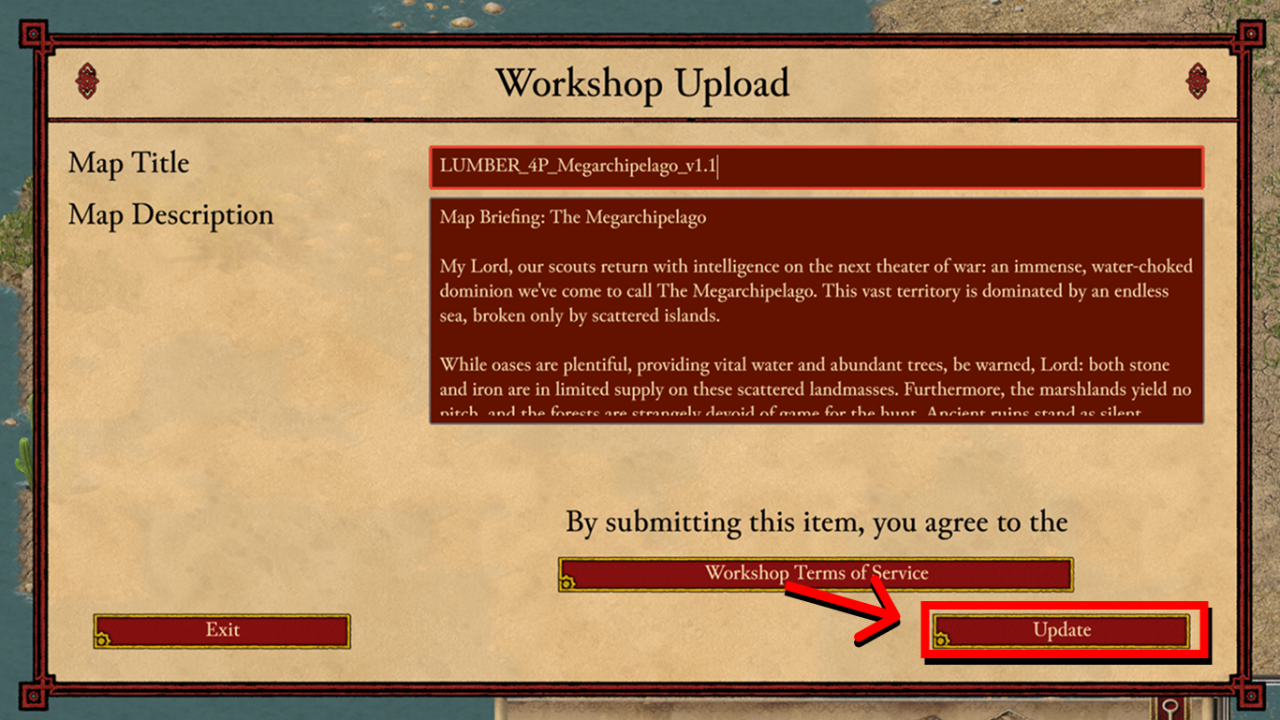
You’re not done yet! Now with menu still open, click Workshop Upload
Edit the description/title if needed (again, I recommend updating the version number) and click Update. Do NOT back out. If you back out at this point, then the update button will henceforth be grayed out. If it’s already grayed out or you backed out already, scroll down and I’ll show you how to fix it.
This is probably a bug. But if you already see a grayed out Update button, then don’t worry, it’s not gameover. To get the Update button to show again, simply change any text in the title or description and then delete that text. The update button should now be clickable again. What I do is type any letter (let’s say ‘r’) and then hit backspace thereby removing the ‘r’. Then the update button is clickable again.

After updating, Steam Workshop should open with your updated Map file. Those subscribed to your map will now be using the new version. To my knowledge, they cannot revert back to the old version, so it’s nice to provide download files of the map so users who prefer older version of your map can continue to play with them.