A work‑in‑progress guide for Wall World 2 covering upgrades, missions, areas, relics, drinks, and general progression.
I haven’t finished the game yet, so some information may be incomplete or incorrect.
1. City Upgrades
Most artifacts have four levels. Some artifacts are available immediately, while others are unlocked during the main mission.
Torpedo Drill Unit – Destroys blocks at the point of impact.
Plasma Drill Turbine – Creates a tunnel for the torpedo or the entrance into the cave.
Regeneration Node – Heals when inside the Robospider.
Seismic Generator – Creates shockwaves that damage blocks.
Disruption Generator – Resets the aggression bar.
Rocket Launcher – Fires a rocket.
Leviathan Protocol – Summons the Leviathan (summoning only recommended with high‑level weapons and enough minerals for healing).
Rotary Saw – Allows destroying enemies and tree roots.
Force Field – A passively recharging shield.
The Robospider consists of a body and legs, which can be swapped.
Prospector Hull – Standard hull, no upgrades possible.
Oracle Shell – Hull of the enemy Robospider from the DLC.
Miner M‑01 Chassis – Standard legs, no upgrades possible.
Seraphim Platform – Legs of the Robospider from the DLC.
Dagger support Module – Allows stepping over small enemies and deals damage.
Tracked Platform k-2 – Allows ramming and crushing enemies
Here you can find equipment that improves your Exosuit and weapons. Some items must be unlocked through side quests.
Exo Turbines – Increase movement speed inside the cave.
Jet Boots – Increase running speed on the ground and ceiling.
Resource Vacuum – Increases the pickup radius.
Exo Armor – Increases survivability.
Defense Circle – A passively recharging shield.
Helper Drone – Collects minerals and can be upgraded to attack enemies or provide light.
Honey Badger – Fires ammunition rapidly; upgrades include bouncing bullets and increased fire rate during sustained fire.
Foam Cannon – Creates blocks that block enemies.
Mine Chakram – A spinning weapon.
The bar offers drinks that provide bonuses for the next mission. Drinks exist in multiple quality tiers with increasing prices.
You can equip two drinks at first, later up to four. Additional slots are unlocked through side quests.
Drinks increase:
– Damage: Damage against Zyrex (recommended only for combat missions).
– Defense: Damage reflection, shield regeneration rate, shield durability (recommended only for lava caves in Fog Slope).
– Speed: Increases movement speed.
– Resources: Increases vacuum capacity, generates additional minerals per destroyed block, increases drilling power.
Important Tip:
 Drinks that generate additional minerals per destroyed block are especially recommended.
With three such drinks equipped, the chance for additional minerals in every block is 12%.
With this, farming biome‑specific minerals becomes extremely easy.
2. Mission Upgrades
Machine Gun – Standard weapon.
Exosuit Upgrades – Improve movement speed, drilling efficiency, range, number of beams.
Special Upgrades – Damage to adjacent blocks, chance of resources from each block (not added to the chance of an extra resource through the drink bonus)
Robospider – Healing; the amount of healing can be increased.
Weapon crates are always located at the upper back end of small caves.
Stake Launcher – Fires a stake in a ballistic arc; charged attacks are possible.
Tip: You can take relics with you when teleporting. Activate the teleportation blocks and immediately vacuum the relic.
Force Field Screen Generator – Creates a protective shield that does not recharge.
Drone System – Defends the Robospider.
Upgrades: movement, number of bullets per burst, more damage, increased reload speed, up to two additional drones. Upgrades recommended.
Breaker Generator – Damages blocks near the spider.
Tip:
In the Roaring Frontier and biomes with regenerating blocks, this is a dust farm. 50k dust in one mission is no problem there.

Explosive Burst – Increases damage and reduces cooldown.
3. Areas
Location of the fight against the White Robospider from the Wall World 1 DLC, only accessible in the tutorial.
The goal of the main mission is to reach the end of the cave. Robospider upgrades unlockable in the main quests are required for this.
Behind the tree is a stash containing 50 minerals.
The caves with the people are references to the first part and to certain game streamers.
Behind the tree is a stash containing 50 minerals.
Contains regions with regenerating blocks. Collecting collectibles in these caves should be avoided (there are more collectibles than needed).
4. Missions
The missions in the individual areas are available via the map.
The size specifications (e.g., XL, refer to the sizes of the caves).
Side quests fore missions are assigned in the bar. Since they are chain quests, the previous ones must be completed first. They unlock blueprints for additional artifacts.
– In Rust Belt and Fog Slope, at the top end of the region, there is a tree whose roots can be cut with the rotary saw. Behind it is a stash with about fifty minerals.
– In the cloud layers, there is almost always a small cave with minerals in the middle.
– Drink as many drinks as possible at the bar before the mission begins.
Each area has different zones with varying block hardness and different properties. There are at least two caves in each biome.
The biomes are separated by clouds, and Zygrex attack when you first cross the clouds.
Caves can also be recognized by a flat section around their entrances.
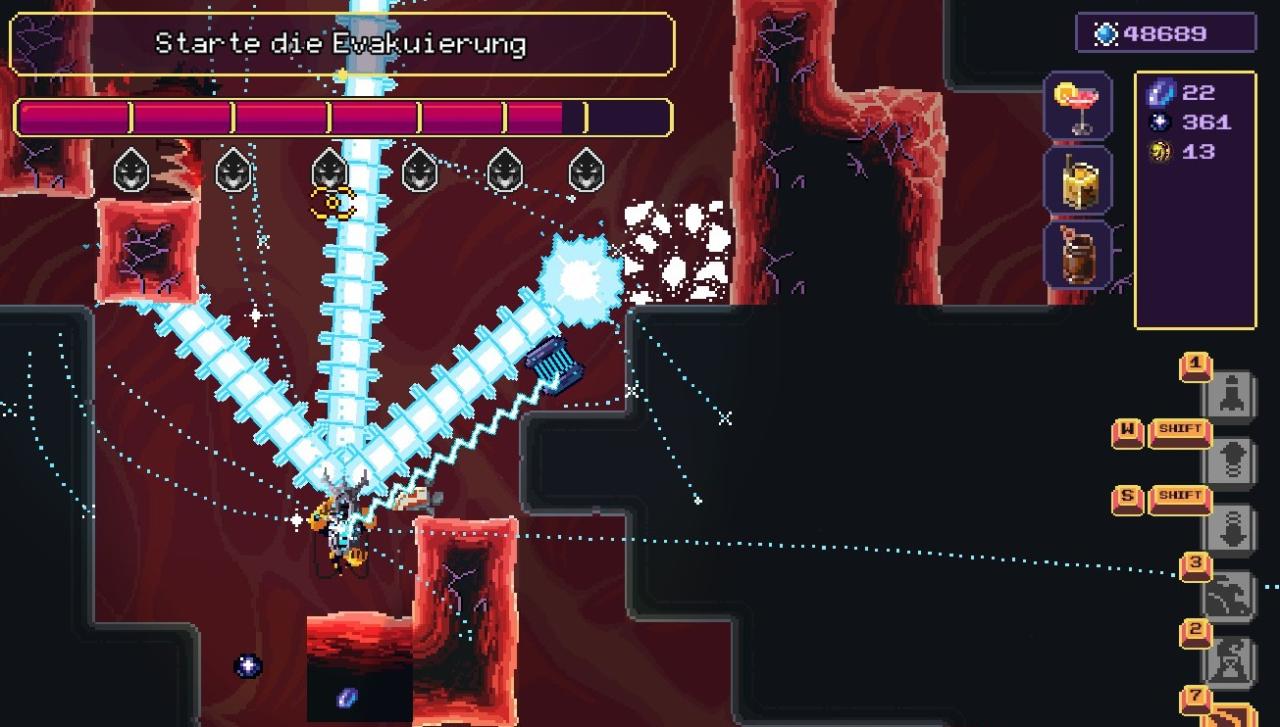
The waves increase in difficulty as the mission progresses. The Zygrex Bar can be reset with the Disruption Generator.
The Leviathan can be summoned with Leviathan Protocol or appears after the final wave.
An attempt should only be made starting from Region 3 in the Roaring Borderland, as the Robospider’s shield is unlocked there.
The machine gun or other weapons should be at a high level before starting. To hurt the Leviathan, you must destroy the purple bubbles on its body. Each bubble destroyed costs it HP.
Only long-range weapons can destroy them. Recommended here: machine gun, …
The fifty seconds you need to survive are not particularly difficult. Therefore, it is not worth buying additional weapon upgrades.
Rewards are only granted if the evacuation is successful.
Remaining resources, relics (base value 1000), upgrades, and a defeated Leviathan double the final score.
5. Differences Wall World 1 → Wall World 2
– The lower end of the wall is limited by water, the upper end by the cut.
– Upgrades always require the same types of minerals, which vary by level, so visiting all biomes is necessary.
– The Leviathan appears for the first time after 15 minutes and is beatable; the second time after 30 minutes and can only be defeated with the device at X, which must be activated with five special Y.
– All blueprints and upgrades for additional levels must first be found in the biomes.
– Once the Leviathan is fully defeated, it does not reappear, and it becomes possible to mine all minerals in all biomes without time pressure.
