Official Guide to Backrooms Media’s Level Editor, including how the editor or the workshop process works.
Level Editor
First looks of the Editor
At the bottom of the editor, there is a Content Browser, where you can access the in-game items, such as Meshes, Materials, Textures, Character, etc.
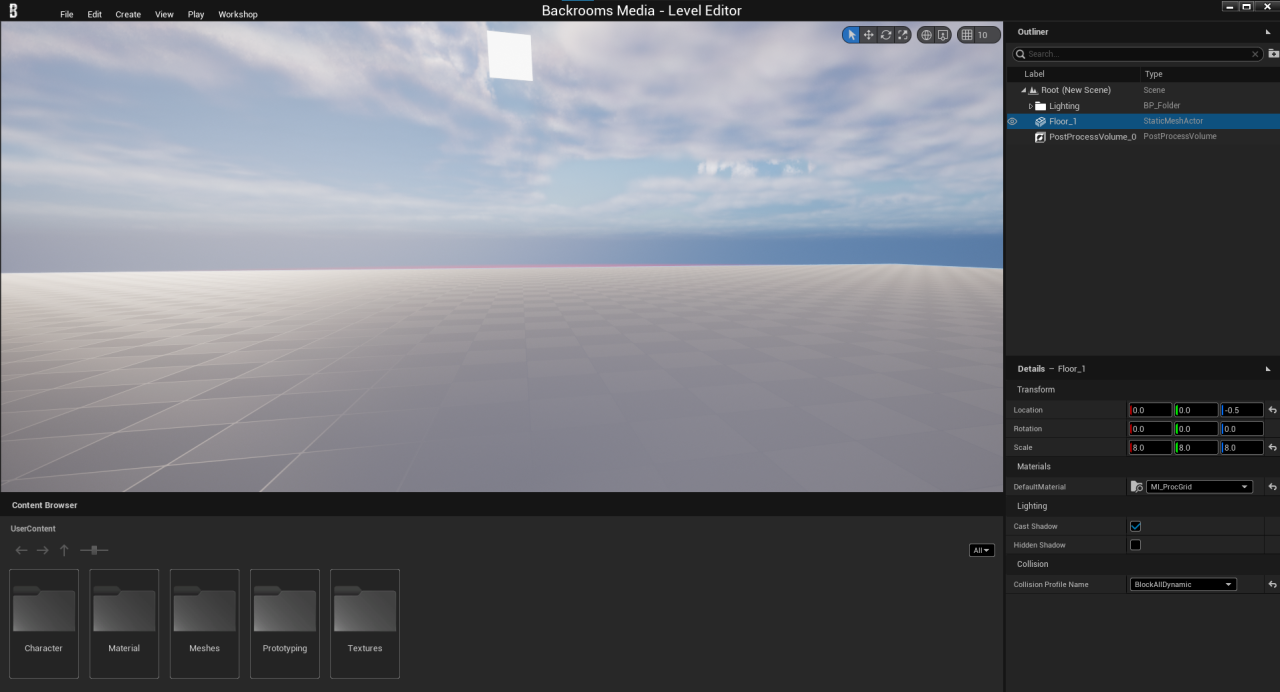
You can drag items from the Content Browser to the level!

On the right side, there are the Outliner and the Details tab:
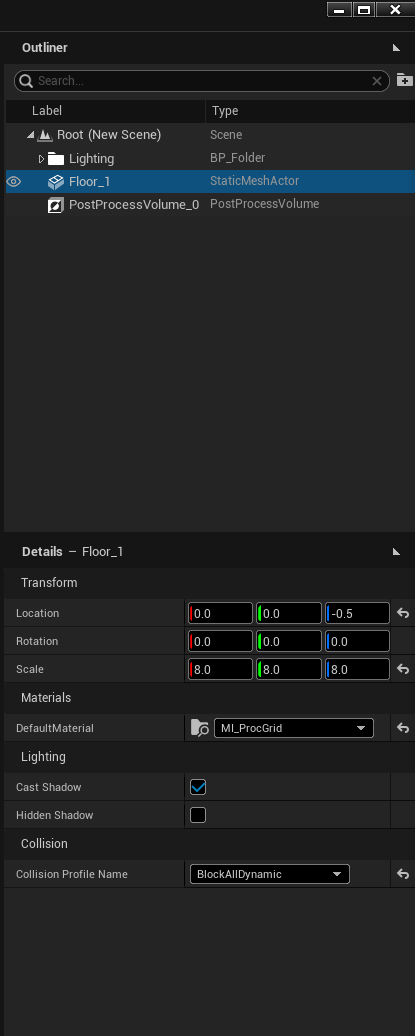
Outliner shows what objects are placed on the level, you can select them by clicking on them.
The details panel shows details about the selected object.
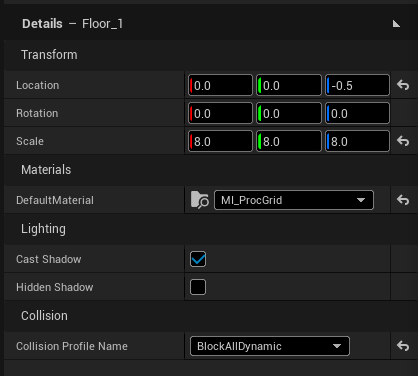
Transform: Location, Rotation and Scale of the selected object.
Materials: This can change the looks of the selected mesh, by changing its materials.
Lighting: You can turn on or off an object’s shadow
Collision: You can turn on or off the collision/hitbox of an object. You can even set it to more complicated ones, based on unreal engine.
Header of the Editor
On the Header of the editor, you can do the main tasks that are not directly connected to the levels.
File: You can Save or Load your levels
Edit: Undo or Redo your latest modification (Also works with hotkeys like CTRL+Z)
Create: Add prototype elements to the level
View: Customizing the editor
Play: Trying out your level in-game
Workshop: Upload your level to the Steam Workshop
Uploading to Steam Workshop
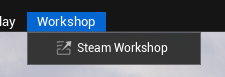
On the Editor’s header select Workshop, then select Steam Workshop!
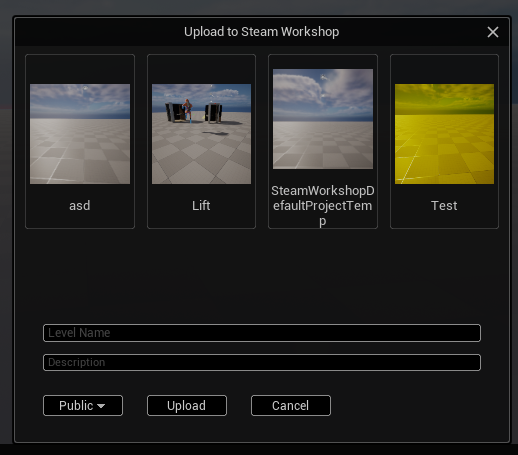
There, you can select from one of your saved levels, and give it a name and description on the workshop. Select between Public/Friends Only/Private and then click Upload and tadaa!
You have successfully uploaded your level to the Steam Workshop!
Thank you for contributing to the game, and feel free to share your work on Discord!
Discord Server[discord.com]