This guide is designed to help players navigate the various trials in Star of Providence and quickly progress to Trial V.
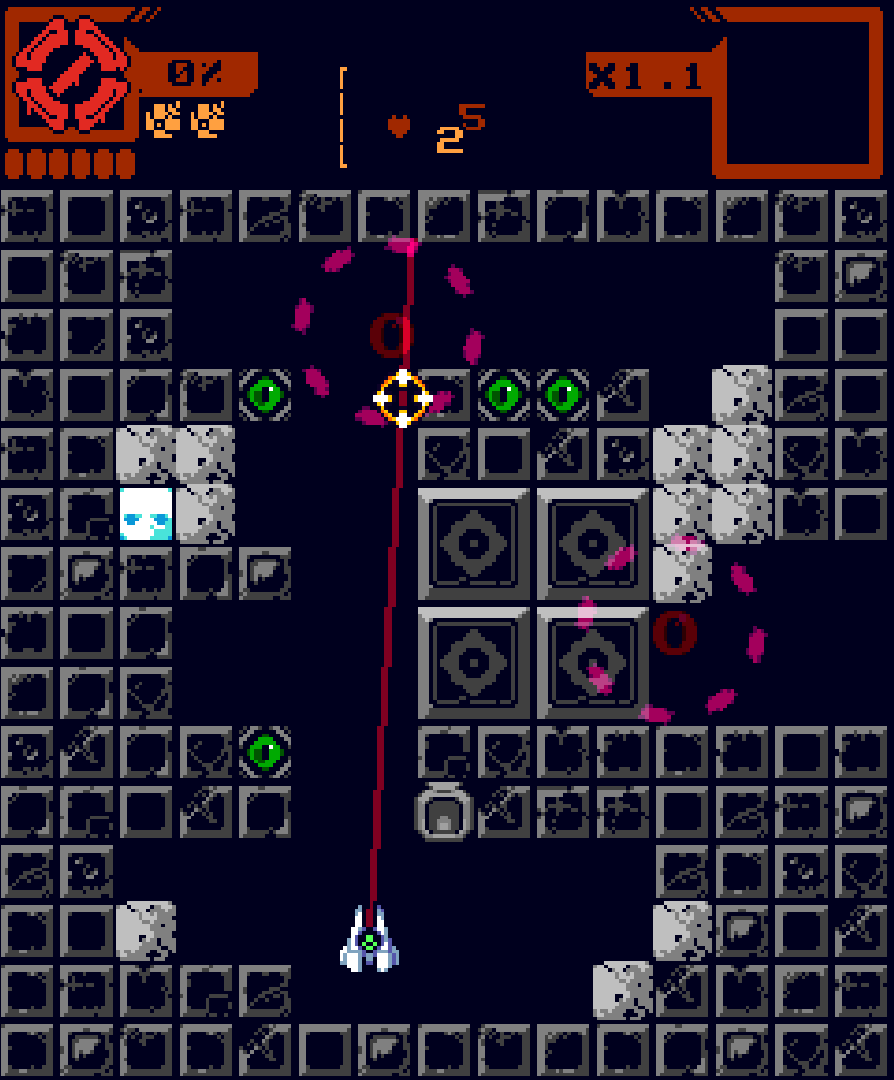
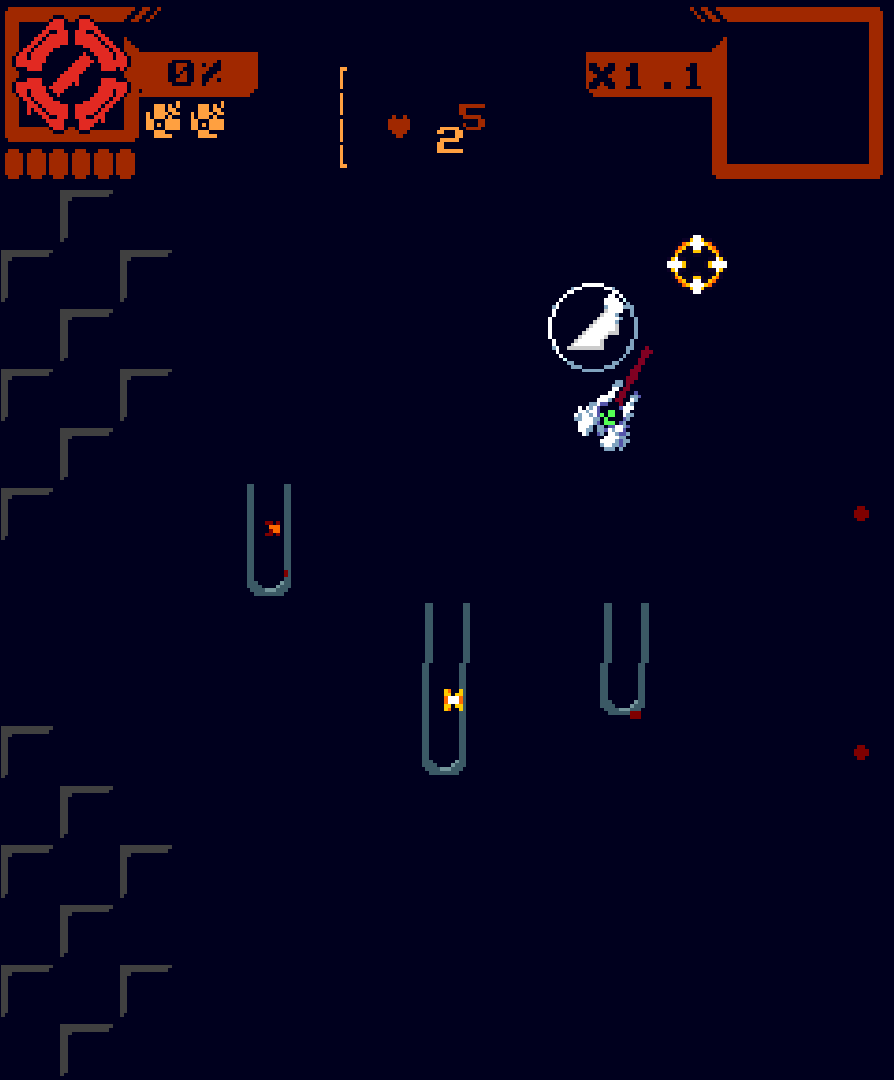
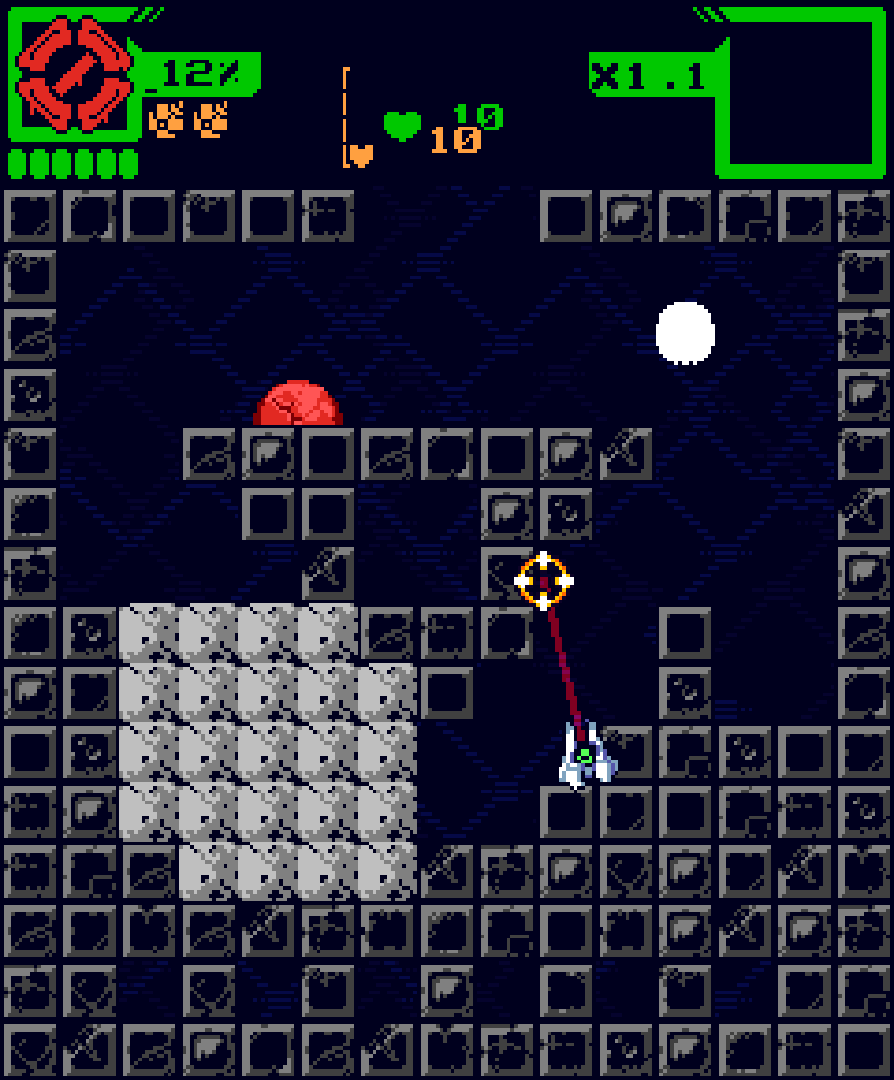
Trial I
Use your bombs in the following rooms to extinguish the blue flame. Wait for the candle flame to turn blue before bombing. The music will change its pitch for each flame extinguished.
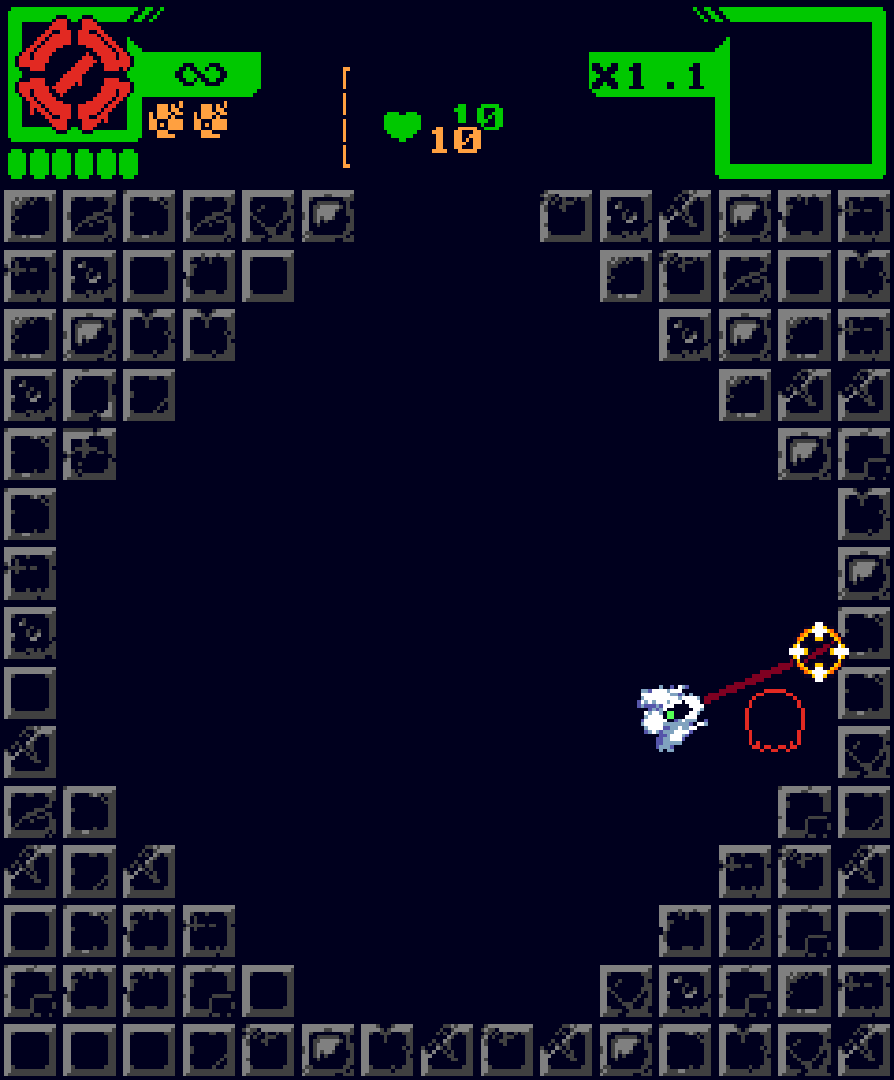
Once you reach this room near the end, take the exit on the right side.
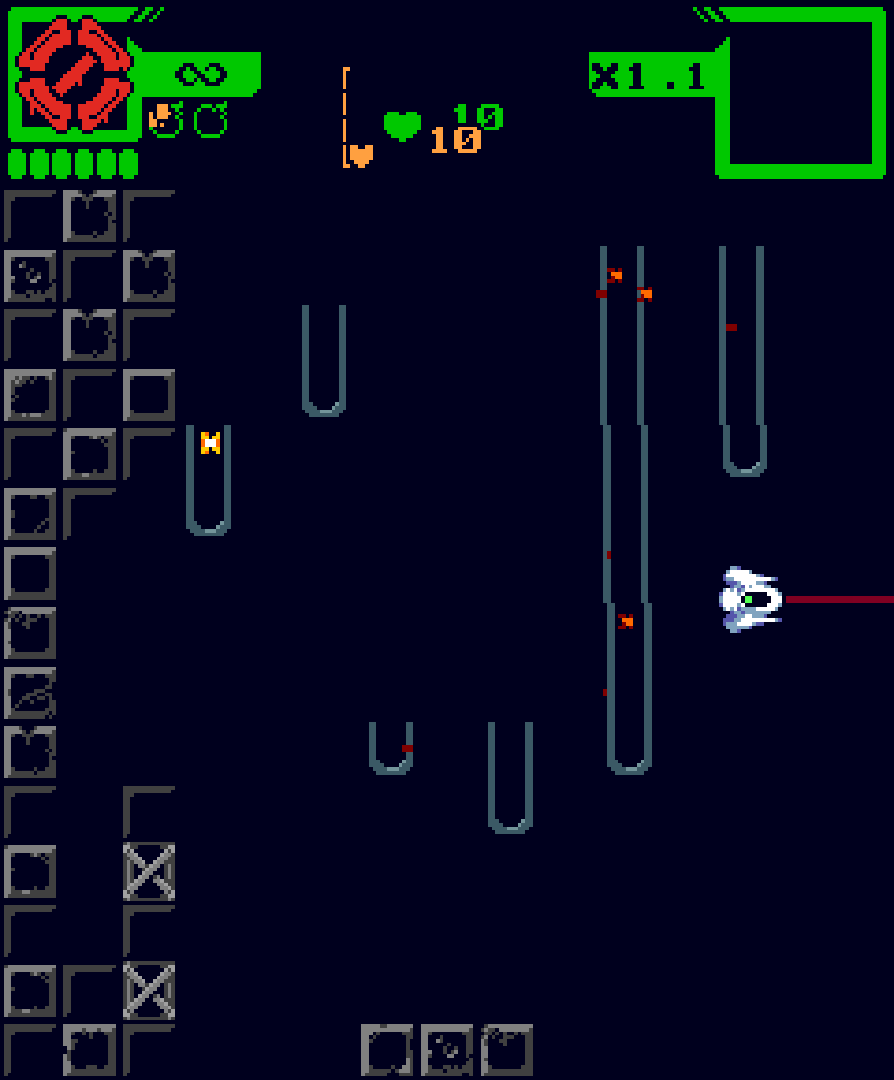
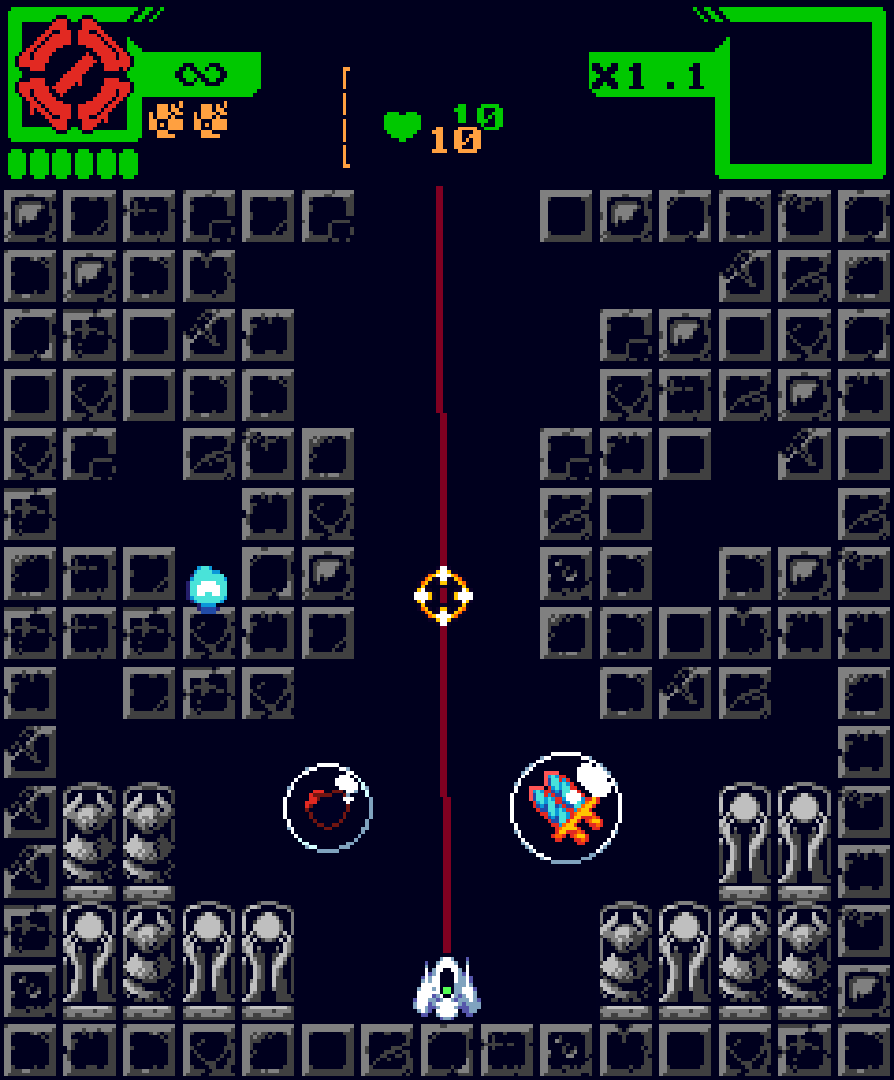
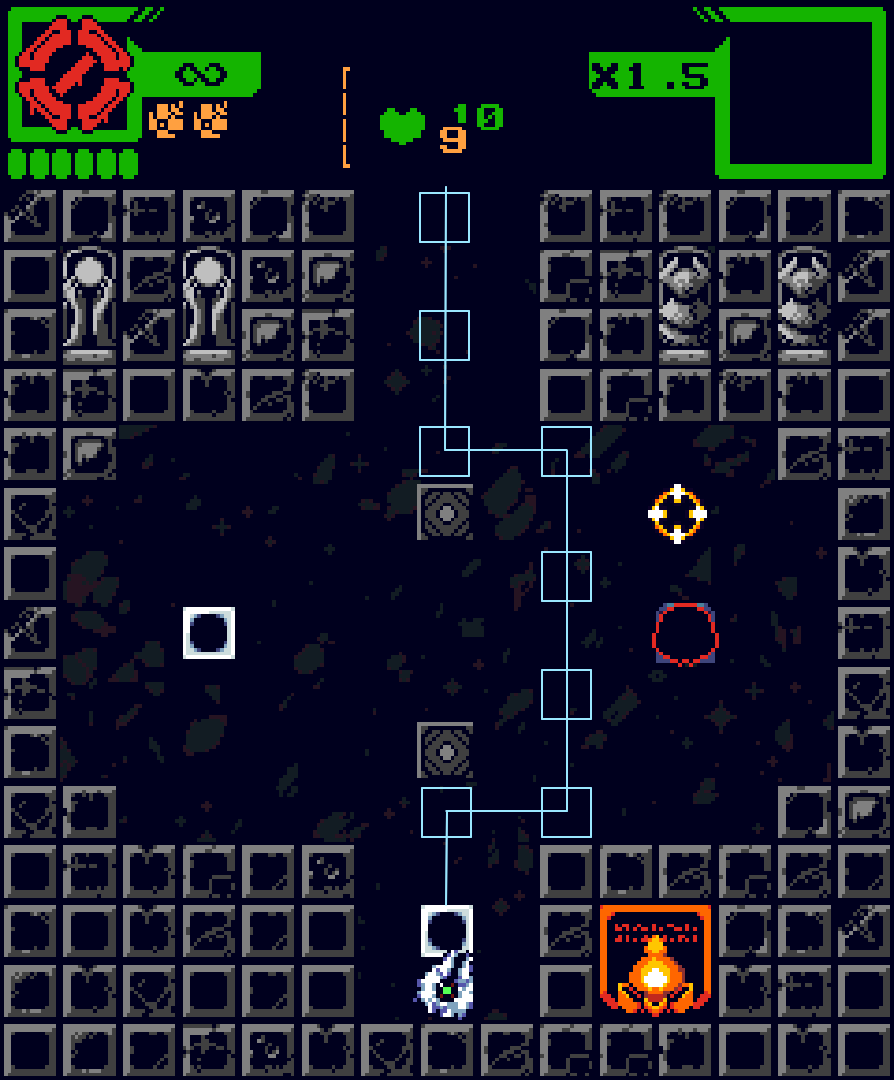
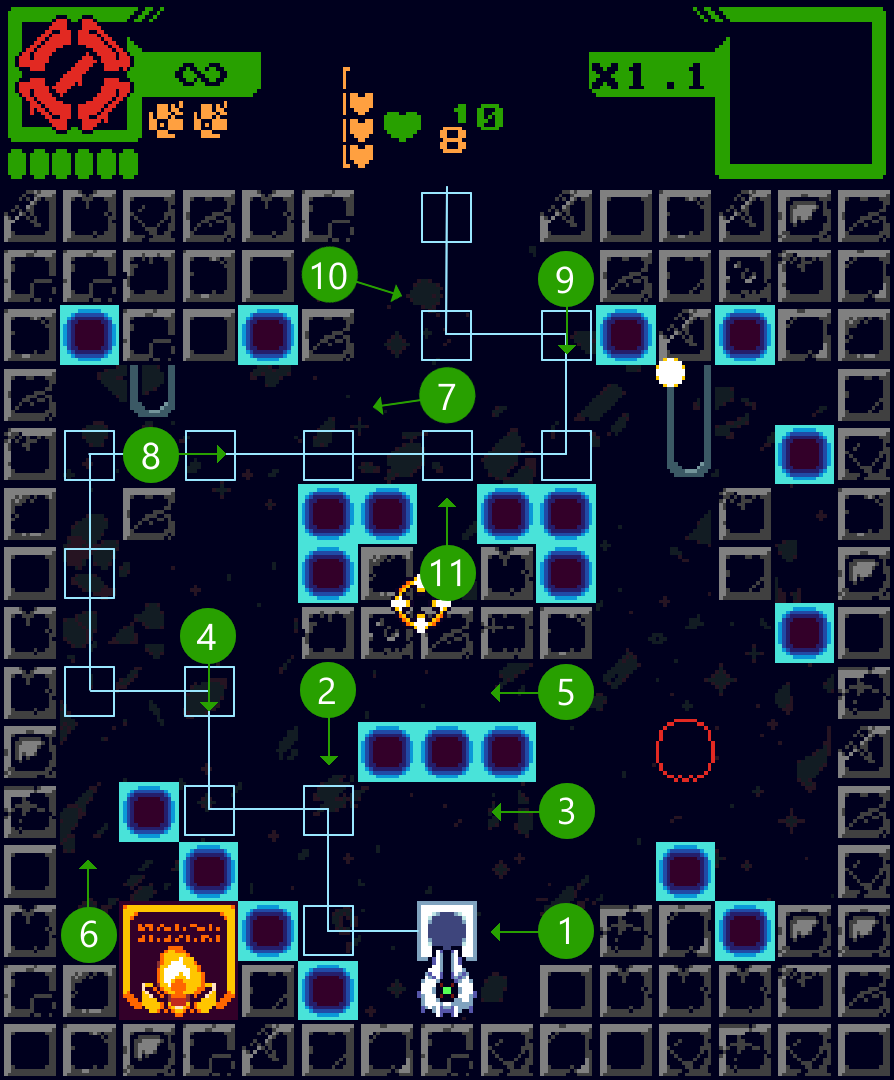
From the pitch black room, the exits are as follows:
- Right
- Right
- (Cutscene Room) Right
- Up
- Left
- Left
- Up
- Left
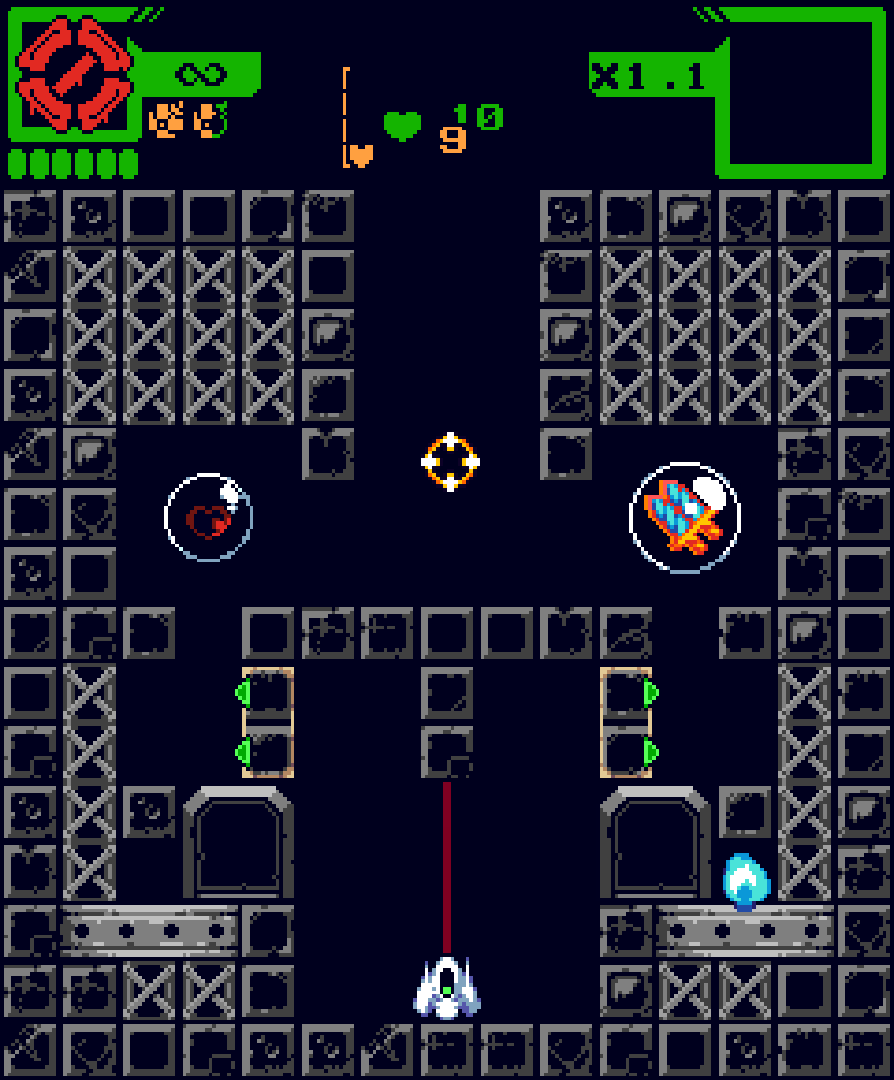
The key will be in the middle of the room. If you’ve already completed the trial, you can now go back to the hub. If you want to continue the trial, just exit to the left.
Trial II
Destroy the ghost block with a diagonal laser by dying here. Wait for the gate blocks to become active while you are on top of them.
Uncover the ghost block by getting spotted by red circle.
The other ghost blocks are trivial to destroy.

Wait for the key to show up at this part of the room near the end. Return to hub or continue the trial.
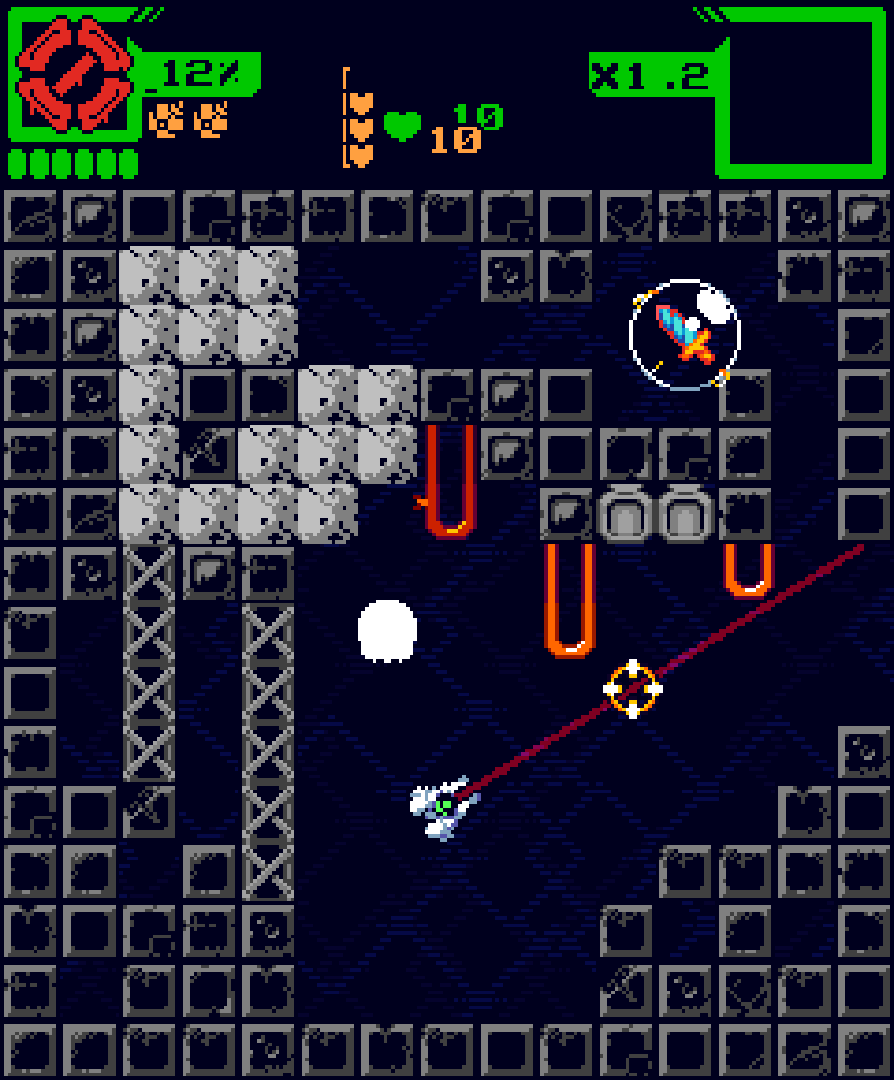
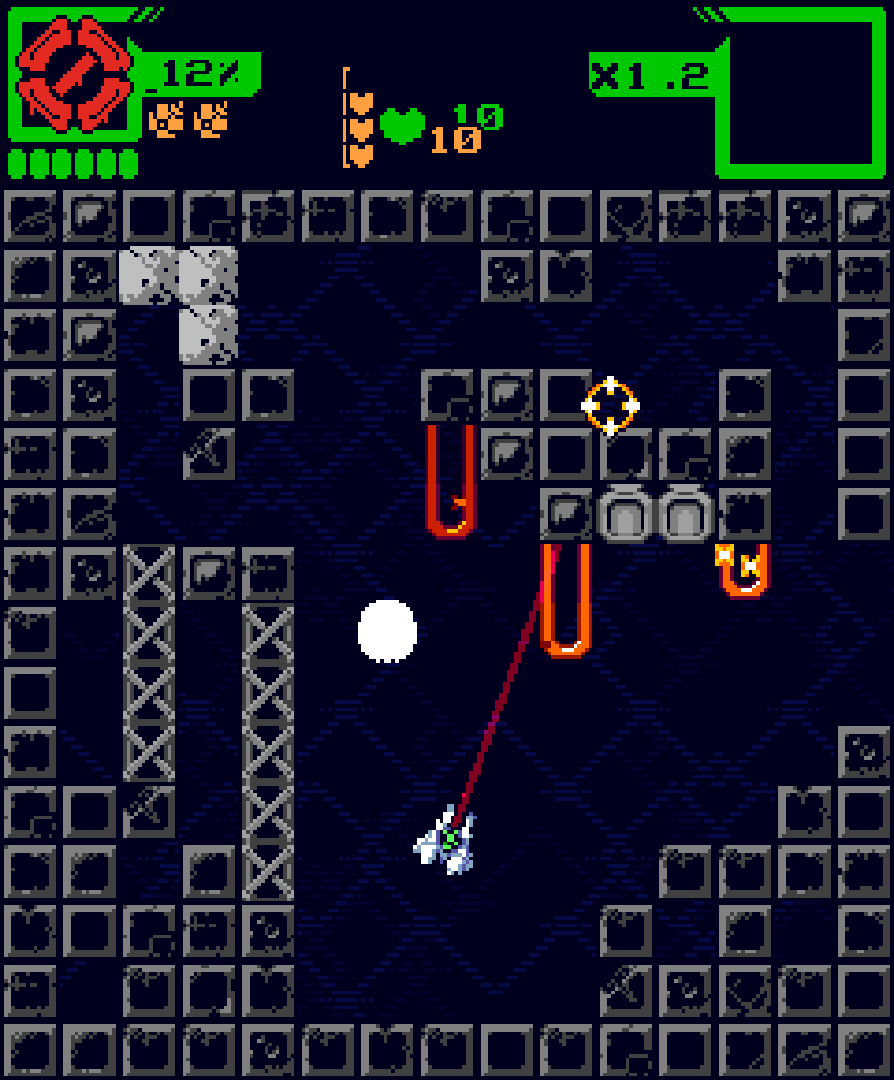
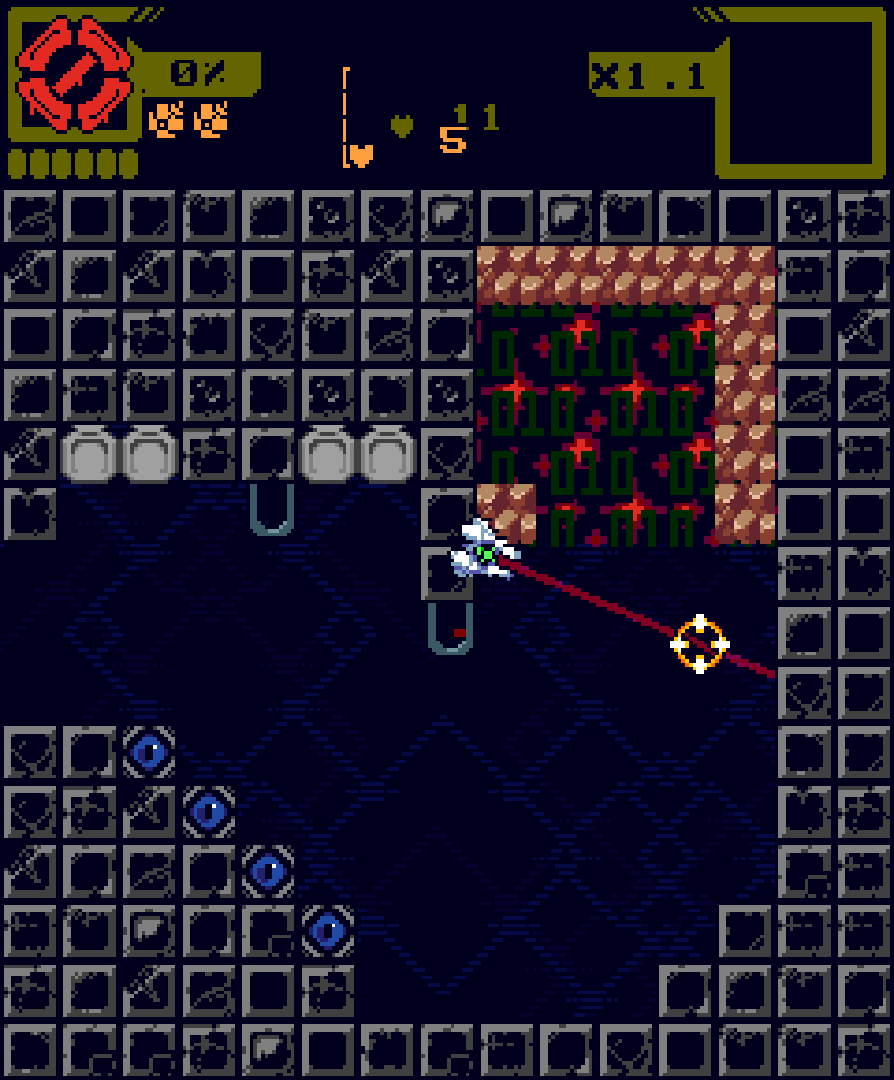
Trial III
Sources of damage to look out for:
- Homing projectiles fired by sentry blocks, activated the first time you move a block and will continuously shoot when there is line of sight.
- Laser emitting blocks which reach across the whole room if there is no cover, activated each time you move a block.
- Heating element stage hazard that damages on contact.
- Getting crushed by the block you moved.
Blue blocks move 2 units each hit, red blocks move 4. Blocks can be bounced off a wall.
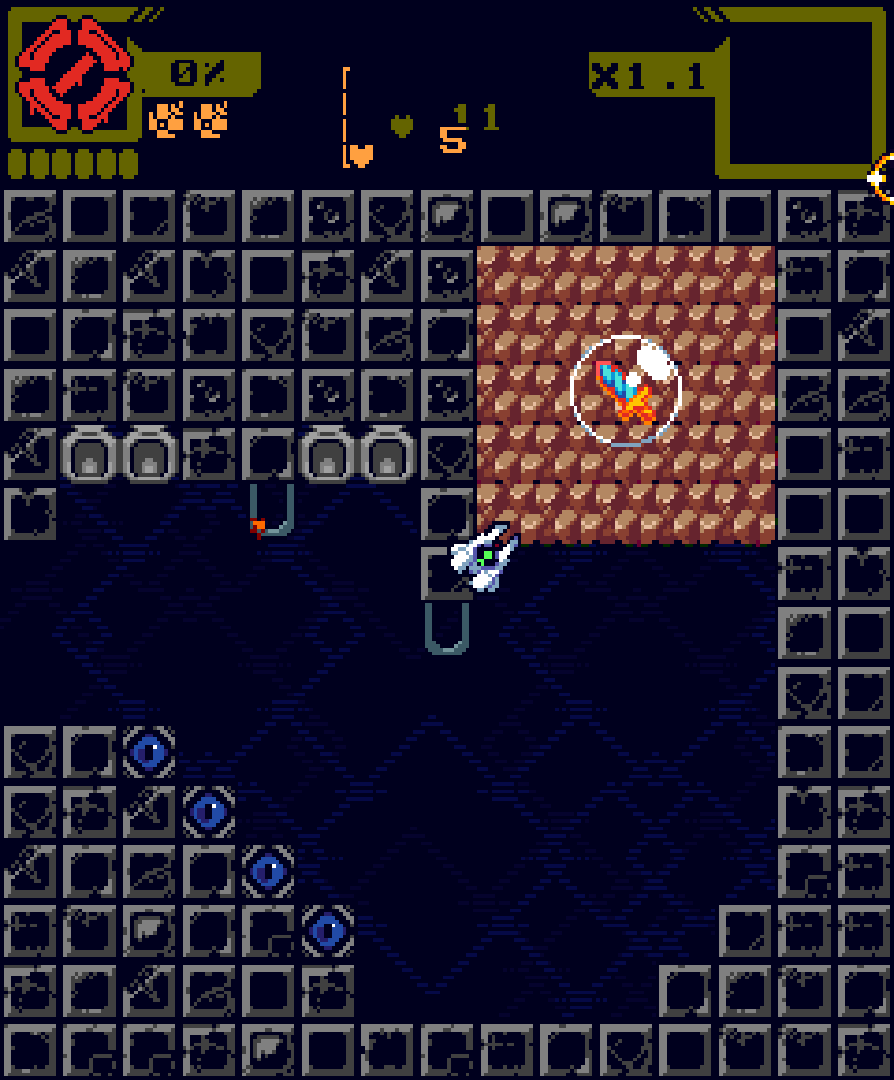
First puzzle. No hazards. Open the door and push it through.
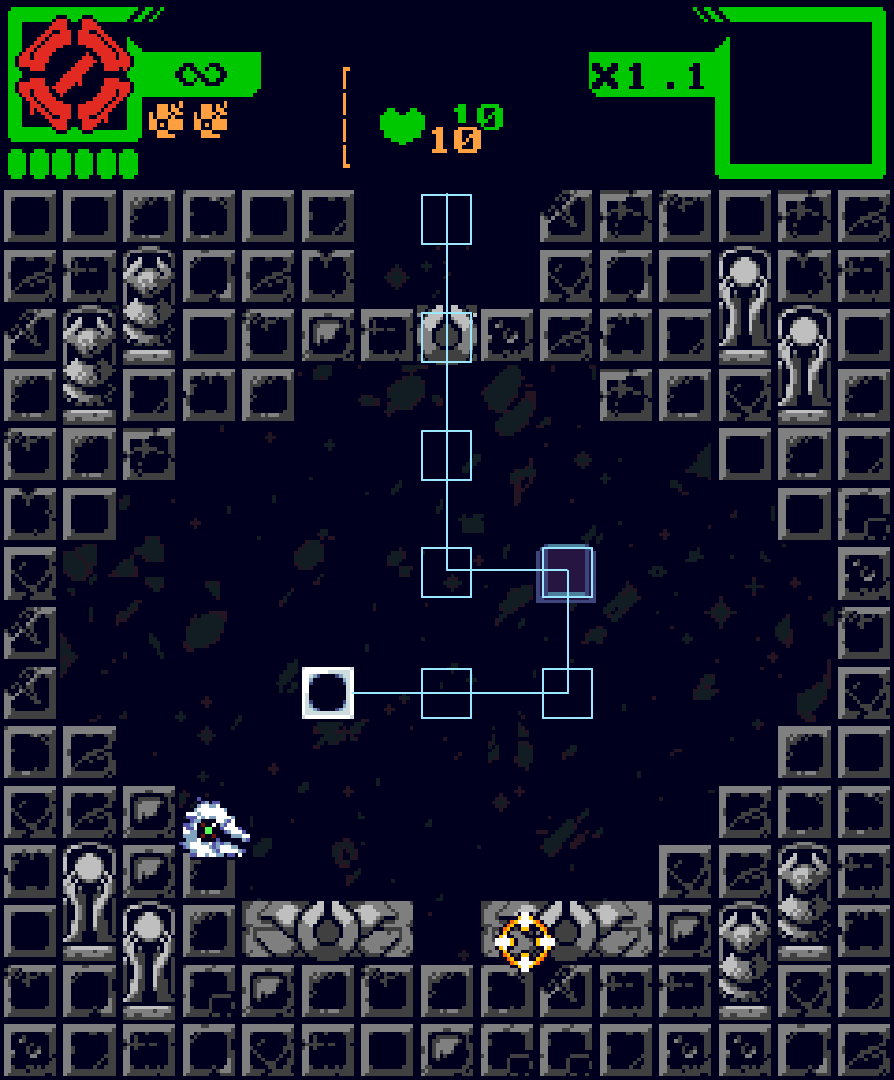
2nd puzzle. Still safe. Just push it through.
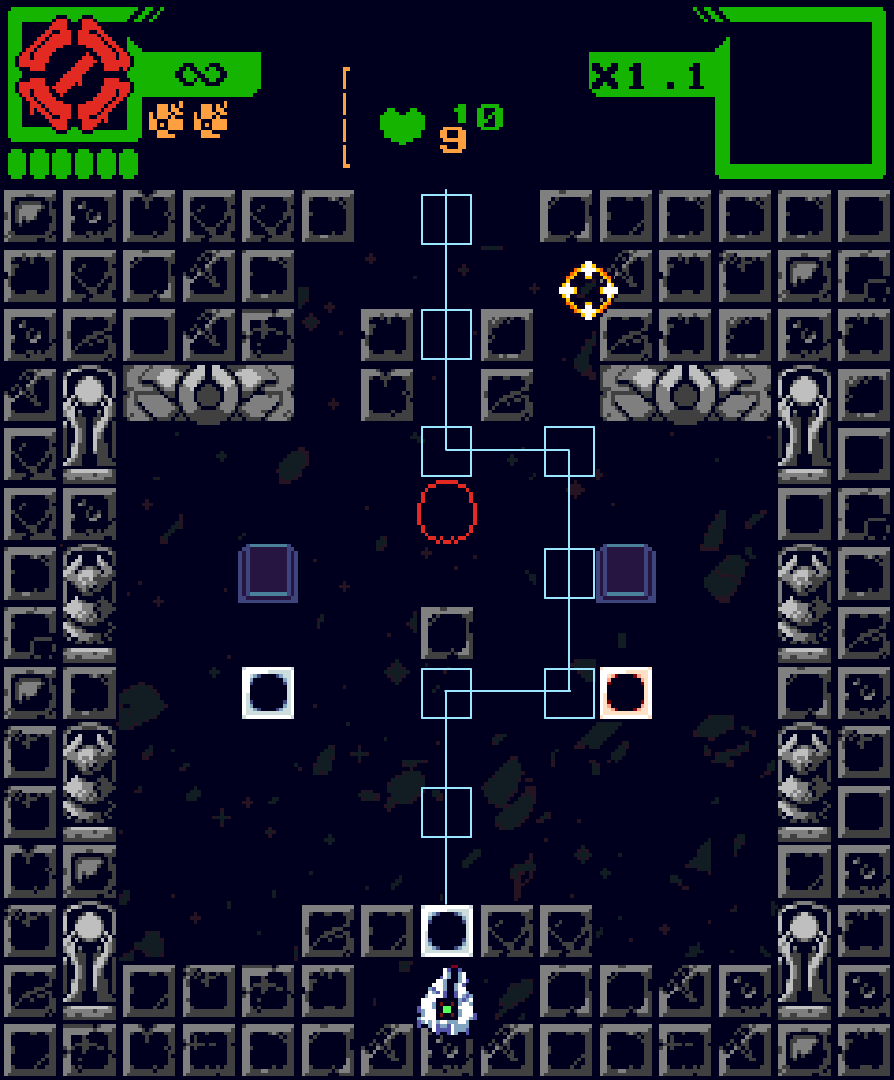
3rd. Taking damage now will ruin the run and require a restart. You will need to bounce the block off the wall twice. Take care after bouncing it off the sentry block as you will need to briefly expose yourself and act quickly to push the block to the next room.
4th. Use one of the other movable blocks to give yourself some cover to move the key block back into the center. Do not shoot the movable blocks while exposed to the laser emitters.

5th. You’ll be quite exposed to the sentry blocks for this one, especially in the top left corner where you need to shoot to move the key block to the right. Take cover if you need a moment to think. Take care not to touch the stage hazards.

6th. You will need to shuffle the other blocks around to give yourself cover from the lasers. Go between the red blocks and bounce them off the laser blocks, then move the blue blocks down. Once you have cover, just push the key block straight through to the next room.

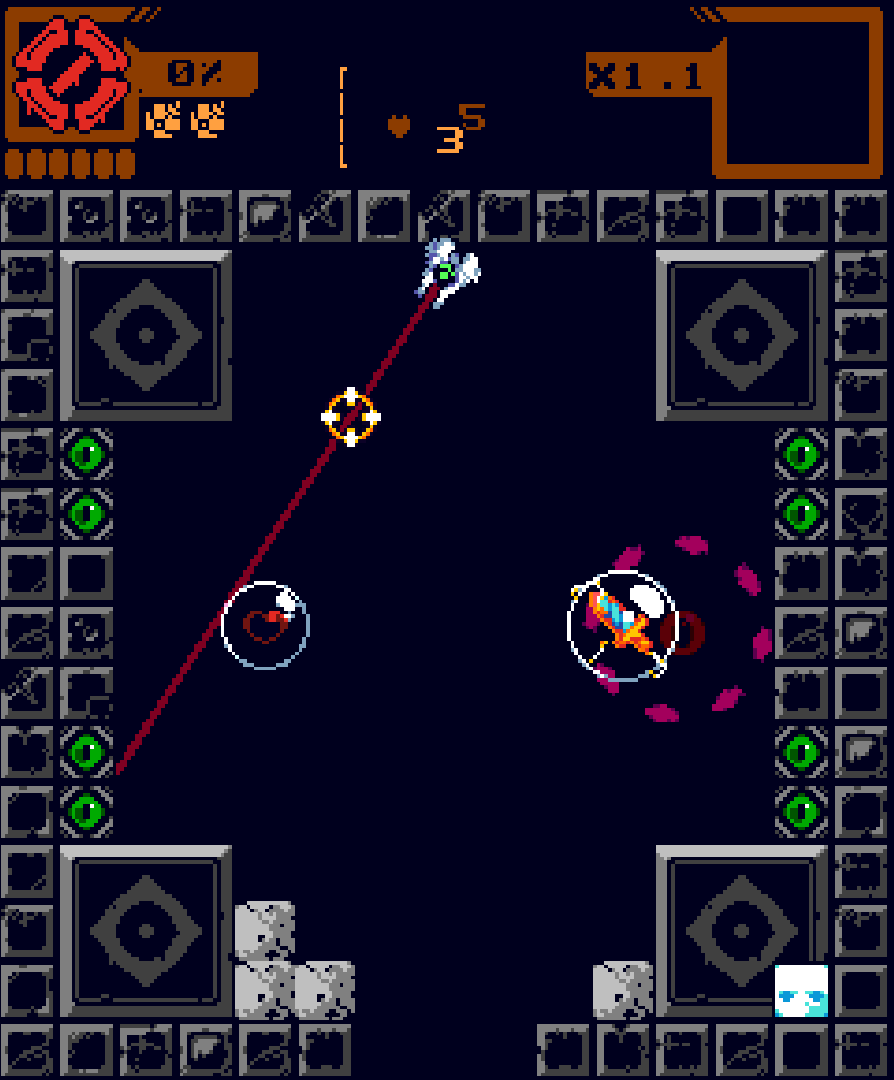
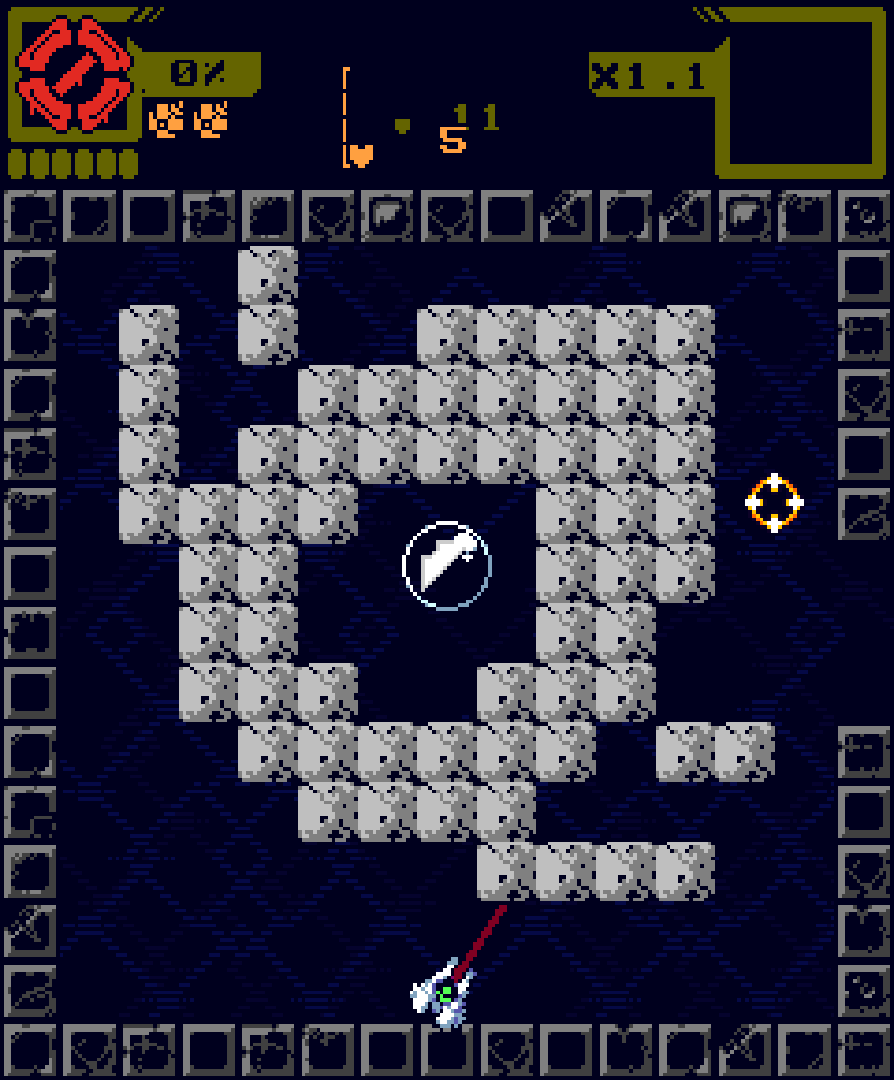
7th. Shoot from specific places to move the block while in cover. Follow the image. It shows the order, position and direction to shoot. Don’t touch the stage hazards.
The final room. No hazards, just push it in and receive your key. Return to hub or continue the trial.

Trial IV
Set 1:
Set 2:

Set 3:
Set 4:
Pick up the key and return to hub or complete the trial.
Related Posts
None found