Are you tired of being capped at 60 FPS in Wuthering Waves? This guide will show you how to unlock the frame rate and enjoy a smoother gaming experience.
Method 1: Editing GameUserSettings.ini
Requirements
- Wuthering Waves installed on your PC.
- Any text editor (e.g., Notepad).
Steps
- Navigate to the Configuration Folder
- Default path:
C:\Program Files (x86)\Steam\steamapps\common\Wuthering Waves\Client\Saved\Config\WindowsNoEditor
- Default path:
- Open the GameUserSettings.ini File
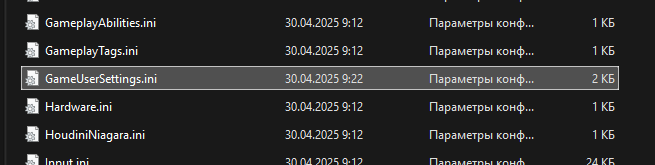
- Locate and open the file named
GameUserSettings.ini.
- Locate and open the file named
- Modify the Frame Rate Limit

- Find the line
FrameRateLimit=60.000000. - Change it to
FrameRateLimit=0.000000. Setting it to zero removes the FPS limit. - If the line does not exist, add it to the end of the file.
- Find the line
- Prevent Overwriting (Optional)
- Right-click on
GameUserSettings.ini. - Select Properties, check the “Read-only” box, and click OK. This prevents the game from overwriting your changes.
- Right-click on
- Launch the Game
- Start Wuthering Waves and verify that the FPS limit has been removed. You can check this using tools like MSI Afterburner or RivaTuner.
Method 2: Using an External Tool
Requirements
- Internet access to download the tool.
- Basic knowledge of running executable files.
Steps
- Download the FPS Unlocker Tool
- From Google Drive: Download Link
- From GitHub: Download Link
- Run the Tool
- Unpack the downloaded file and run
main.exe.
- Unpack the downloaded file and run
- Configure the Tool
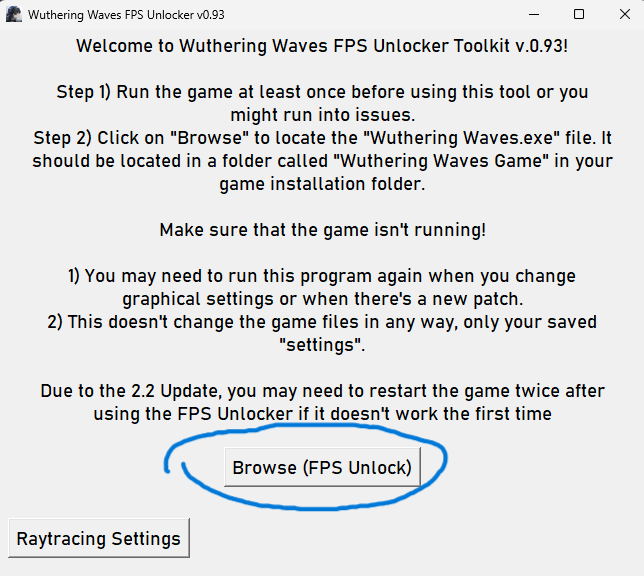
- Click on the “FPS Unlock” button.
- Select the game executable file, usually located at
C:\Program Files (x86)\Steam\steamapps\common\Wuthering Waves\Wuthering Waves.exe. - Click “OK” in the subsequent windows to apply the changes.
- Launch the Game
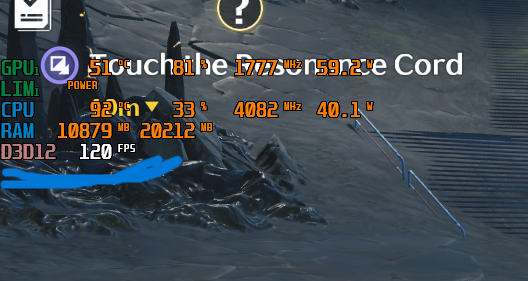
- Close all tools and start Wuthering Waves. The game should now run at 120 FPS.