A map of all buried items for weary worms to use as a reference.
Overview
Here’s a map of the collectibles ordered by desceding completion rate: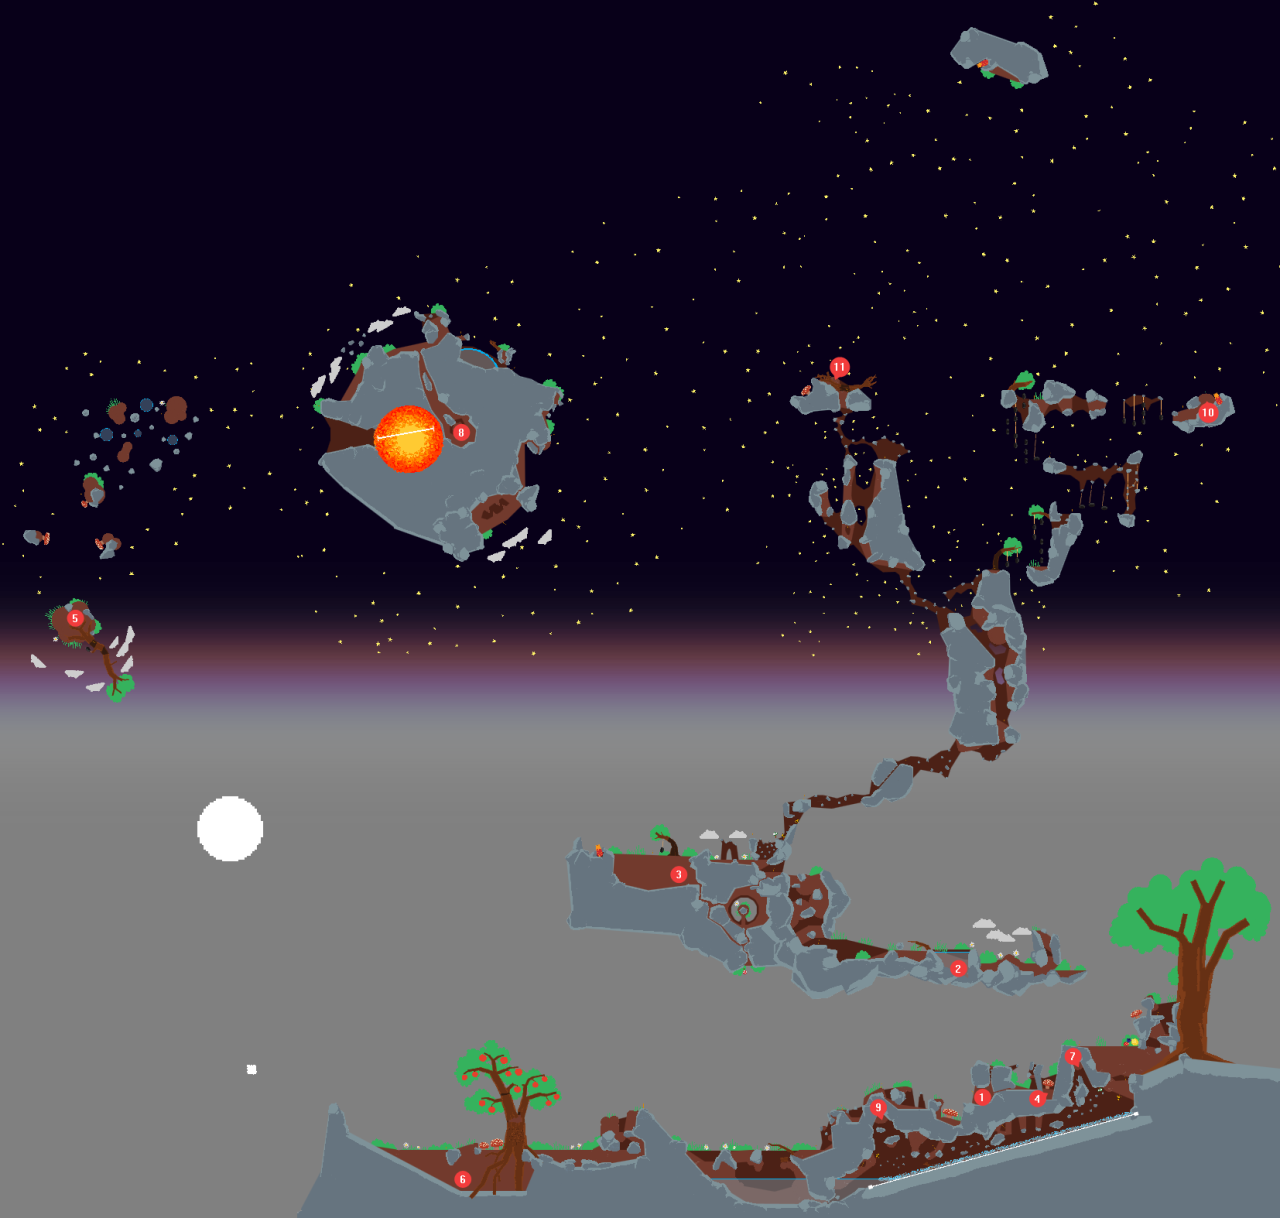
- Ammonite
- Seashell
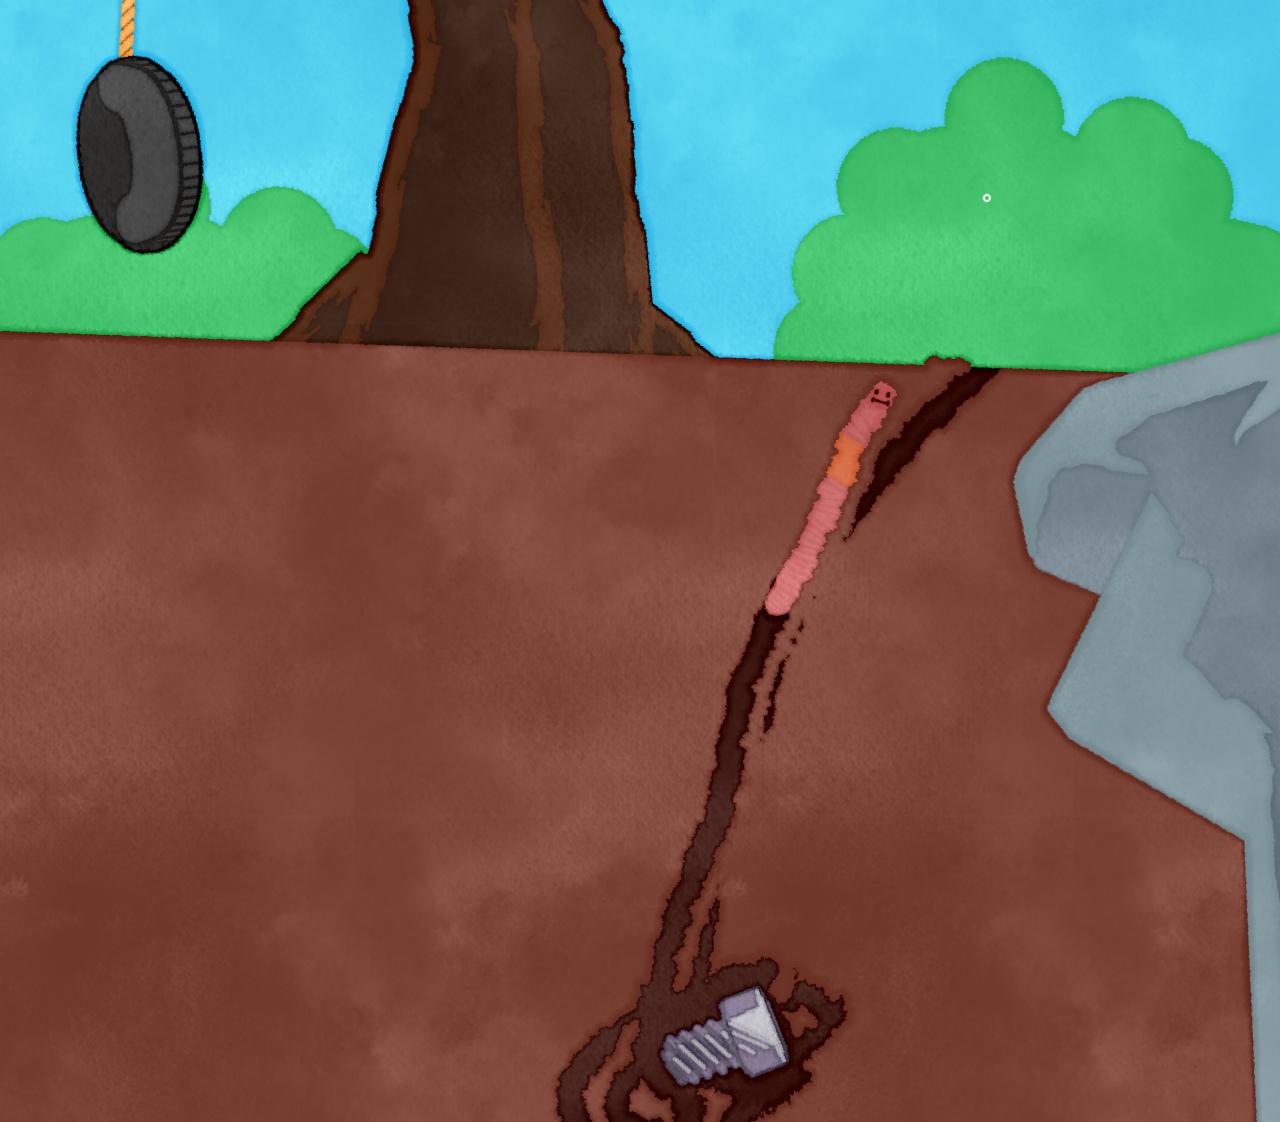
- Old Bolt
- Fossilised Tooth
- Magnet
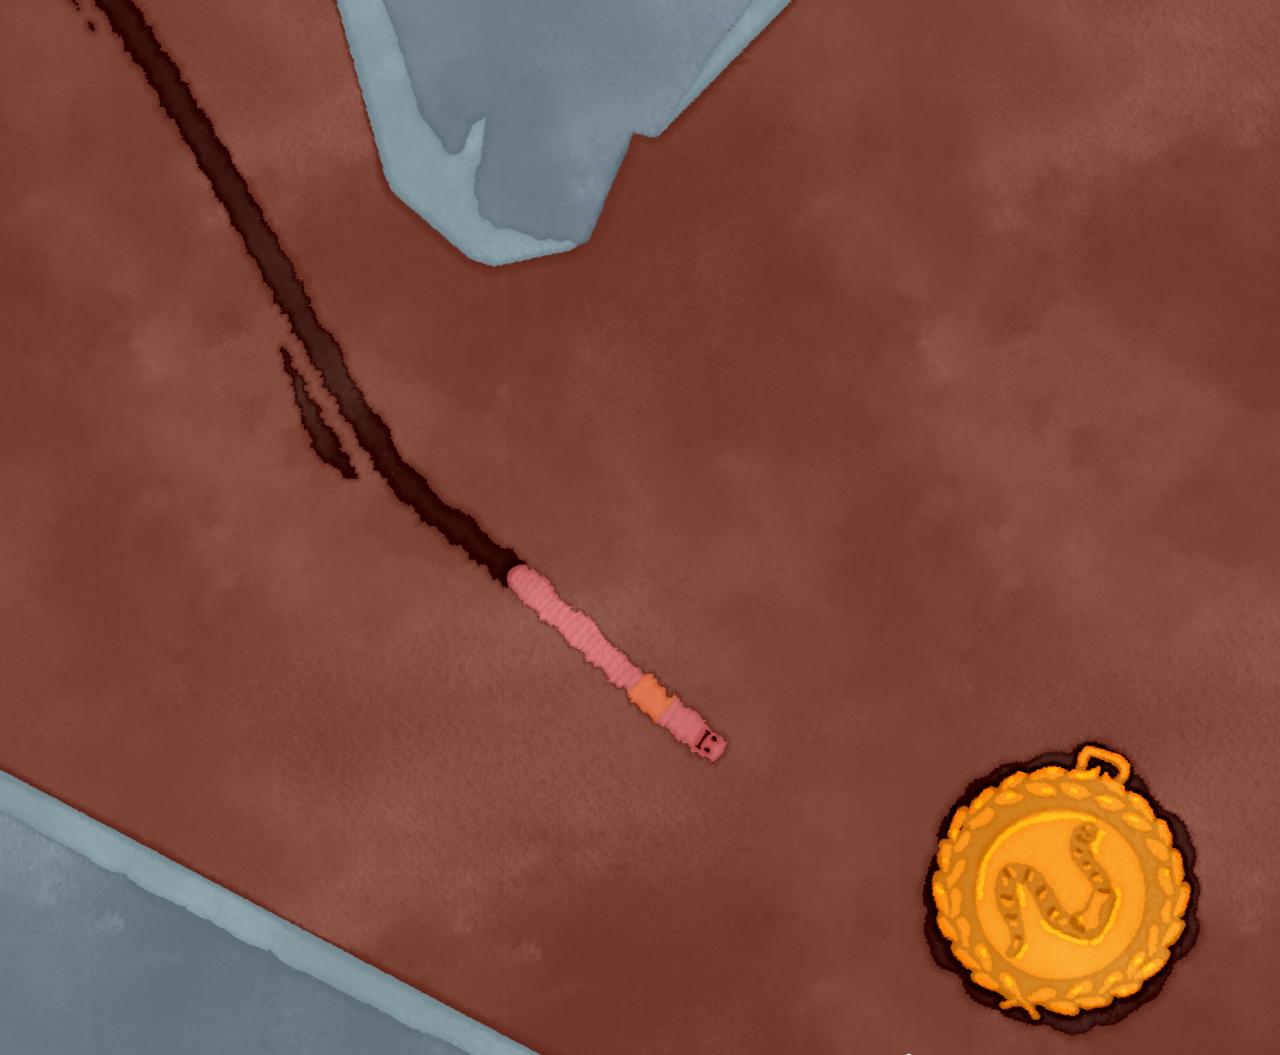
- Participation Medal
- Opal
- Diamond
- Isopod
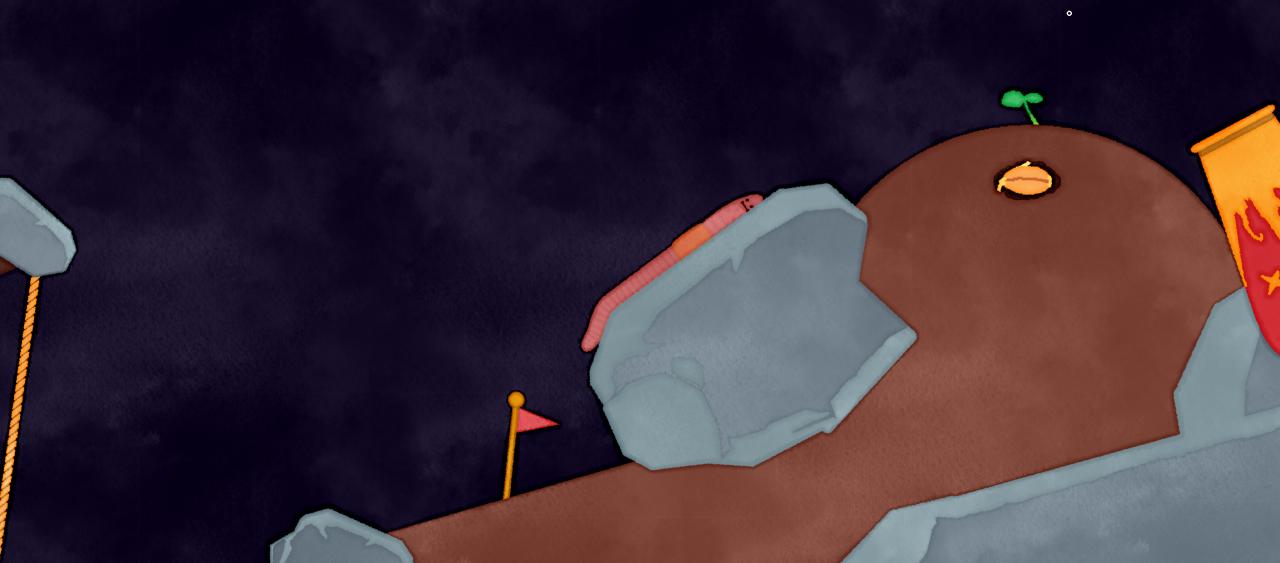
- Seed
- Two Cent Coin
To visit all collectibles, I suggest this order:
9 > 7 > 4 > 1 > 2 > 3 > 11 > 10 > 8 > 5 > 6
Get Help
Before you start, note that this icon indicates the level of force your worm propels itself with.
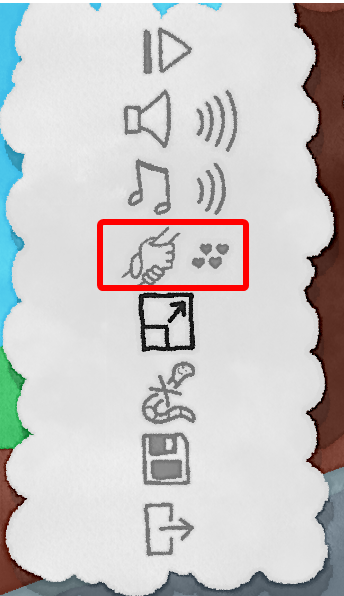
A more charitable read is “level of assistance”, but this really needed a tooltip.
Rant over.
A more charitable read is “level of assistance”, but this really needed a tooltip.
Rant over.
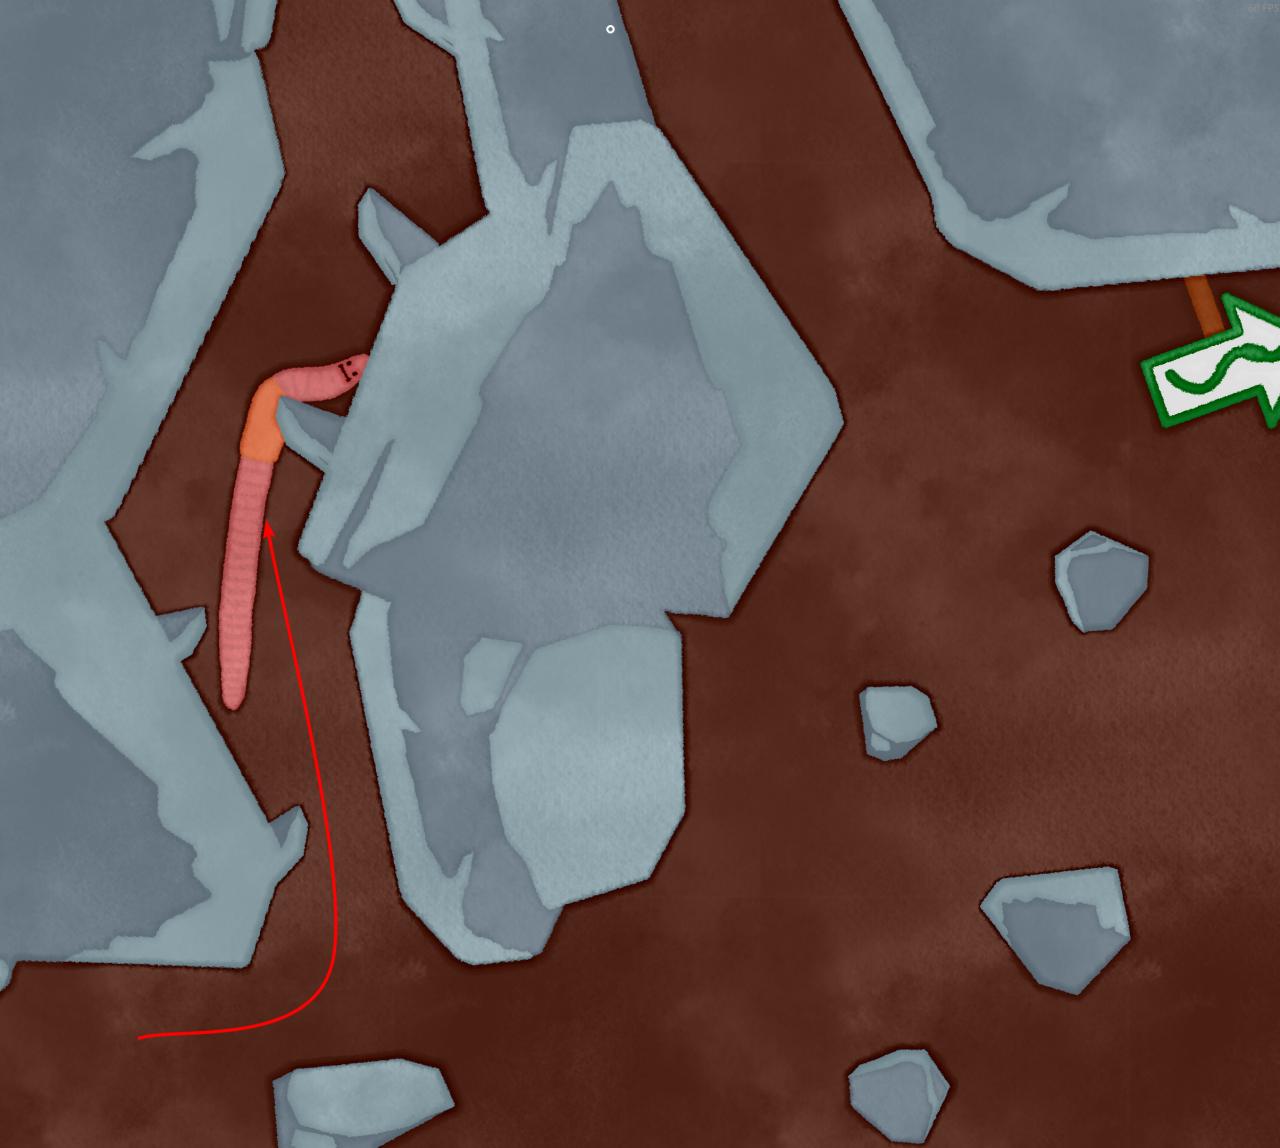
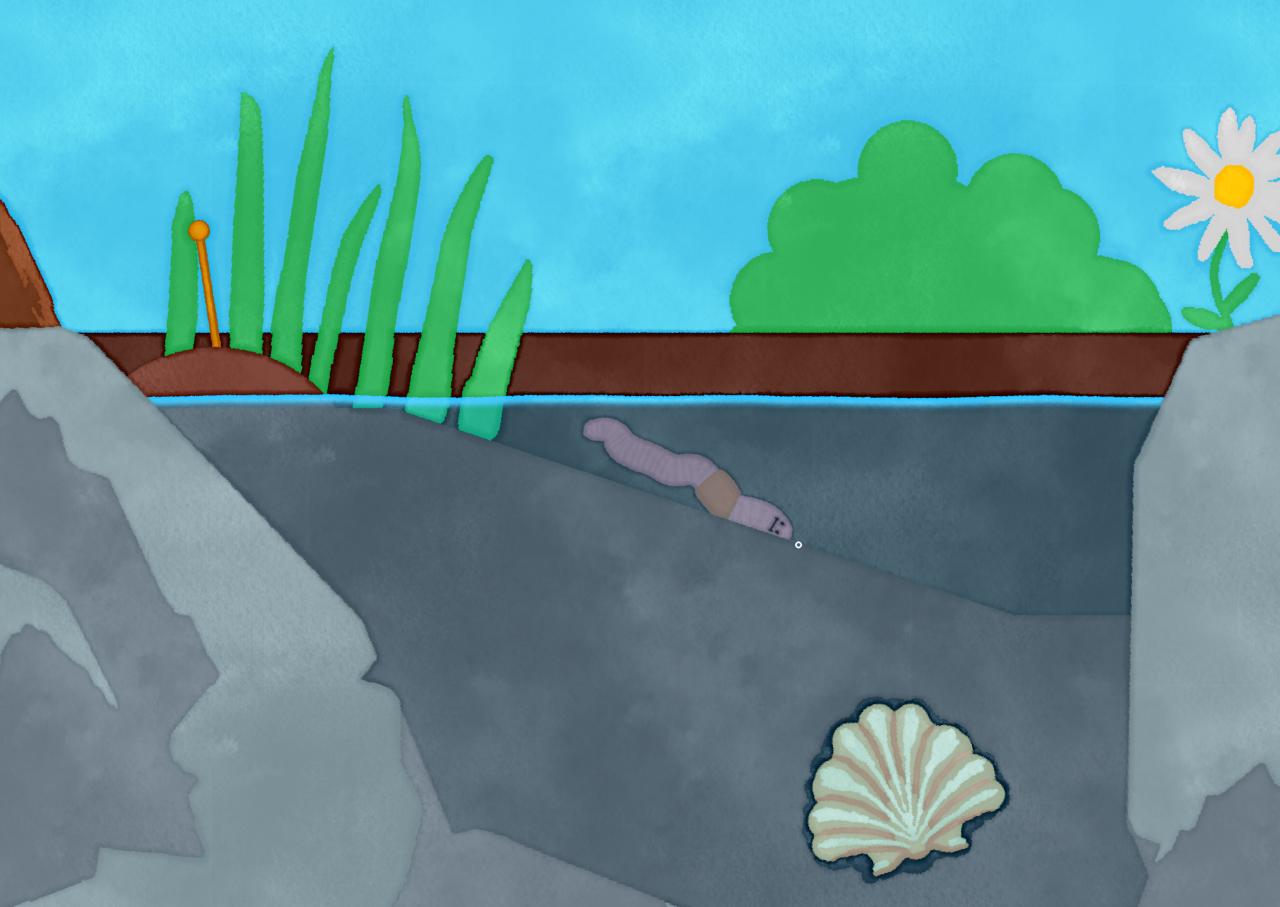
#9 Isopod
Where you push the log into the water, swim down instead of going up.
Once you made it across the first set of rocks, turn back like this.
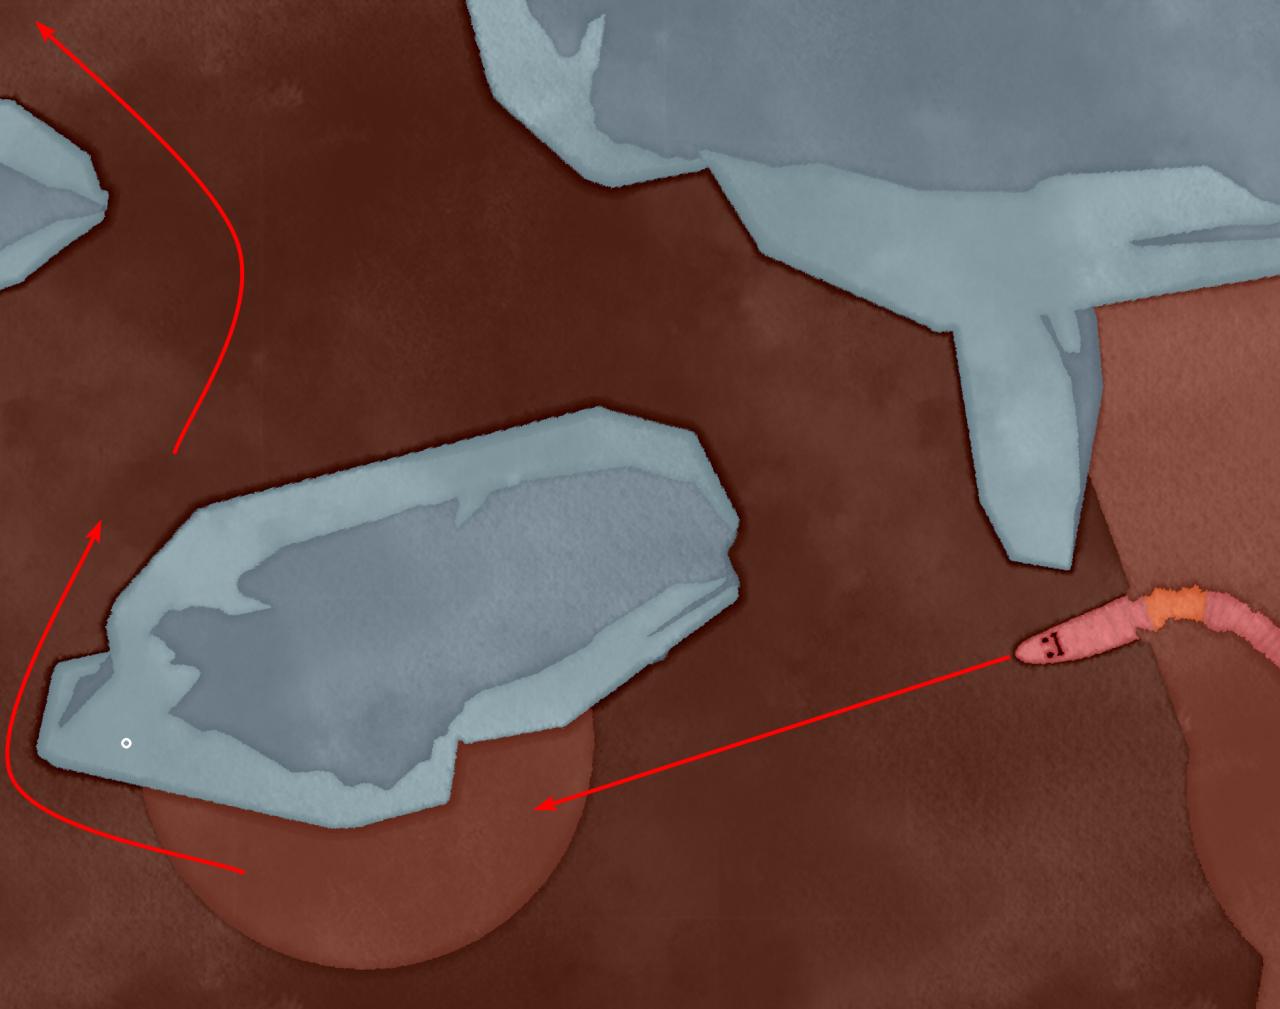
Once you made it across the first set of rocks, turn back like this.
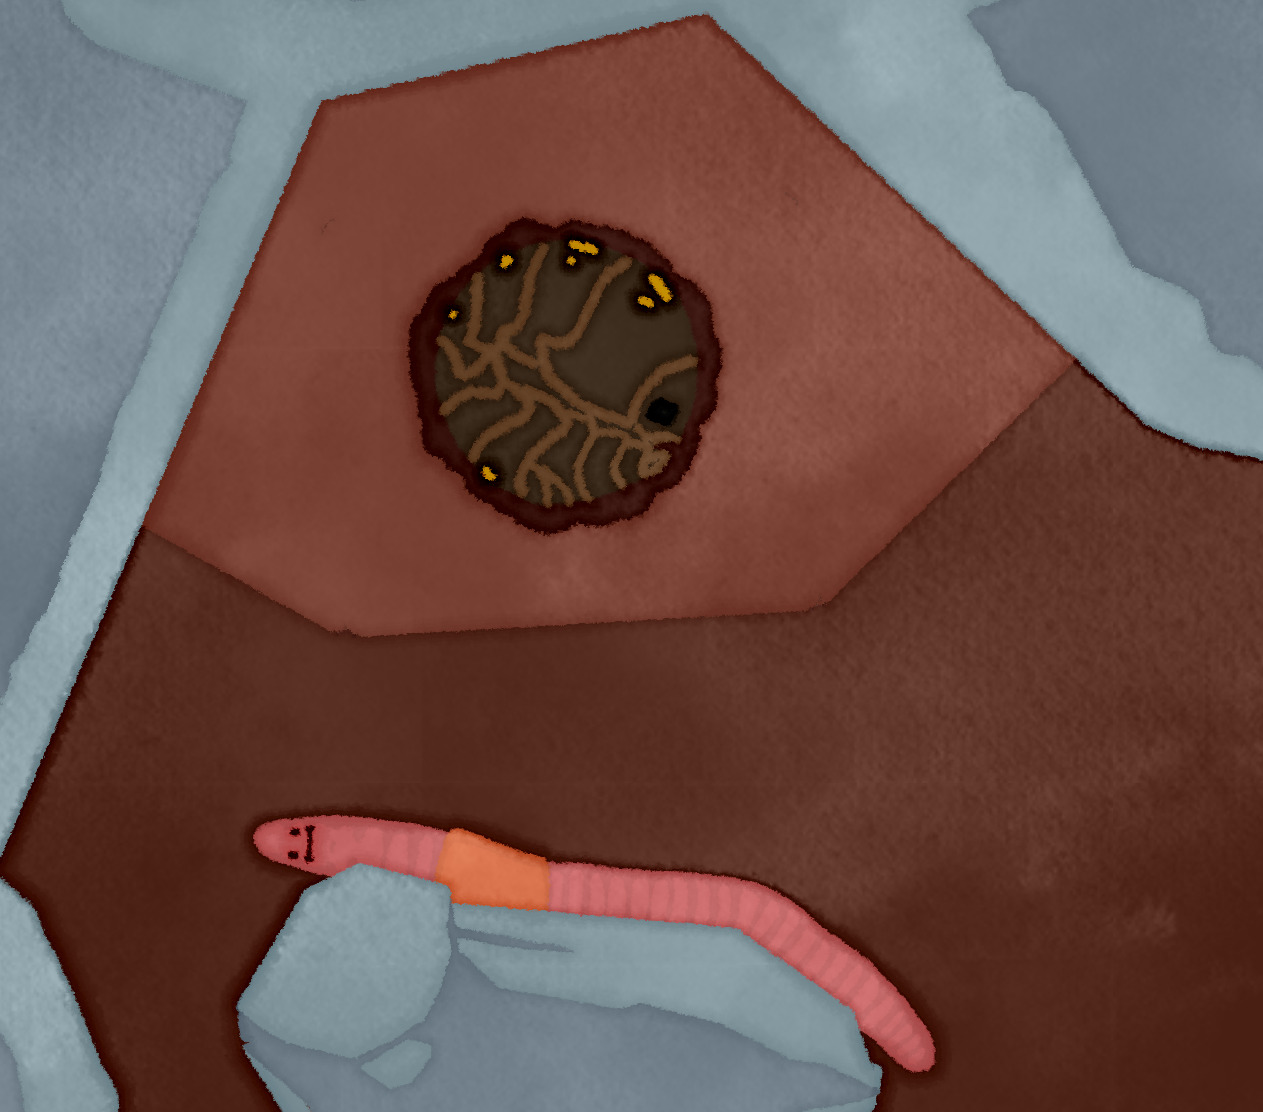
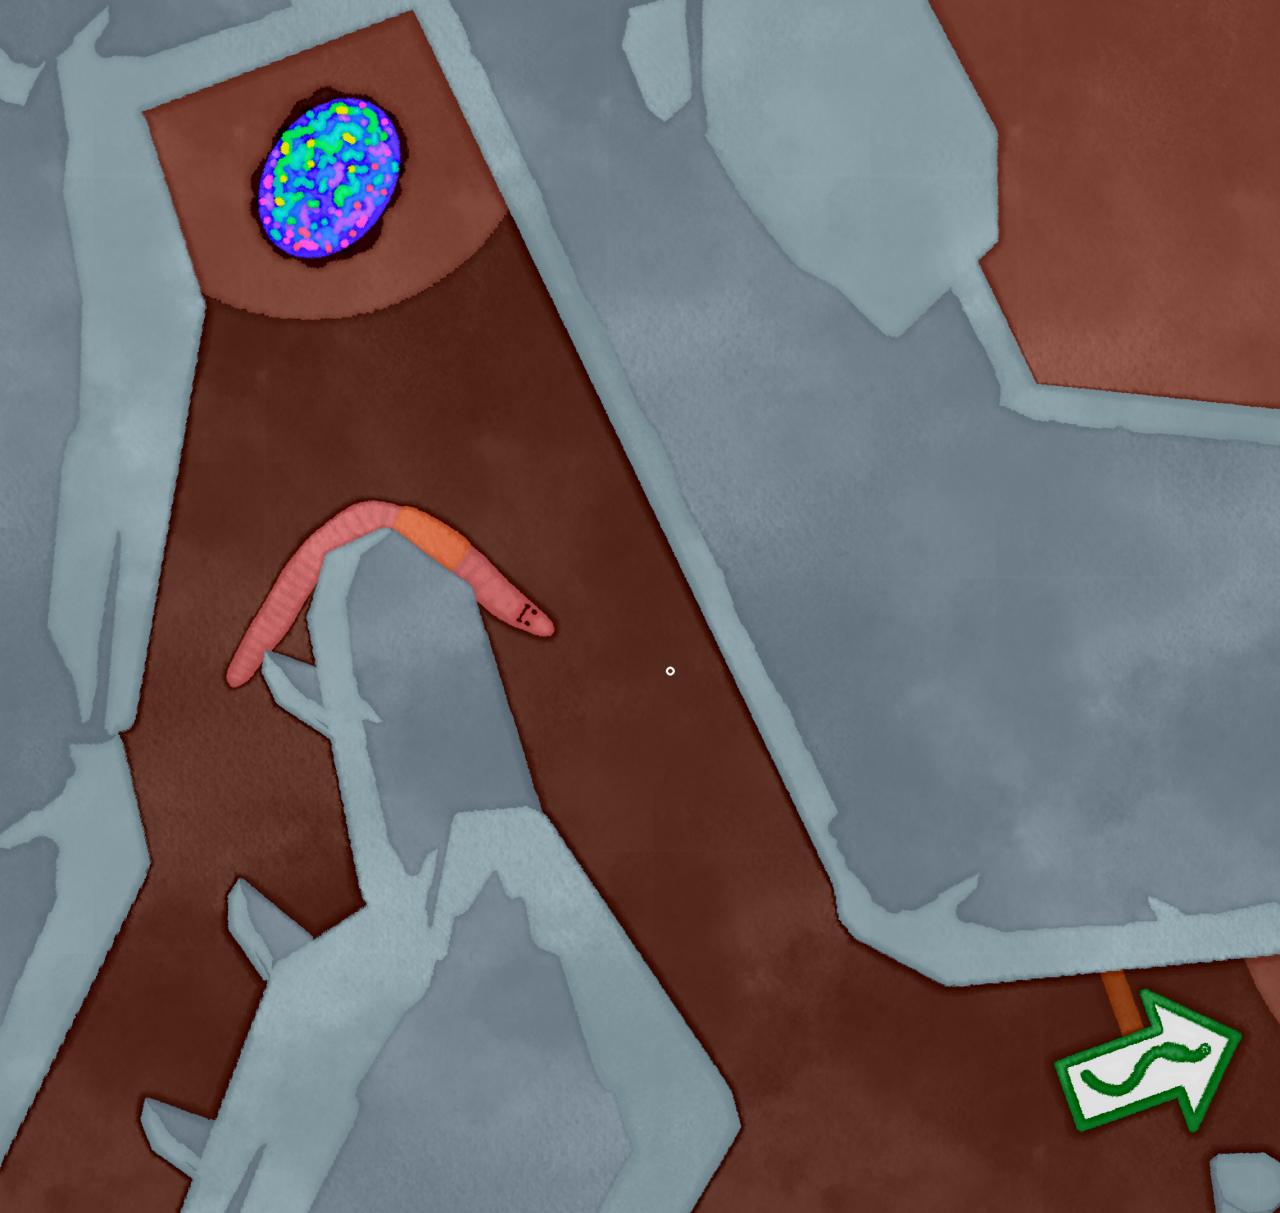
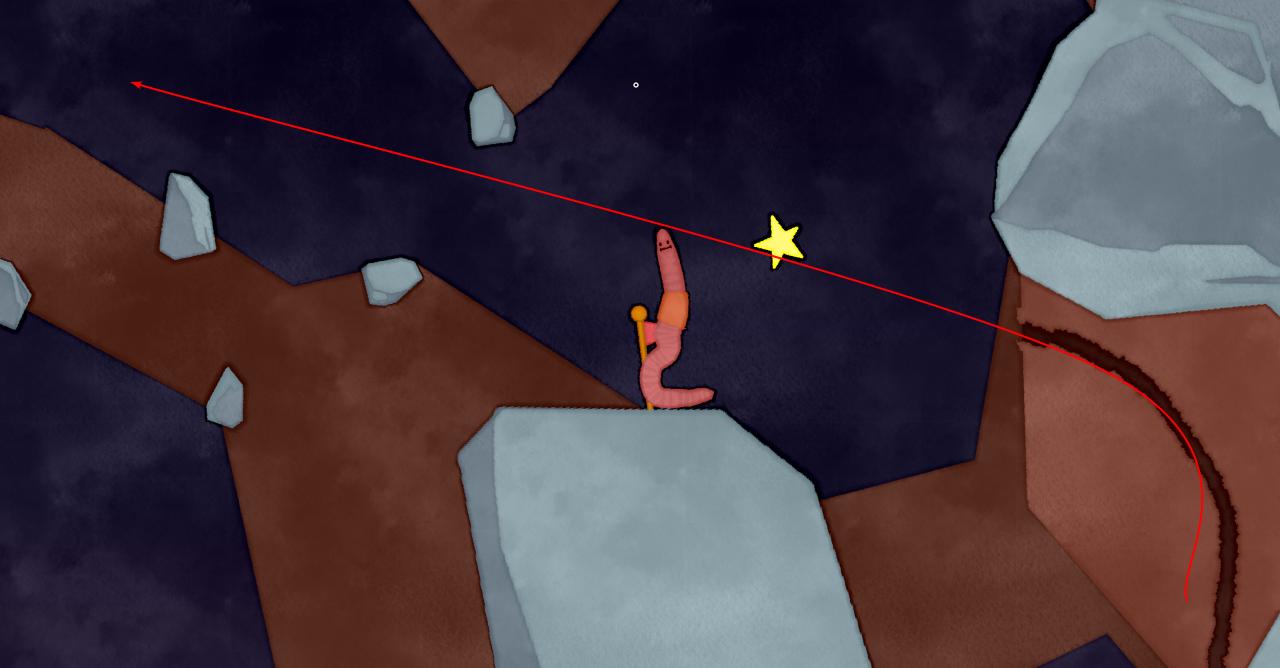
#7 Opal
Keep climbing across the rocks until you see this sign, then turn up.
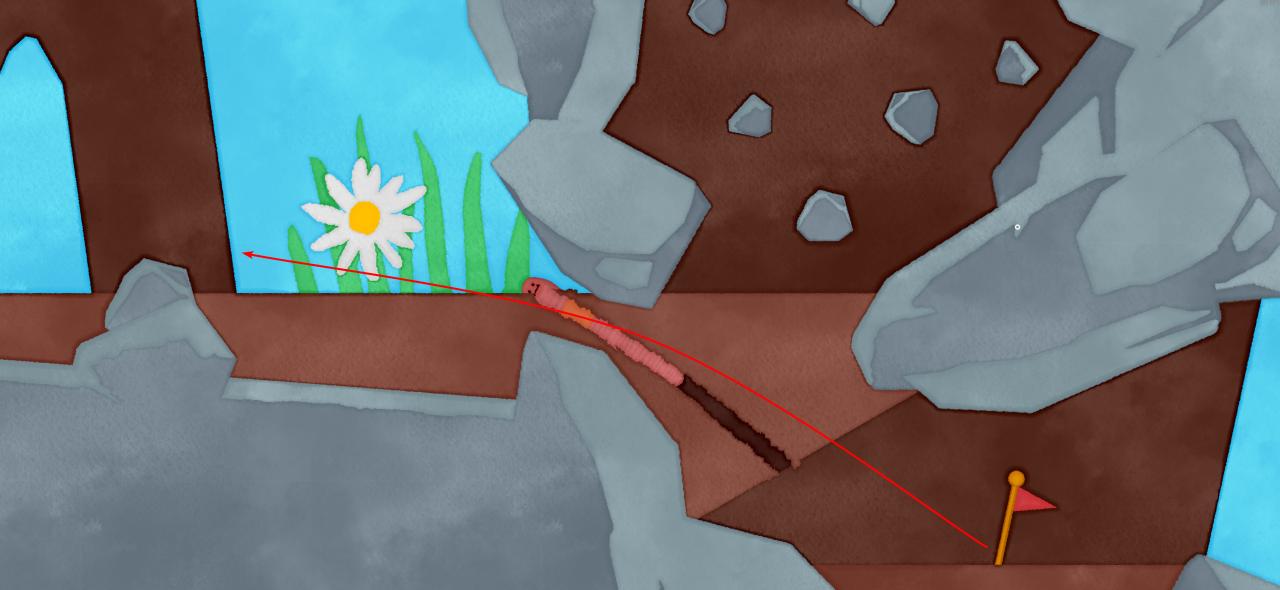
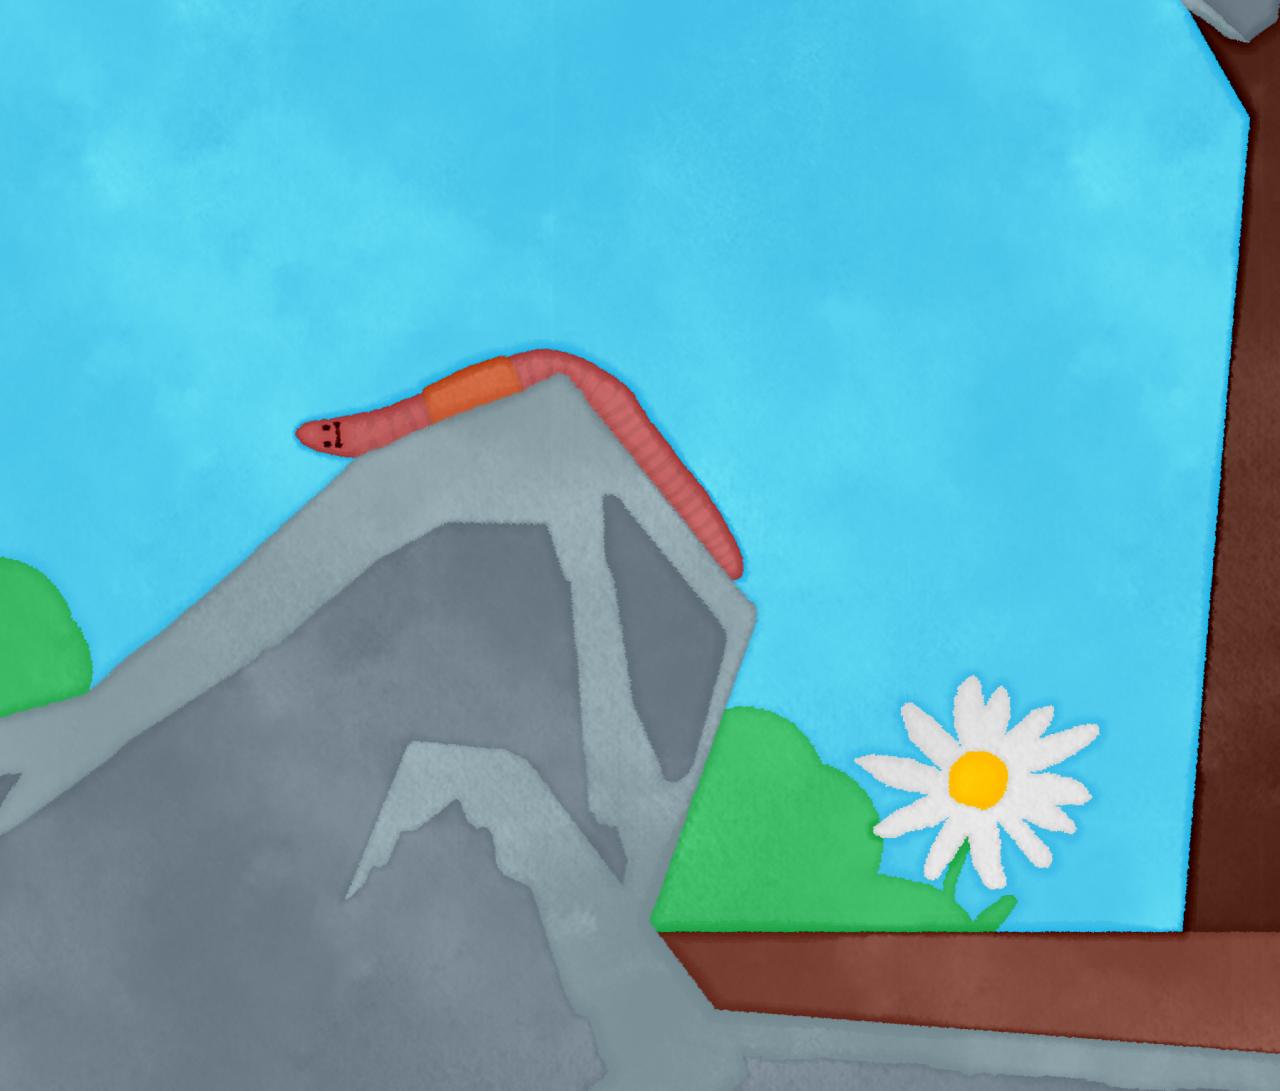
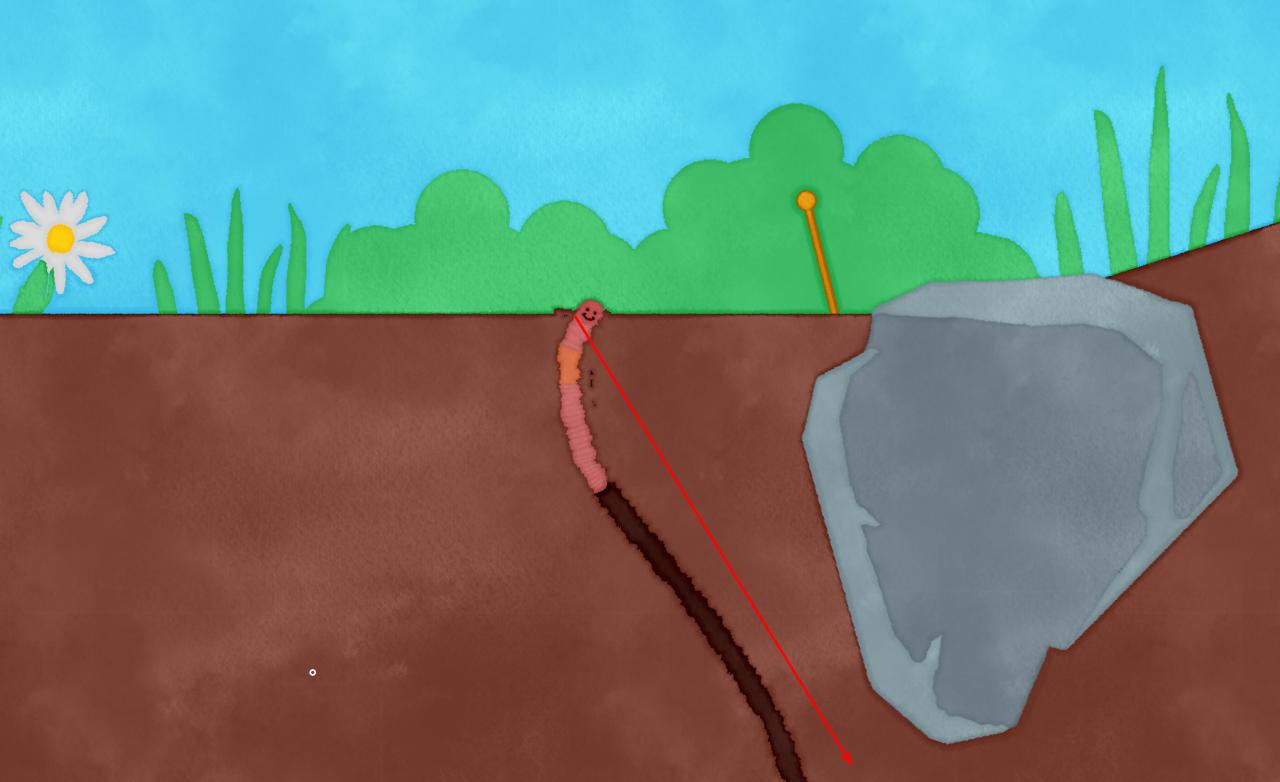
#4 Fossilised Tooth
Climb up past the green sign, head left once on the surface.
Then simply slide down past the mushroom.
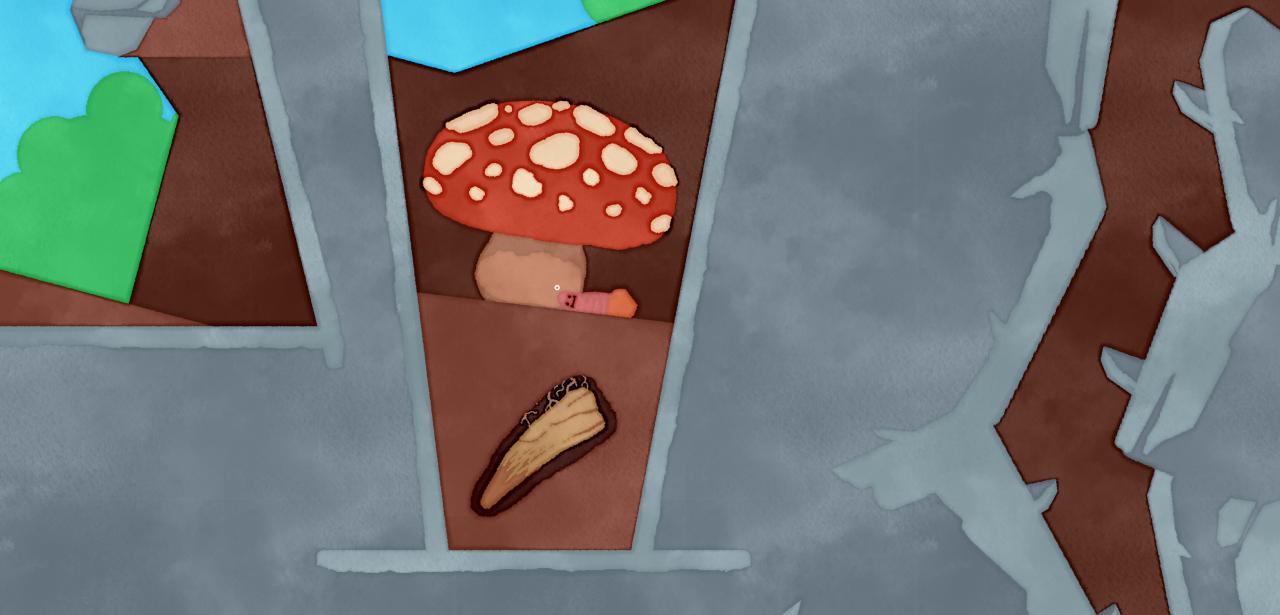
Then simply slide down past the mushroom.
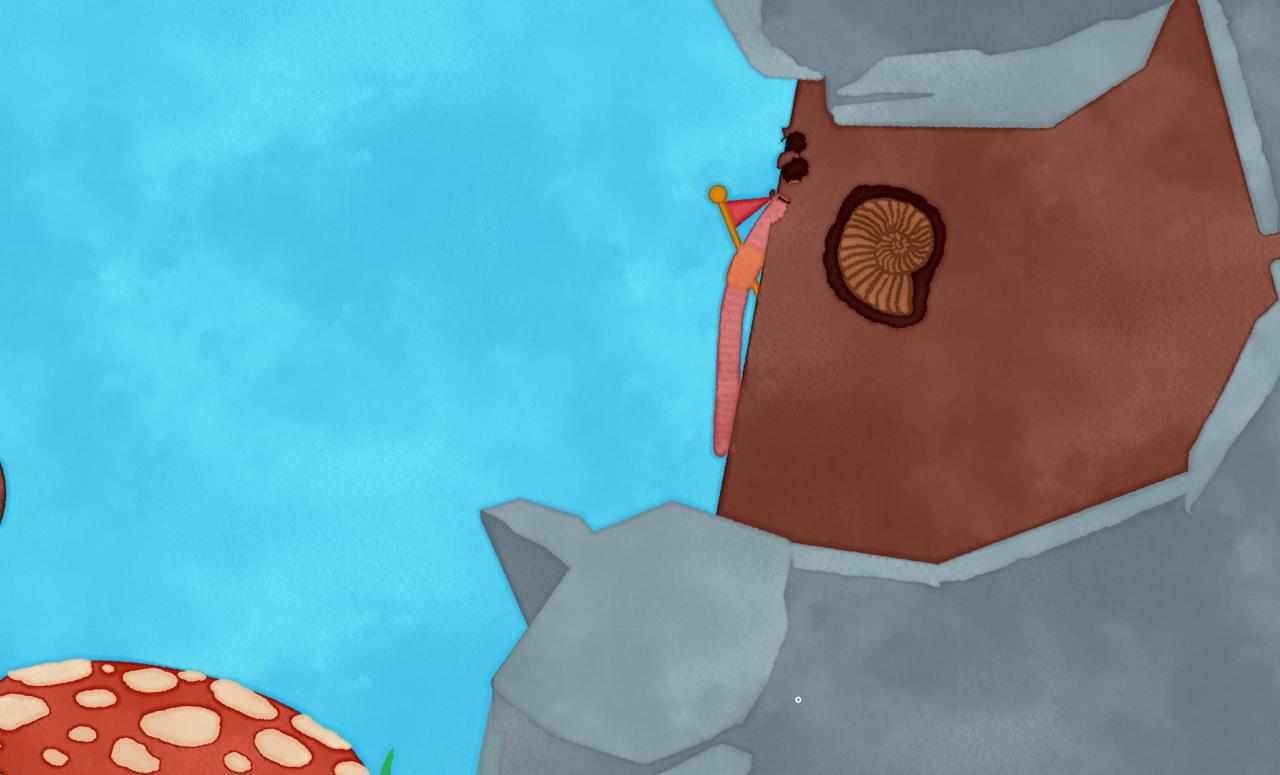
#1 Ammonite
Keep heading left from #4, this one’s impossible to miss.
#2 Seashell
Use the mushroom to get up on the floating island.
At the flag, follow the dirt upwards and swim across the clouds.
At the flag, follow the dirt upwards and swim across the clouds.
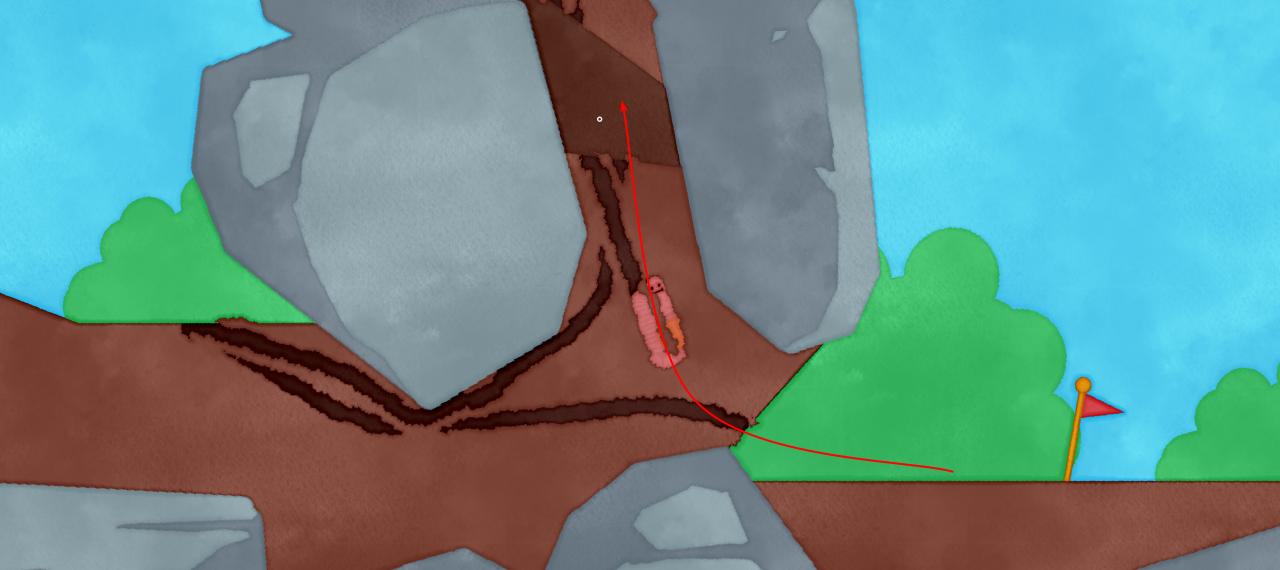
#3 Old Bolt
You’ll need to tumble the rock downhill to make it up to the next section.
At the flag, keep heading left.
This climb is a little tricky. Alternatively you can use the clouds above, or dig below at the previous flag.
You can use the cannon to your left to skip #11 and #10, heading straight to #8.
Otherwise go back to the flag and climb up the rocks.
At the flag, keep heading left.
This climb is a little tricky. Alternatively you can use the clouds above, or dig below at the previous flag.
You can use the cannon to your left to skip #11 and #10, heading straight to #8.
Otherwise go back to the flag and climb up the rocks.
#11 Two Cent Coin
After a long linear climb, this flag marks a fork in the road.
#11 is to your left, #10 to your right.
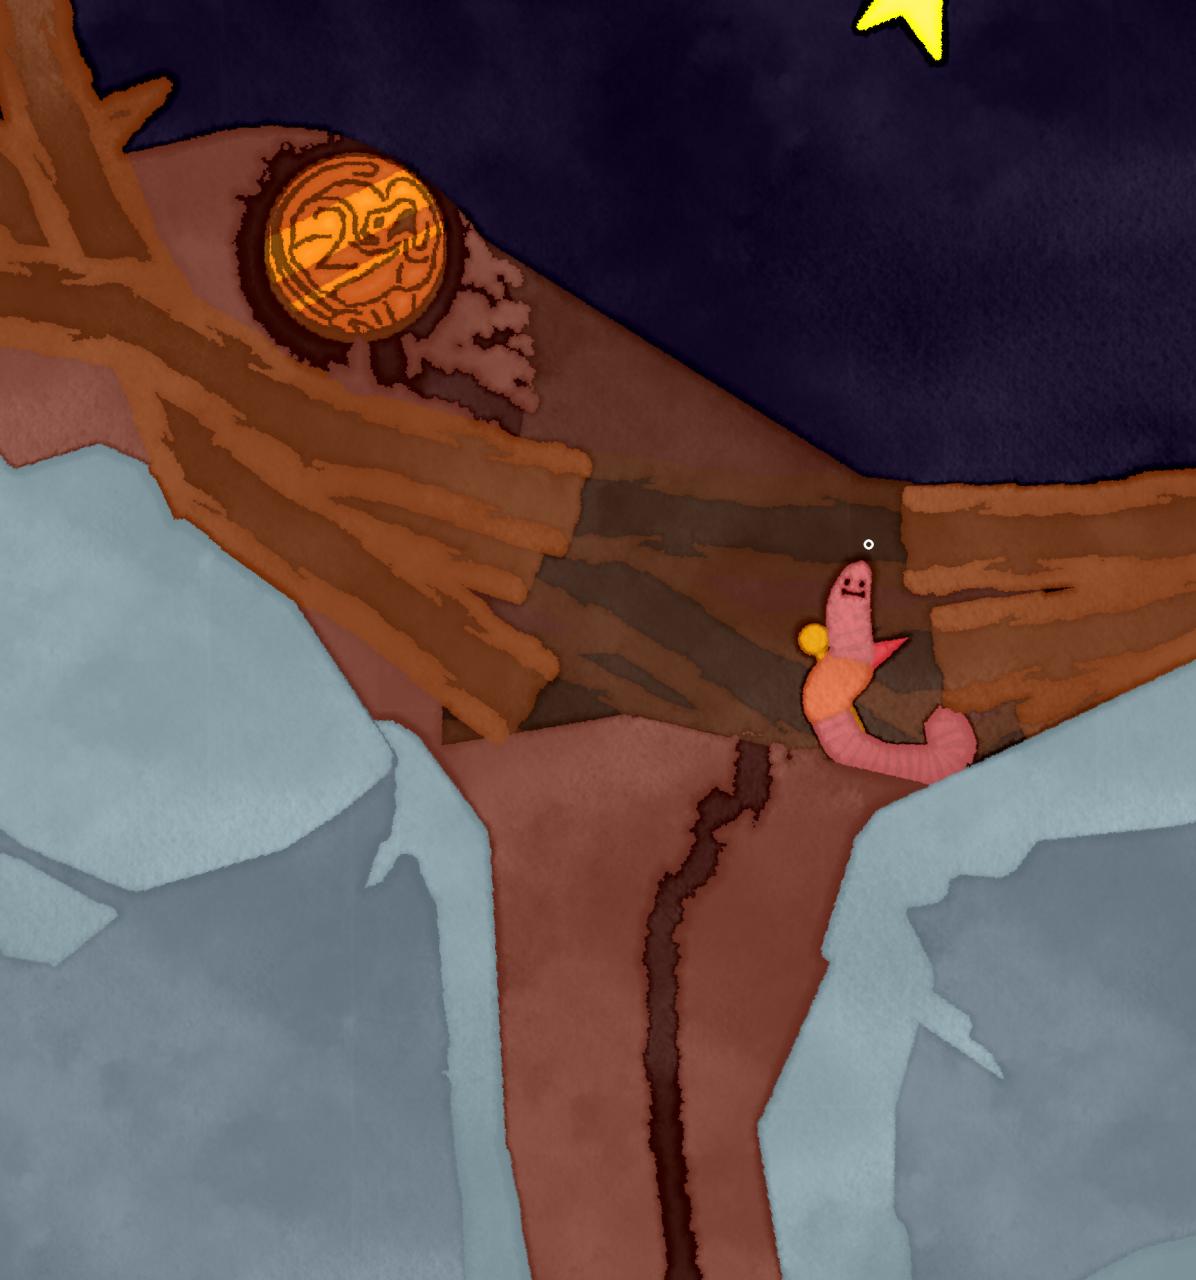
Once at the top, drop down the tree trunk to your right to begin your journey to #10.
#11 is to your left, #10 to your right.
Once at the top, drop down the tree trunk to your right to begin your journey to #10.
#10 Seed
The seed is at the end of another long, yet linear climb.
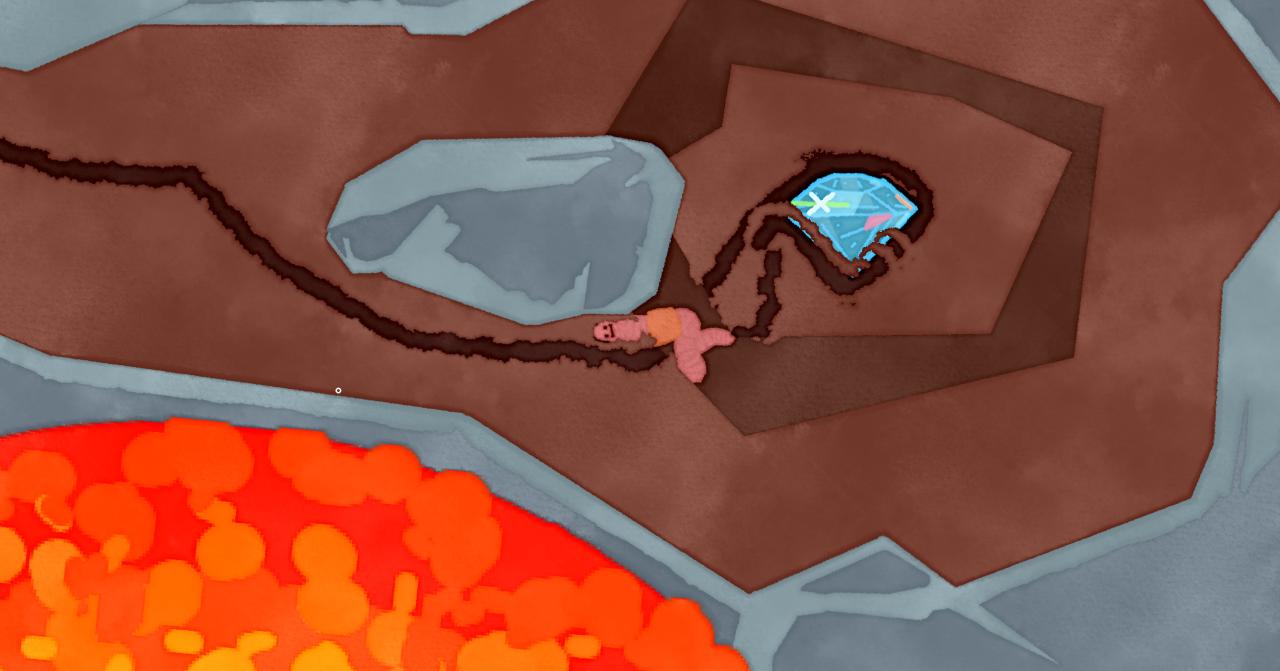
#8 Diamond
From #10, use the cannon to your right.
When you launch with the second cannon, keep steering left or you might fall short.
When you launch with the second cannon, keep steering left or you might fall short.
#8 is easy to find. If you fall into the core, you’ve gone too far counter-clockwise.
#5 Magnet
Drop into the core to get launched.
Make your way through the asteroid field, ideally without falling into the sun.
The set of 3 mushrooms will bounce you to a tree with the magnet underneath.
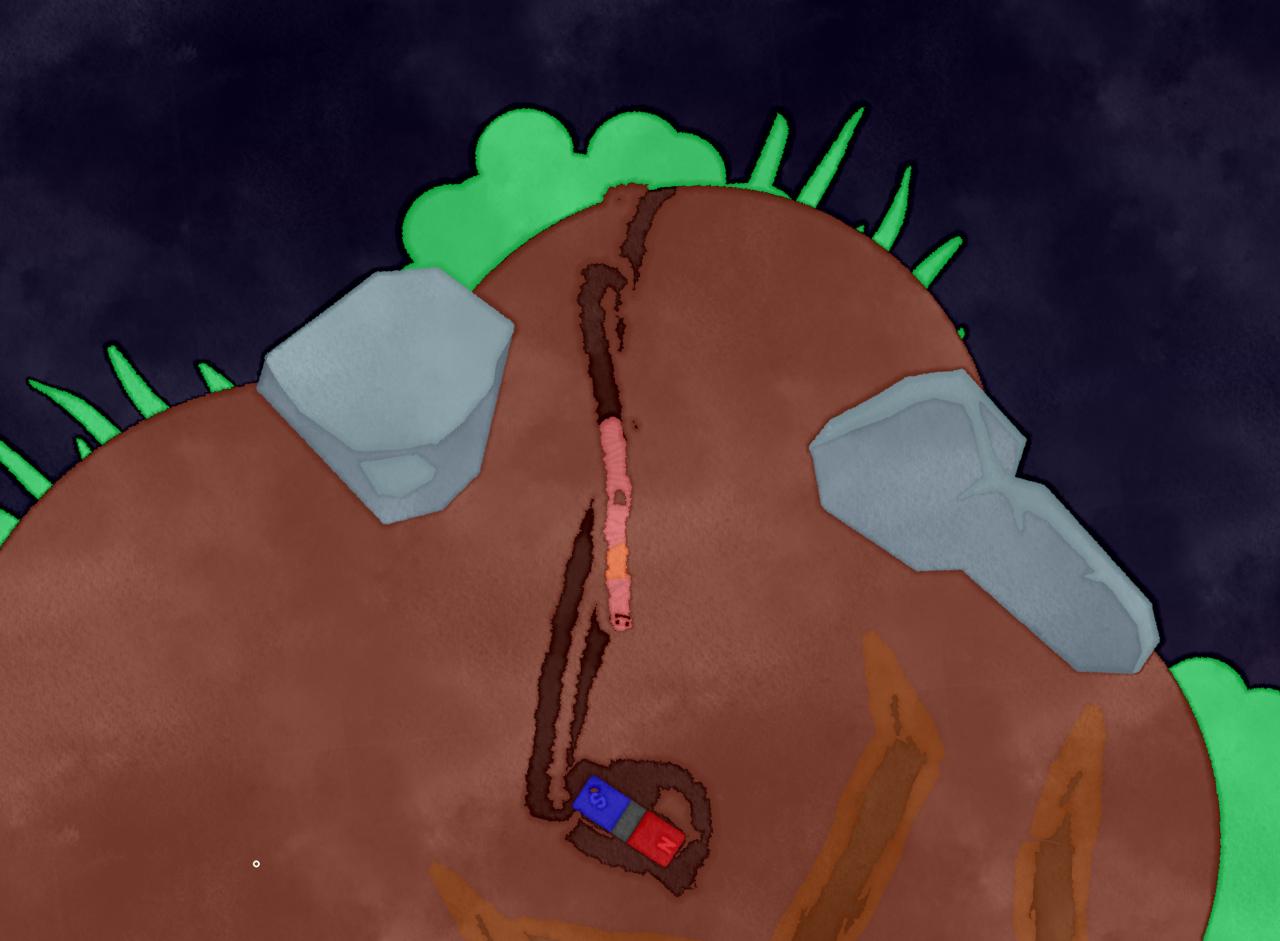
Make your way through the asteroid field, ideally without falling into the sun.
The set of 3 mushrooms will bounce you to a tree with the magnet underneath.
#6 Participation Medal
Climb up the tree and clouds to fall towards the sun.
She’ll launch you to your final destination, an apple tree.
Dig down next to the nearby flag.
She’ll launch you to your final destination, an apple tree.
Dig down next to the nearby flag.