A short, but detailed instruction on how to find all three secret areas in the Sewers of Sliwhelbud and thus achieve understanding of the superb slime girl Shaliva (and the respective Achievement).
Introduction
You don’t have to find these secret areas in any specific order. If you already found one or two, but are struggling with the third, simply jump to the respective section of this guide. :>
Secret Area #1 – Acid Waterfalls and Lever Puzzle
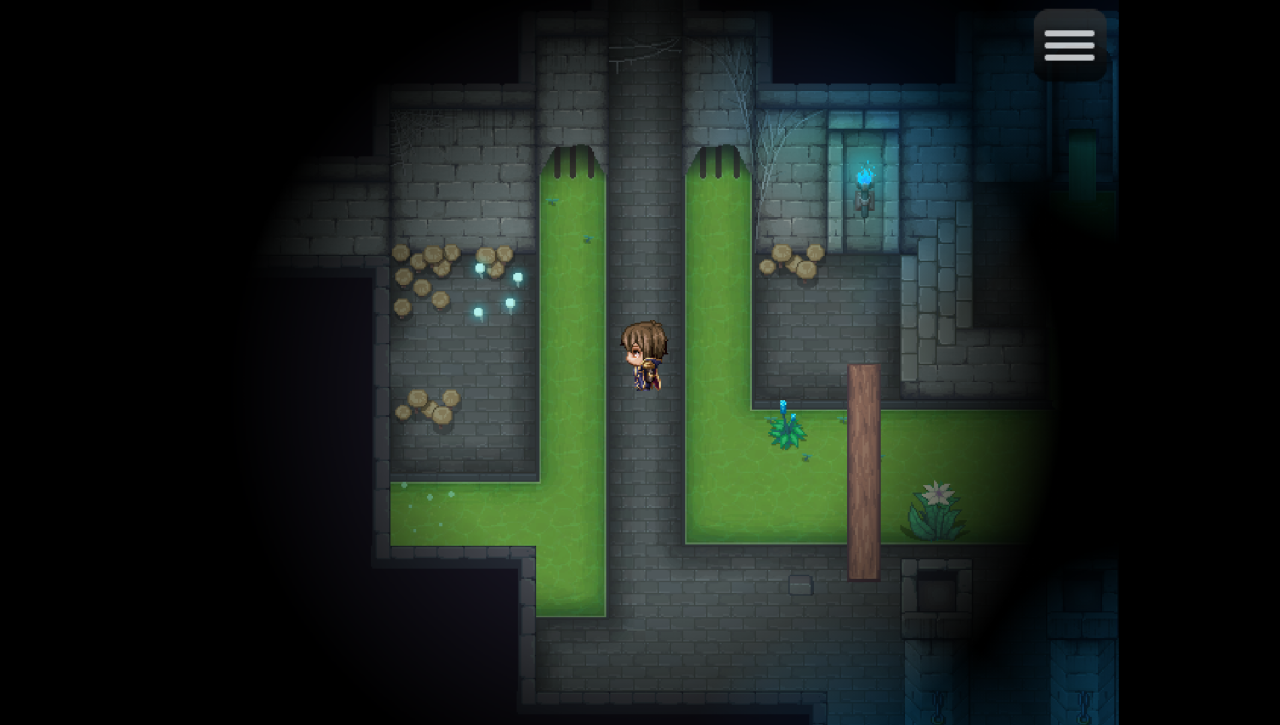
You should already know that you can hop over single-spaced streams of acid by now. So jump over to the left. You can already see a faint blue torchlight coming from the other side of the wall. This is because there is actually no wall here. You can just casually walk through the passageway and reach another lever.

This will open a gate at the far right of the room, a couple of jumps away from where you first pulled the lever to open access to the next area.
Walk through the newly opened door and continue your way down and jump across the acid. If you’re struggling to find a way, you might want to try jumping behind this pillar.
Eventually, you’ll reach another lever. Once you pull it, Shaliva will strike up another conversation.
Congrats, you have found the end of the first secret area and learned more about the helpful slime maiden!
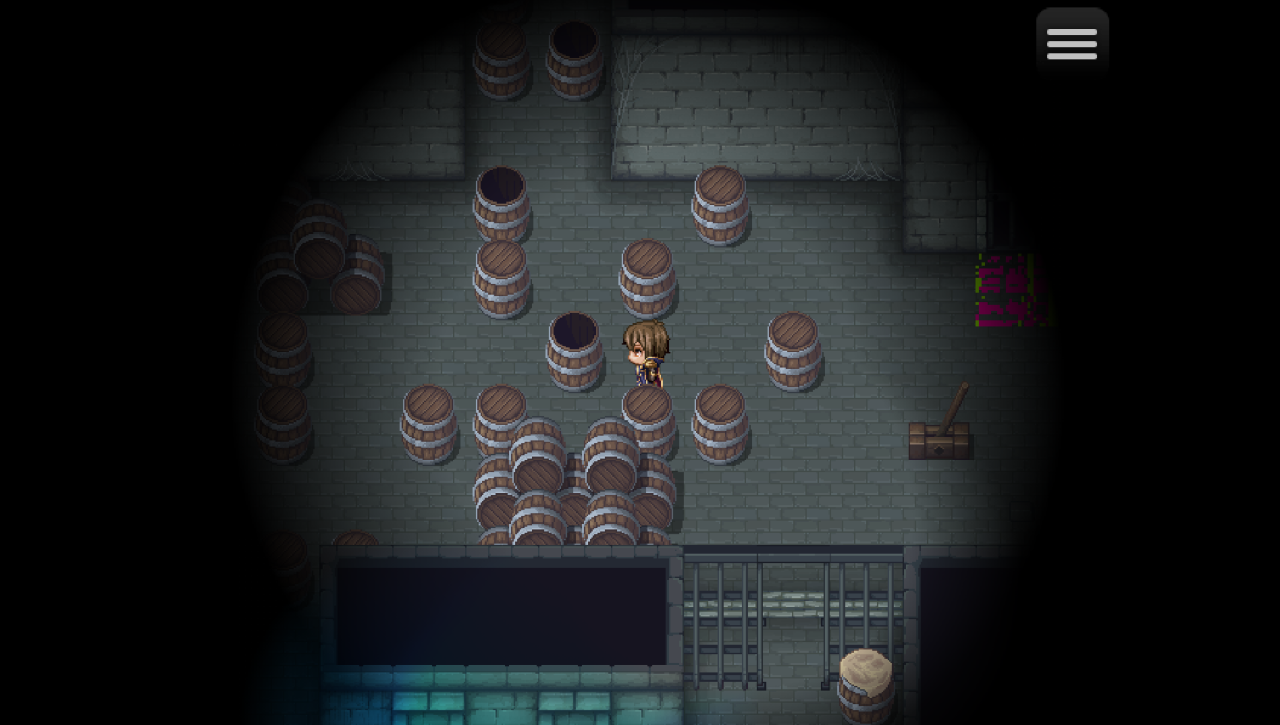
Secret Area #2 – Do a Barrel Roll!
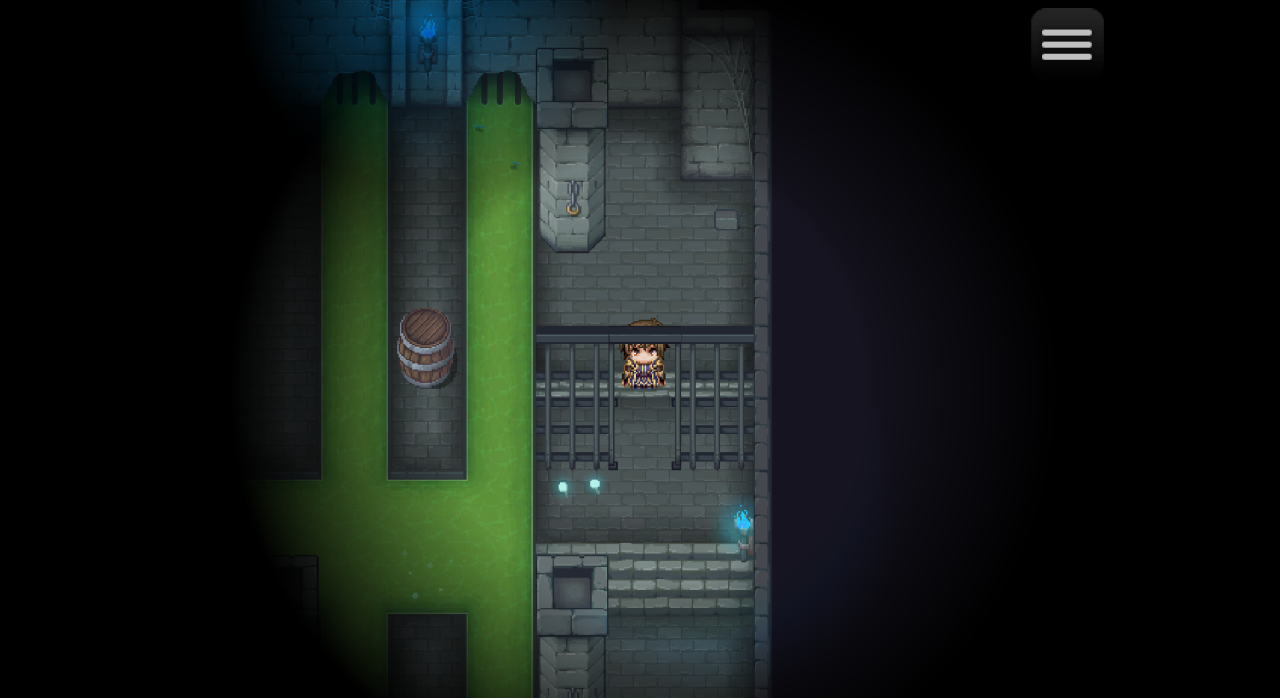
Go down and touch the blue crystal to reset the barrels. Do NOT just start from the beginning now, however. Rather, you should go back up and push this barrel once:
Move two steps higher and push the barrel into the small alcove on the left.
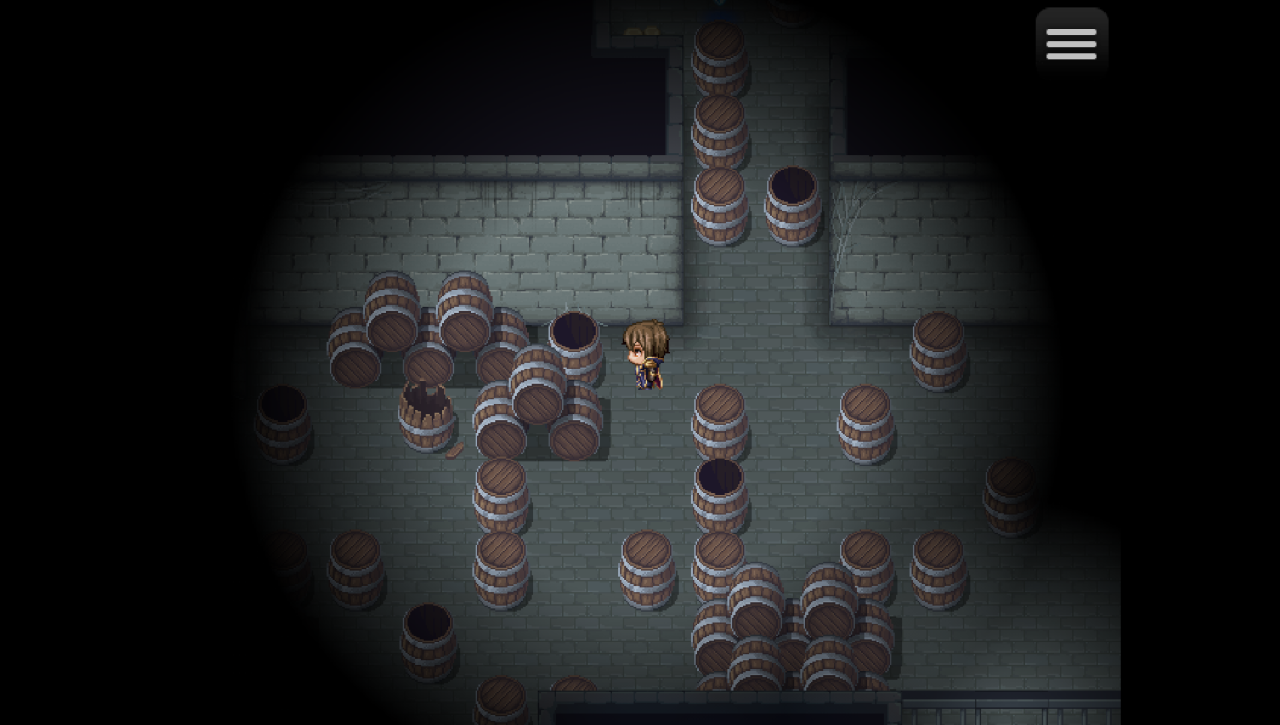
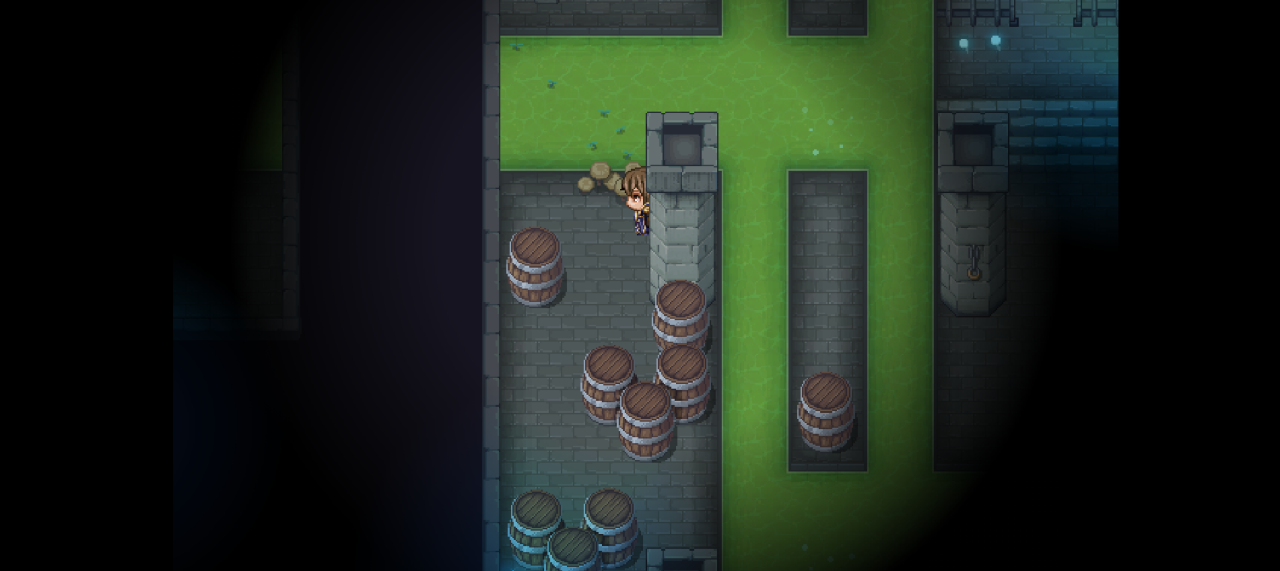
This way you can pass on the left of the lower of the two barrels. Now just push the two barrels that block your way to reach the secret passage on the top left.
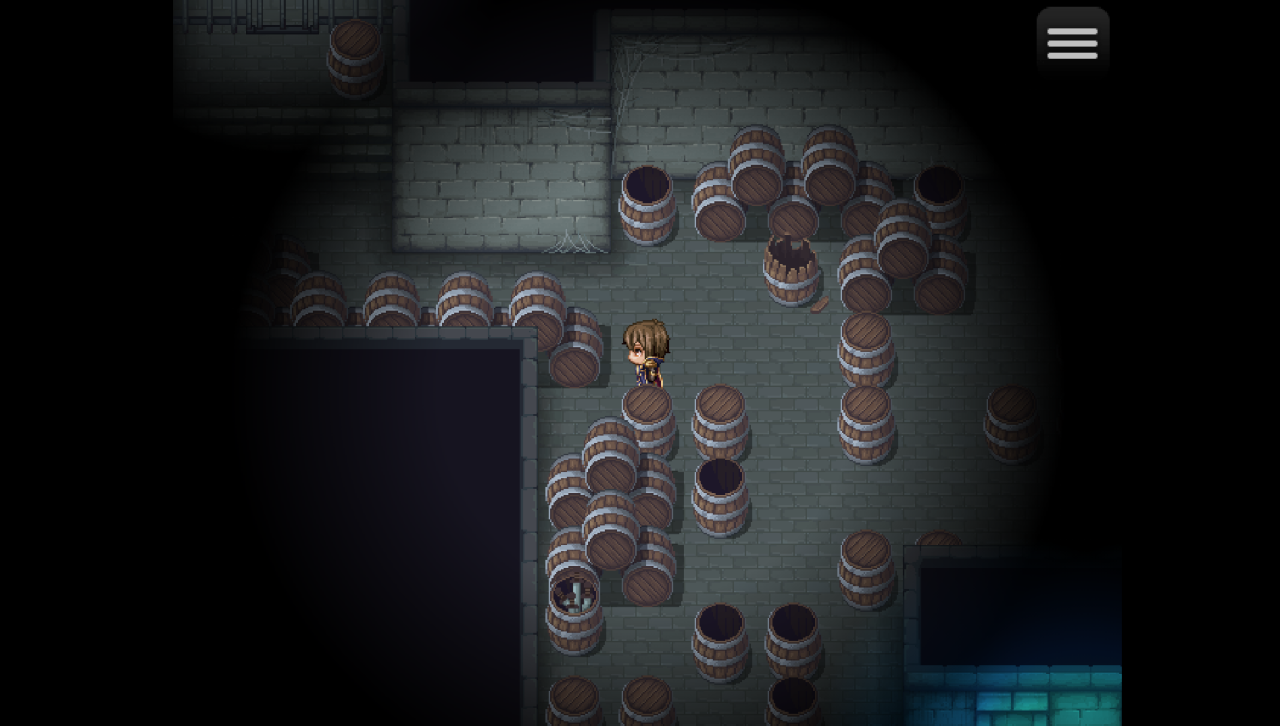
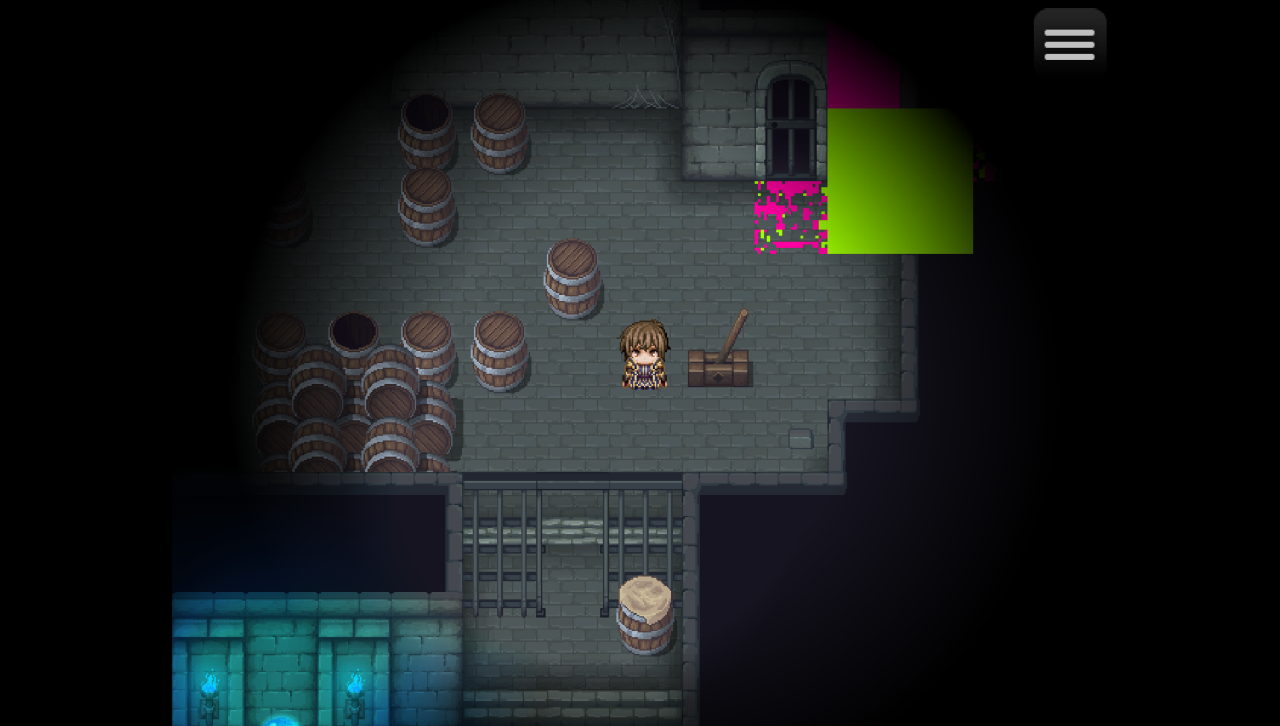
After chatting up with the slime girl, you can pull the trigger on the top left isle or just walk over the wooden boards to continue your way into the upper right area of the section. Interact with the treasure chest and find a shortcut back by pushing this barrel out of your way.
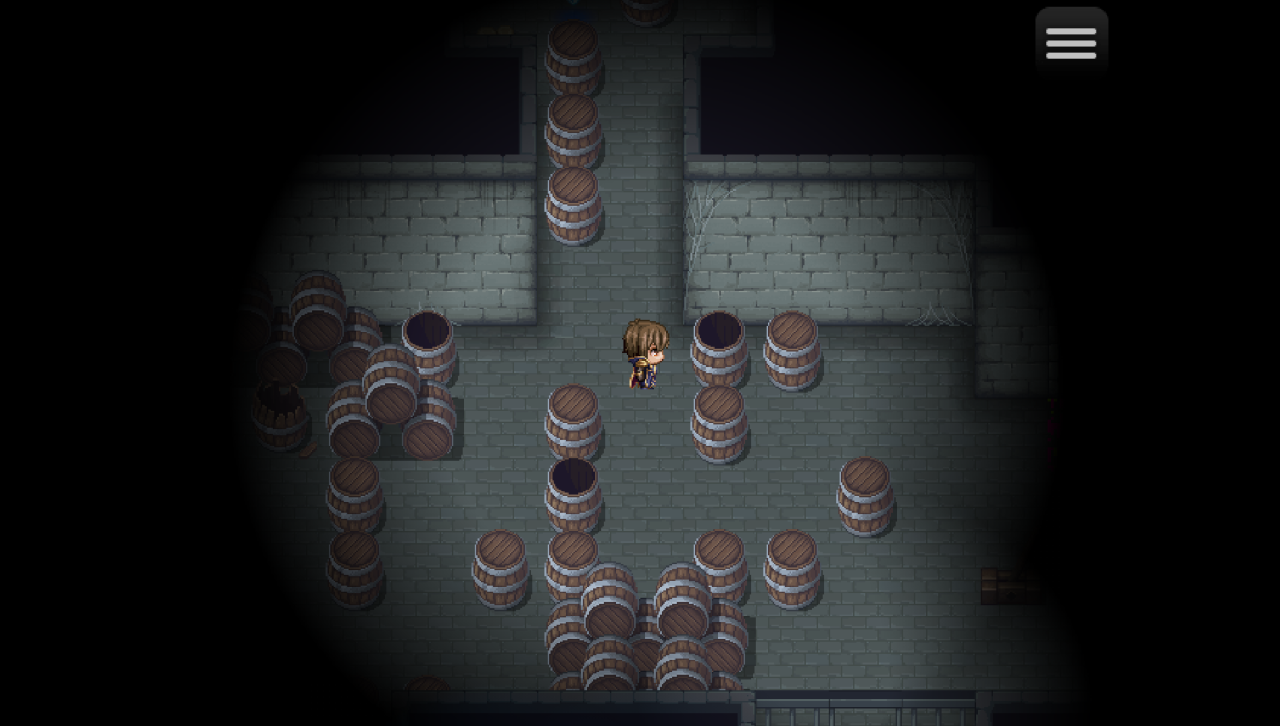
If you mistakenly push it down too far, you can use the blue crystal up above to reset the barrels and retry.
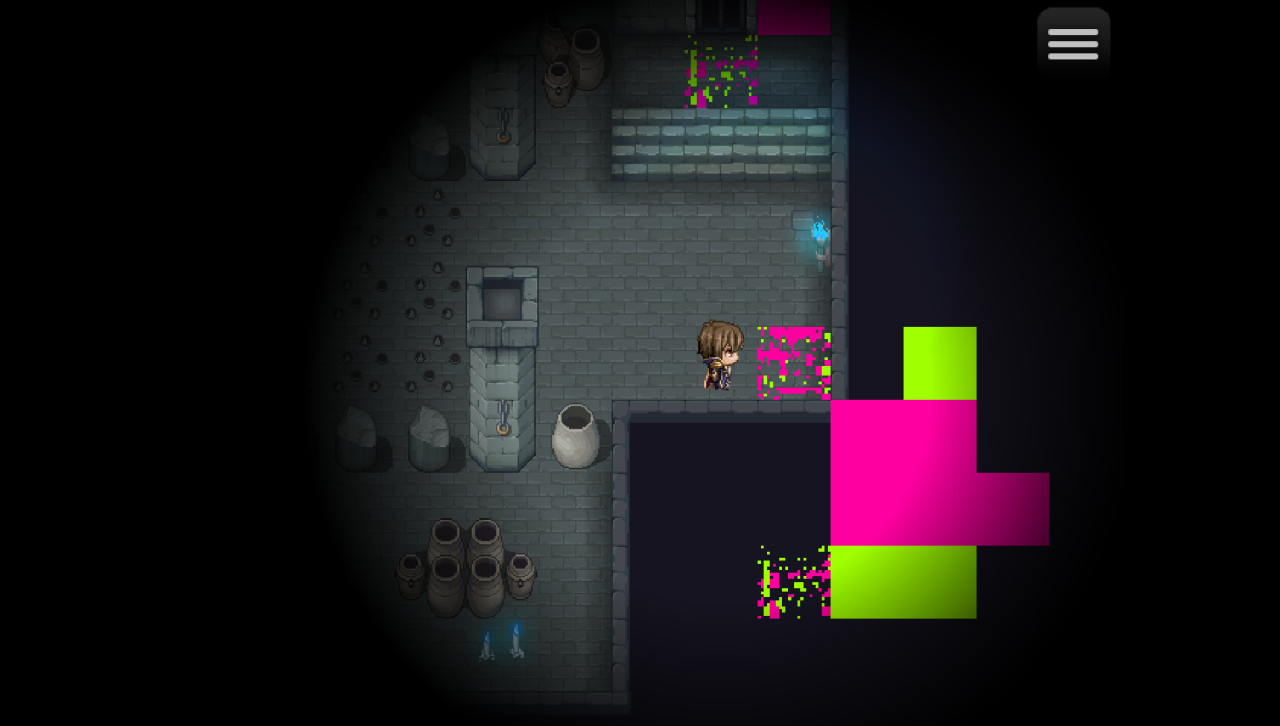
Anyway, this was it for the secret area in the barrel room. You can walk towards the glitch on the right, use the opportunity to comment on Shaliva’s chest (LOL) and then actually continue your way to the subsequent area. Well done! \o/
Secret Area #3 – The Spikes
There are more spikes and levers here than in the last room, but the puzzle is still rather straightforward. Find a way to create yourself a path so that you can walk safely to the other side. There could be more than one way to do this (I’m not sure) but if you’re struggling, just go with this setup:
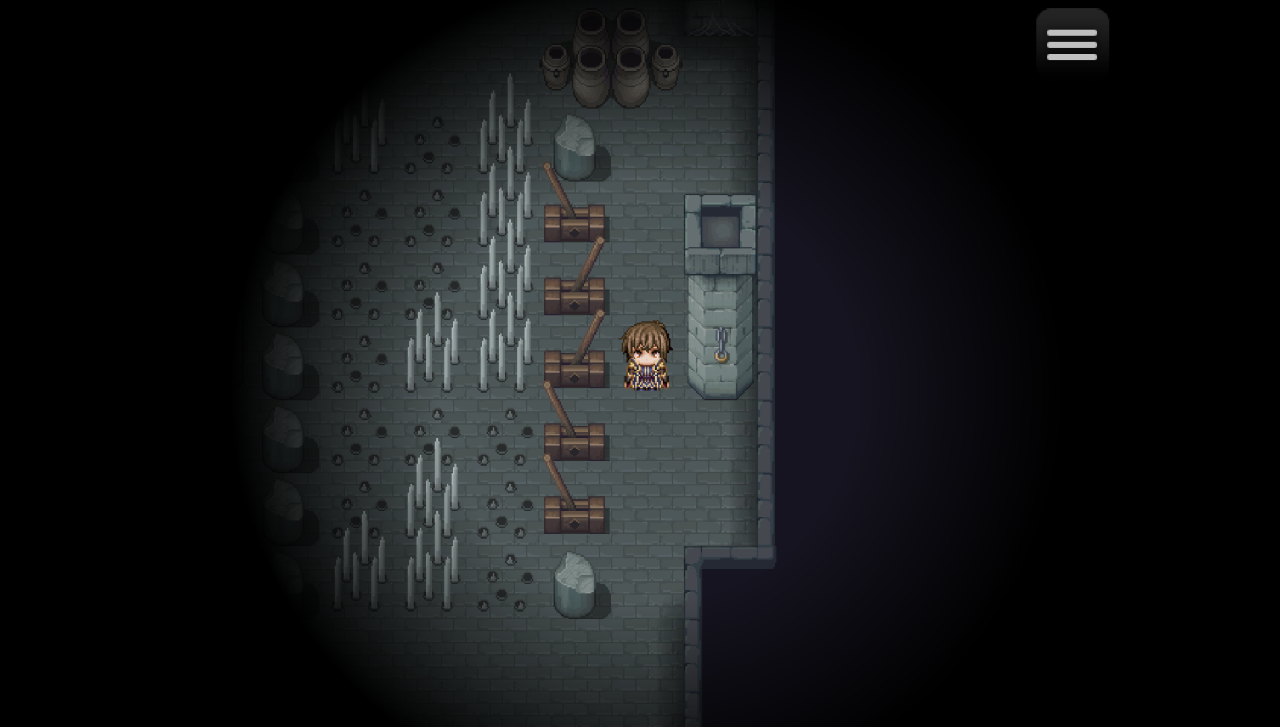
Only move the second and third lever from the top and you’re good to go. Don’t feel too bad if you didn’t manage to figure this out yourself, however. Sometimes it’s only about trial & error and it might have been bad luck!
And that’s it already for the third secret. You’ll find something… mildly disturbing (at least until Shaliva explains herself) and can continue your journey through the dungeon.
The End (Boss Room)
I hope this guide can help some folks to get through this portion of the game. I really love Monster Girl Therapy and if my help can be a part of your journey with and in the game as well, then that’s a blessing for me!
Now go and have a lovely time with Shaliva and the rest of the MGT cast and tell your mutuals about this wonderful game!