This guide will teach you how to maximize profits in your garages and level your drivers to meet the economic demands of each city.
Introduction
Step 1: A New Game
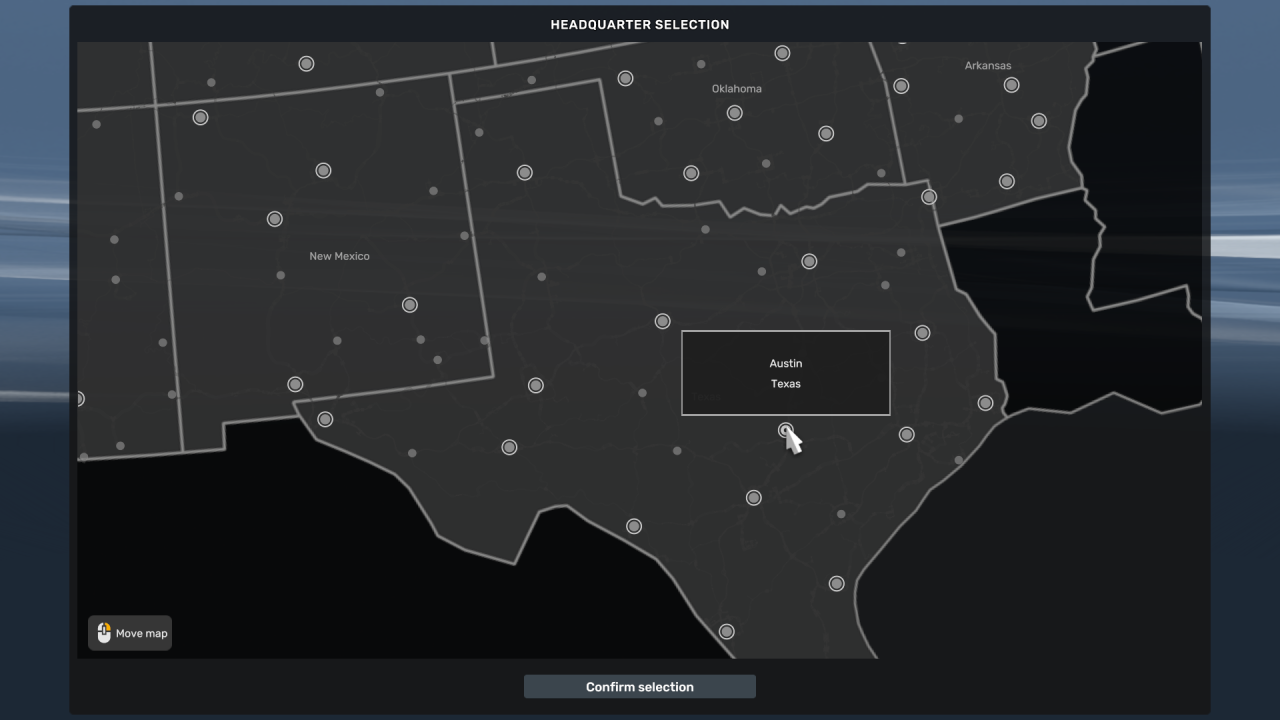
For beginners, major cities often provide plenty of opportunities to get started. I recommend selecting a capital city based on the state you want to play in. Below, I’ve included a list of capital cities to consider—including a few that may be added in future updates—to have everything in one place.
Step 2: First Five Skill Rule
Step 3: Make Some Money
This approach not only avoids loan debt but also gives you time to level up, which will be crucial for unlocking better jobs and higher profits later on.
Step 4: First Truck
One option is to take out a loan, which the bank will usually offer via the email app after you’ve completed a few jobs. However, loans can become expensive over time due to interest. It’s best to pay them off as quickly as possible to minimize the extra cost.
The other option is to stick with Quick Jobs until you’ve saved enough money to buy a truck outright. Depending on your preferred model, most trucks fall in the $120,000 range, though some may cost a bit more.
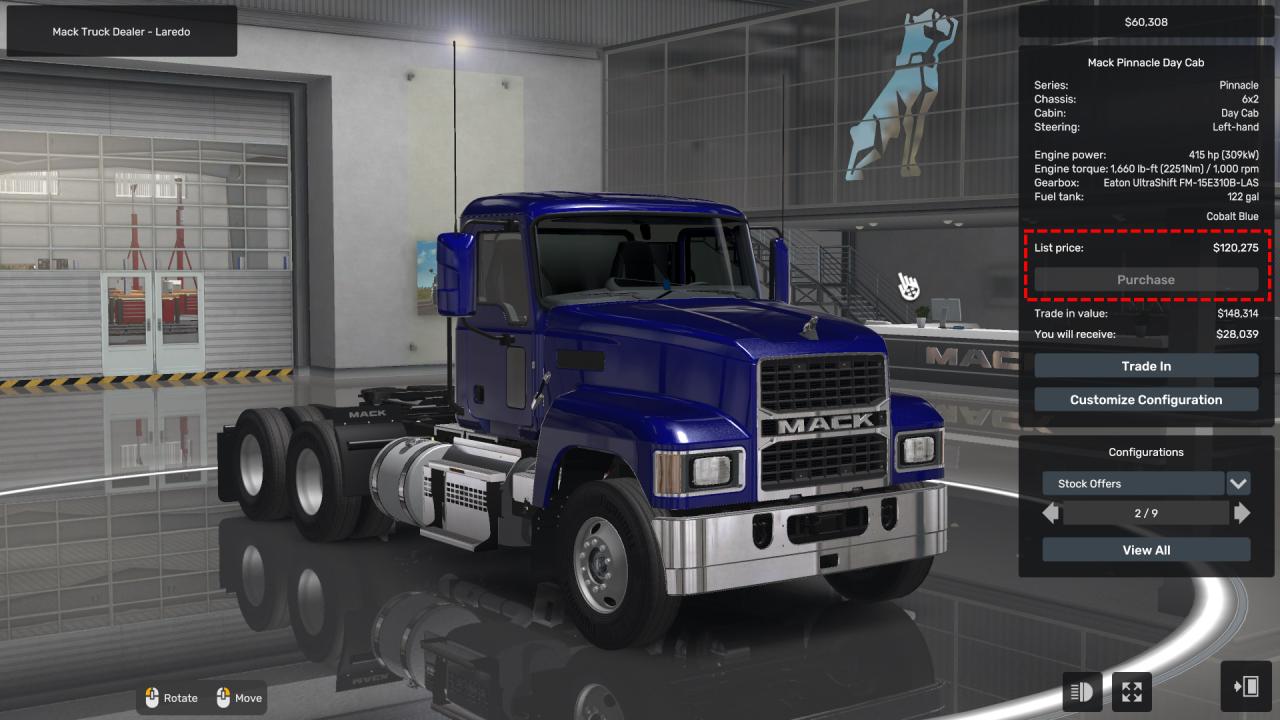
Before you spend more money, make sure to pay off any loans you’ve taken out for purchasing your truck. It’s always a good idea to pay them off as quickly as possible to avoid unnecessary interest.
Step 6: Second Truck
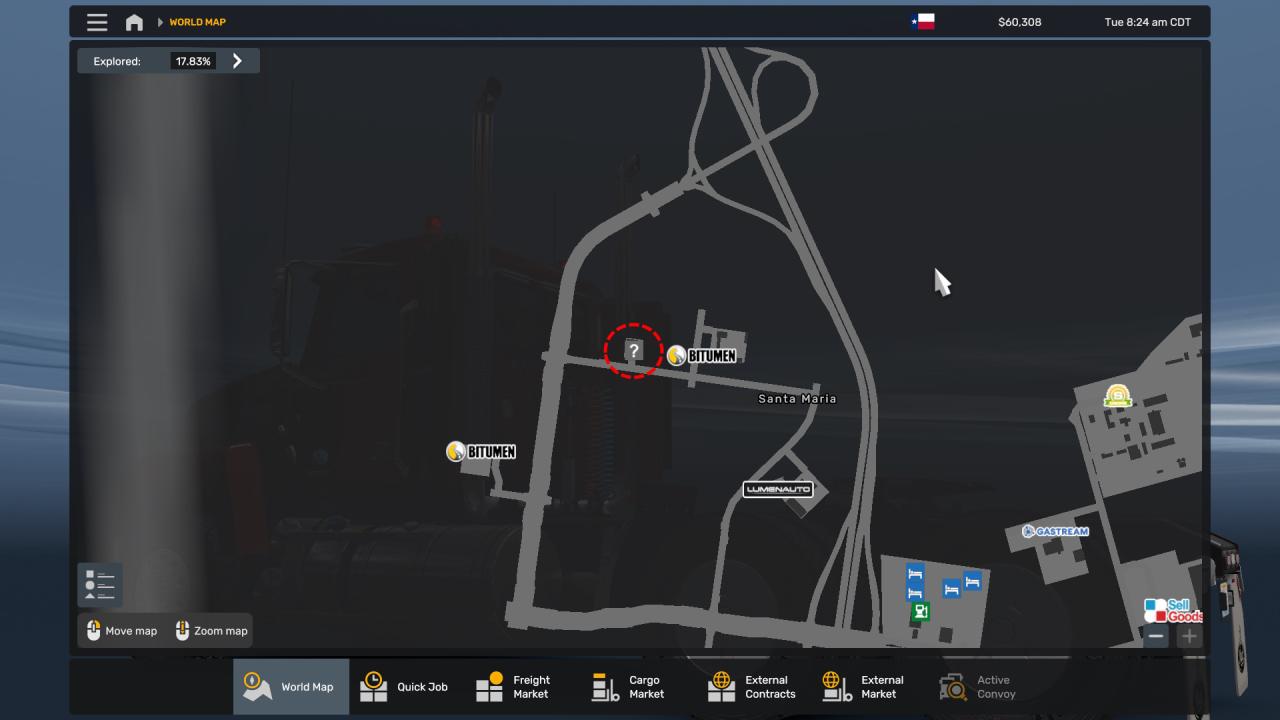
This is also a great time to start locating a recruitment agency during your journeys. You’ll need one soon for the next step in expanding your business.
Step 7: Recruitment Agencies
It’s a good idea to locate a few recruitment agencies before hiring, as each one unlocks an additional driver in the pool of available candidates. This will give you more options to choose from and help you find the best fit for your needs. Each state has at least one so you won’t need to go to far to find one.
Step 8: First Driver
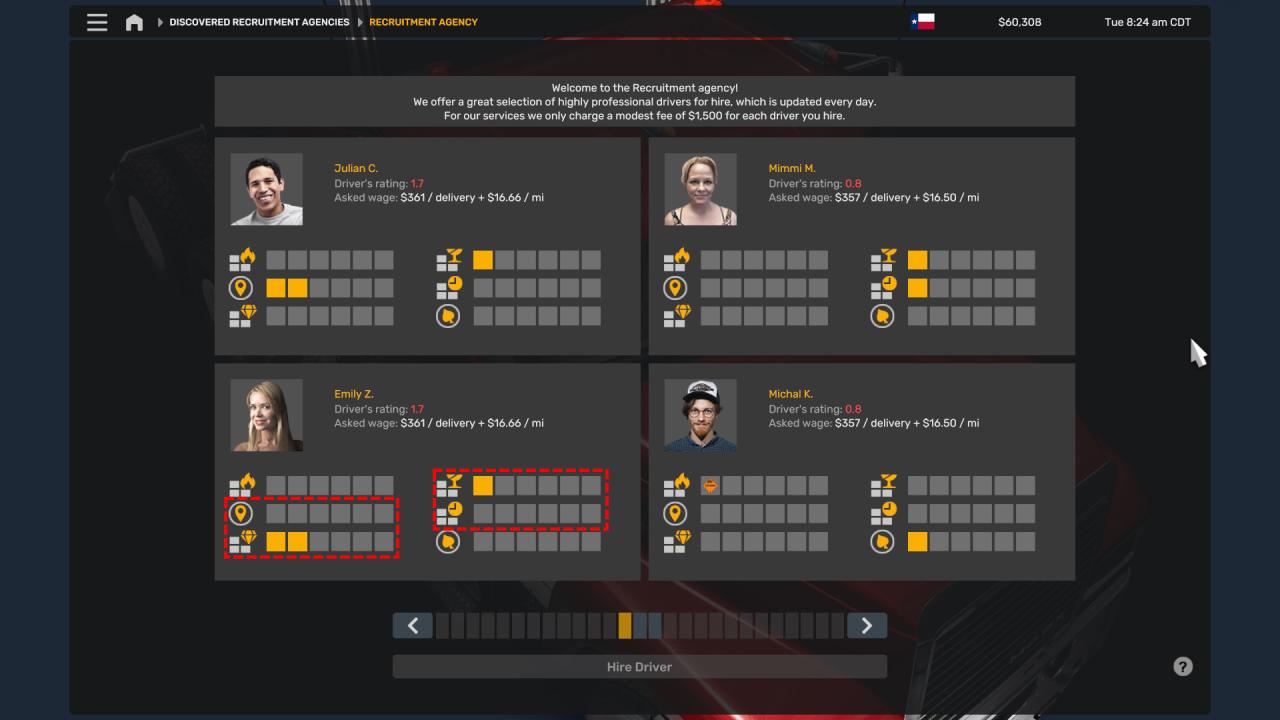
This combination will maximize their profitability, especially with the first trailer you’ll be purchasing.
Once you’ve hired your driver, assign them to your second truck in your medium garage. For now, this setup will work perfectly, and your driver will automatically source any available jobs in the area.
Step 9: First Trailer
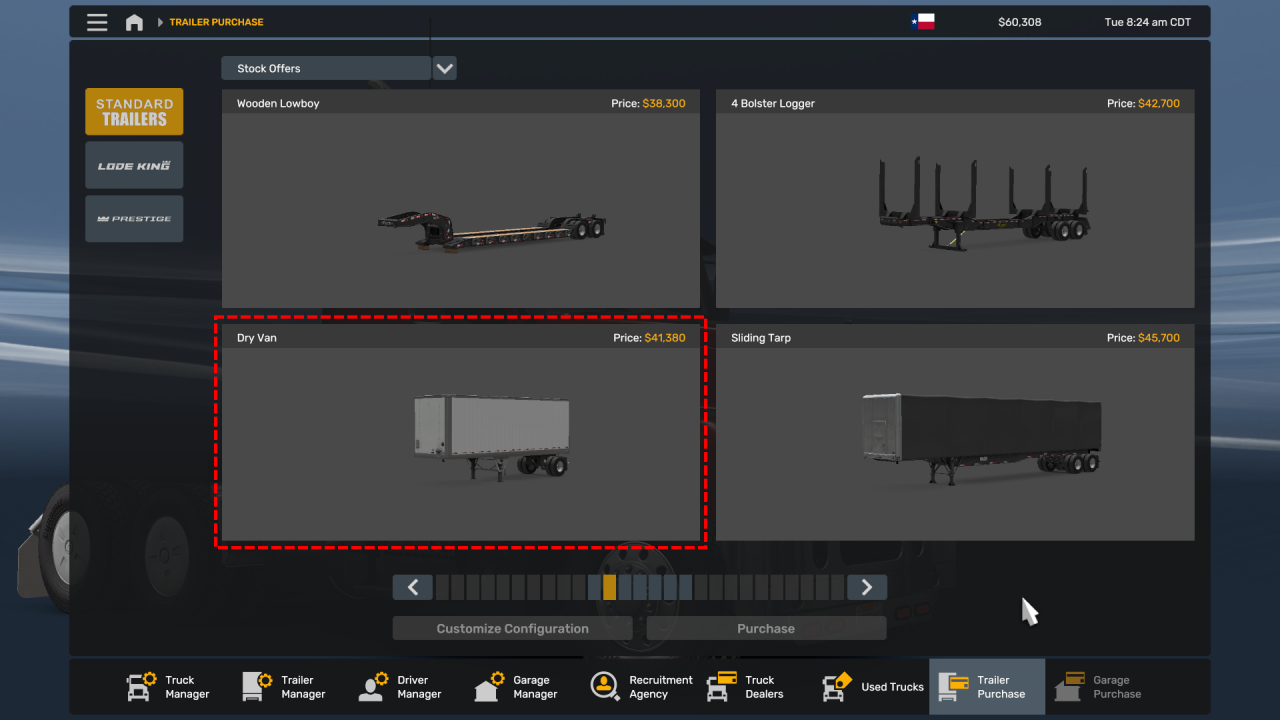
Once their skills are underway, it’s time to get a basic trailer. Purchase a standard Dry Van for them to use.
Dry Vans are an excellent early-game choice due to their affordability and ability to carry a wide range of cargo. Later in this guide, we’ll discuss expanding with a new garage and tailoring drivers for maximum profits, but for now, it’s all about building a strong foundation.
Step 10: Driver Logic
- Job Selection: Drivers will first pick up a job from a business in the garage’s city and transport it to another city. They’ll use any available trailer stored in the garage. If no owned trailer is available, they’ll use an unowned trailer—this works but is less profitable.
- Return Jobs: After delivering the cargo, drivers will search for a job in the delivery city to bring them back to the garage city.
- Trailer Limitations: If they’ve used an owned trailer, the return city may not always have compatible cargo for that trailer type. In such cases, you’ll see a message in the F5 window stating that the driver couldn’t find a job, resulting in fuel and maintenance costs without income.
- Specialized Cargo Challenges: Cargo like gas or fuel often lacks return options, meaning the driver may return empty-handed more frequently. To offset this, invest in Fuel Economy to reduce costs and encourage drivers to take longer-distance jobs.
In the Cargo Jobs window, icons indicate the skills required for each job. More icons typically mean higher-paying jobs. By focusing on these skills, you’ll improve your driver’s profitability.
However, make sure the driver has the required skills to handle the job. If they lack the skills, or if the destination is too far for the export, they may not use the owned trailer—or may skip that cargo type entirely.
With this knowledge of driver mechanics, the next step is analyzing your city’s economy to optimize your setup further.
Step 11: Logistic Map
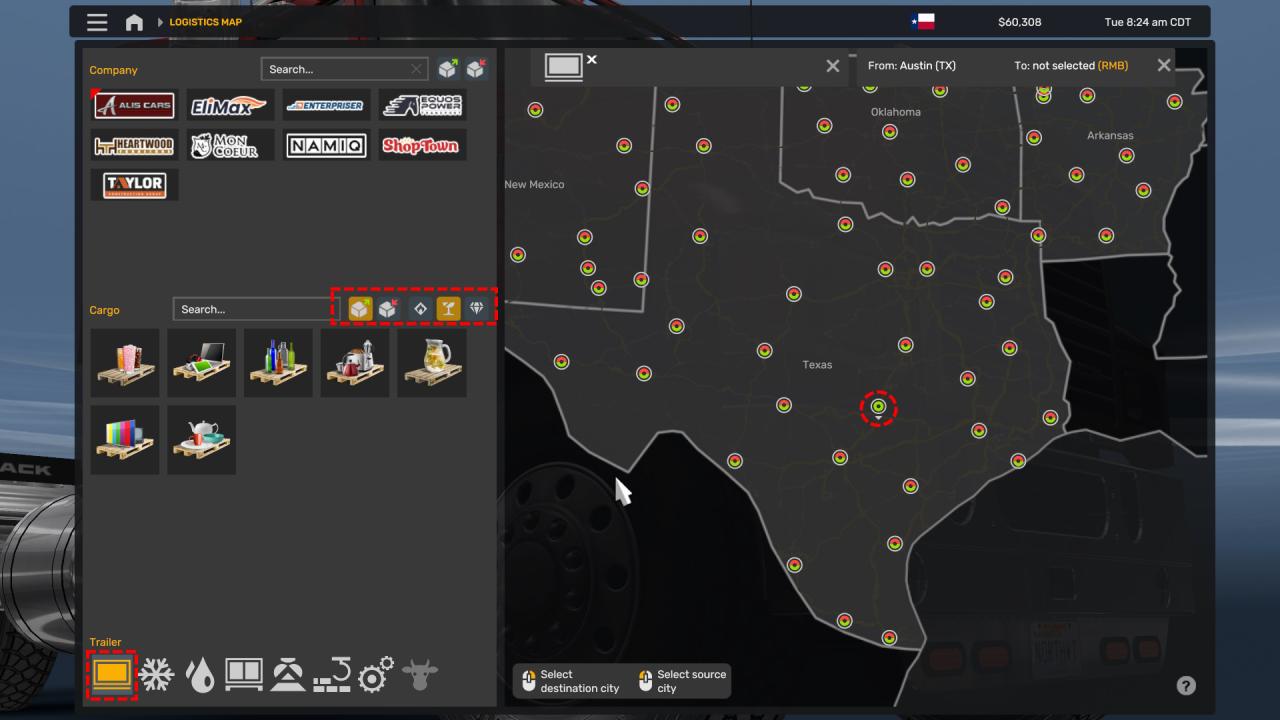
- Select Your City: Left-click the bullet point representing your city on the map. This sets it as the “From” location.
- Filter for Exports: Use the filter panel on the left to display only Exports.
- Skill-Specific Cargo: Select the skill type you want to focus on—for example, Fragile Cargo. This helps identify whether your location has jobs matching that skill type, even if your trailer doesn’t currently meet all requirements.
- Narrow by Trailer Type: Use the filter in the bottom-left window to choose your trailer type (e.g., Dry Van). This will show a list of Fragile Cargo options compatible with your trailer. Keep in mind that while these jobs are exportable, they may not always be available.
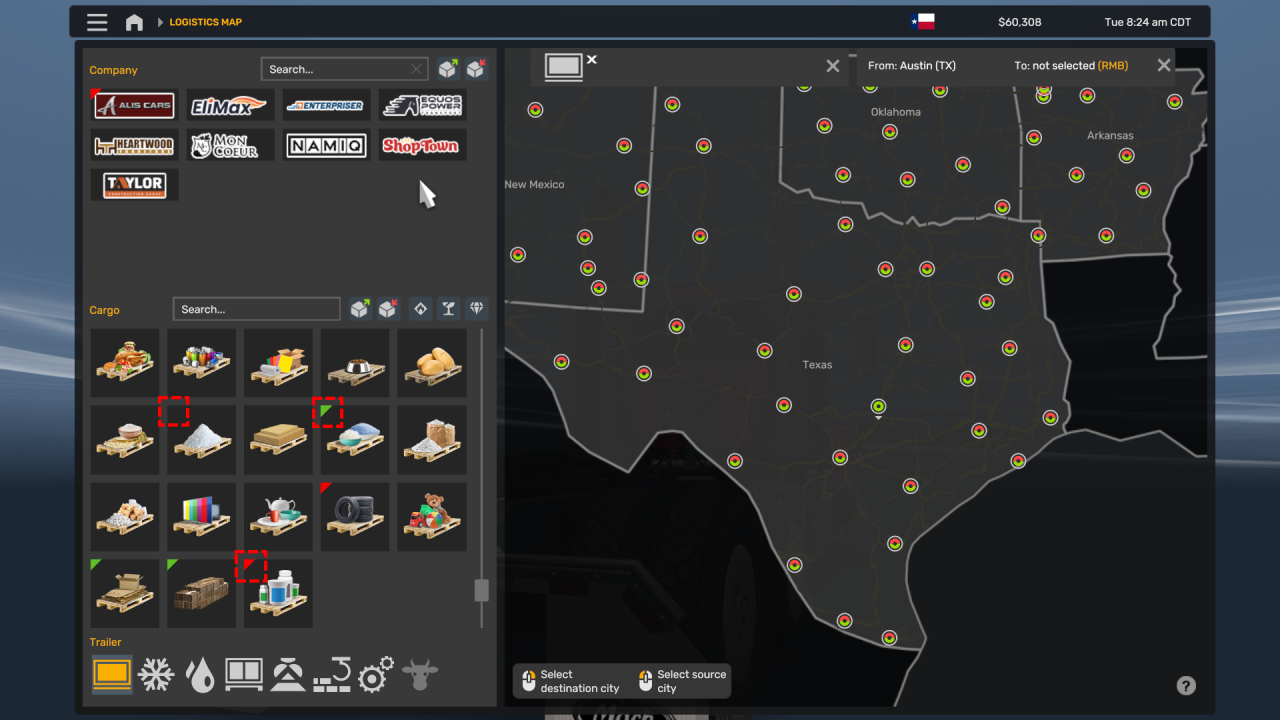
Now is a good time to explain how the Import/Export Icons work on the cargo blocks and what they signify:
- Green Bookmark: Indicates Export Cargo Only. Cargo with this icon is always available for exporting to other locations. Ideally, aim for cities with green icons for your preferred cargo type to ensure consistent profit.
- Red Bookmark: Represents Import Cargo Only. This is cargo being brought into the city and cannot be exported from it.
- No Bookmark: Means the cargo can both Import and Export, but availability may vary.
For example, in Austin, Texas, fragile cargo is limited and may not always be an option. In such cases, drivers often work with other available cargo types. This variability can significantly impact profits, which has been evident in my drivers’ performance in this save.
Step 12: Trailer Upgrades
However, there’s a catch:
- State Restrictions: Some states don’t support all types of articulated trailers. When you go to buy a new trailer from your garage, you’ll receive a warning if the state doesn’t support it.
- Trailer Compatibility: Not all trailers can be upgraded to articulated versions, so in some cases, this won’t be a viable option for boosting profits.
Step 13: Second Garage
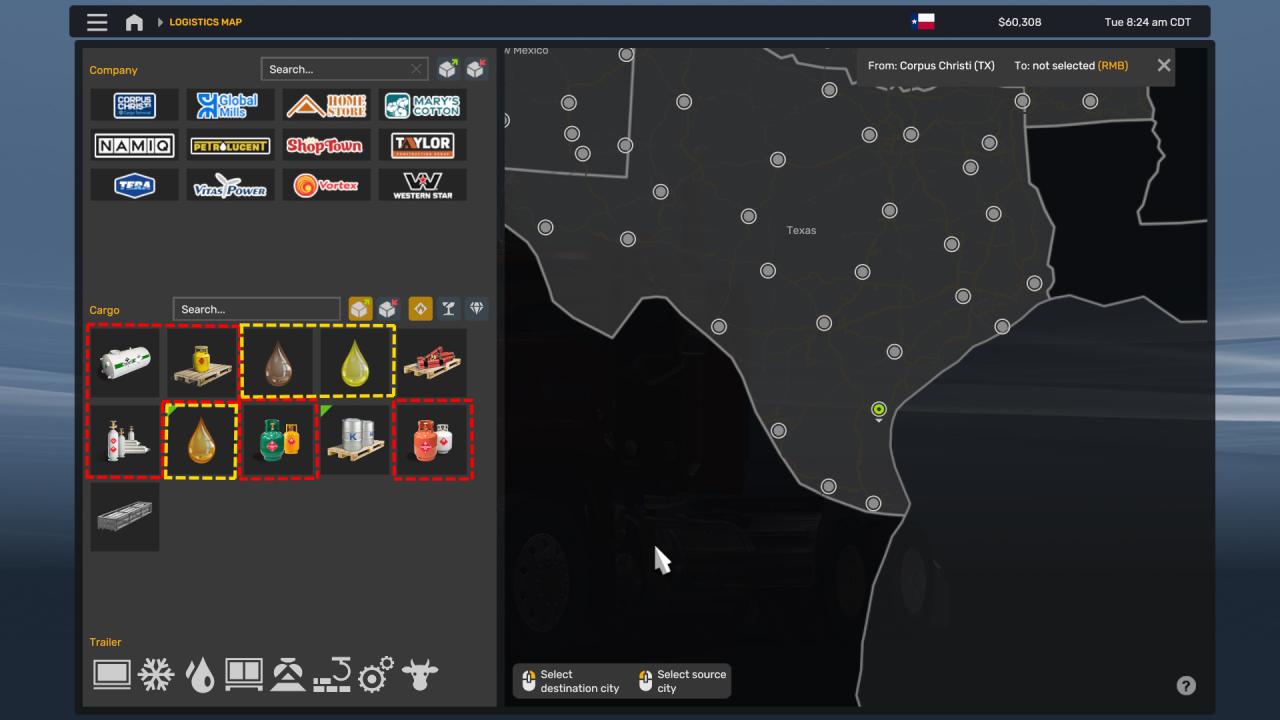
As you can see in the boxes I’ve marked, gas types are outlined with red dotted lines, and fuel types are outlined with yellow dotted lines. We definitely have some export options available in Corpus Christi, Texas, so I went ahead and purchased the garage. Now, all that’s left is to get a trailer and driver to get things up and running.
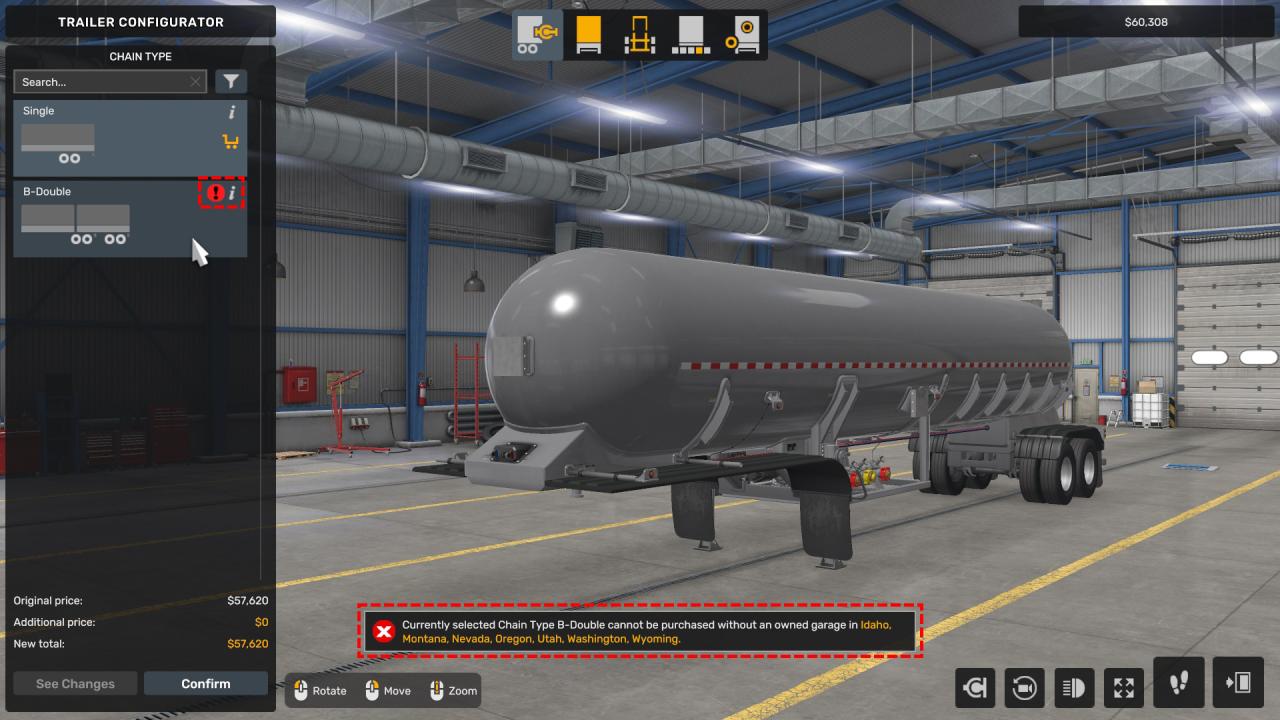
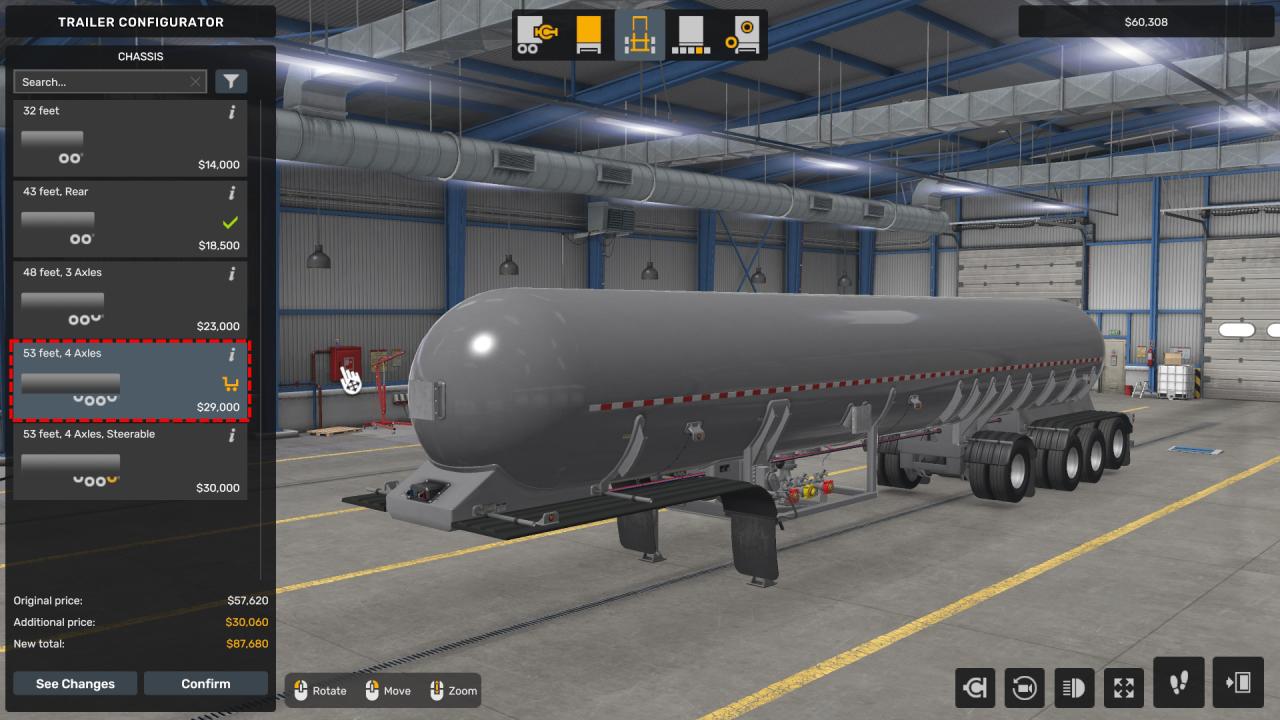
Unfortunately, articulated trailers aren’t supported for the gas trailer in Texas, so I’ll settle for a 53-foot long gas trailer instead, which will work fine for now. I still need to find a driver, though. Rather than spending $30,000 on the premium 53-foot trailer with turnable rear wheels, I’ll opt for the $29,000 version. There’s no real benefit to the turnable wheels for the NPC driver, so I’ll save that $1,000 and use it to hire a driver, which costs $1,500 each.
I got lucky while searching for a driver and found one with explosive and gas hazmat training, along with long distance skills, which will be perfect for our new garage. Even better, he’s already putting the trailer to good use—he’s hauling propane at the moment, which is great news!
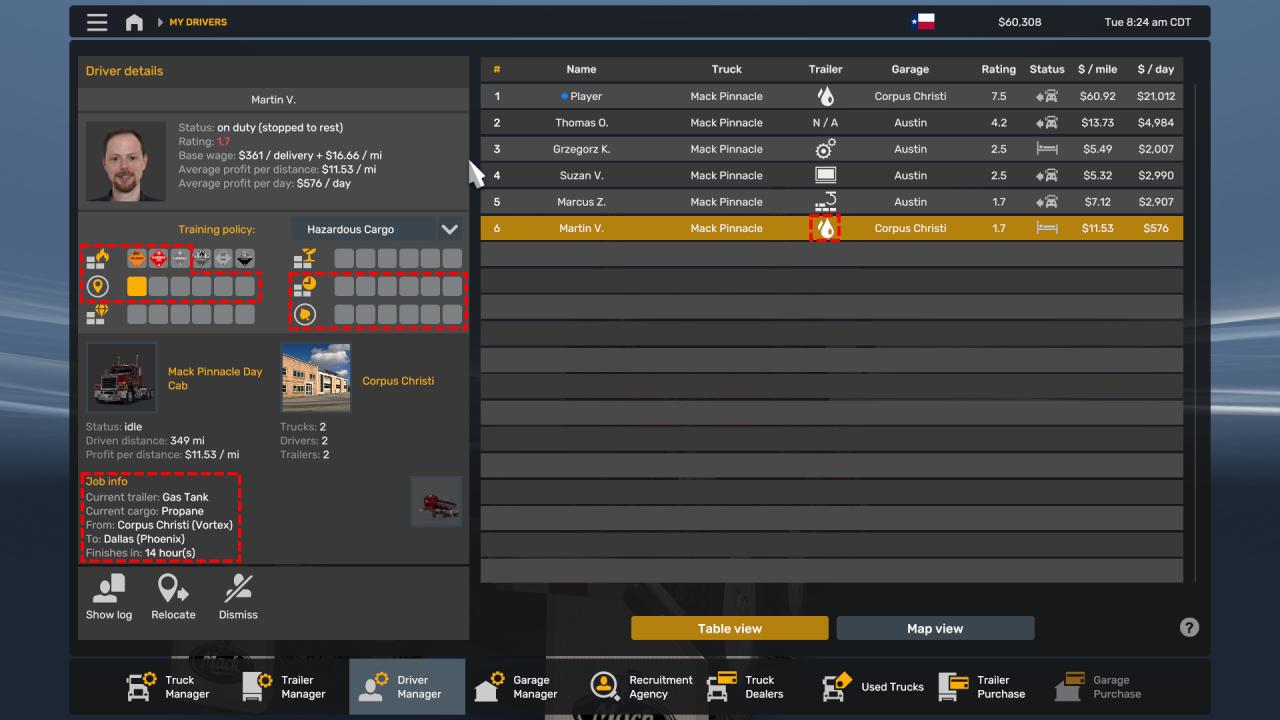
I will focus on upgrading his hazmat skill to fuel, then maxing out long distance, just in time delivery, and fuel economy for jobs where no return trip is possible.
Conclusion
With the relatively new tool for viewing city imports and exports, it’s become much easier to maximize profits based on the cargo being shipped out. I hope this guide has been helpful! Feel free to share any strategies you’ve used or if I’ve missed anything. I’ll do my best to improve it when I have some time.
