The S.H.A.R.K. boss fight in Tribe Nine is often cited as a challenging early hurdle for players. This guide aims to provide a comprehensive overview of the boss’s patterns, recommended team compositions, and strategies to help you navigate this difficult encounter.
Prologue
Tribe Nine has this interesting mechanics where you’ll see where other players have died. Some cases are weird since is against a random mob, and others understandable since is a tough enemy guarding a chest.
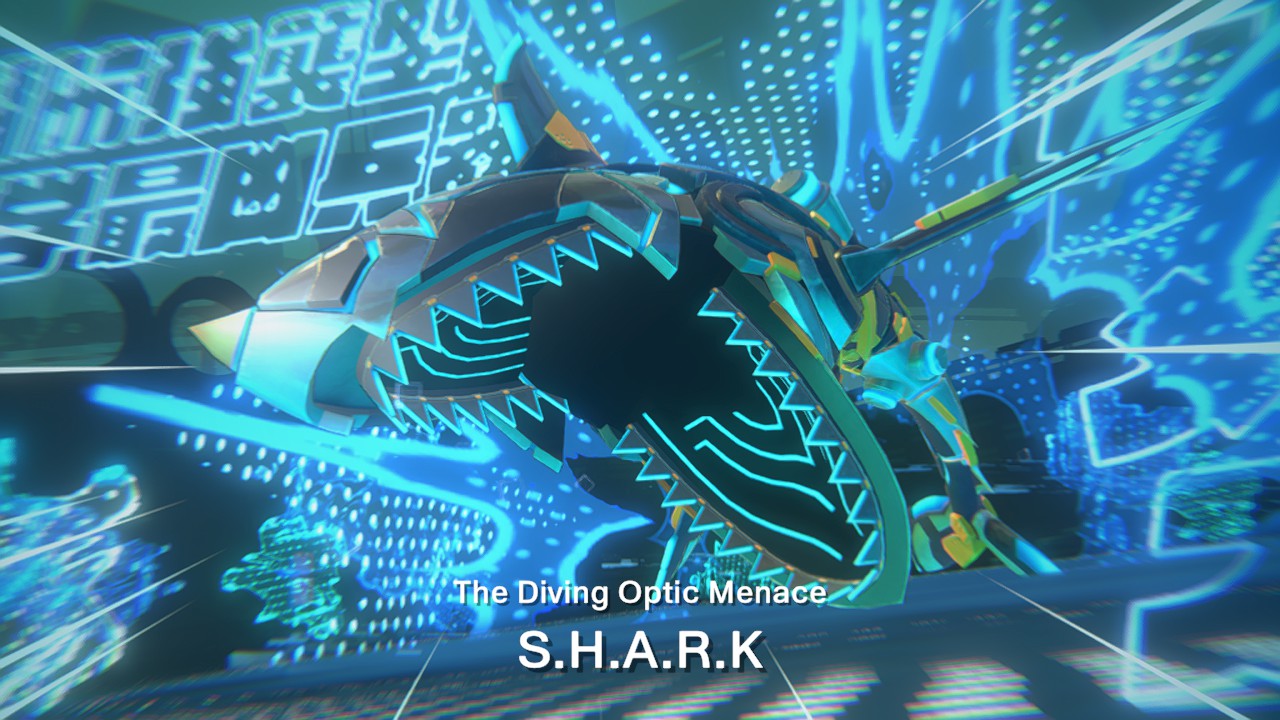
Then there’s the shark.
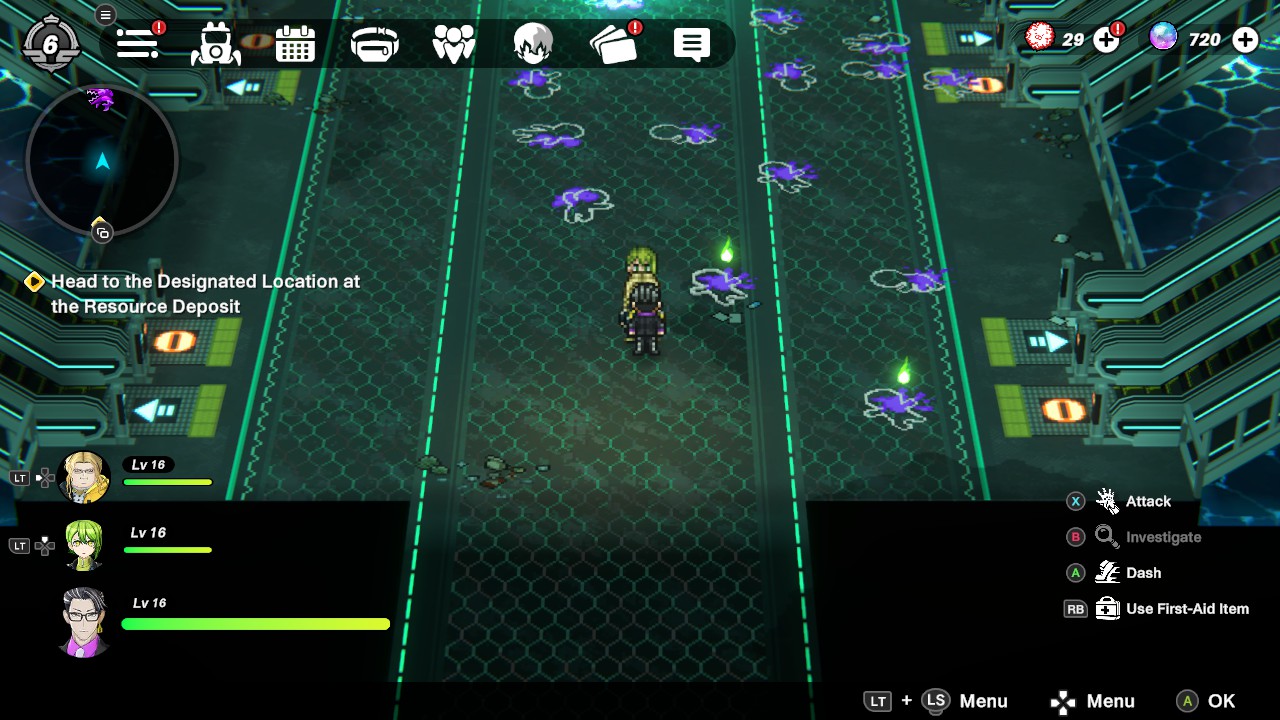
Boss locations will most likely be as piled as this, maybe even more. But since Tribe Nine came out a few weeks at the time of writing this, a lot of players are having a rough day with this big feesh.
I did various retries, so is not like I am saying this is actually baby dark souls. Given is very early game and still figuring out builds and teams for bosses like these, most players will go unprepared. On the bright side, after a few minutes checking this boss and given there’s no other guides for this current issue (Aside terrible gacha rates and scarce free pulls), I’ll give you a quick rundown on how to deal with this enemy.
The Team
First of all, I am playing with the same team the moment I got these characters together. So there might be better alternatives (I struggle building Tension most of the time). But I am just gonna give you two key aspects to have on mind for the fight.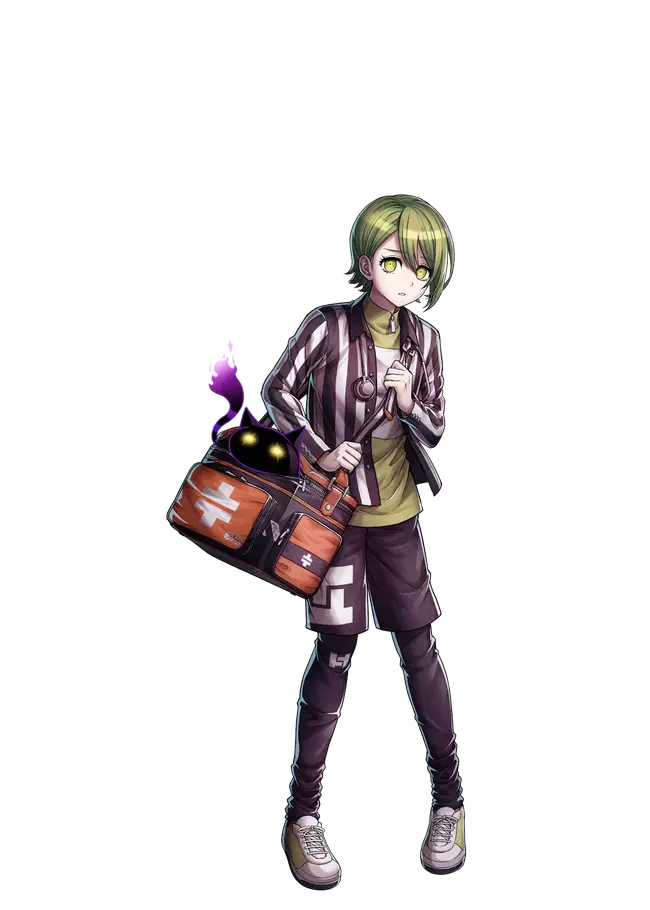
Koishi is given for free at the beginning of the game, and is the healer of your team. Sure the heal meter is very slow, but given that provides an almost full heal to the entire party it will save you from several clutches. Be aware that the CPU won’t heal you the moment you are at low health, so you still need to pay attention for incoming attacks until his skill activates.

Yutaka is a long range attacker that only needs to keep firing big beams as the enemy often goes towards your teammates. THIS PART IS IMPORTANT, as allows you to keep damage going while your party tanks attacks and/or distracts the boss. Make sure your partner(s) are tanky enough however, and be aware that the shark will still go towards you every now and then.
You can also go with Semba for the same approach, and any other long range characters that might come out in the future.
Fighting the Shark
First of all, you can retry the fight as many times as you want by doing so through the pause menu. So if you are being decimated by this boss in one way or another, don’t hesitate to start over as depending of your characters might not be enough to finish it off. This also counts for the rematches, which can be used to farm EXP and items.
Your main goal is to force the shark do long range attacks, as they are the easiest to avoid as well send tons of damage due their long animations. This is why I recommend Yutaka/Semba as your main DPS and player character, as you can keep enough distance so either focuses on the CPU characters, tries a ranged attack, or gives you plenty of time to prepare when it gets closer towards you.
Be EXTREMELY AWARE that some of the shark’s attacks will slow you down considerably. This can make evading way harder to execute, so try to have your counterattack perfectly timed.
So here’s the many attacks of the boss and how to deal with them:
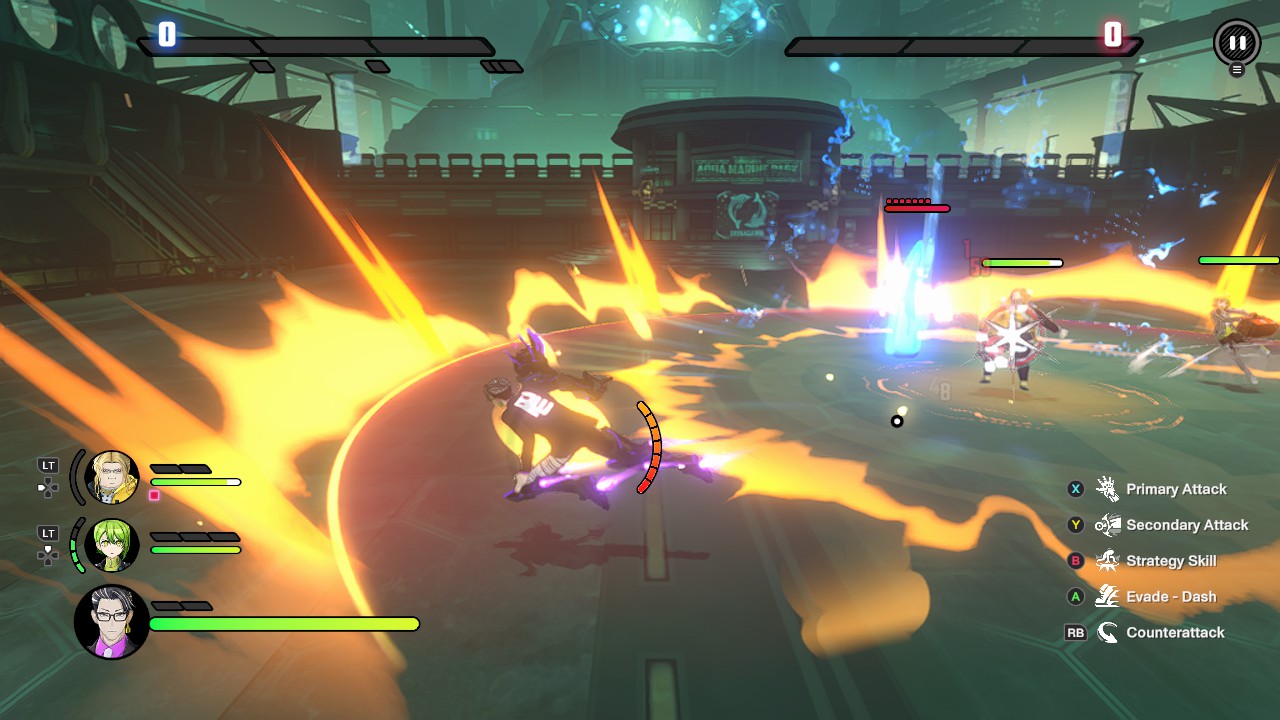
The VERY first thing the shark will do is zoom towards you with its fin, while leaving ripples in the area. This will be a common attack for most the fight for the shark approach you, and aside of the very first one (Since you can rarely see it and was right after the cutscene) is easy to predict as the fin will suddenly glow, being the exact moment to dodge it.
After this attack, or if the shark is close enough, it might deal THREE chomp attacks and ONE tail attack. Be ready to avoid them, as consecutive counters can become tricky depending of your skill. This attack becomes REALLY DANGEROUS if there’s ripples and/or follows with fin attacks, as might leave you stuck between knock out and standing animations as keeps dealing damage until you are defeated.

The beam attack is the easiest to deal with. Just evade to the right, and keep the damage going for free due its slow spinning animation. Just be aware that depending of your location and the shark’s you might be cornered in a wall, but depending of the direction its aiming shouldn’t be an issue.
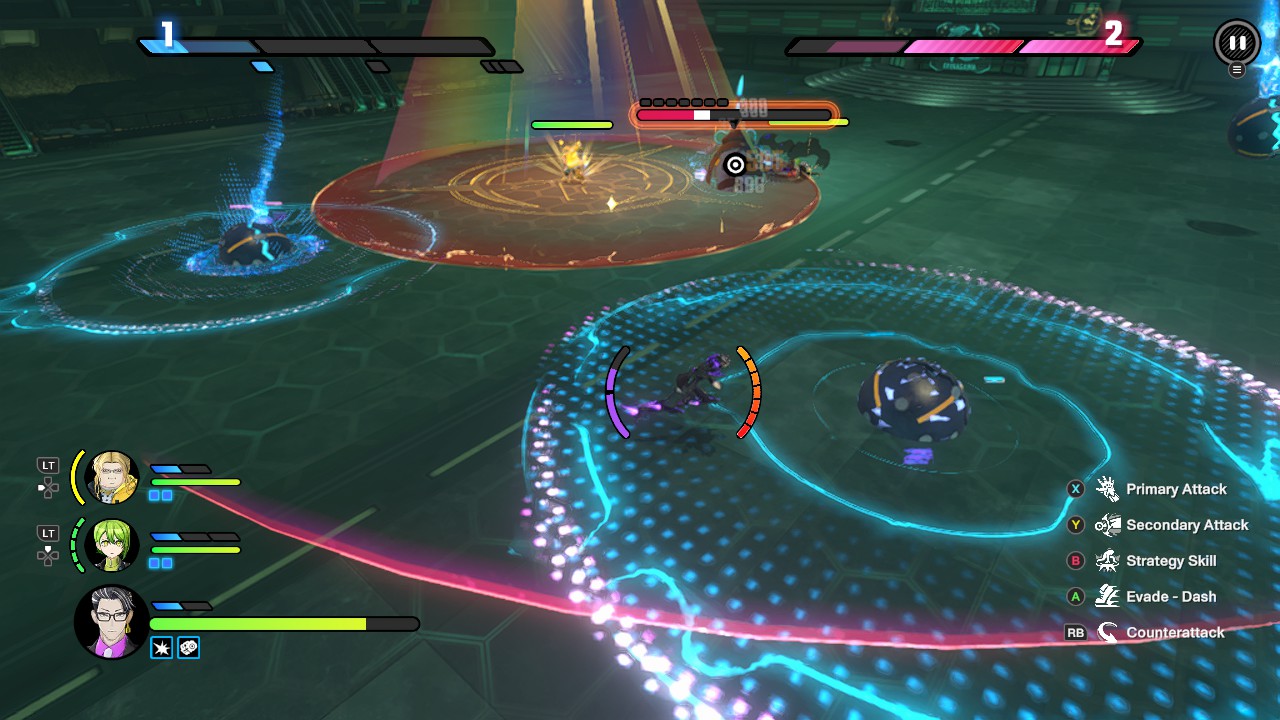
The bad news is that the balls are a PARTY INSTAKILL if you stay in the area of explosion. The good news is that is the easiest attack to deal with, and the best opportunity to push tons of damage. All you have to do is to get behind a ball, as the shark will rush towards you and swallow the ball. You have plenty of window to COUNTERATTACK the moment the ball is in its mouth, knocking the shark and stunning him for several seconds. Is also the best moment to build tension and ultimates.
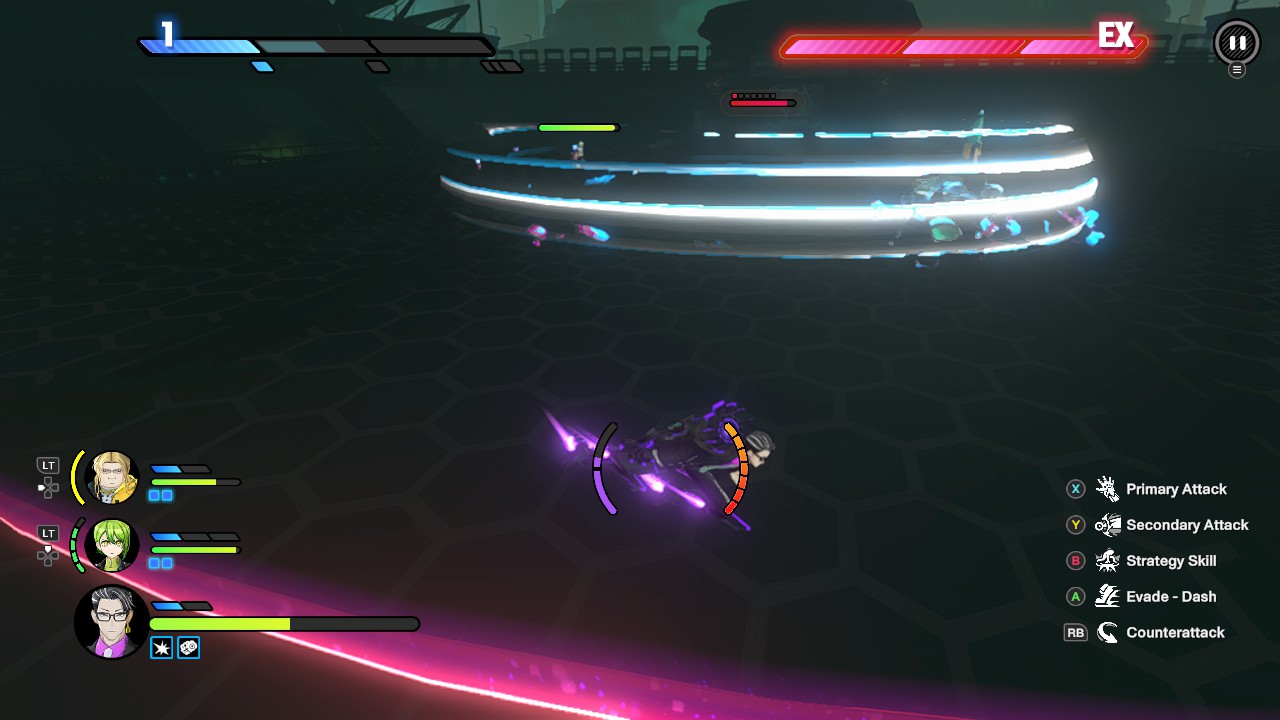
At times the shark will start swimming in circles, spawning ripples in the floor. GO AWAY IF THE SHARK DOES THIS ATTACK WHILE YOU IN THE MIDDLE OF THE ANIMATION as might trap you and start chomping you relentlessly. The ripples can be annoying as they’ll start changing spawn location, but you have enough time to say away from the blue areas before they appear.
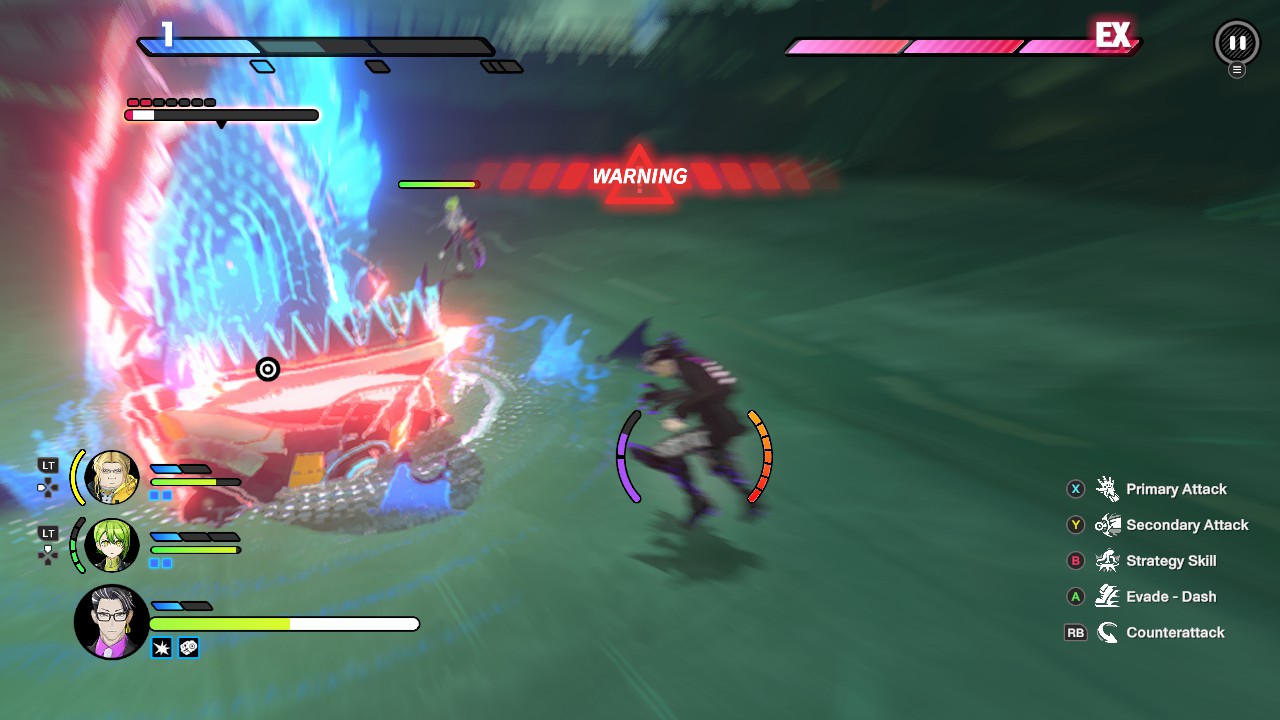
When the shark has lost half of its health, it will start going underground as the music fades away. THIS IS ITS TOUGHEST ATTACK, as you have a very small window to evade. When you see the WARNING get ready, and if you see a circle spawning under your feet (Or nearby) for half a second DODGE. However, the shark will then follow with a splash attack, so you still have to avoid a second time. Your teammates will also yell at you when to dodge for extra assistance.
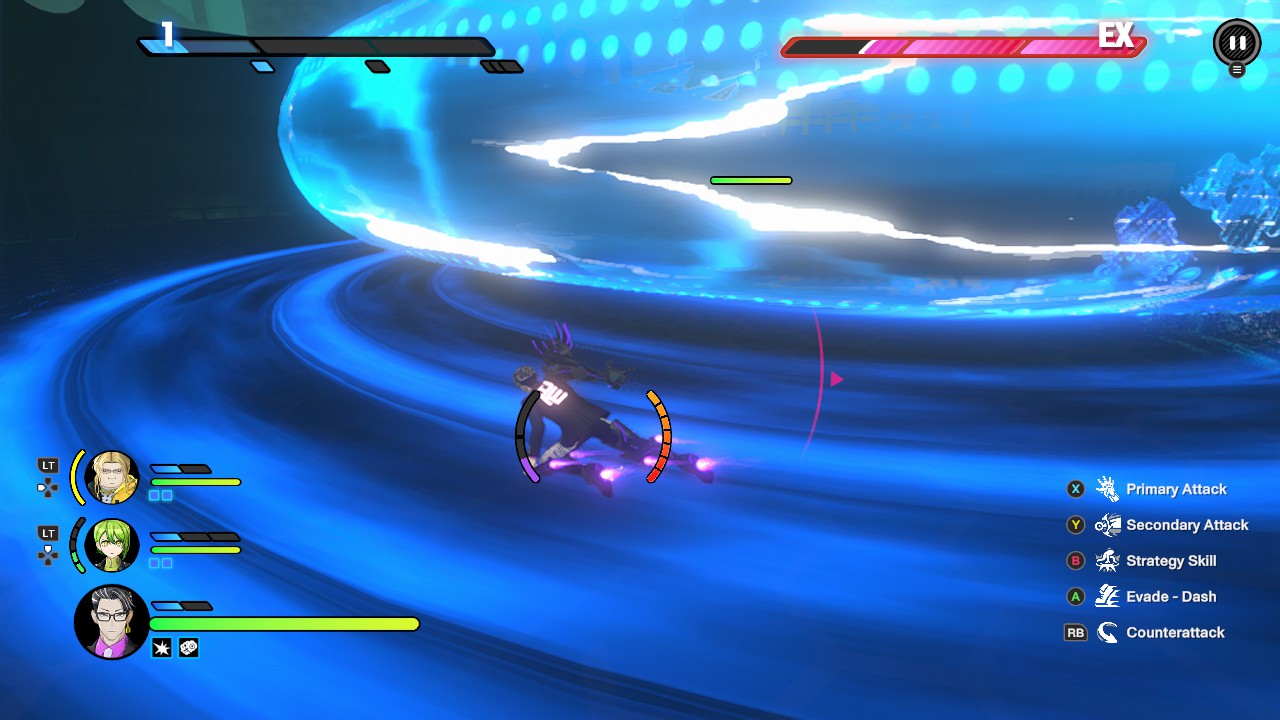
The shark’s ultimate attack is similar to the one where swims in circles, but will create a giant whirlpool as well several big ripple spawning zones. The shark will stay hidden inside the whirlpool as throws itself towards you at maximum speed. The WARNINGs will tell you to be ready, but also your teammates will tell you the moment to dodge. Do so while also staying away from the ripples’ locations.
Conclusion
Personally is not the first time the first boss fight in a game is one of the toughest, but while this boss can deal insane damage with a few attacks is easy to predict most of its moves after a pair of tries. Granted, I played a character that stays away for most of the fight, but is my strategy as the shark is forced to keep shooting balls and beams more often.
Probably Tribe Nine hides stronger bosses and enemies in the future, but the playerbase will be more prepared with better builds to toughen up. The shark is indeed a scary first encounter to what the game offers, but like in any game with strong bosses is all about doing a few tries and figuring out patterns.