
This is a complete rundown of every Artifact in Clicky Islands — all 45 of them — grouped by what they actually affect so you can find the ones that matter for your build. Whether you’re chasing a specific click-boosting effect or just want to know what the rarer ones do before you commit to a loadout, this should save you a lot of guesswork.
Fair warning before you scroll: this is a full list, so consider that your spoiler alert. I’ve tested most of these myself and added notes wherever the in-game description was vague or where something behaved differently than I expected. Where I say an effect “seems” to work a certain way, that’s my honest hedge — it’s what I could confirm in testing, not a guarantee. Things get patched, so treat the edge cases that way.
Everything below is ordered by effect category, then rarity, then alphabetically within each group. If you spot something that’s off, corrections are always welcome.
Click-based Artifacts
These are the ones that change how clicking feels and pays out. If your whole strategy revolves around manual clicking, this is your section.

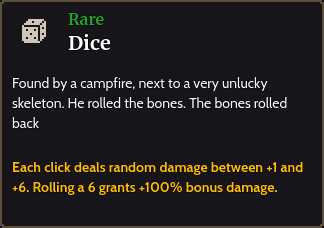
This one affects all clickable resources, buildings included. Ruins are the odd exception — they won’t play the sound or show the icon, but they still seem to gain the bonus from rolling a 6. The extra damage appears to come through as click strength.
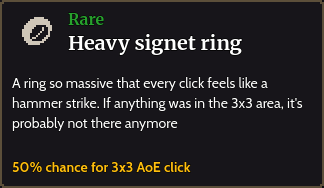
The reach here covers any and all resources, buildings, and even the campfire.
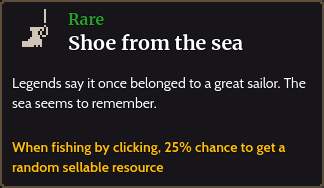
Clicking the Fisherman’s Hut counts toward this one. The possible resources you can pull include Wood, Stone, Clay, Cider, Gold Apple, Iron Ring, and Pearl. Upgrading your island’s stage doesn’t seem to change which resources are available, so don’t expect progression to unlock a better pool.
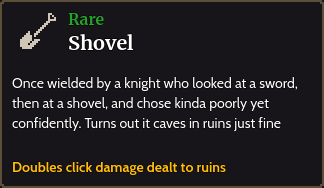
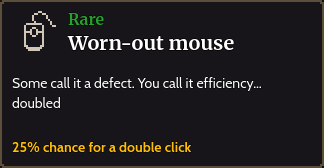
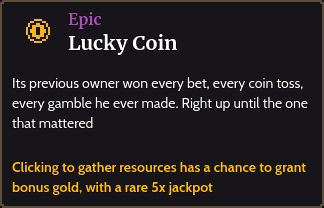
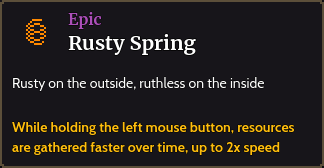
Autoclicking does count toward this. It hits all clickable resources, buildings and Ruins included.
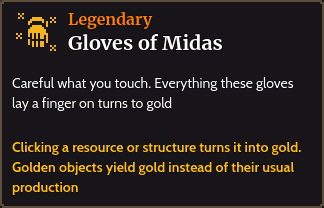
There’s a catch here that’s easy to miss: autoclick won’t turn a resource to gold — you have to click manually for the transformation. Gold resources also need to be connected to a road before a unit can be assigned. Only gold resources can be autoclicked, along with Ruins and Treasure Chests, and neither of those can be turned to gold anyway. The Fisherman’s Hut can go gold and then be demolished; Fishing Spots can’t be turned gold and can’t be autoclicked at all. Apiaries can be gold, and once they are you can demolish them and leave the tile empty — that looks like an oversight to me rather than intended.
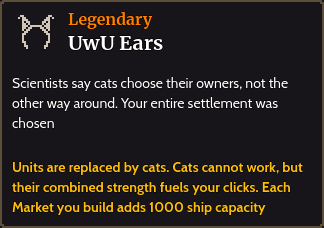
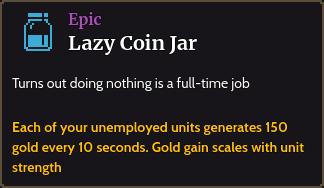
Pals also become tameable cats under this effect, but Golems stay Golems and remain assignable. The Lazy Coin Jar seems to generate gold for a few of the initial cats but not all of them. Since the cats are unassignable, the All-Seeing Crown does nothing for them. The Brain Eating Parasite appears to stack with this, though the cats still won’t work.
Unit-based Artifacts
If you’re leaning on automated workers instead of clicking, these are where your value sits.
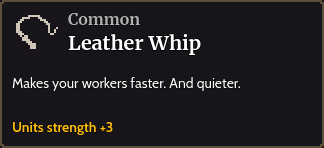
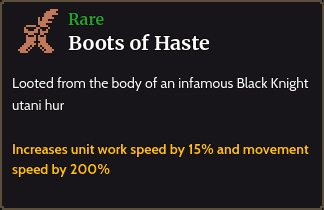
With these boots, units can cross a full island in about 10 seconds — noticeably faster than without them.

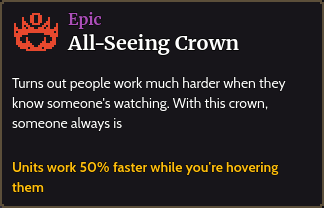
Units gain work speed while your cursor is over them, and the boost lingers for roughly 8 seconds after you move the mouse away. One thing that tripped me up: the Heavy Signet Ring doesn’t cause this — only the tile your cursor is actually over gets boosted.
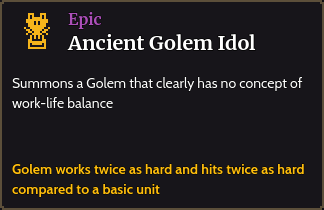
This summons one extra Golem right from the start. It doesn’t boost any Golems though — I misread it that way at first myself.
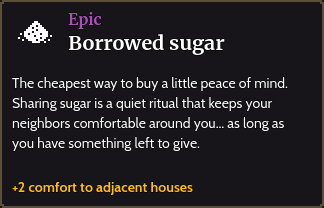
Comfort lowers unit spawn time and food cost while raising unit strength. Houses have to be connected to the road to count — corners don’t, only houses directly above, below, or to the sides. This appears to grant its +2 just once per house no matter how many extra houses you add.
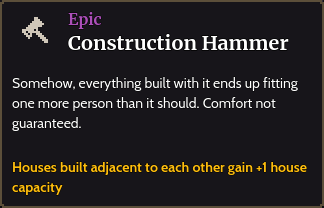
Same geometry rules as above: corners don’t count, only houses directly above, below, or to the sides. This one grants +1 once per house regardless of additional houses.
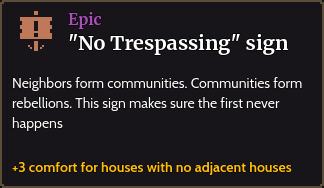
Comfort can’t drop below its minimum. The bonus seems to scale relative to your total house count — it gradually decreases for each pair of adjacent houses. Again, corners don’t count; only houses directly above, below, or to the sides.
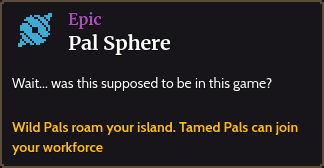
Pals behave exactly like basic units here, as opposed to a Golem’s doubled strength.
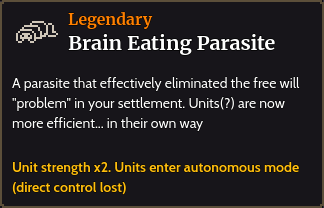
Units assign themselves, but roads are still required, and they don’t seem to reassign themselves much. Pals are affected — doubled but unassignable. Golems aren’t affected — not doubled, but still assignable. The All-Seeing Crowns still boost units accordingly.
Production-based Artifacts
These change what your buildings and gathering nodes put out. A few of them have fairly strict limits once you read the fine print.
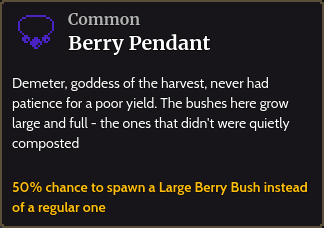
Large Berry Bushes produce 2 Berries compared to the normal Berry Bush’s 1.
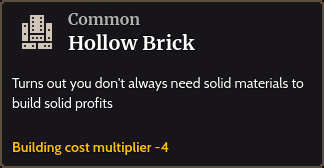

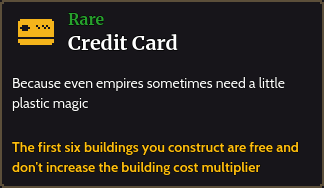
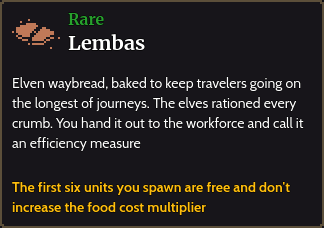
Buildings are free up to 6, even if you repeatedly demolish and rebuild them. The 7th building on the island is where costs start kicking in.
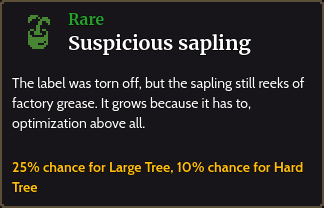
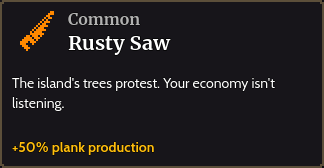
Normal Trees produce 1 Wood, Large Trees produce 1.5 Wood, and Hard Trees produce 2 Wood.
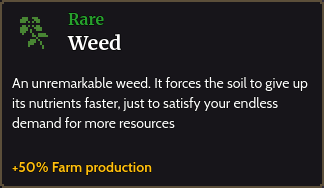
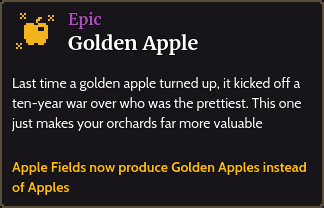
Golden Apples can’t substitute for regular Apples, so there’s no Cattle farm, no Cider, no jam, nothing like that. They can only be sold — worth knowing before you plan a build around them.
Unlike the unit-based house effects, corners do count here — and the effect stacks.
Spawned Xs might land a tile or two inland from the water. You don’t have to pick up the previous chest for a new one to spawn, and it doesn’t stop at 10.
Miscellaneous Artifacts
The leftovers — except several of these are genuinely interesting, and a couple change the map in ways you’ll want to know about.
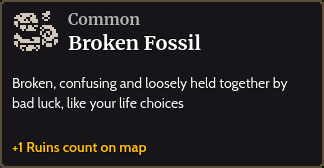
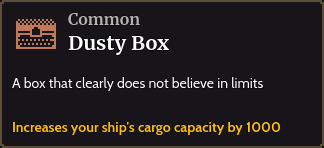

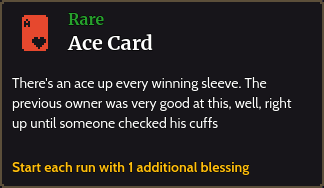
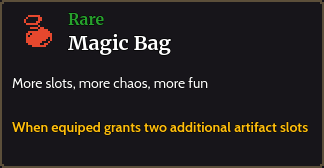
You can’t exceed the maximum 10 Artifacts with this.
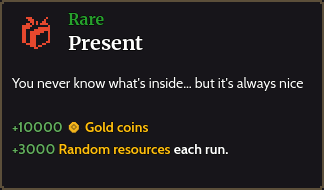
All starting resources collectively total 3000. The possible resources seem to include Wood, Planks, Rope, and Straw.
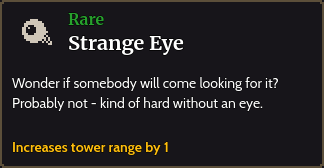
To be precise, it increases the radius by 1 tile.
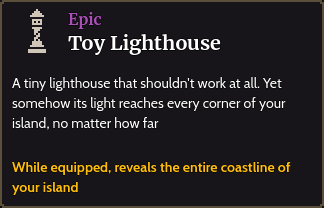
This doesn’t reveal along the mountains, though — only the coastline.
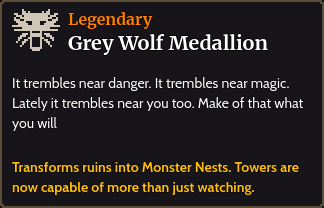
Monsters spawn infinitely from the Nests and temporarily stun units, knocking them out of working or being assigned. Tower buildings shoot nearby monsters, which drop gold on death — and only Towers can kill monsters, clicking won’t do it. Nests can be assigned for destruction, and destroying one produces a Fossil, click strength, and unit strength.
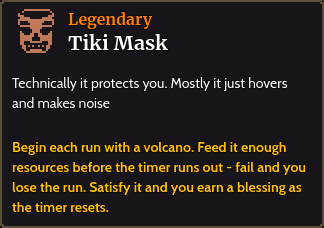
The timer shows up as a bar at the bottom of the screen. You get a maximum of 10 minutes to fill the volcano, though each fill restores up to 3 minutes of time. The first fill seems to take 2,000 resources and doubles from there. Each fill earns you a blessing. If you fail, you’re kicked to the summary for leaving the island, but you keep the Fossils and Reputation you earned — so a failed run isn’t a total loss.
Conclusion
That’s the full set of 45. The two things I’d tell anyone starting out: read the requirement lines carefully (road connections and house positioning catch people constantly), and don’t assume a big-sounding effect scales the way you’d expect — several of these cap out once per house or reset on a fixed limit. Everything else is yours to experiment with.