Tips for beating the wave mode without too much trouble and unlocking the 3 available skins.
Before starting
How it works:
- If Yoshiro dies, it’s Game Over and you’ll have to start again.
- Structures are repaired instantly.
- The thief can also steal boxes at night.
- Crystals are obtainable during the day from plants on the map, by completing a wave (if you choose them), and by killing all types of enemies.
- You can obtain items by offering crystals to shrines, completing waves (if you choose them), and by killing certain enemies: mimics, bosses, and mini-bosses.
- If you already have the maximum number of Tsuba Guards or Mazo Talismans, buying another one will allow you to choose which one to replace. If you change your mind, your choice will be discarded and you won’t receive a refund.
- Class levels, once chosen, cannot be undone like in story mode. Class levels are unique, so if you unlock roles in later waves, they’ll be on par with the others.
[!] General advice for the mode in general
I’d suggest spending a maximum of 150 crystals in the first round, hoping for the thief or more units.
If you find the thief and open the chests (they’re not always available on the first map), you can afford to spend a bit more.
Once the night phase begins, focus on the mimic — the walking chest. It won’t run away until you attack it. You can knock it down with a charged shot and then land a critical hit. Before that, give it 2 or 3 light hits, then land the critical, and immediately follow up with more attacks. That’s the fastest and safest way to avoid wasting time or letting it escape.
On certain maps or against specific bosses, it’s best to keep your villagers moving. Use the group command to move them away from poisonous pools or area attacks.
Since resource management is important, the thief gives you a black box, letting you choose from talismans, orbs, or power-ups you wouldn’t have otherwise.
During the day, your first priority should be to locate the crates, and in the meantime, release animals (for rations) and plants (for crystals). Their locations are fixed, so if you replay, you’ll know where to go.
Rations are essential if you don’t have healers yet. On each map, release every animal you can to stock up. If needed, you can also get more from shrines or crates.
The minimum recommended number is two. Get them as soon as possible so you can save more rations for yourself or allies during critical moments.
Don’t rush to level up classes immediately. Progress without neglecting your overall build. Same with the number of villagers: try to maintain variety in their roles. Every role matters — place them wisely.
Don’t underestimate these items. In later stages, when you face powerful enemies, they can make a huge difference. Always keep some crystals on hand for the shrine so you can grab one or more. Of the three types, the green one may be the least useful.
Don’t put everything into one aspect. Try to have one guard for defense, one for offense, and one for utility. Do the same with talismans.
Easy/Normal Mode – 1/2° Rewards
Knowing the rules of the mode and the game, my advice is to play the classic way — take advantage of what you already know. Make the most of everything available without wasting crystals or focusing only on buying class levels.
There’s no specific advice for villagers or builds: just level them up toward 20 and unlock as many classes as you can. Priority goes to the thief, so you can gain a resource advantage right from the start.
Read the chapter [!]
Total waves in Easy mode: 10
Total waves in Normal mode: 14
Skins are unlockable by earning points (if you complete the mode, you don’t have to worry — you’ll get the points for sure):
– Points for Easy mode: ~45,000
– Points for Normal mode: ~100,000
Hard Mode – 3° Reward
Since this mode is endless, I can tell you that to unlock the skin, you need a certain amount of points — which you’ll definitely have by wave 17. Read the [!] chapter.
Skins are unlockable by earning points (if you complete the mode, you don’t need to worry — you’ll get them without a doubt):
– Points for Hard mode: ~102,000
________________________________________________________________
More bosses appear in this mode, coming out of Tori portals.
Here’s some general advice for your build:
Talismans should enhance Soh’s attack and increase both attack power and max HP of the villagers.
As for Sword Guards, the most useful are:
- The first is defensive: it creates a barrier at the point of activation
- The second is attack: he unleashes a slash, powerful as lightning, that does a lot of damage in a wide area in front of Soh.
- The third is supportive: by activating it Soh goes into spiritual form, waiting to be reborn. His sacrifice cures all villagers, even those defeated in the bozzolos.
At the time of writing, my maximum wave is 18. To reach it, I used all available roles, but around wave 10 I replaced all close-range ones — like Woodcutter and Archer — with Matchlocks. My setup was:
- 4 Matchllocks.
- 1 Cannoneer,
- 1 Sumo wresteler,
- 2 Shaman,
- 1 Ascetic,
- 1 Priest,
- 1 Sorcerer and
- 1 Ninja.
Using the ragtag tool, I excluded the Sorcerer by pinning him near Yoshiro, while I kept the others moving so they wouldn’t get hit by bosses — while I tried to draw aggro myself. You have to be careful, since it only takes 2 hits (sometimes even just 1) to lose them.
Of course, make the most of your Sword Guards and the Sorcerer’s ability to go all in and try to take the boss down quickly.
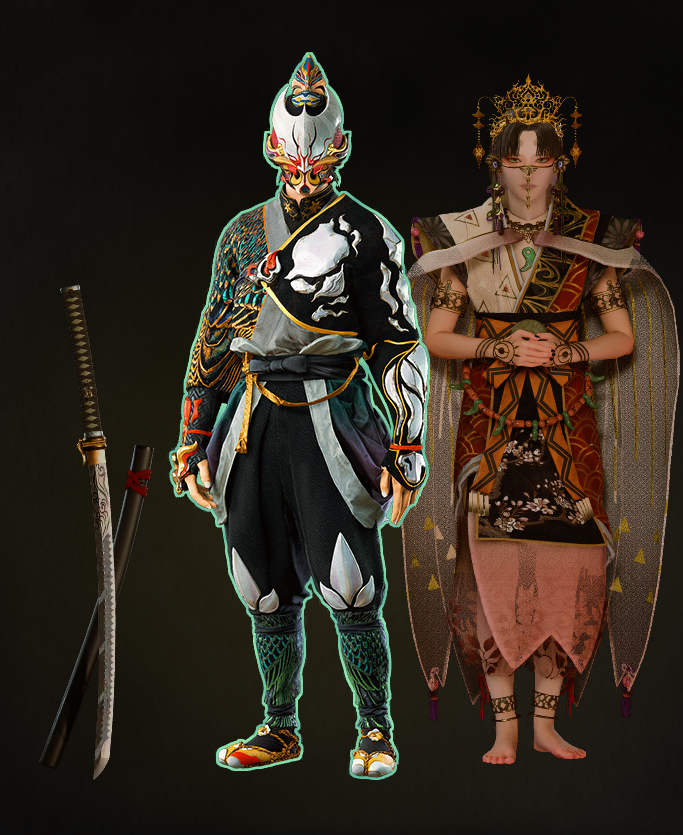
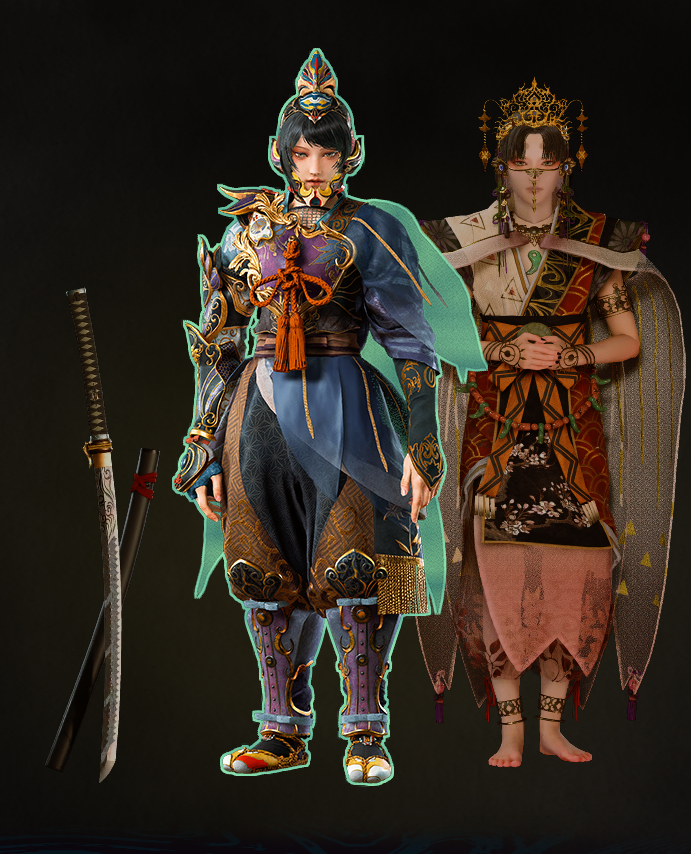
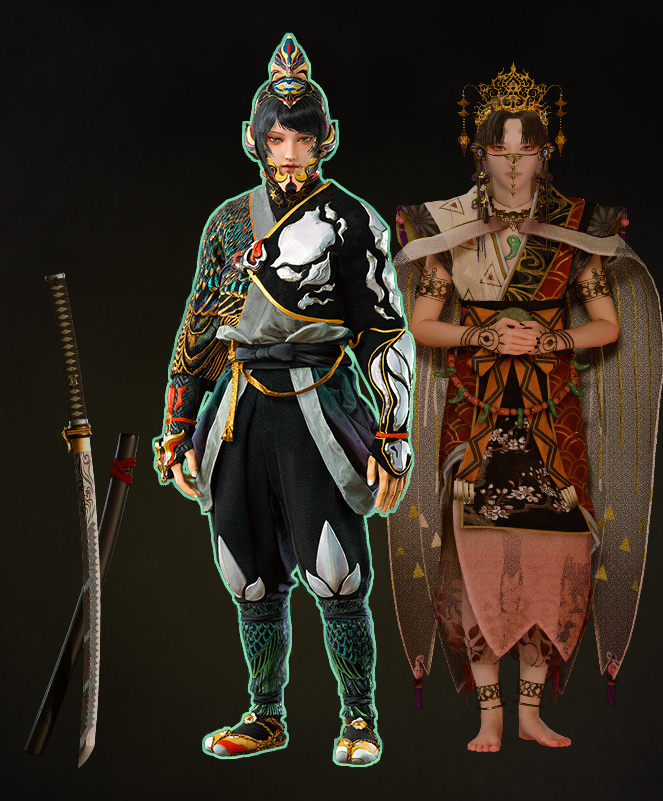
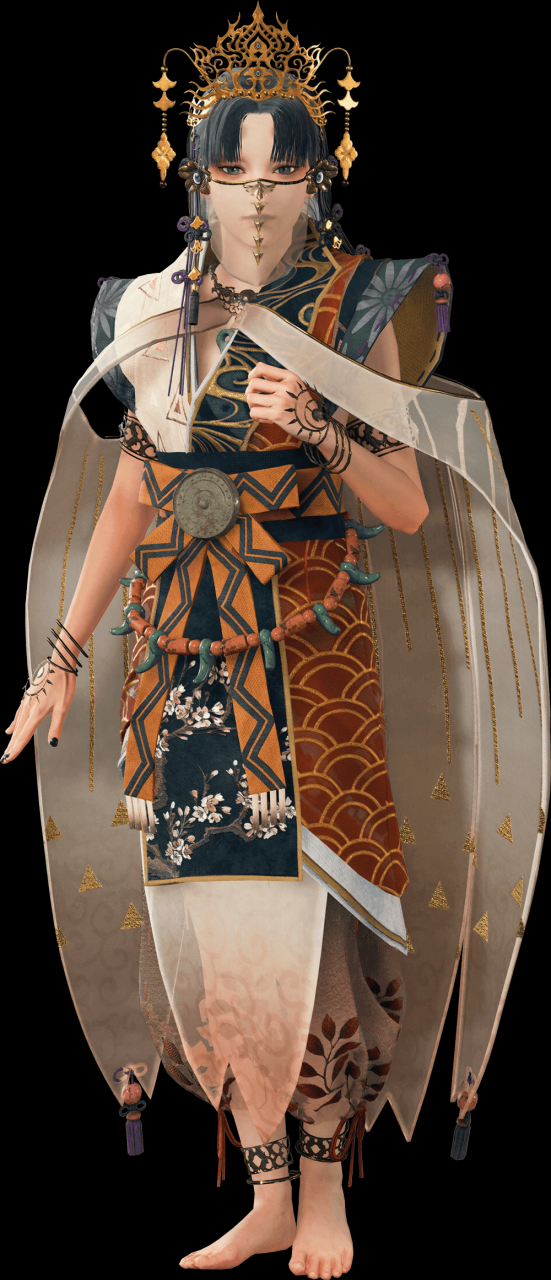
Reward skin (Marked Spoiler)