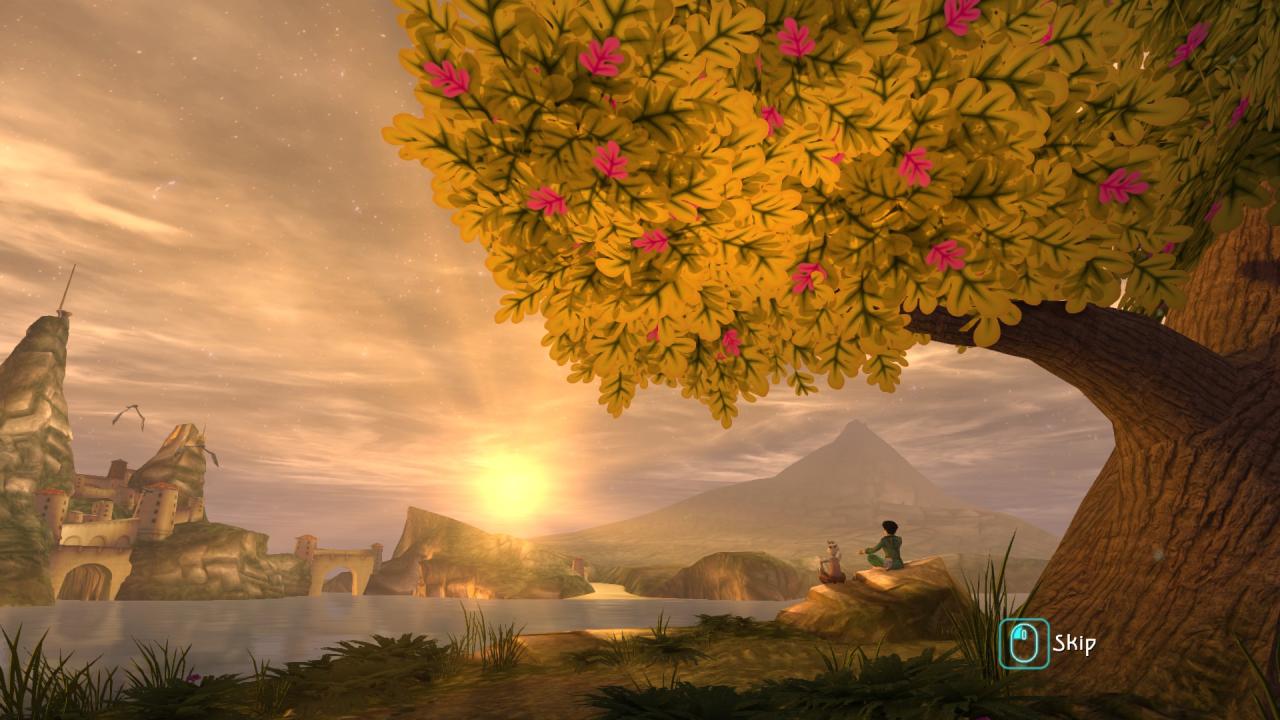
As gaming enthusiasts, we’re always on the lookout for ways to enhance our experience, pushing the boundaries of what our games can offer. In the case of Beyond Good and Evil – 20th Anniversary Edition, one such enhancement is the uncapping of the framerate and the customization of the display resolution. Here’s a step-by-step guide to help you achieve this, ensuring your gaming experience is as smooth and visually stunning as possible.

Introduction
Before we dive into the technicalities, it’s important to note that uncapping the framerate is still in the testing phase. While it promises a more fluid gameplay experience, it may also introduce unforeseen issues. Therefore, proceed with caution and be sure to report any errors you encounter.
Step 1: Uncap the Framerate
- Generate the Config File: Launch the game at least once to ensure the configuration file is created.
- Locate the Config File: Navigate to
C:\Users\USERNAME\Saved Games\Beyond Good & Evil - 20th Anniversary Editionand openBGE.player.iniin a text editor. - Edit the Display Settings: Under the
[Display]section, add the following lines:RefreshRate=240 RefreshRate_4K_PC=240 - Add Time Constraints: At the bottom of the file, insert a new section
[Time]with the following parameters:[Time] MaxDt = 0.2666666666 # max 288 fps, higher is untested, lower works fine. (If you need higher, then the value here is 1 divided by refresh rate) MinDt = 0.0034722222 EnableFixedDt = false
- Save and Launch: Save your changes and restart the game to see the effects.
Step 2: Edit the Resolution
- Generate the Config File: As before, ensure the game has been run at least once to generate the necessary files.
- Locate and Edit the Config File: Open
BGE.player.iniand under the[Display]section, modify the resolution settings to match your desired dimensions:WindowHeight_PC=1080 WindowWidth_PC=1920Replace “1080” and “1920” with the height and width of your preferred resolution.
