The goal of this guide is to walk you through the game and getting every achievement. It does not include every weapon/incense location, but helps you through puzzles and gives a general flow of a playthrough.
General Tips
- Any breakable crate/barrel can contain a worm/centipede, so be ready to stomp on them after you break them.
- Humanoid enemies can hide at specific corner so they can hit you in the face when you walk by. Just be aware of that.
- You can see the name of the current level above your map even if you do not have the actual map on you.
- You can skip cutscenes and door/stair transition scenes by pressing esc.
Tutorial
You obviously can’t do both in the same run, so either finish the tutorial, then start a new game and leave immediately or the other way around. There is no penalty for either of those.
 Graduation
Simply play through the tutorial, then leave the room.
 No Time For That
You can walk out the door on the left immediately after finishing the first dialogues with the cat.
Here is the door if you trouble finding it.
Prologue
Go through the open gate and watch the cinematic, then talk with the servant. After that you can pray at the shrine. This is the saving system of the game. You can also see an option to make an offering. There will be an achievement tied to this. Whenever you find a Ritual Incense, you can use it to increase your maximum stamina or health by five.
Go left through the gate, then follow the path.
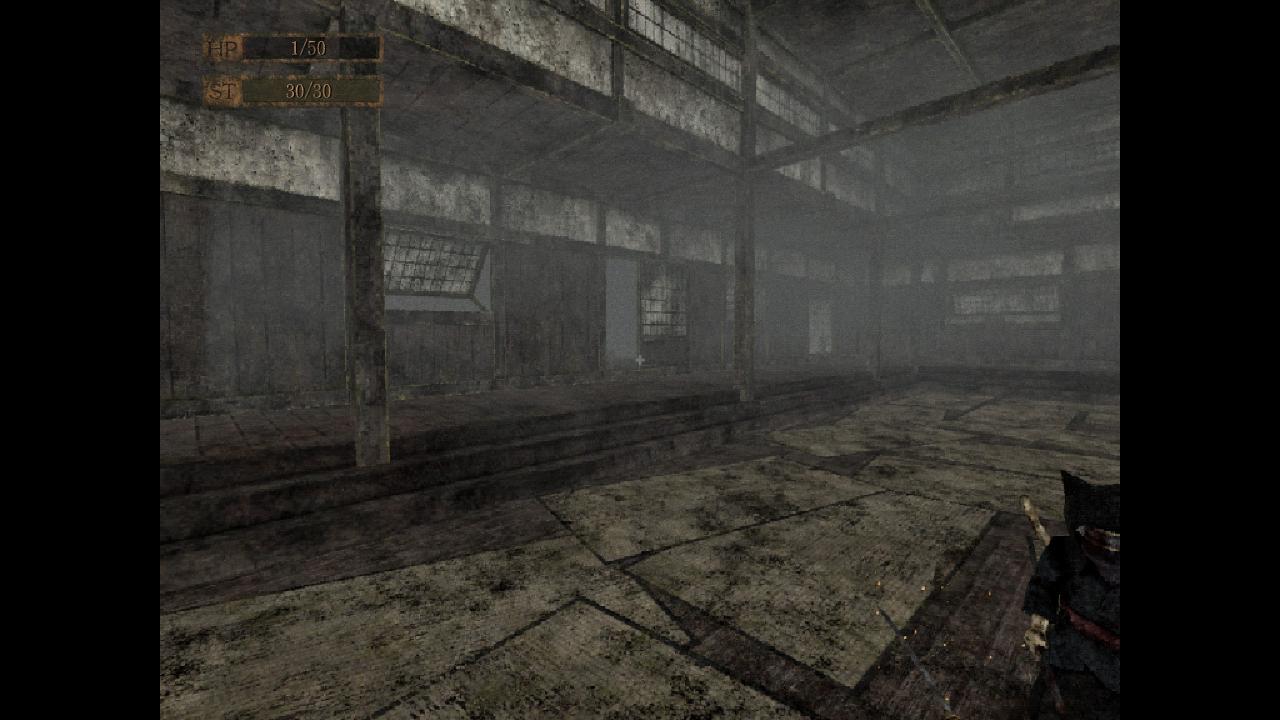
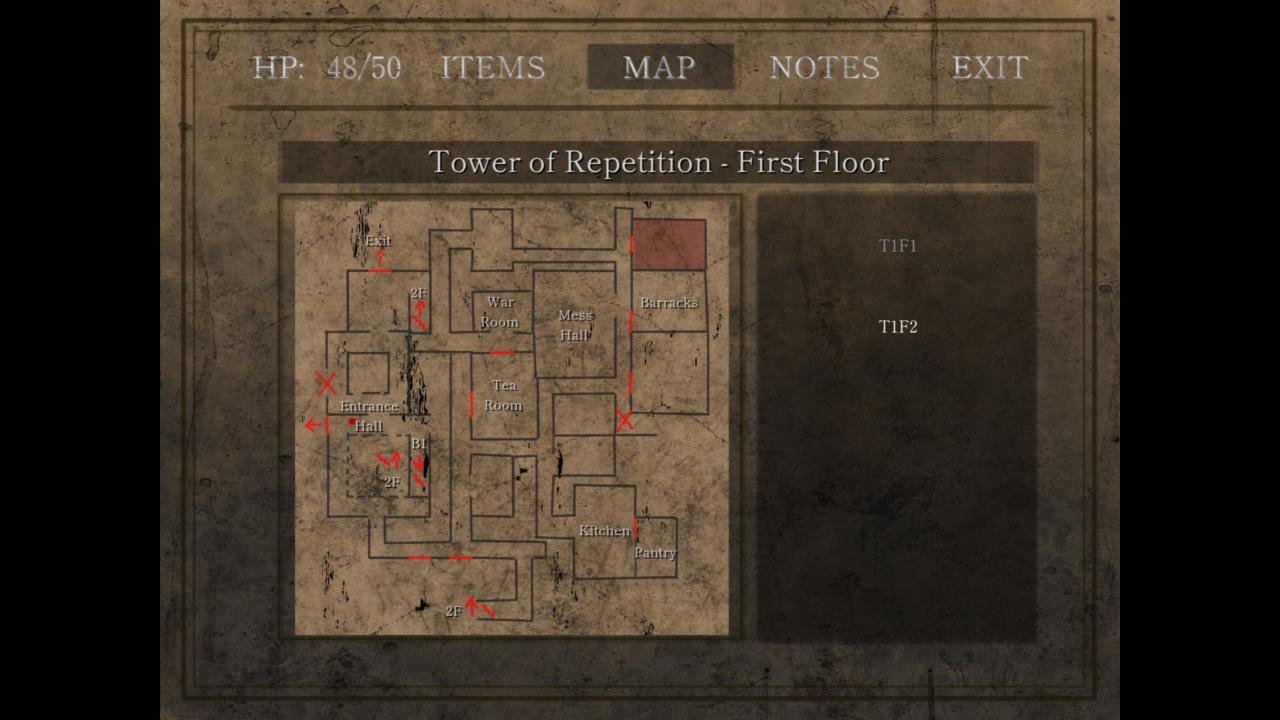
Tower of Repetition | 1/2
 First time
As soon as you enter the door, you will get this achievement.
Don’t forget to pray at the shrine when you enter.
After taking a few steps, the game will immediately call your attention to the door on the left. This will be the exit from this tower. The priest shown will also have an easily missable achievement later in the game.
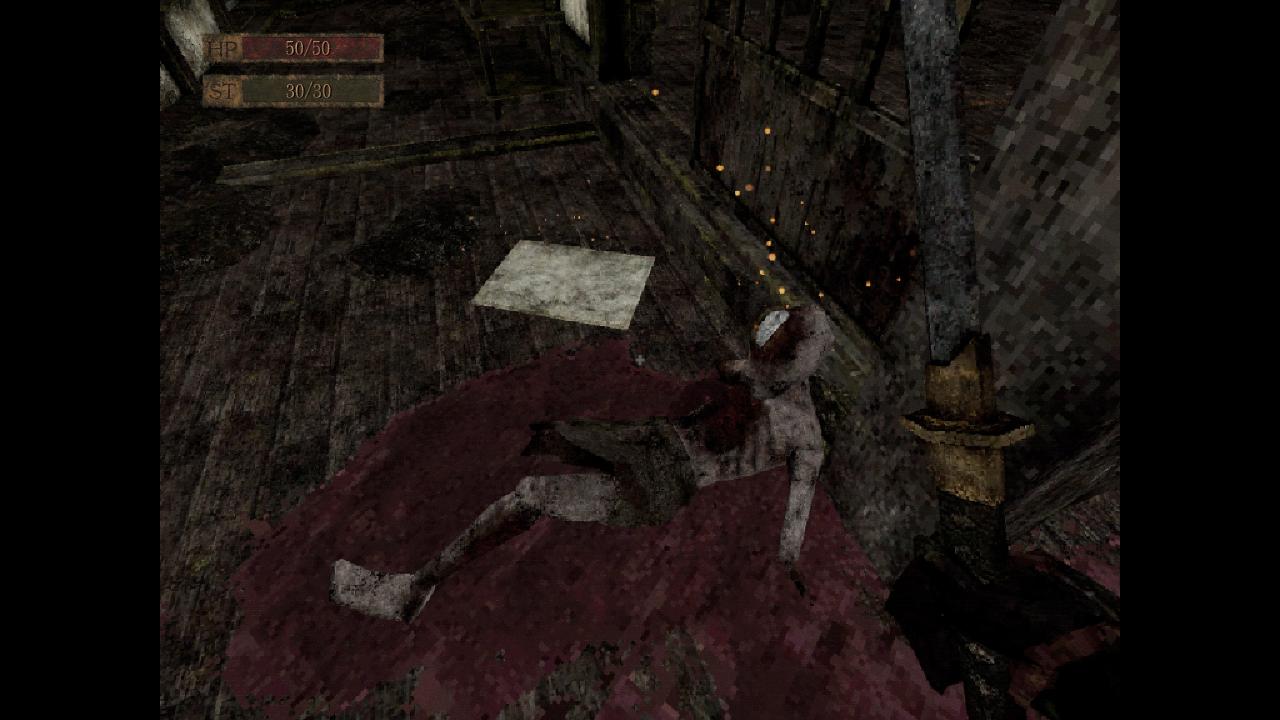
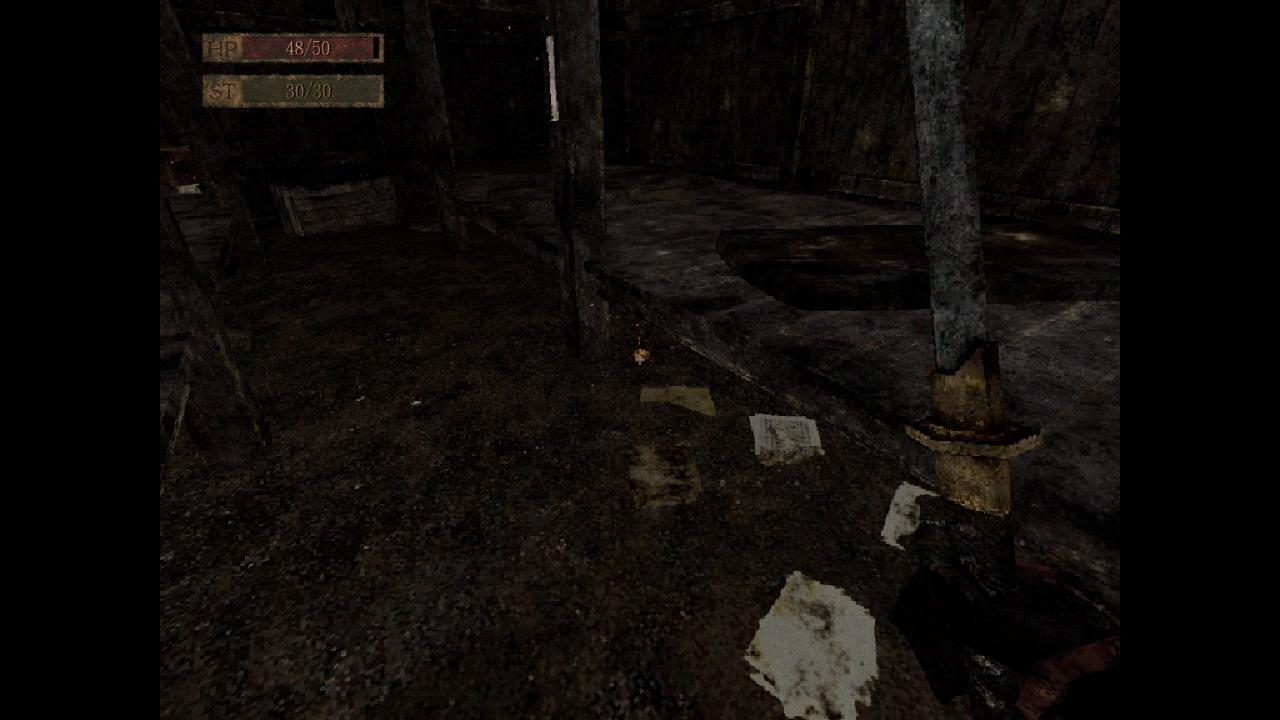
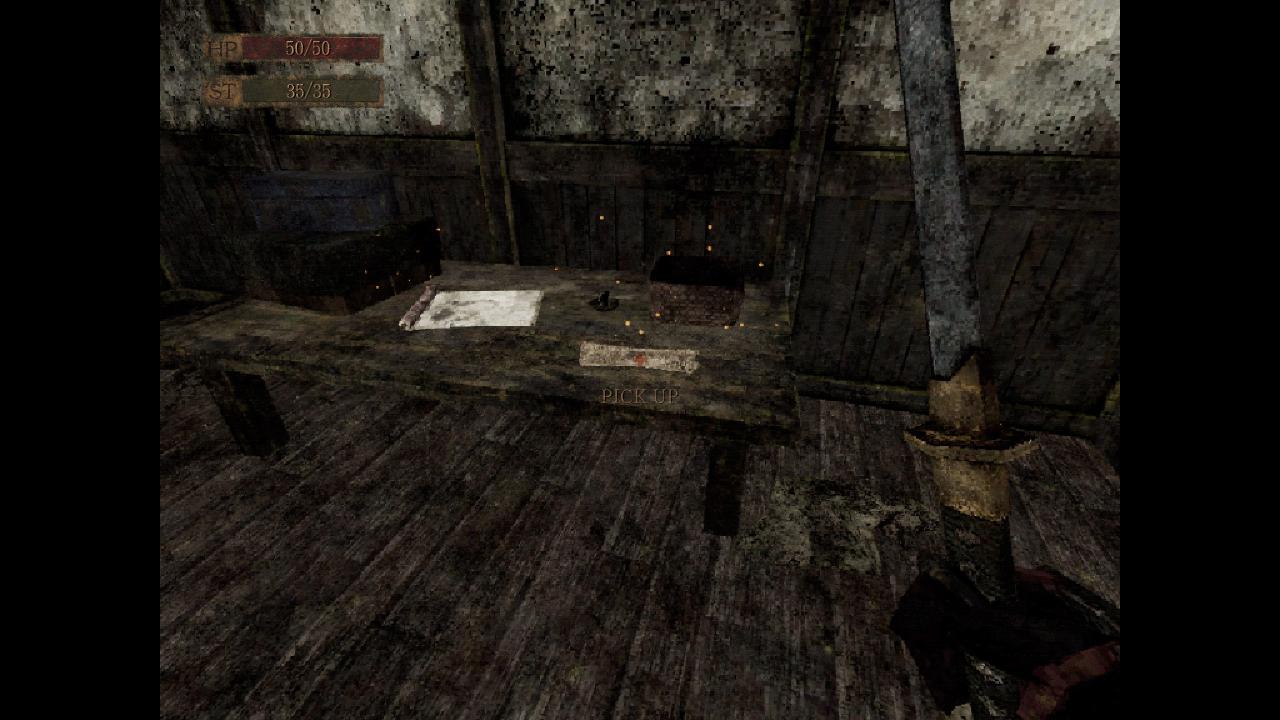
Kill the man after the next cutscene, then continue on to the guy he was beating up. Take the white gem out of his head, then take the map from the ground near him shown in the image.
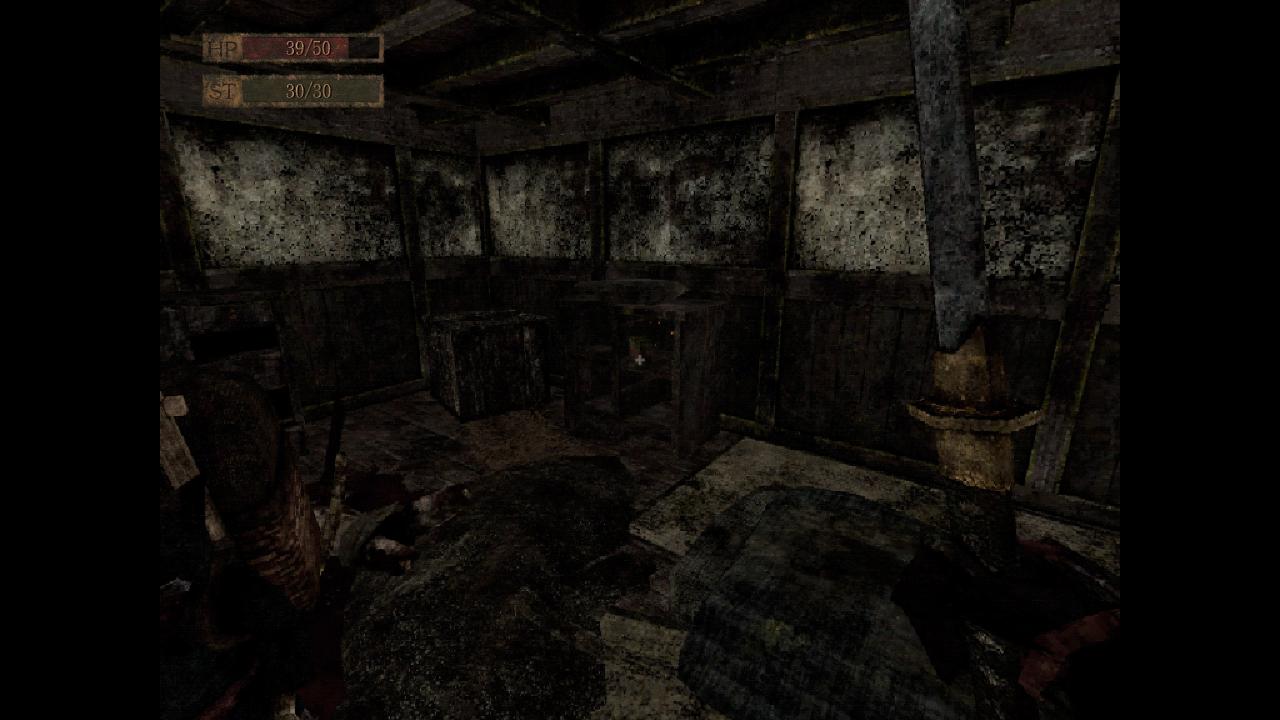
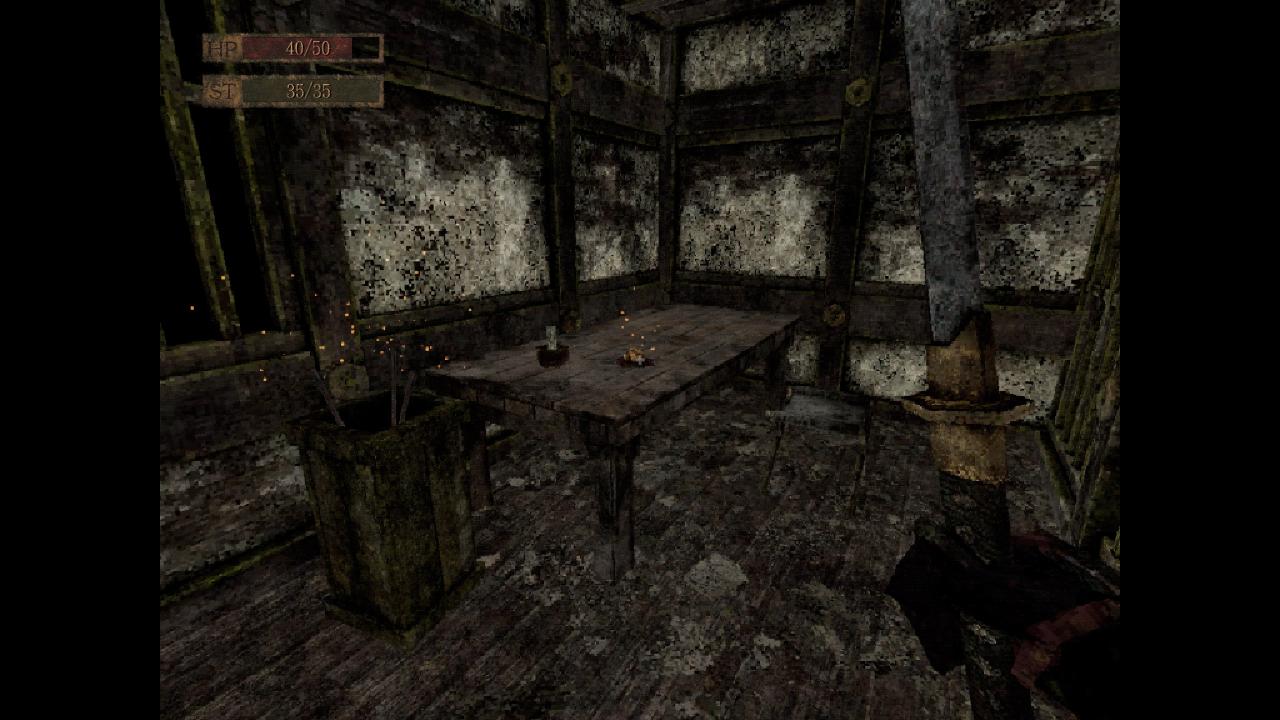
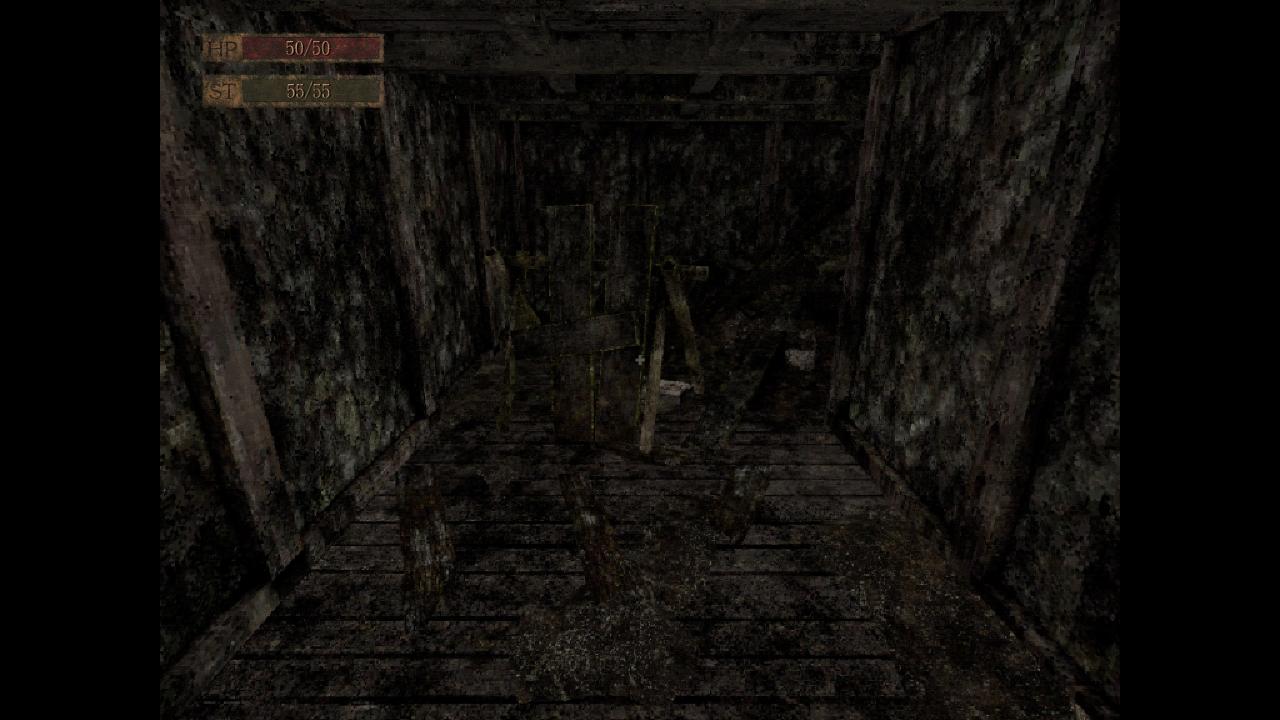
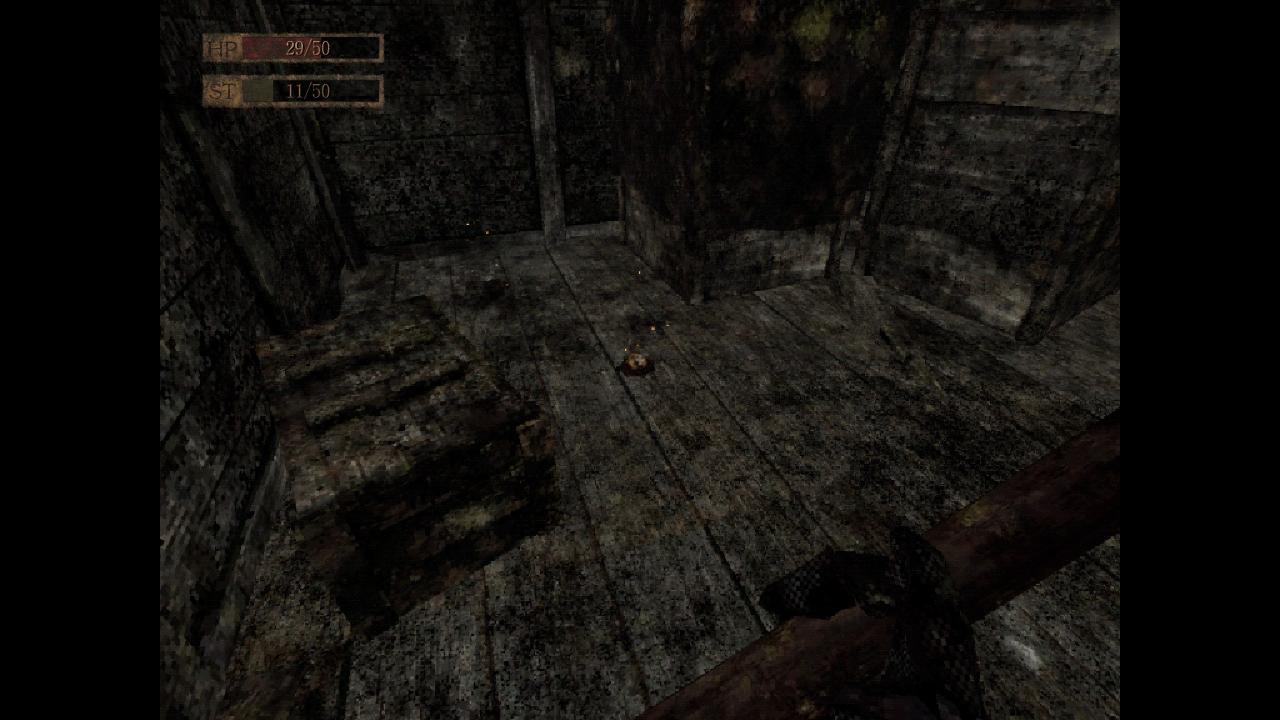
There are not many path forward, so continue until you arrive in this room. Take the shirikodama, them proceed to the room below it, labeled Kitchen.

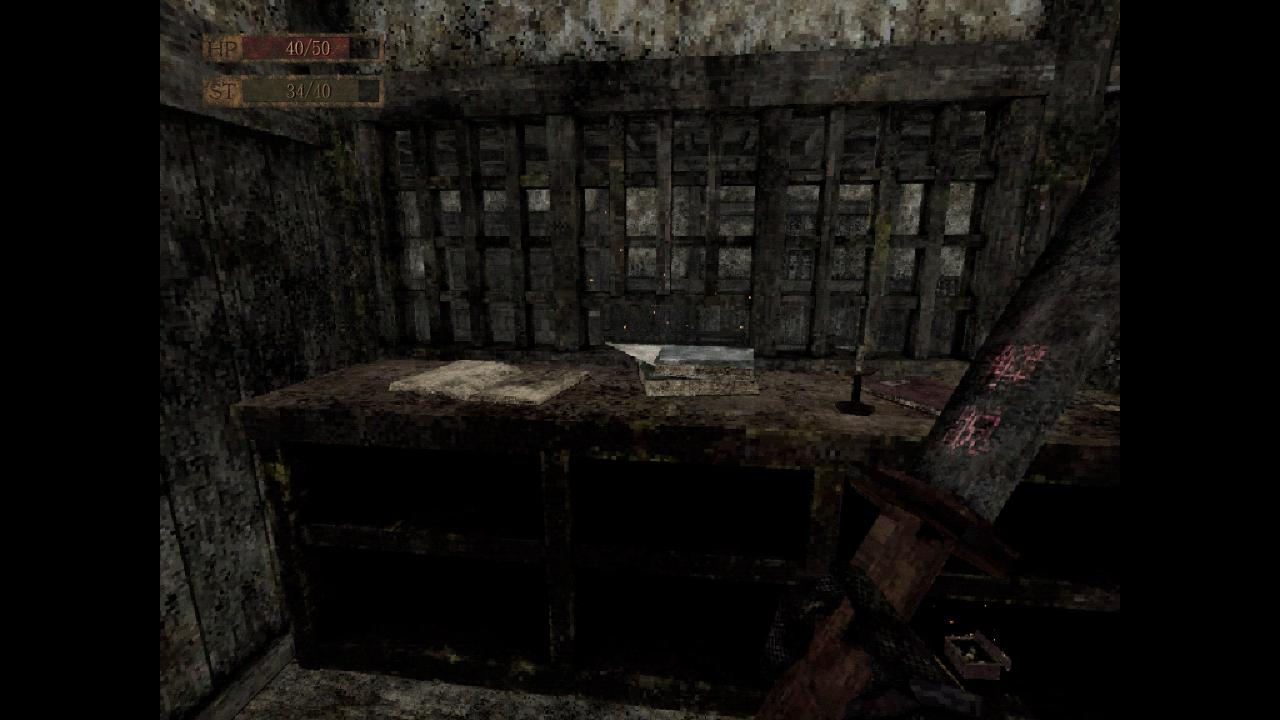
Take the map from the table on the left, then kill the man at the door and interact with it.
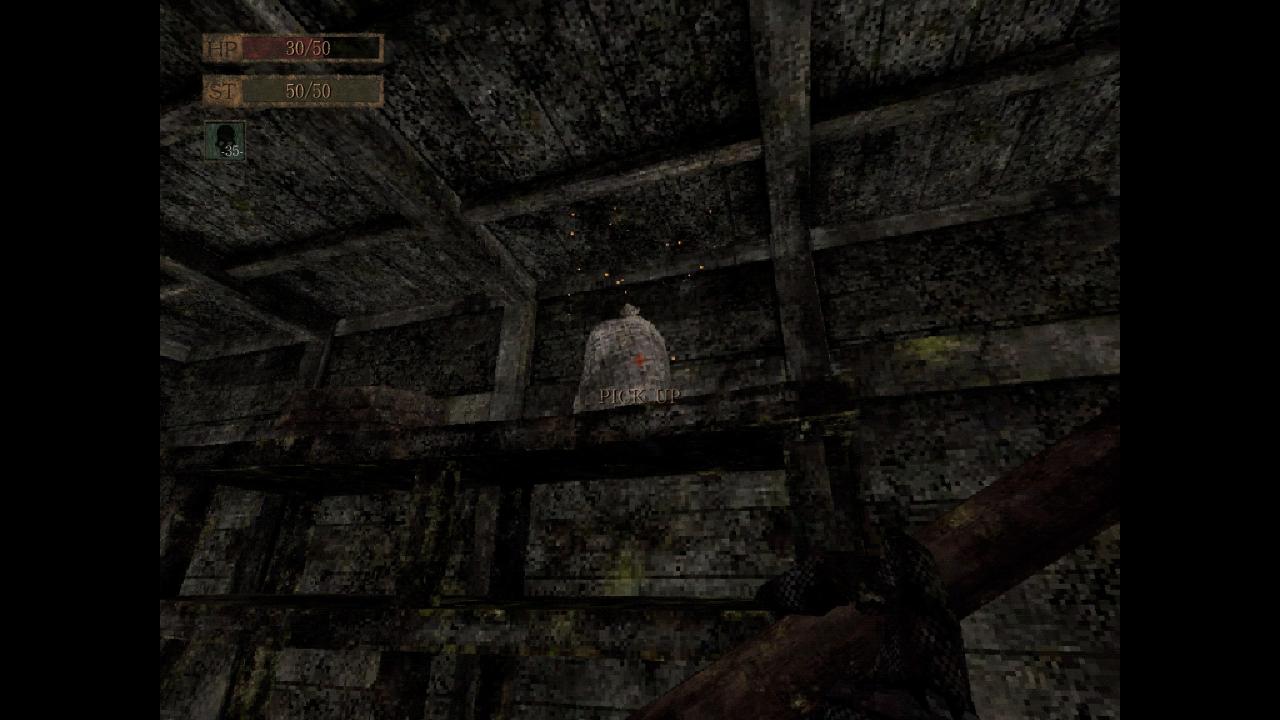
After speaking with the creature through the door, you should go to the room above the Barracks to collect another shirikodama.
Now you can go back to the Entrance Hall, save the game at the shrine, then head upstairs.
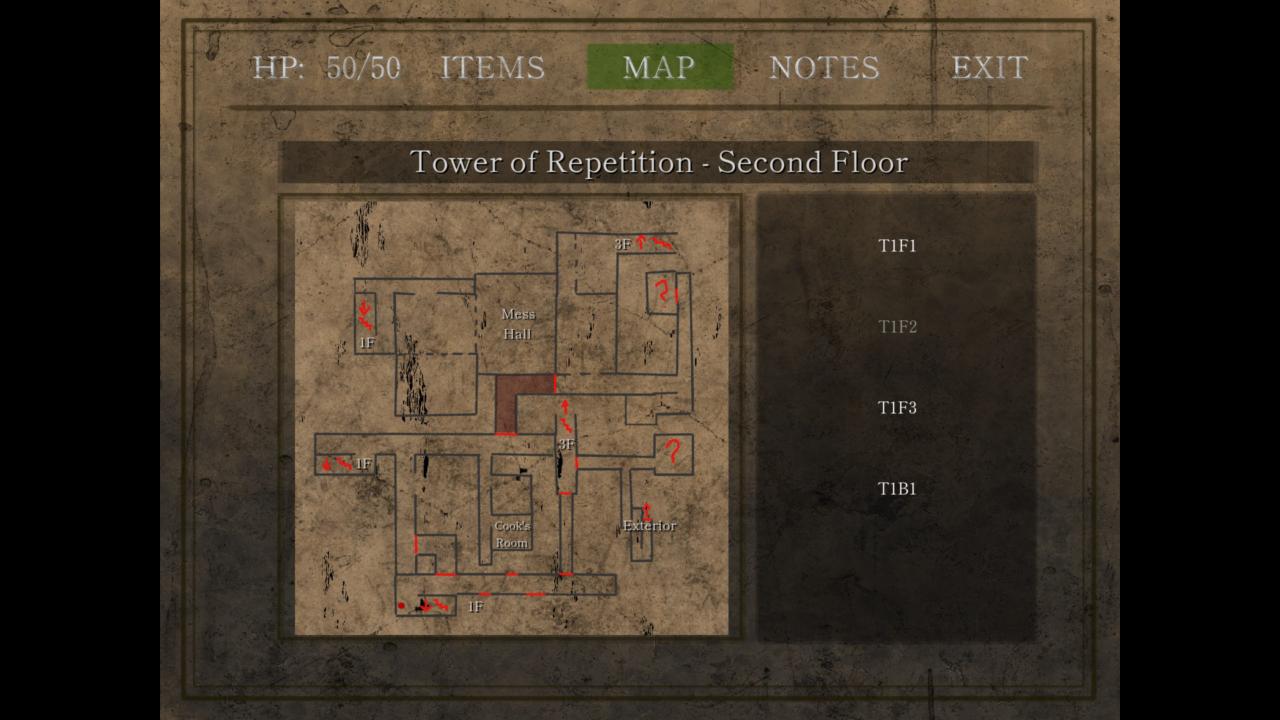
On the second floor, head to the Cook’s Room, where the cat trader is. Speak with them and agree to get the Buddha statue from downstairs.
 What are you buying?
You will get this achievement after speaking with them.
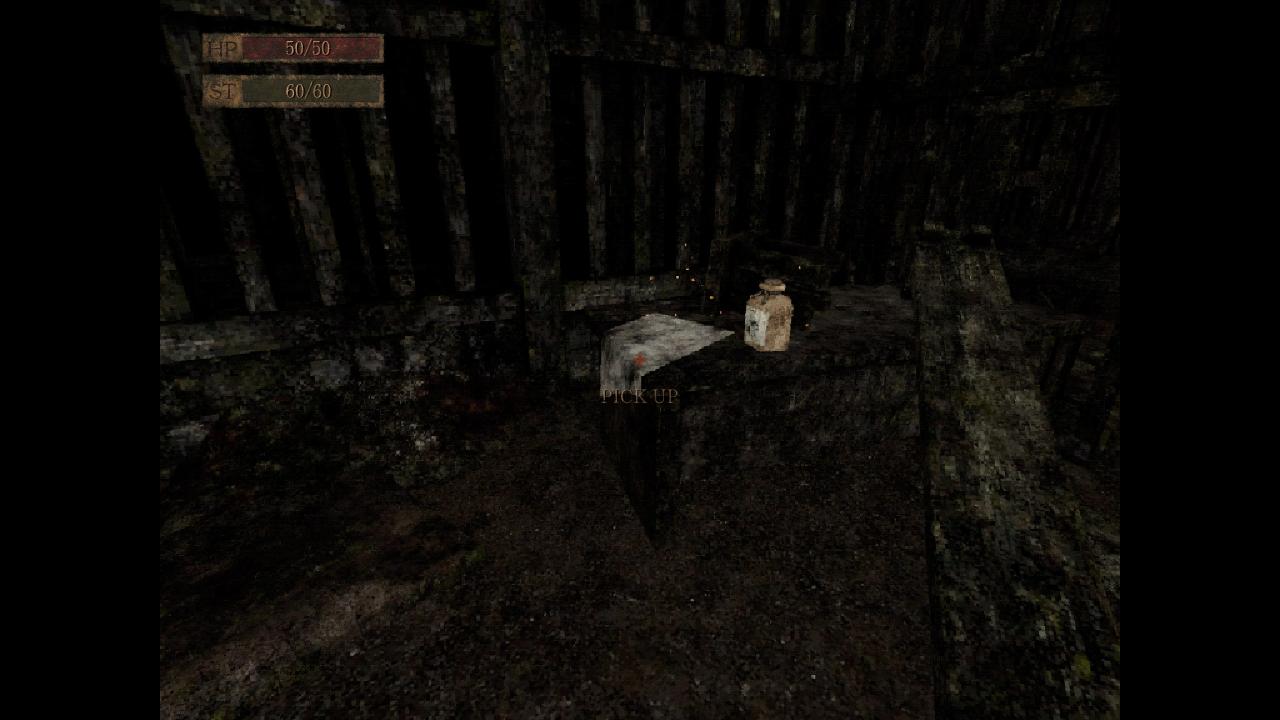
Your first Ritual Incense will be to the right of her on the shelf.
Go back to the Entrance Hall downstairs and choose the Offer option after interacting with the shrine. You can increase either your maximum stamina or maximum health by 5.
 Blessed
You will get this achievement after using the Ritual Incense.
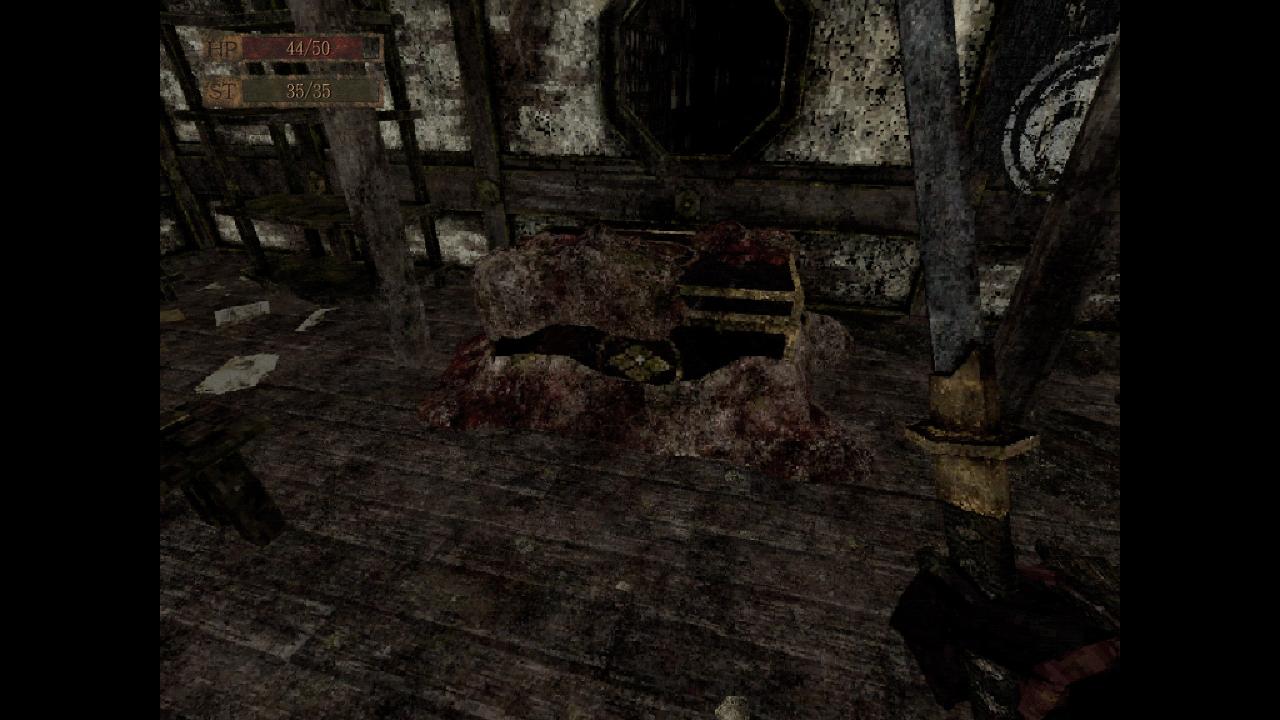
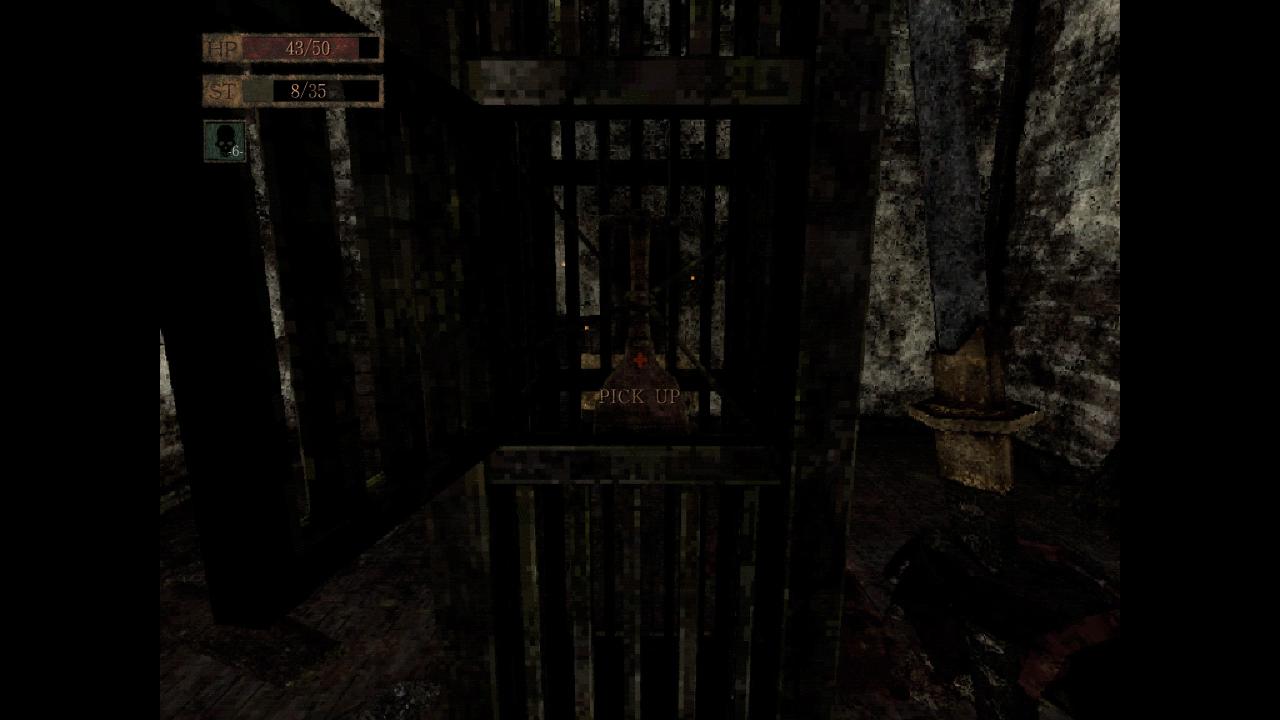
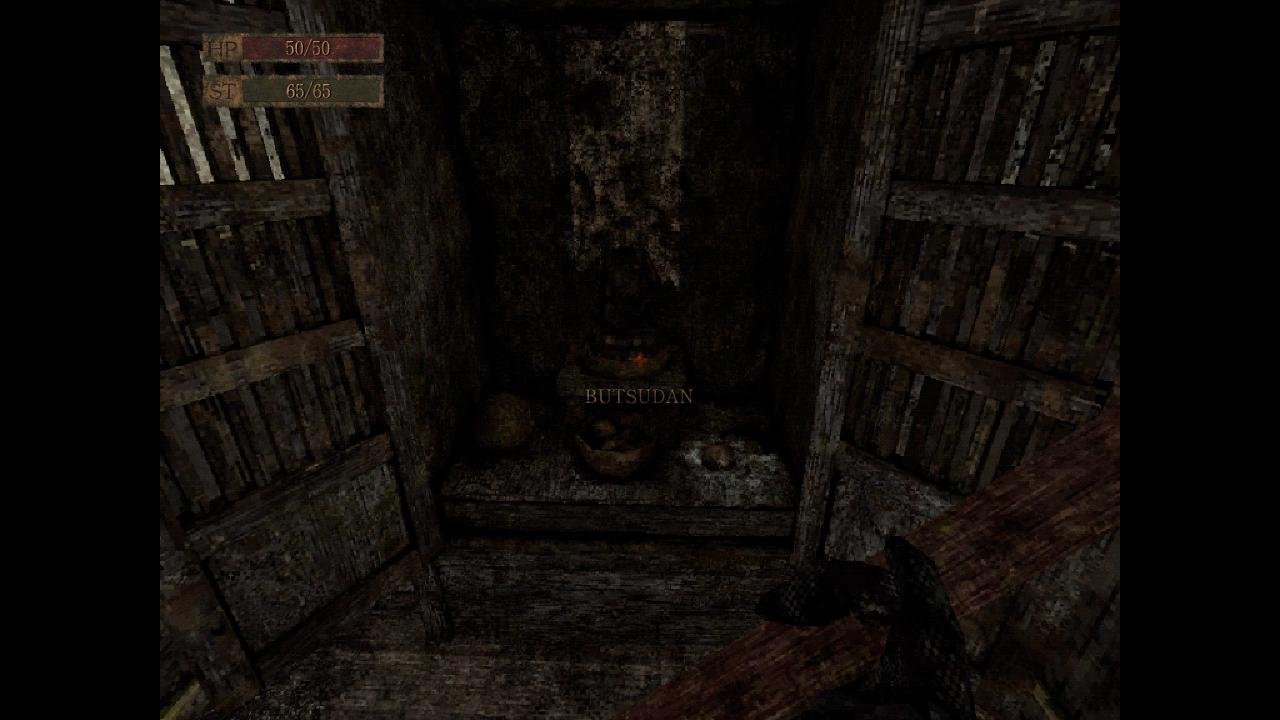
Now go to the marked location on the map and grab the statue from the Butsudan. If you read one of the papers in this tower, then you will know that this will make an unkillable enemy stalk you throughout the game.
The good news is that it can be reversed at some point and there is also an achievement for it.

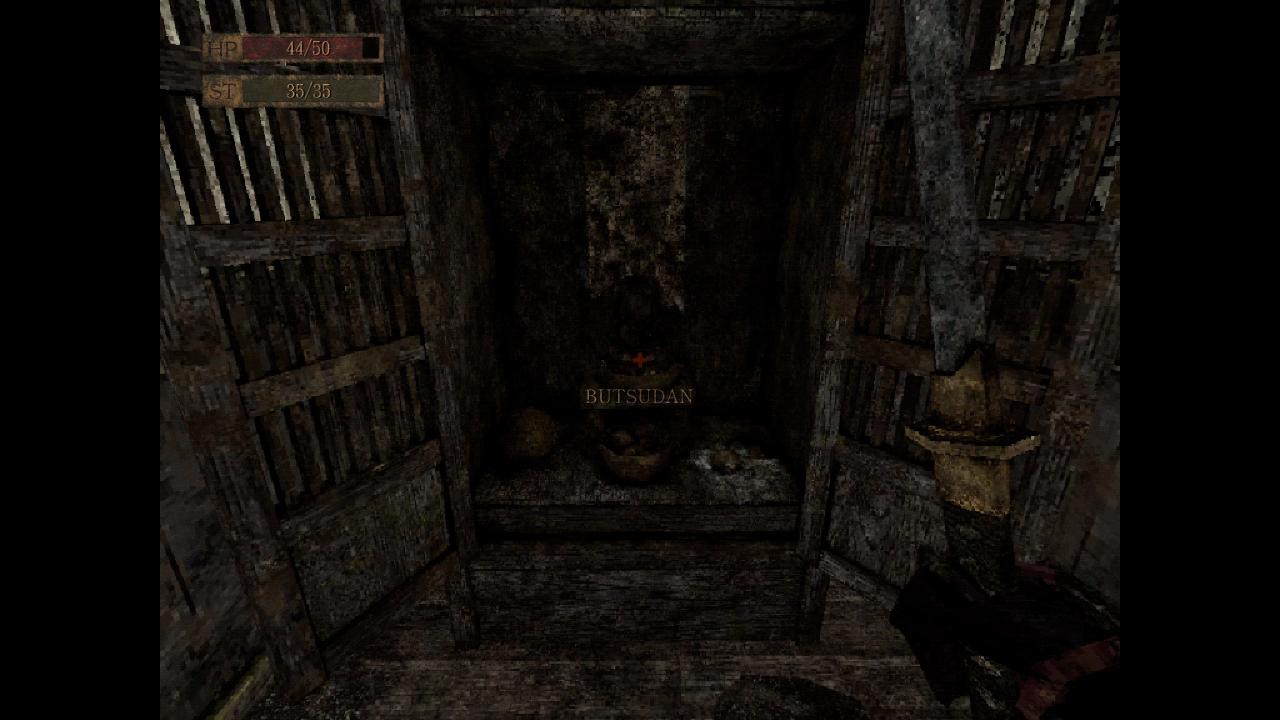
 What Could Go Wrong?
This one is for taking the statue from the butsudan.
Go back to the cat on the second floor and give her the statue. You will get the key to the Pantry, go back to the Kitchen and open the door, freeing the blacksmith. He will give you a shirikodama, which you can later use to upgrade your gear.
 Seeker of Shirikodama
You will then get this achievement.
Don’t forget to take some salt from the Pantry.
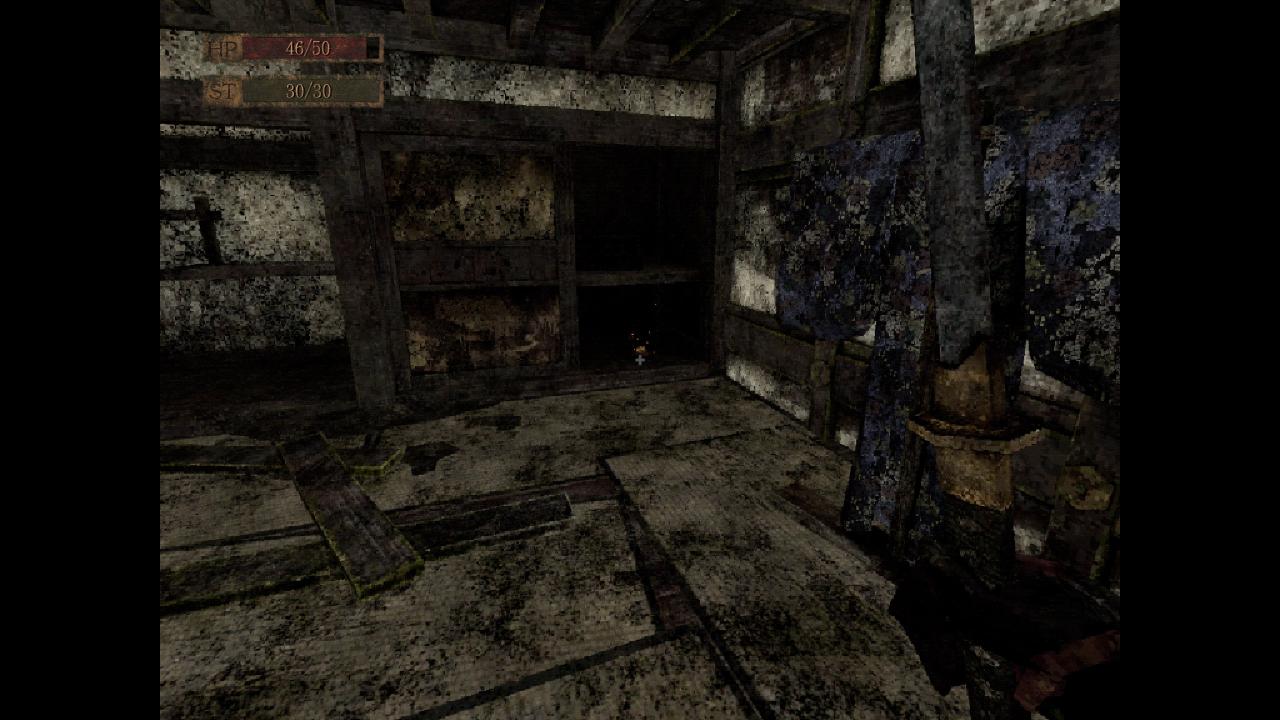
Now you can go to the Mess Hall and use the salt on the chest covered with fleshy fungus. You will receive the first part of a Great Dao from this.
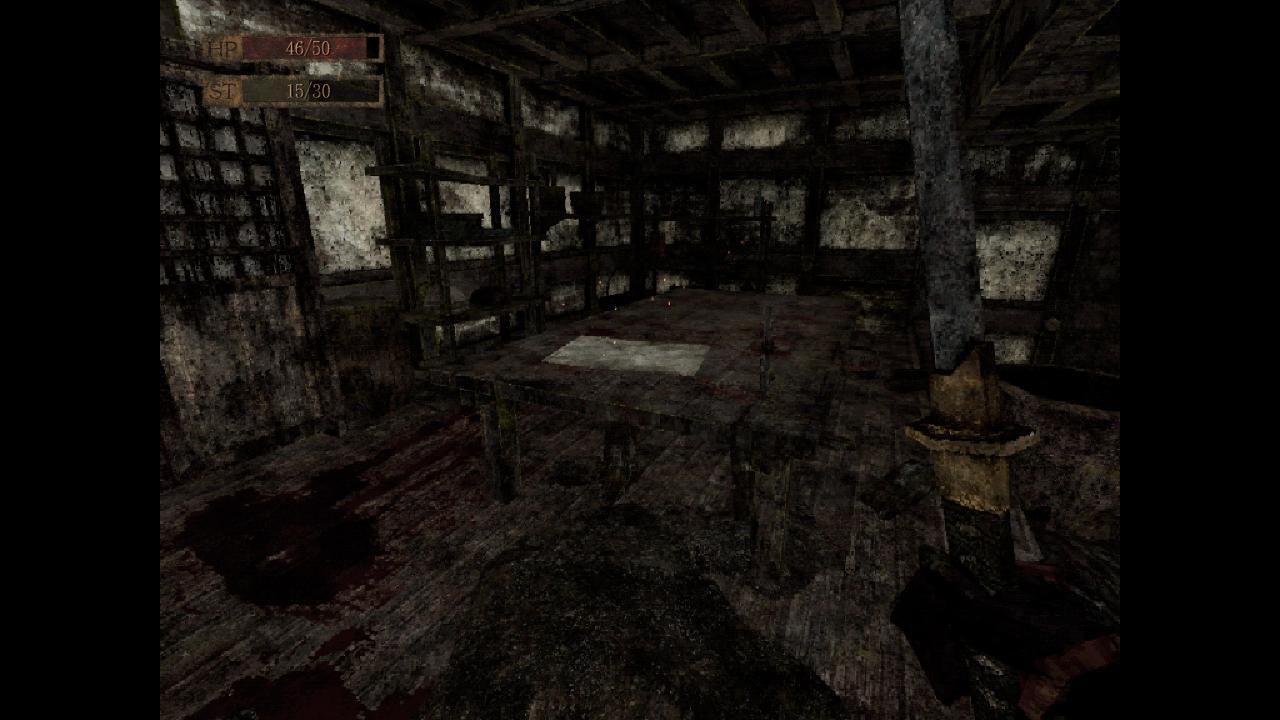
Then you should head to this room and also use the salt on the big mass of flesh.

Take the bow from the chest in the hallway and the key from the War Room.
Leave through the Tea Room by unblocking the door, then head to the door beside the butsudan and open it.
From this point the Nuribotoke will follow you until you put a new statue on the butsudan, so be careful with him. He is unkillable and hits hard. You also cannot stay too close to him for long, because if your curse level reaches 100, then you will die (his hits also increase this value).
After getting to the second floor in these new stairs, don’t forget to unblock the door in this little hallway.

You should now head to the southern question mark room and solve a quick puzzle for a gem (collected a bit later) and an achievement.
There are five statues in the room with descriptions, four of them are movable. There is a paper hinting the correct order, which I will tag as spoiler below if you want to solve it yourself.
1. Old woman (Mother)
2. Old man, reeking of livestock (Farmer)
3. Younger man with air of nobility (Noble)
4. Old woman (Crone)
5. Boy
 Hanging With The Boys
You will get this after solving the puzzle.
After this, you should head down through the stairs marked as Exterior on the map, below the question mark room. When outside, go in through the lower door and grab the gem you just lowered down, then unlock the shortcut to the Pantry from the hallway to the right.
Now you can go back a little, then up to the third floor, where you can collect the map from the table behind the stairs.
Your next stop should be the south-western question mark room, where you will have a little chat with the trader. Then you should activate the scroll on the wall directly in behind her.
If you go inside and turn left you will eventually find a chest with your first blunt weapon in it. Collect it, then go back so you can choose the other direction, then you will unlock a previously inaccessible room and a way to the exterior of this floor.
Go to the balcony, then follow the path. When you are inside again there will be a shirikodama on the table alongside with some arrows. Take it, then head downstairs.
After going into a few rooms you can go either left or right.
First you should go left and then right and down the stairs.
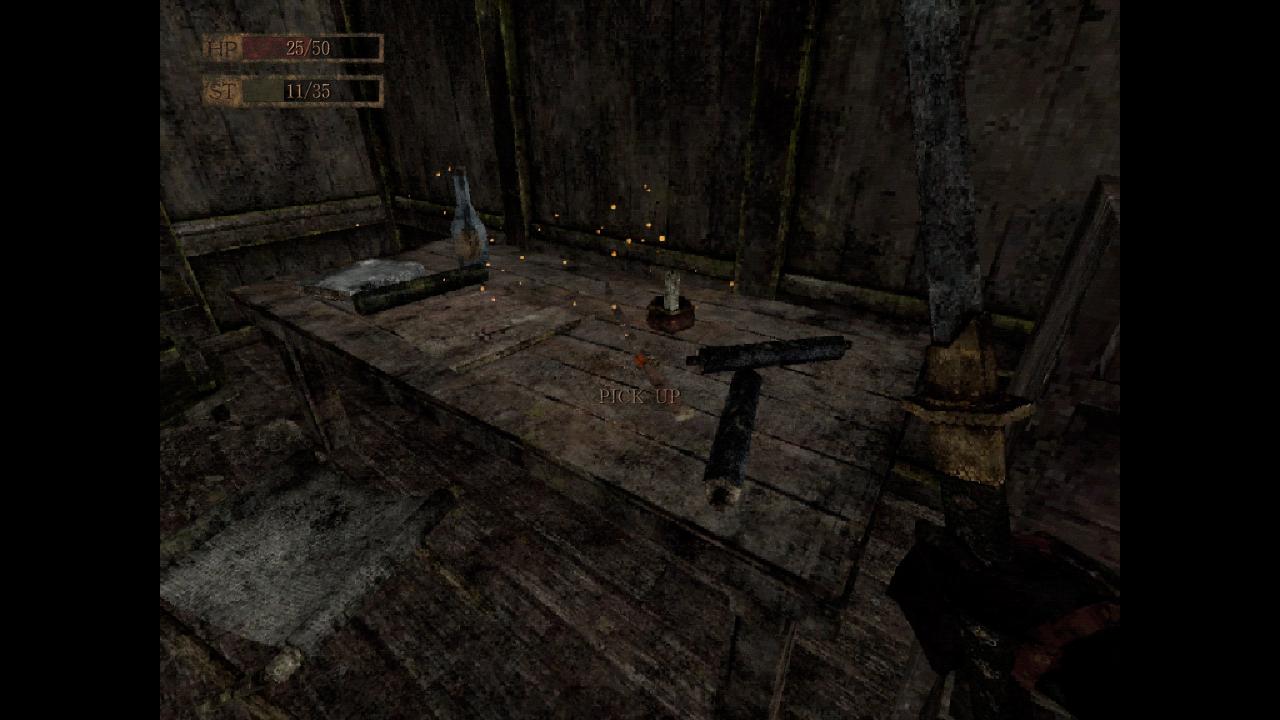
There will be a Rusty Katana on the table and another shirikodama in the bottom left drawer on the other side of the room.

Then go up and forward to the other path. When entering the next door you will be greeted with the Biwa, which you should take.
Then go back to the first junction and choose the right path and unlock the blocked door. There will be a shirikodama in a chest pick it up, then circle back to this staircase and go up.

Tower of Repetition | 2/2
After this you will go on a linear path until you reach a shrine. It is recommended to save here, because your first boss is waiting right behind the door next to the shrine and up the stairs.
Before you go up to the boss you can use your last sack of salt on a nearby shelf. The other part of the Great Dao is inside of it. You can combine the two parts to create a new weapon.
NOTE: I did not receive this achievement for this combination, but for a later one, so don’t be afraid if it does not pop for you.
 Genius
You can get this by combining two items.
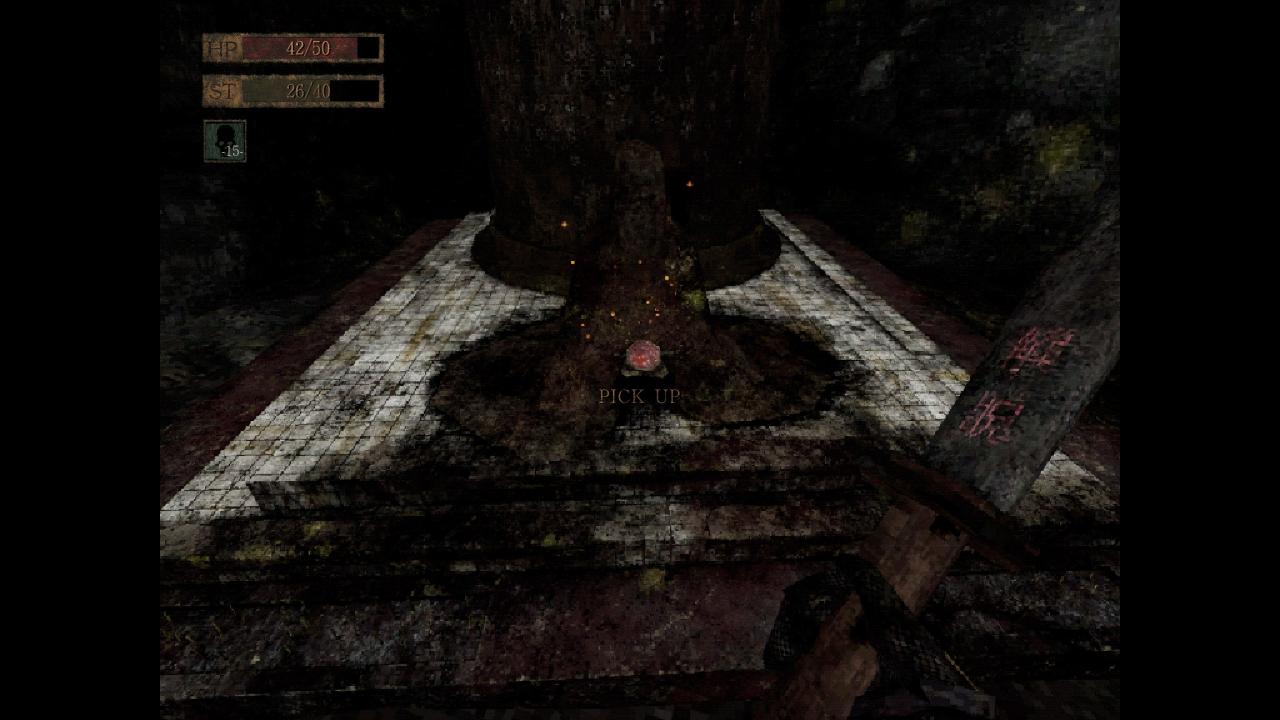
Now you will have to fight the boss. After it’s finished, take the red orb as you will need it to fight the last boss.
 A Mother’s Love
You will unlock this after defeating the boss.
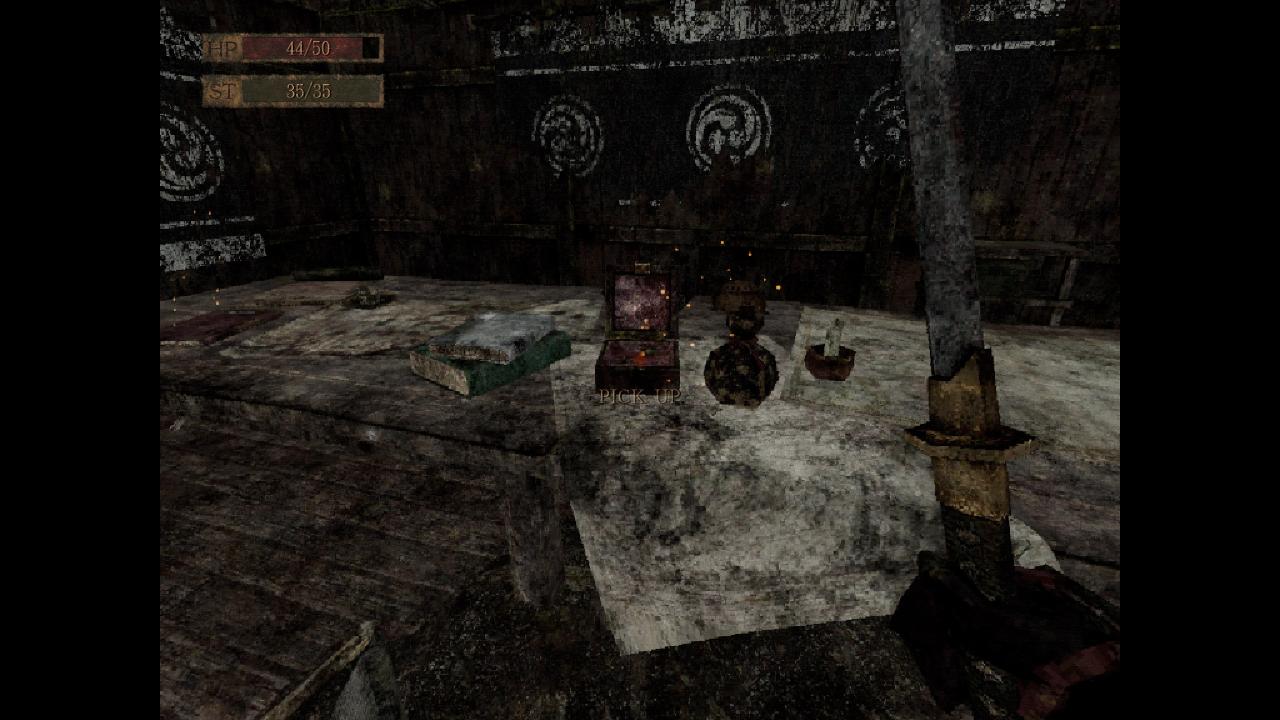
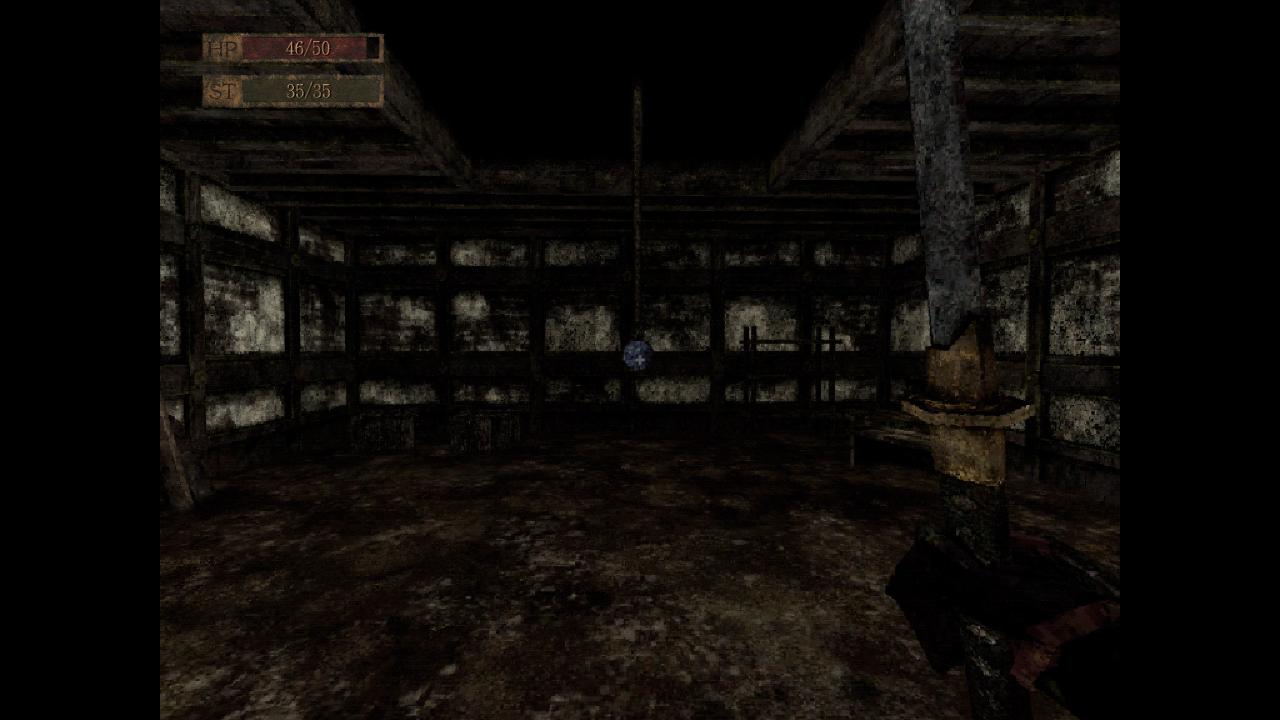
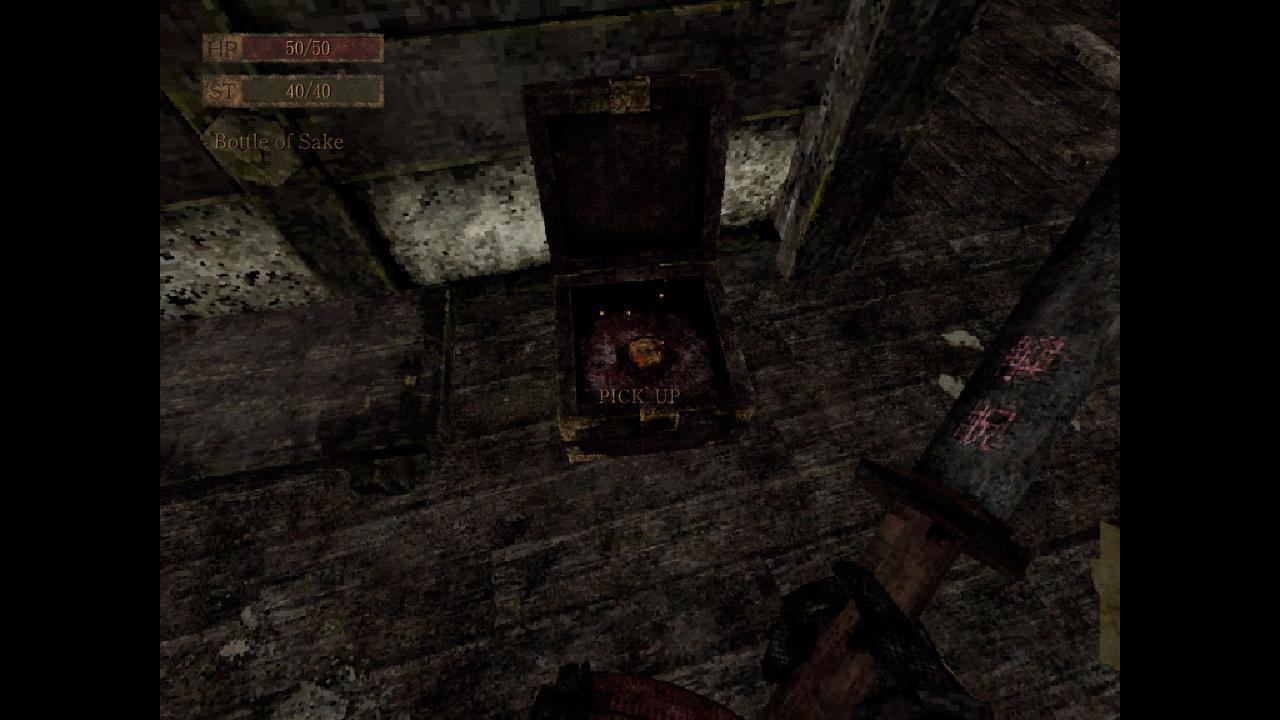
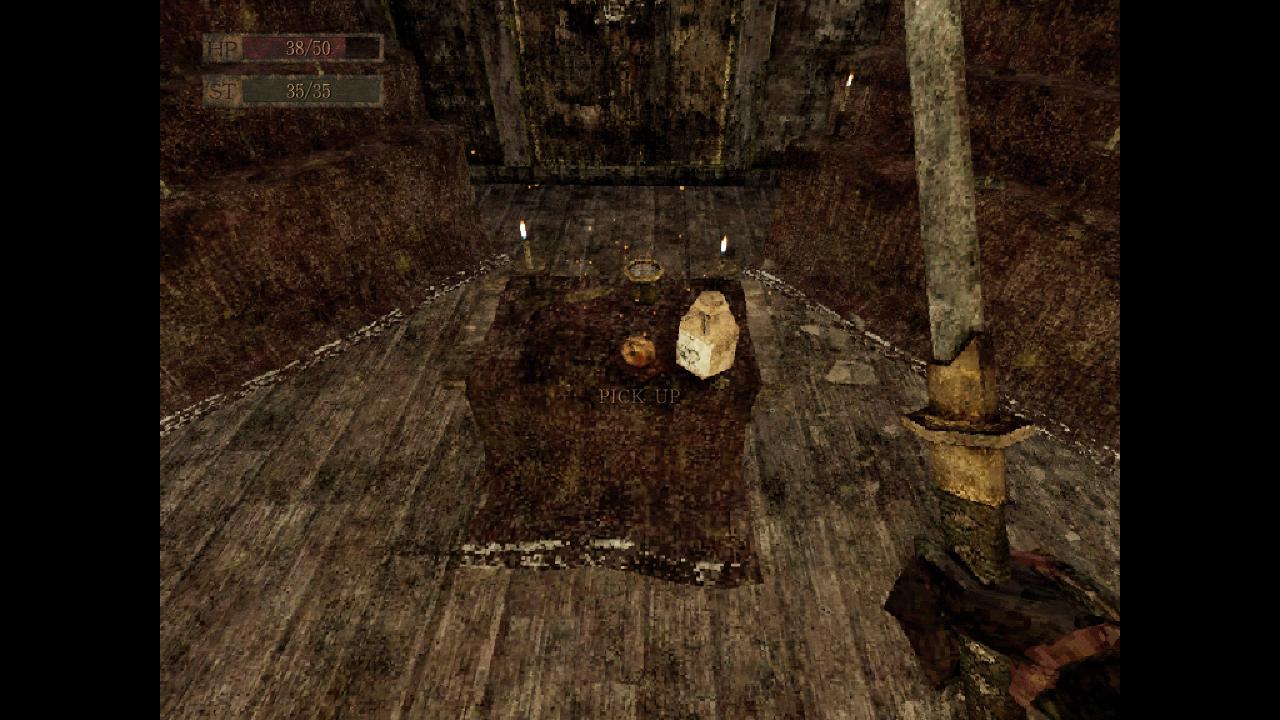
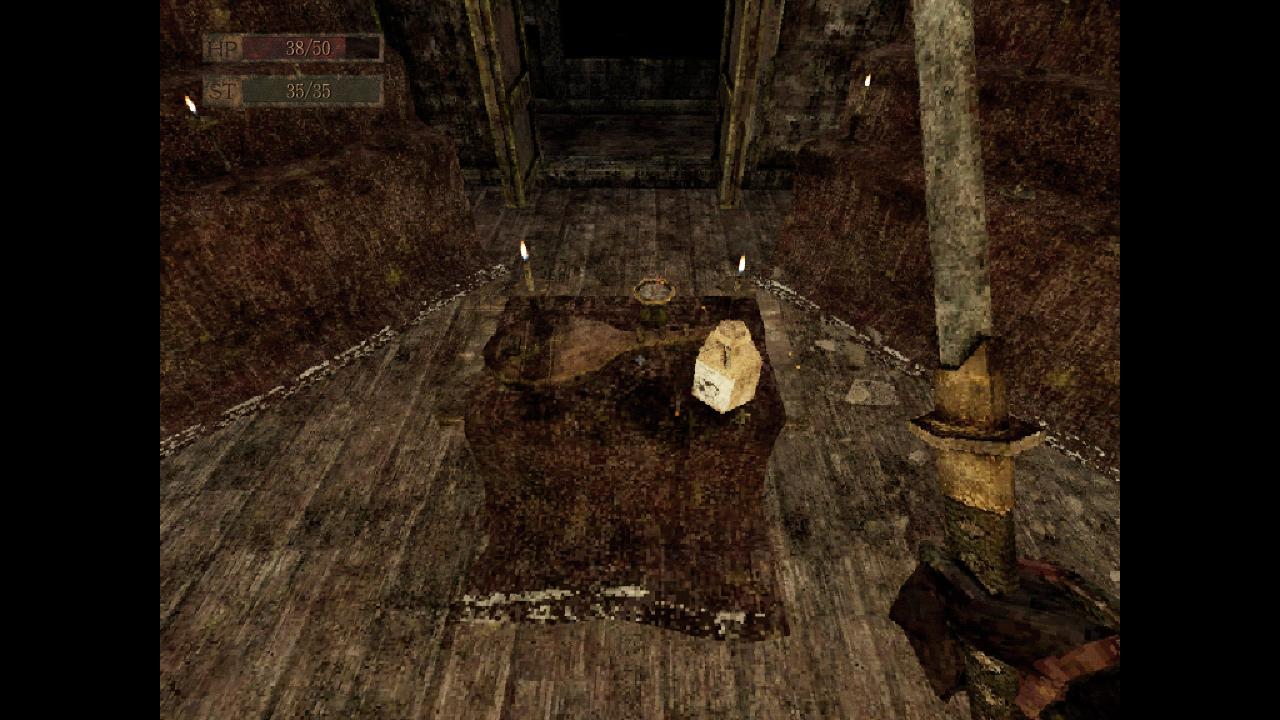
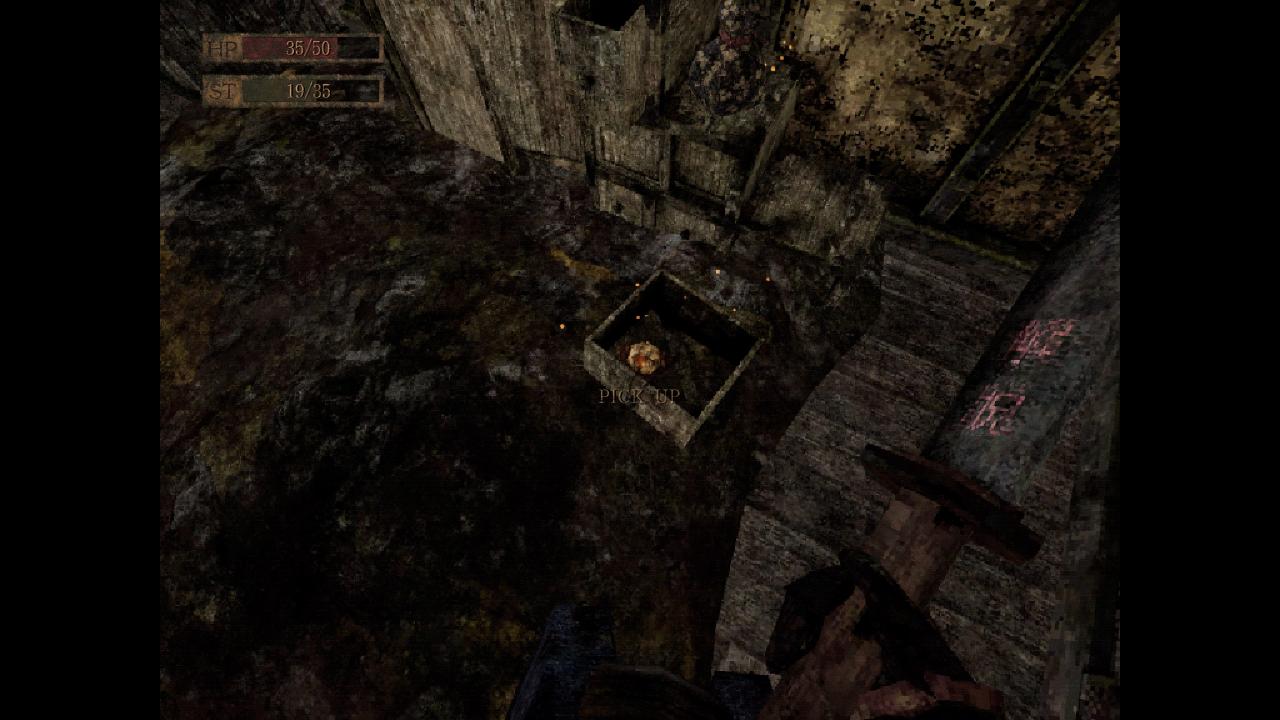
If you go forward you can unlock a door. Behind it there will be a new set of armor, a Ritual Incense in the back of the room and a shirikodama in a box to the right. Don’t forget to also take the gem from the center of the room.
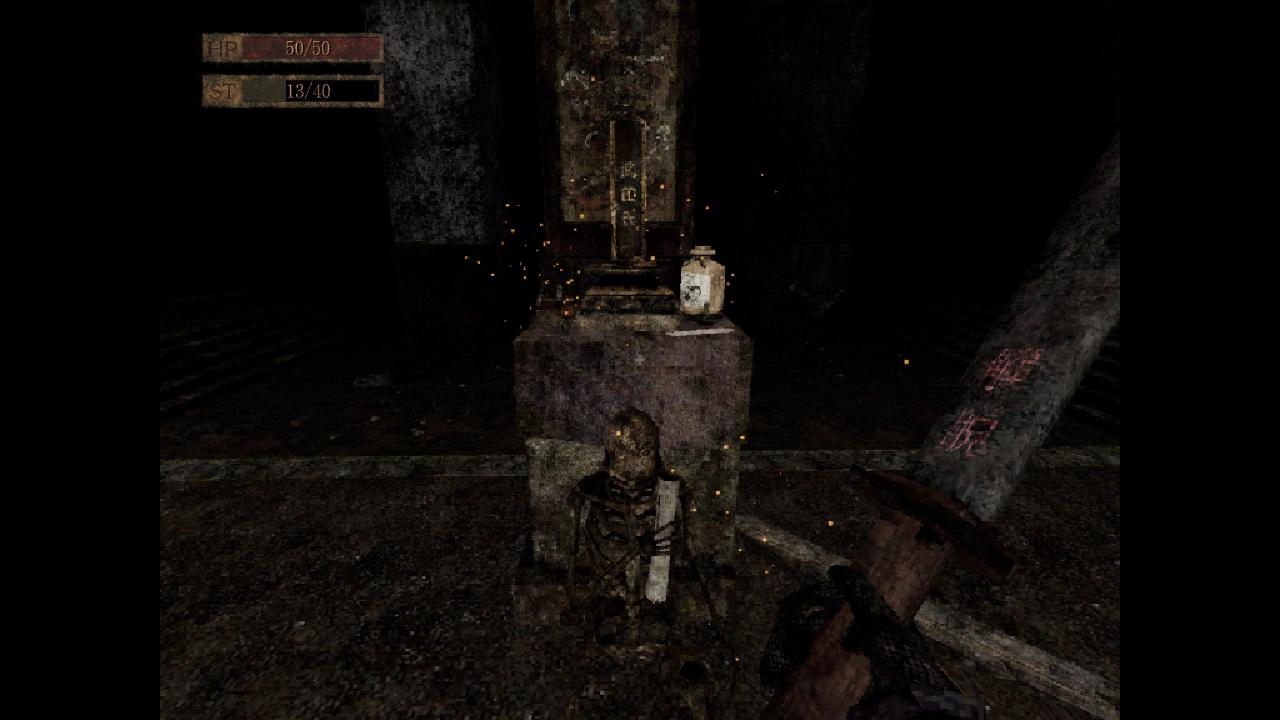
Next, you can go back to the shrine and through the other door, then find your way back to the first floor, then down to the basement. Go down the stairs and take the map from the skeleton’s hands.
Also read the memorial tablet if you want to solve the last puzzle by yourself.
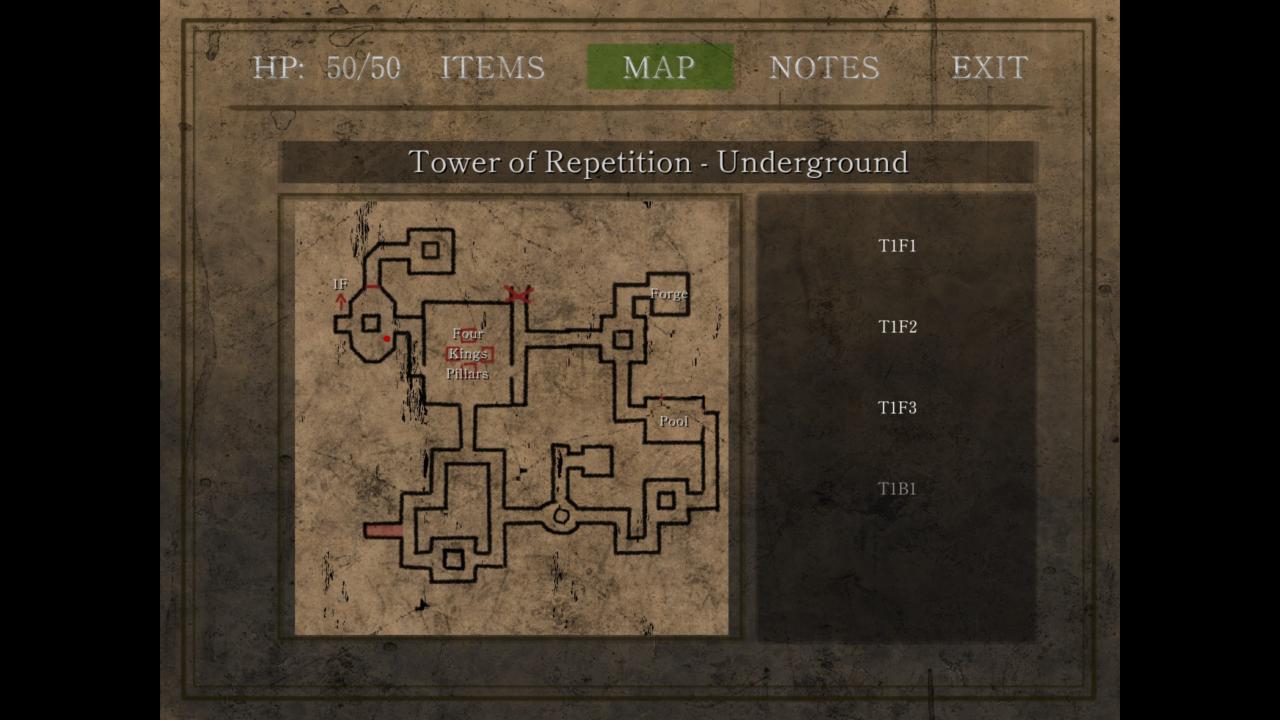
There is a hidden door in the marked location, where is an extra shirikodama. Interact with the wall to open it.
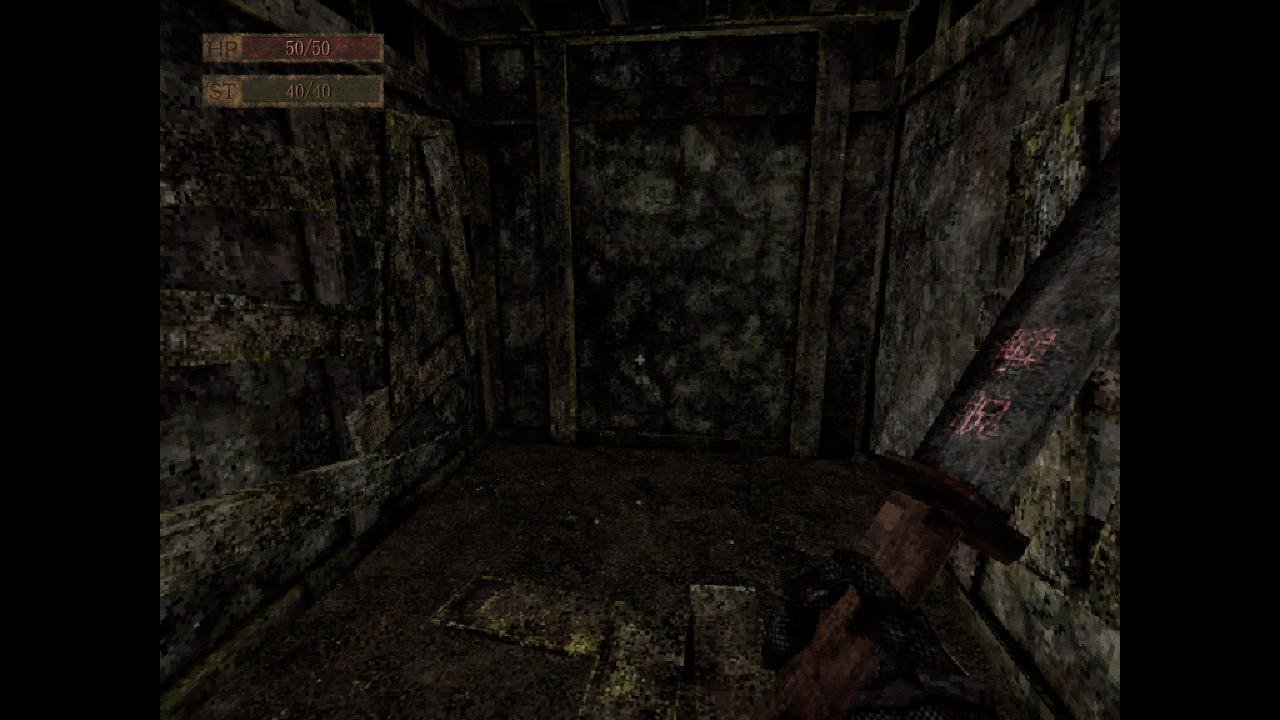
Then you should make your way to the circular shape on the map, then jump down to the ledge.

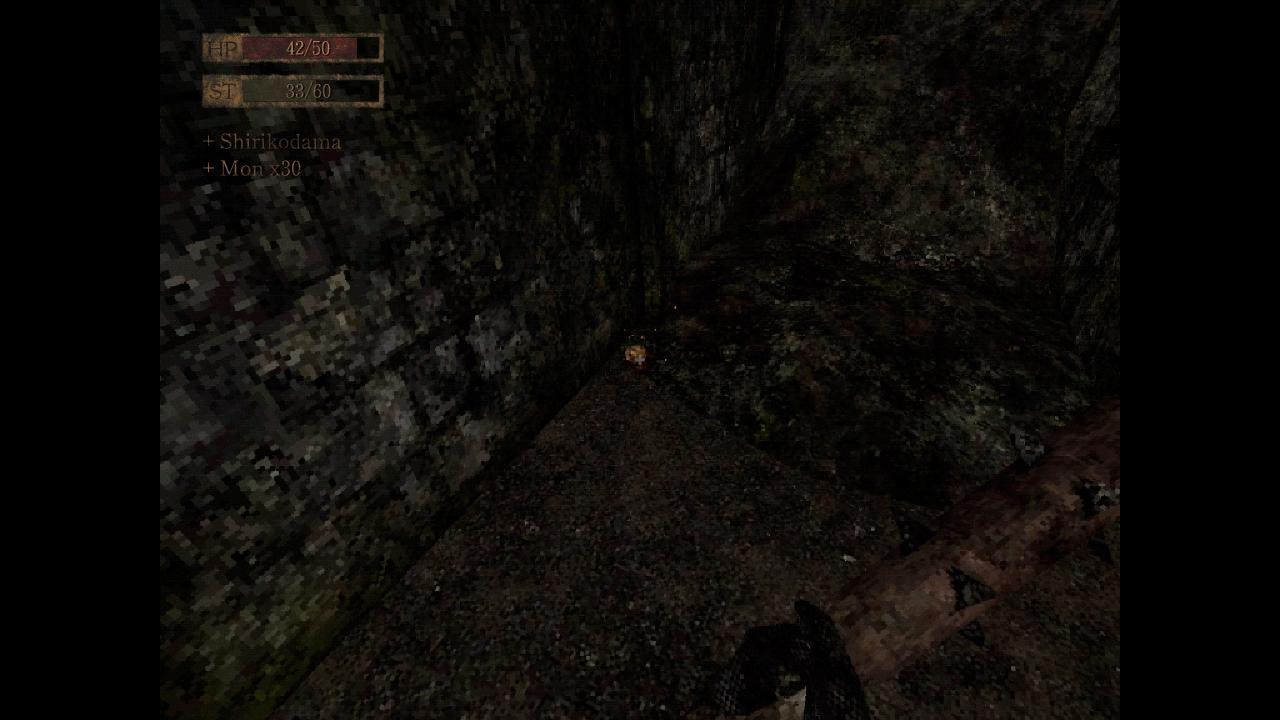
There will be yet another shirikodama in the chest to the right. Go into the cave and turn left, where you will find your last gem, which is the red one. The go back to the junction and up. At the end there will be a breakable wall.
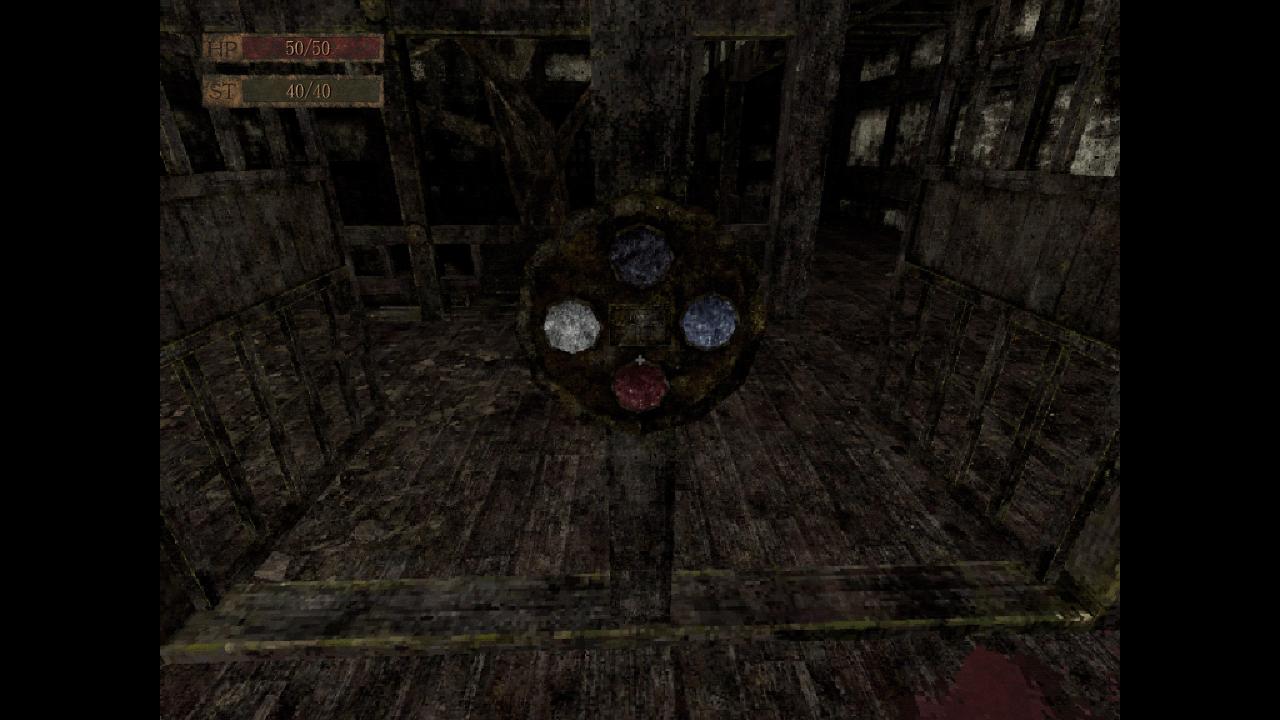
Now you can go upstairs to the beginning of the tower, where the gem-locked door is.
Every stone has a specific slot for it. I will put the solution as spoiler so you can solve it for yourself if you want.
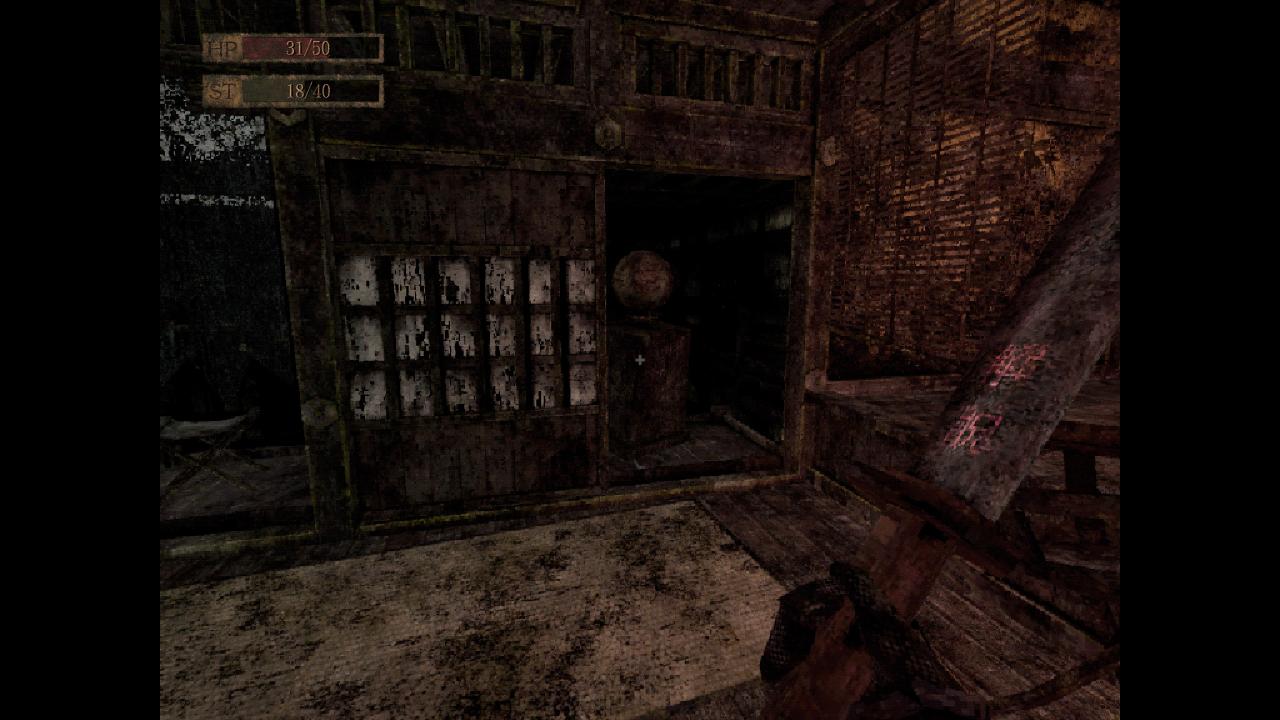
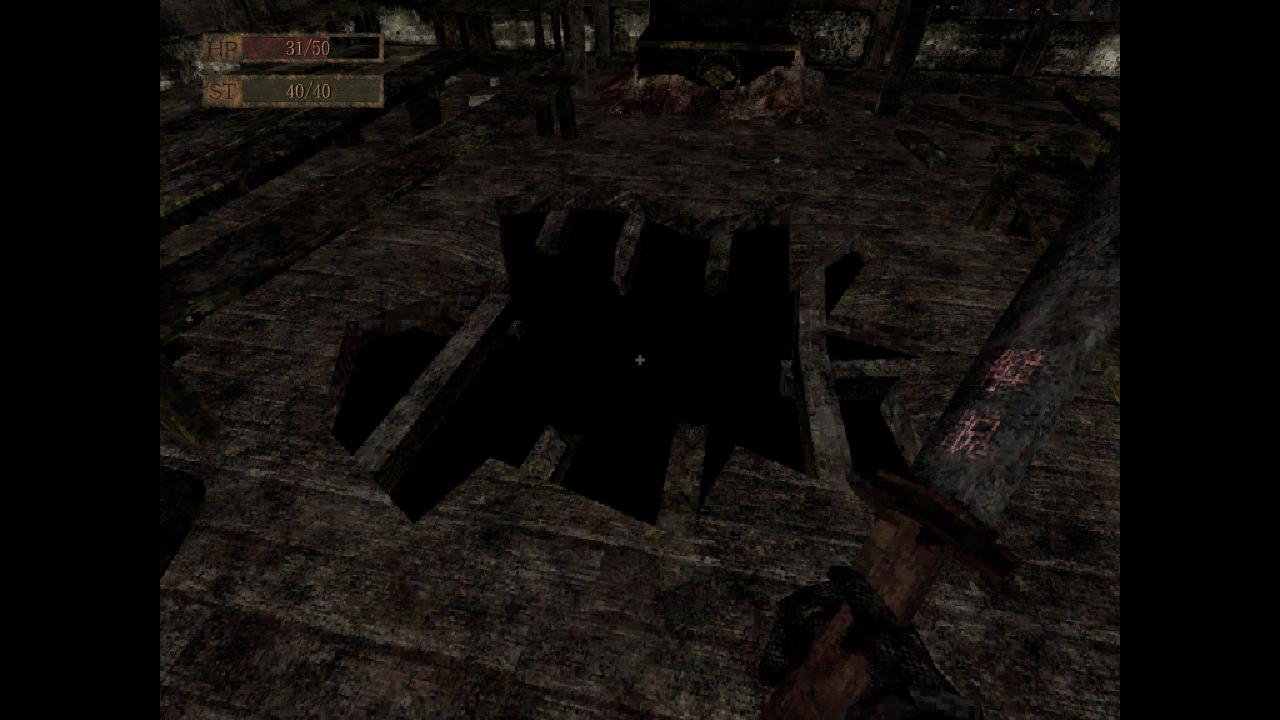
Now, before exiting the tower you can get another weapon from here. There is a staircase to the right of the exit, which will lead to a room, where you can push down an object. If you do so, there will be a big hole in the center of the Mess Hall, where you can jump down. You will get to the new room in the basement. Simply pick up the weapon and leave.
Now you can leave the tower. Turn left when the game tells you to.
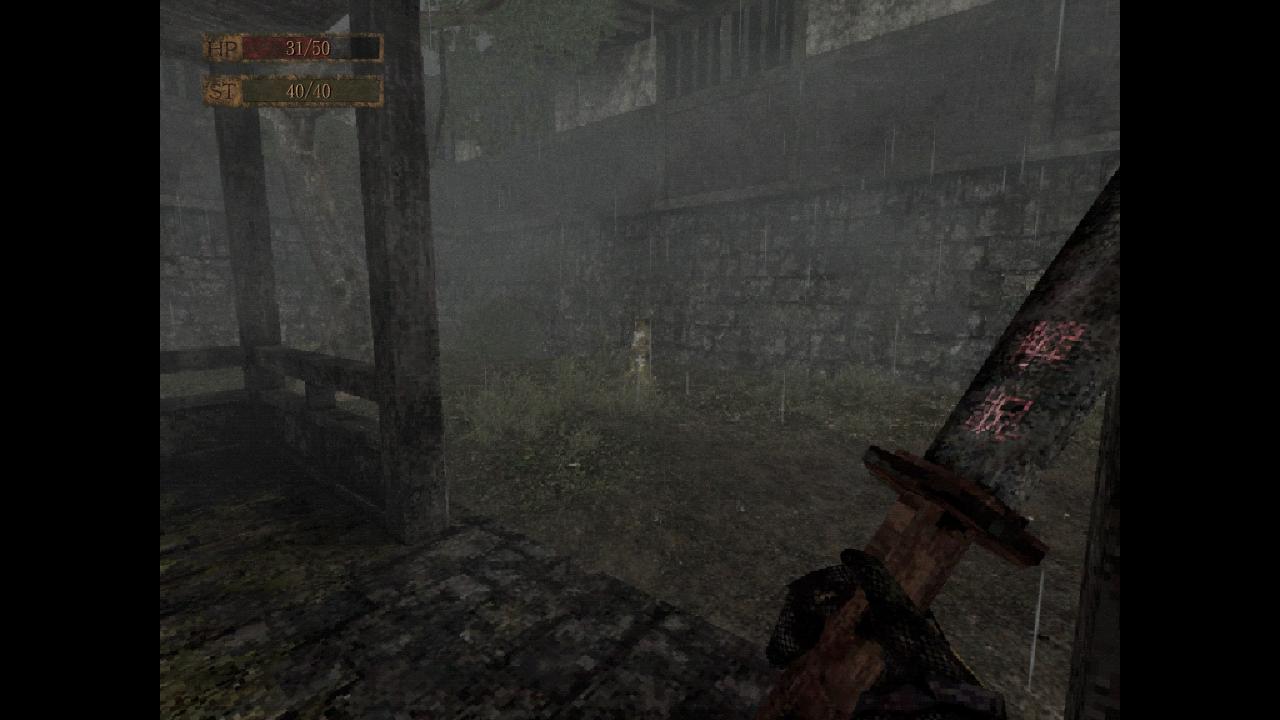
Inner Courtyard & Tea House
There is a hidden weapon in this tree stump and an incense near one of the trees.
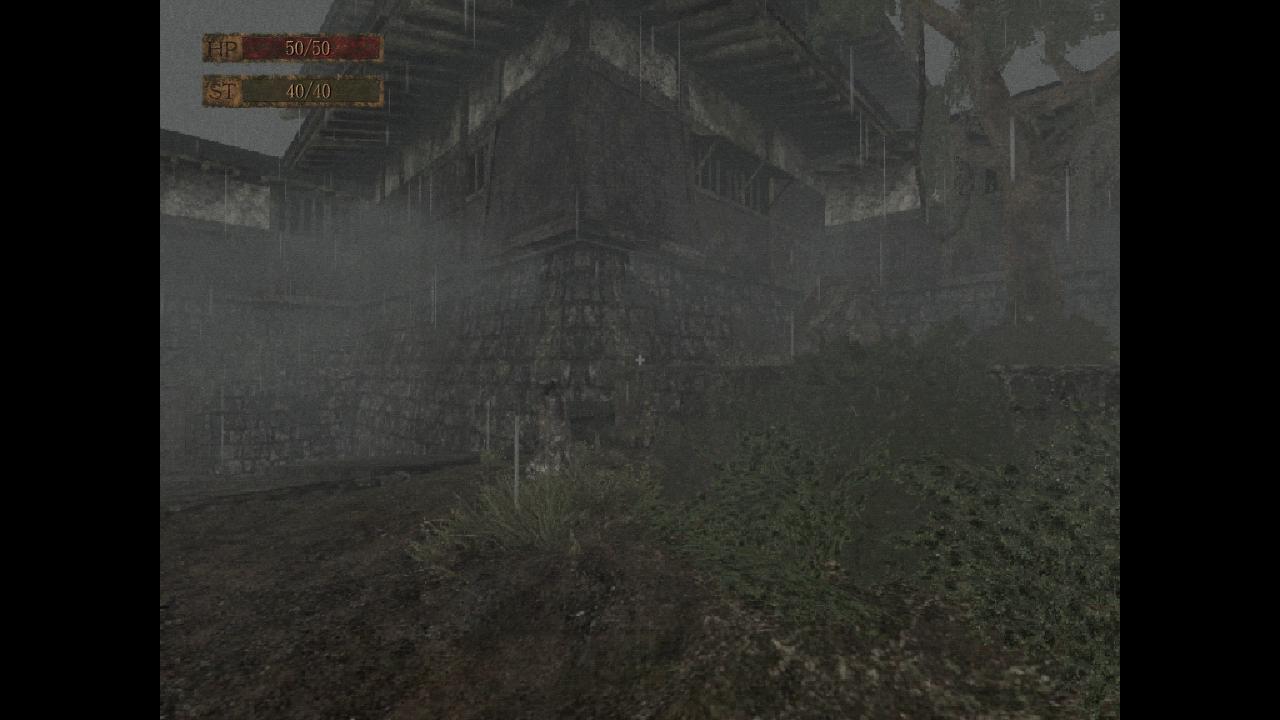
Another incense can be found if you go through the door near the stump and turn left.
Next, you should climb down the tunnel near it. This way, you will enter the Tea House.
 Tea Time
You get this after entering the Tea House.
You should sit down to make some tea for youself. This will not only net you an achievement, but also give you a consumable health restoring item, that can be recharged any time here by making some more tea.
Interact with the matcha twice, then with the water, then mix it and drink.
 Chajin
You get this by making some tea.
Then you should upgrade a single piece of armor one time. We will need most of the remaining shirikodama for another achievement.
 Fortifying Fortitude
You get this by upgrading a piece of armor.
At the blacksmith you have the option to upgrade your broken katana by combining it with another one. There are four possible combination, which I will describe below.
You simply have to choose the option to fix your broken katana at the blacksmith. I highly recommend to use this weapon as the target for the achievement Way of the Blacksmith described below.
 Restored Glory
You get this by combining your broken katana with any other katana.
There is an achievement for upgrading a piece of gear for a total of five times at the blacksmith. This will require 24 shirikodama, which you will not have when you first enter this area. I will refer back to this when you have the correct amount.
 Way of the Blacksmith
You get this by upgrading a weapon 5 times.
Upgrading a weapon will also unlock an achievement.
 Increasing Aggression
You get this by upgrading a weapon.
When you obtain one of the two muddy weapons from the bathhouse and save the servant, she can clean one of the weapons for an achievement.
Buff And Shine
 You get it by cleaning a weapon.
After you are done with the currently available achievements, you can go back to the courtyard.
At this point there will be two tower available to finish.
On one hand the Tower of Lamentation is easier, but the Tower of Crushing Assembly has a way to remove the Nuribotoke that is following you.
Tower of Lamentation
After entering there will be yet another shirikodama under the stairs.
 Bath Time
You will get this achievement after entering the bathhouse (Tower of Lamentation).
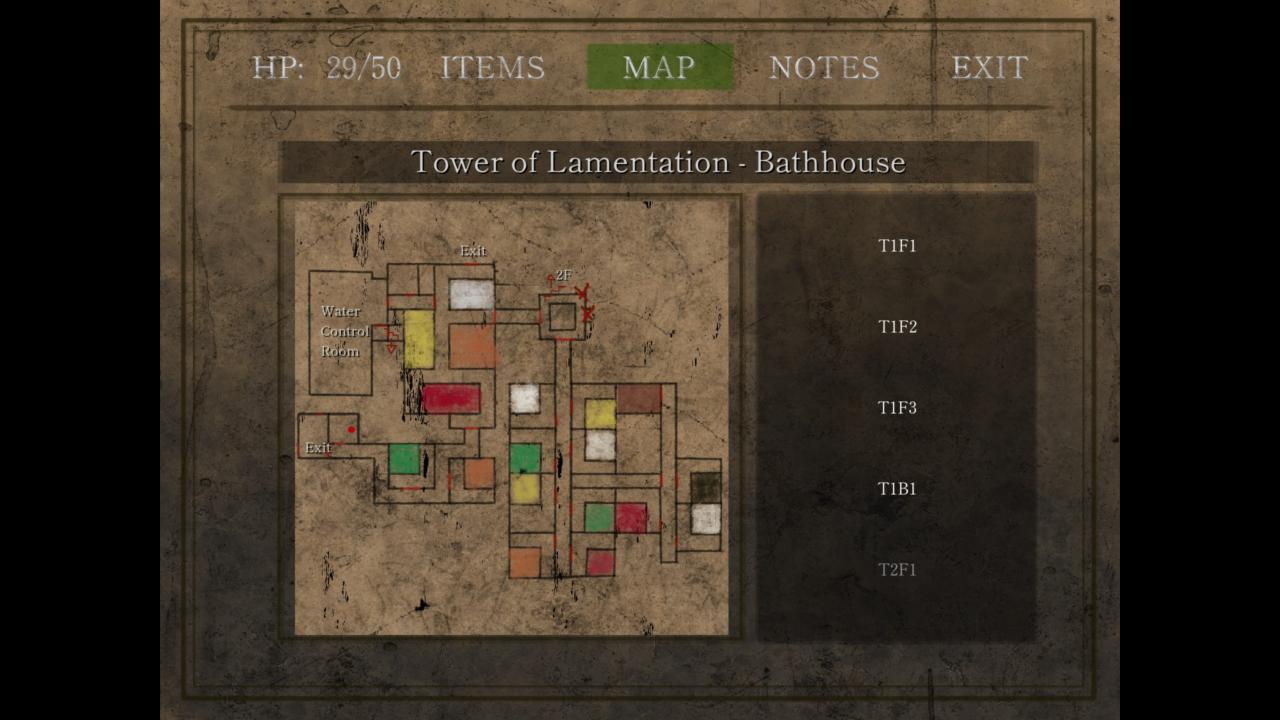
On your right there is a door. This is the Control Room, which you will need to visit regularly in this tower. Go inside and pick up the gem wheel from the table.

The bathhouse has a bunch of pools, each color coded. There is a wheel in the control room for every color, which will drain the pools for the corresponding color and only one wheel can be active at a time. These pool colors will be also marked on your map.
Put on the yellow wheel and turn it.
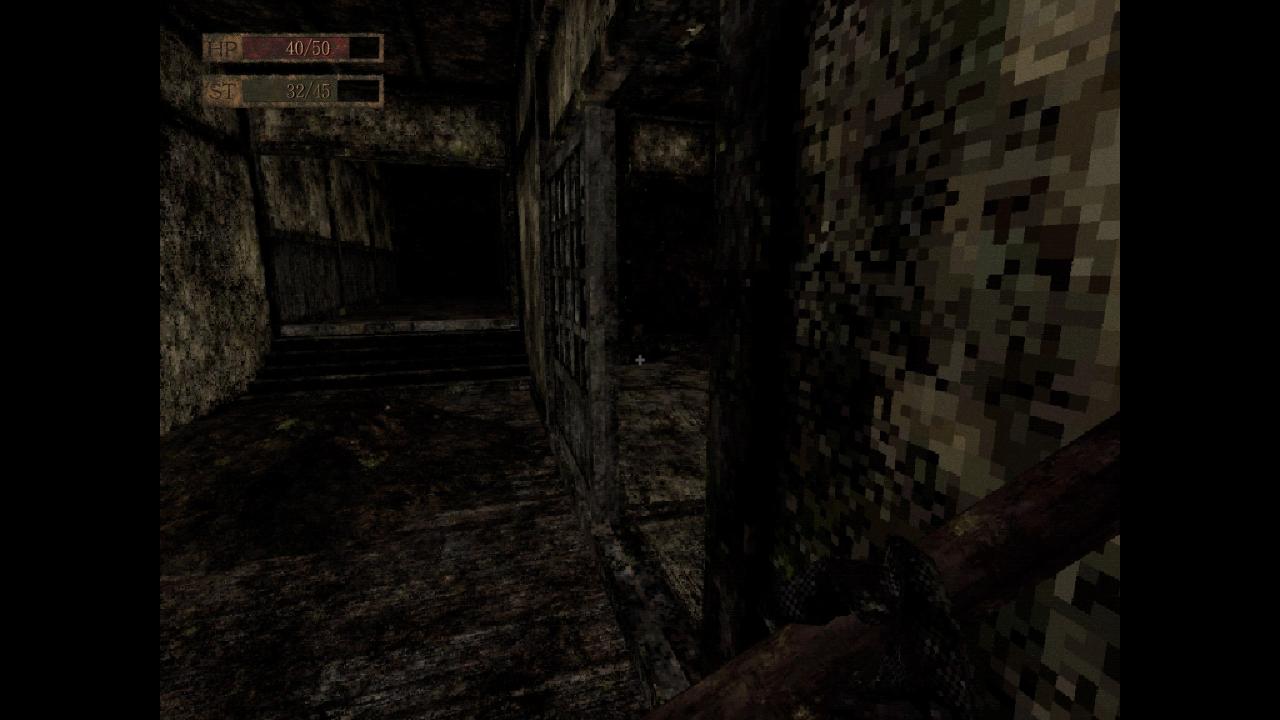
If you leave this room and go right, you will eventually reach a room with a shrine. The map for this floor will be on a table on the opposite side of the room.
After picking up the map, you should go find the door opposing to the control room entrance and go upstairs, then through the double-door. When inside, turn right and go through the hall. There will be another shirikodama and someone to save. She will give you the Brown Gem Wheel.
 Knight In Rusty Armour
You get this by saving the servant.
There will be a shirikodama in the room she was in.
NOTE:
The talisman she gives you is not single use.
There is another incense in one of the rooms on this floor, but other than that we are done with it (for now).
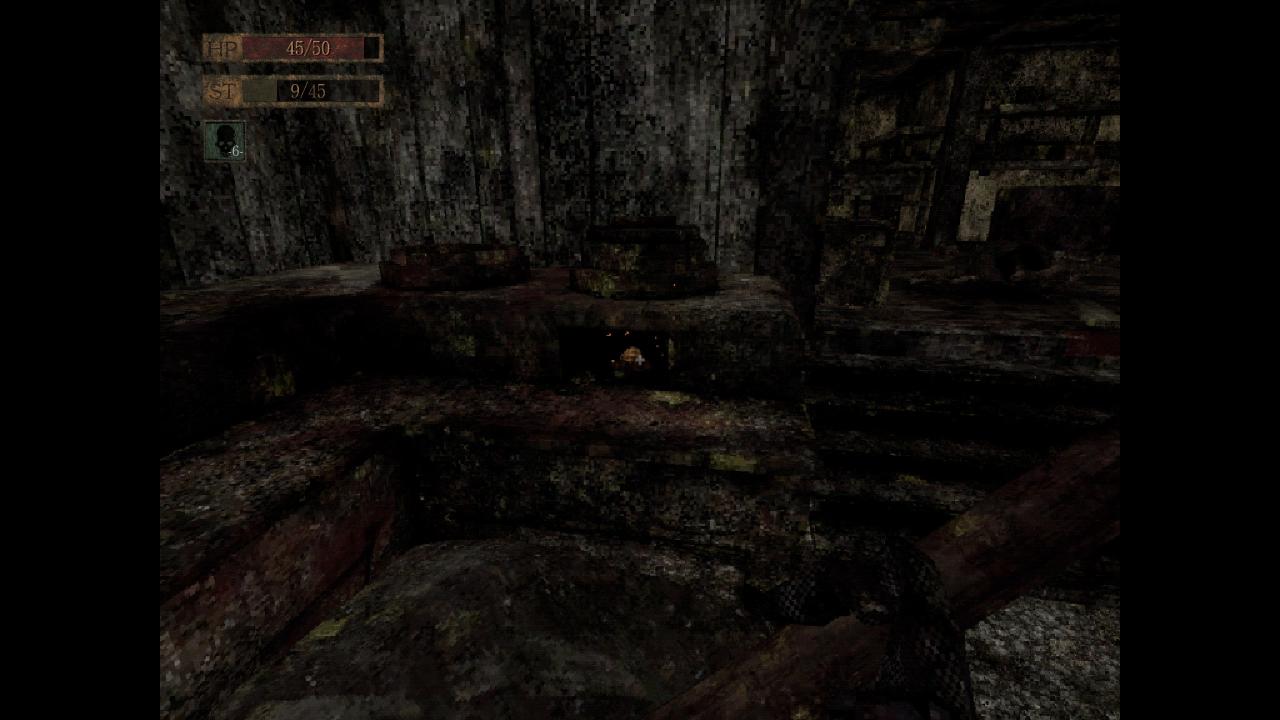
Go back to the control room, put on the brown gem wheel and use it. Now there will be a drained pool nearby after you leave the room. Climb into the hole in the center of it, then head to this room.
After you arrive you should collect the Rusted Wheel – Inner, then push the shelf away to open a shortcut.
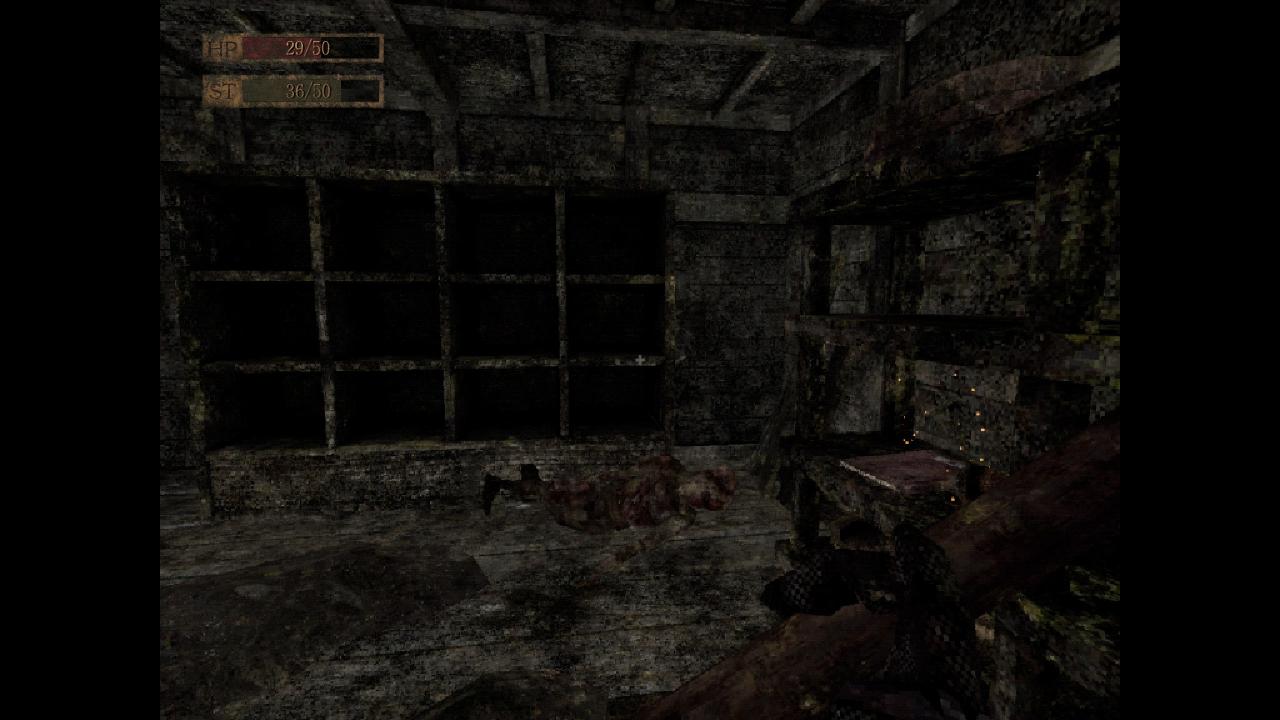
Don’t forget to also collect another shirikodama from one of the boxes and a new armor set on top of the self.
Go back to the control room and turn the green wheel, then head to this location to collect Rusted Wheel – Inner and combine it with the other part.
If you don’t already have the Genius achievement, you will get it now.
Go back to the control room to put on and use the black wheel.
Go to the only black pool on the map and collect the red wheel from the bottom of it. Head back to the control room, slap it on and use it. When you leave the room, there will be a pool drained nearby. Go and pick up the muddy weapon from it. This will be used to get another achievement when you next get back to the tea house. Simply give it to the servant.
When you have the muddy weapon, go back to the control room and activate the black wheel. Then head to the second floor, through the double door, then forward. A pool will be drained with a tunnel in the center, climb in it. This will immediately lead to a boss fight.
 Pop Goes The Nuppeppo
You get this for defeating the boss.
After defeating him, collect the shirikodama from the corner of the arena, pick up his yellow orb, then head upstairs to collect your rewards (a new weapon and a shirikodama).
If you put on the white wheel and use it, you can enter the tunnel in the center of the drained pool right in front of the control room. This will allow you to collect the Kodoku Katana and an incense if you wish so.
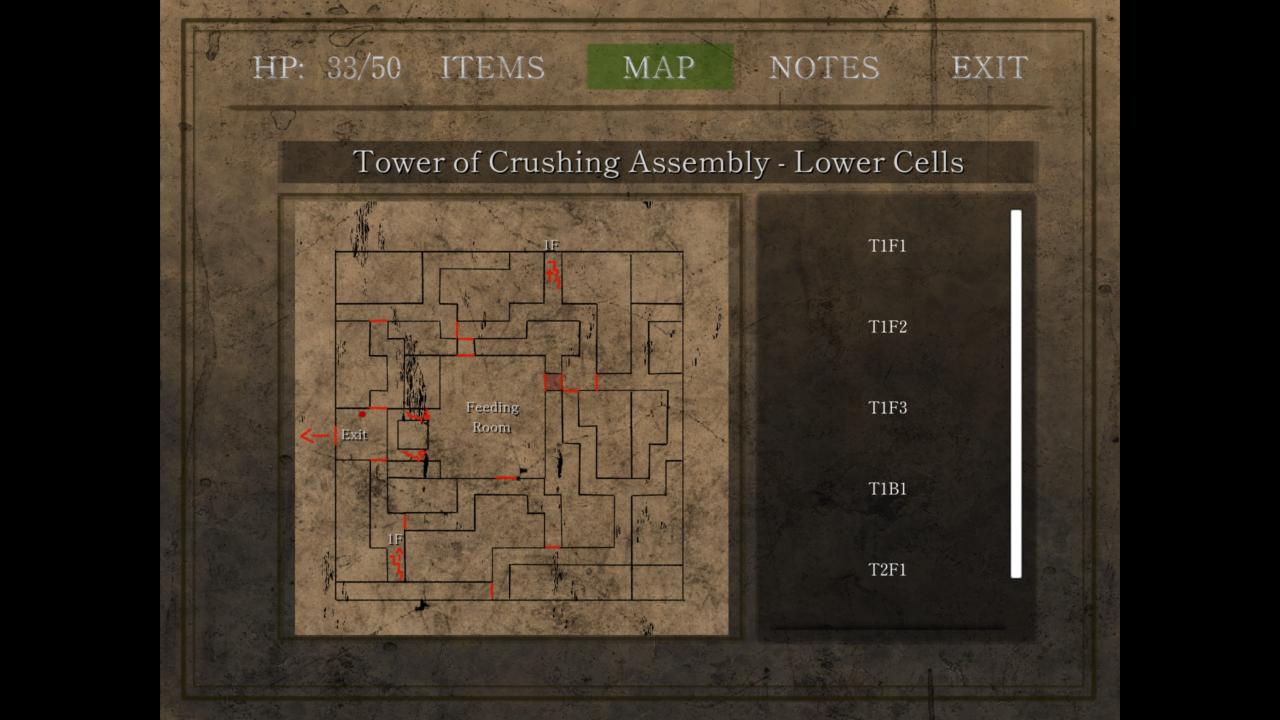
Tower of Crushing Assembly
 Hard Time
You can get this achievement by entering this tower.
The map is immediately in front of you on a table. There is also a shrine to the left.
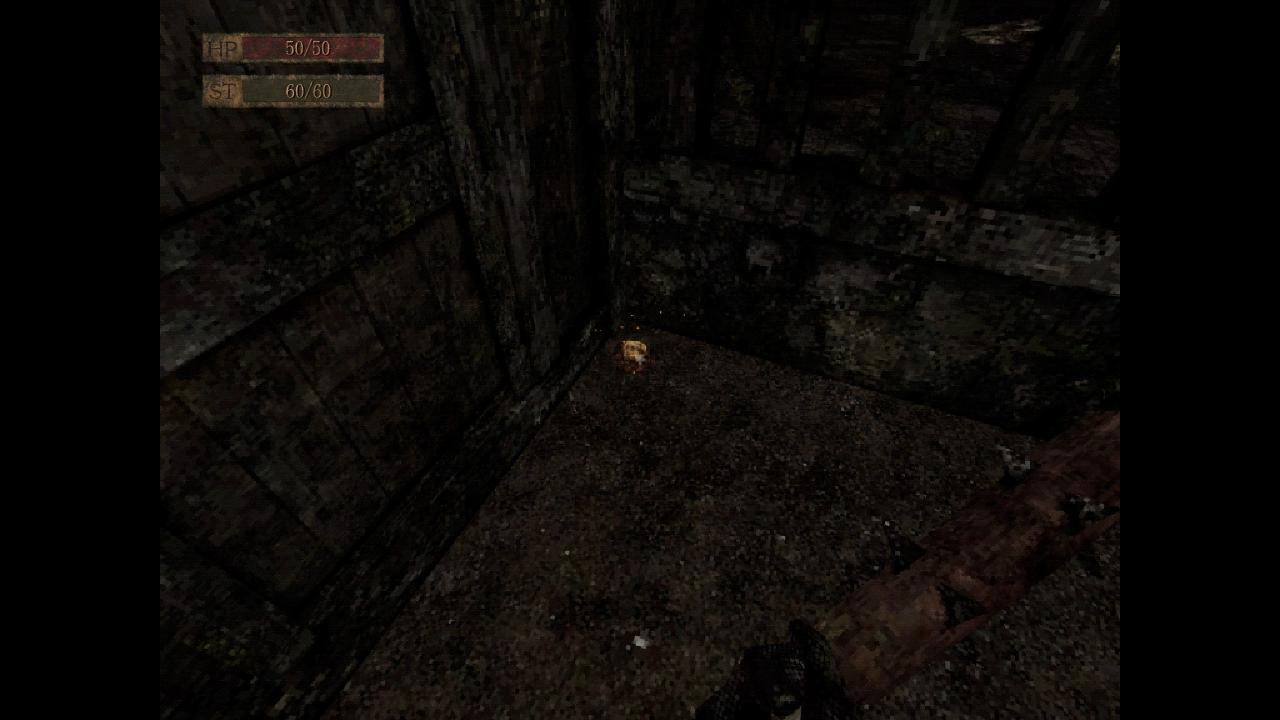
Your first stop should be here to collect a shirikodama from behind the boxes.

Then you should go to the Feeding Room, where you will fight a boss. You can enter here.
 Down Came The Ashigaru
You will get this after defeating the boss.
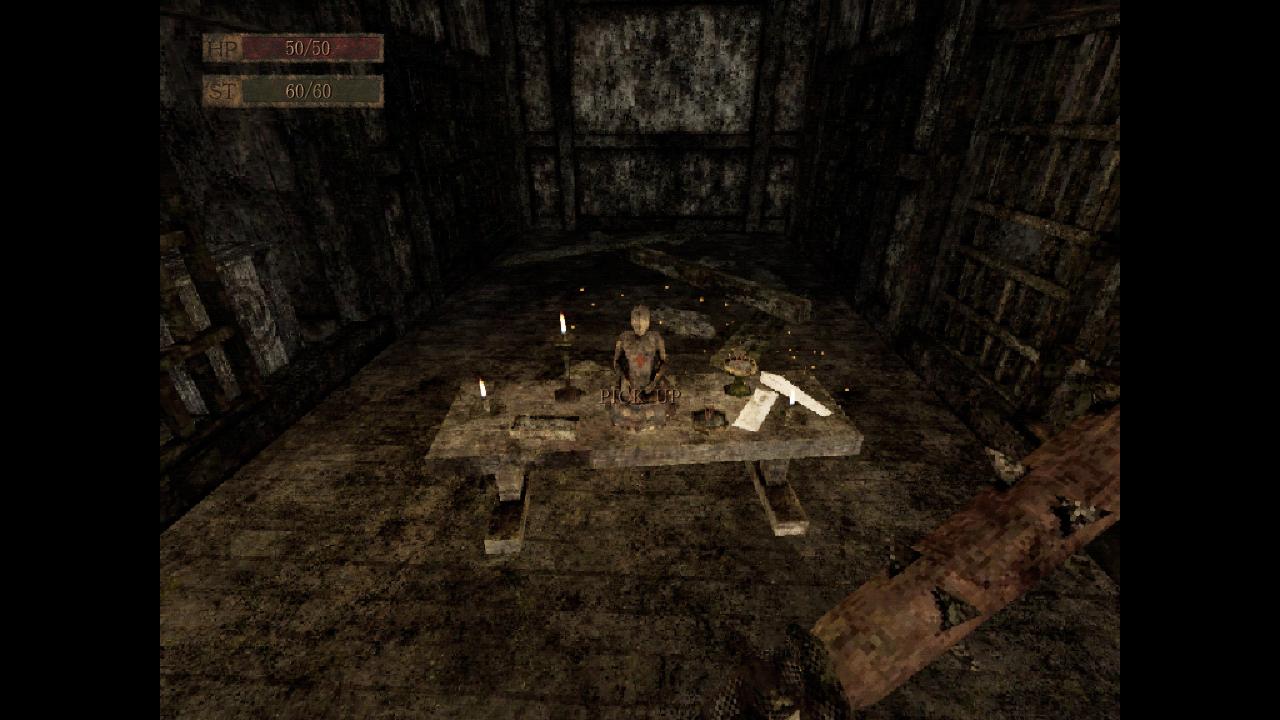
After defeating it one of the cocoons will start glowing. Interacting with it will free the priest.
 Holy Rescue
You will get this when freeing the priest.
There is a new accessible door in the arena, if you go through you will find another shirikodama.
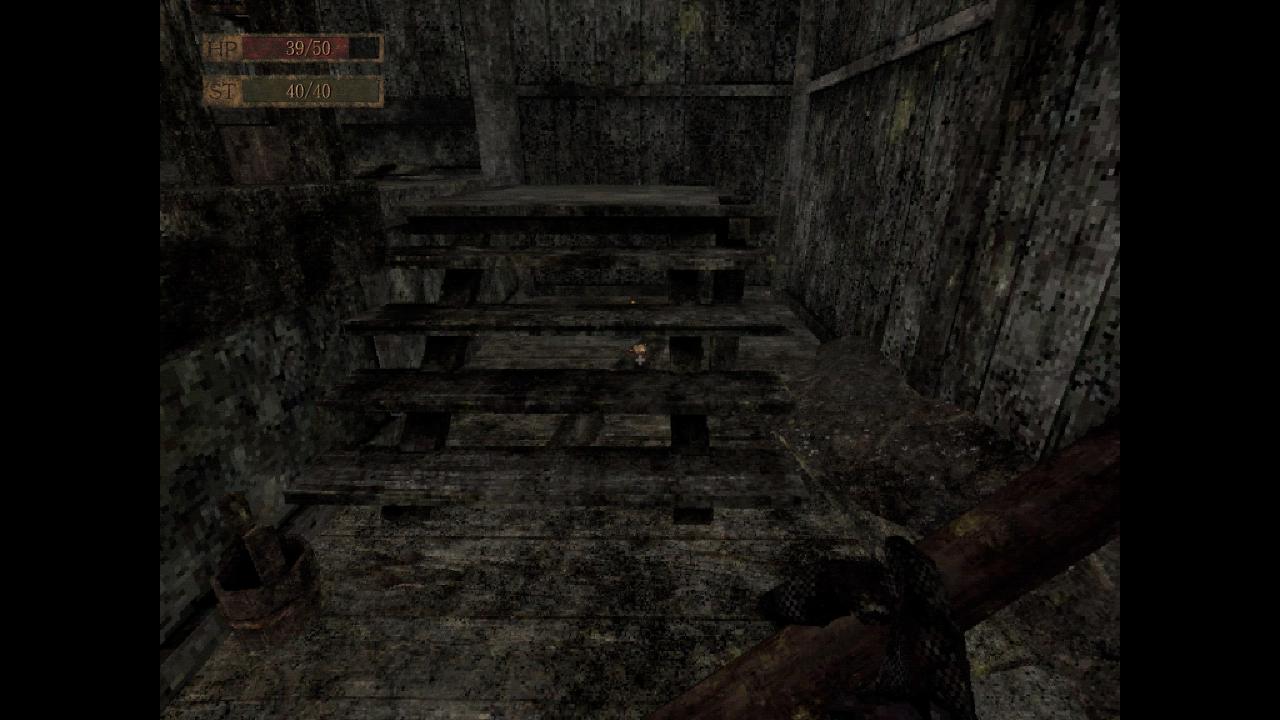
Going up the stairs to the execution room, you will find a meat hook. There is also a shirikodama in the left rear corner of the room.
If you go up again, you can find a shrine and a door in front of you. The next room is a hexagon with one door on each side.
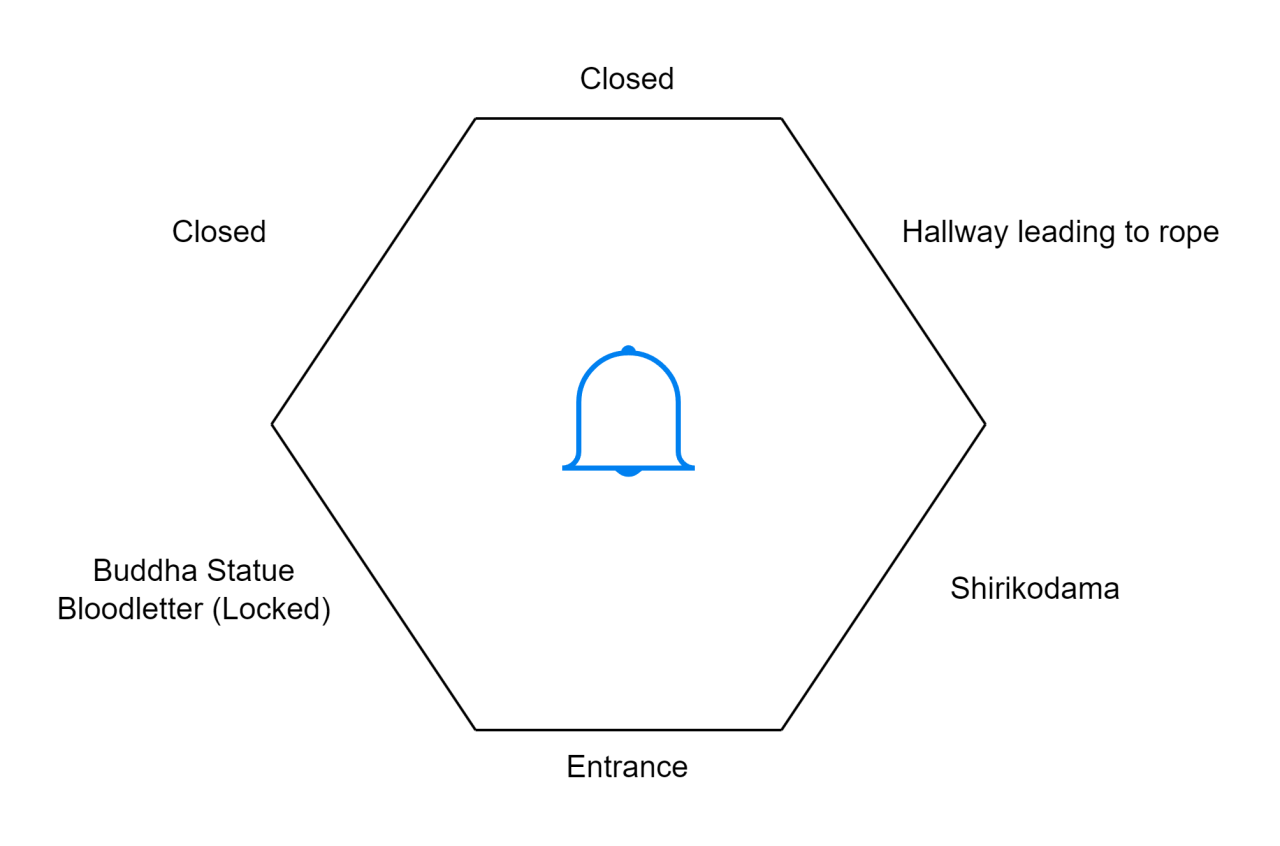
The first door on the right contains a shirikodama.
The first door on the left has the buddha statue. You need to take this back to the first tower and place it on the butsudan for an achievement. This will also prevent the Nuribotoke from chasing you.
 Butsudan Restored
Place the statue on the butsudan.
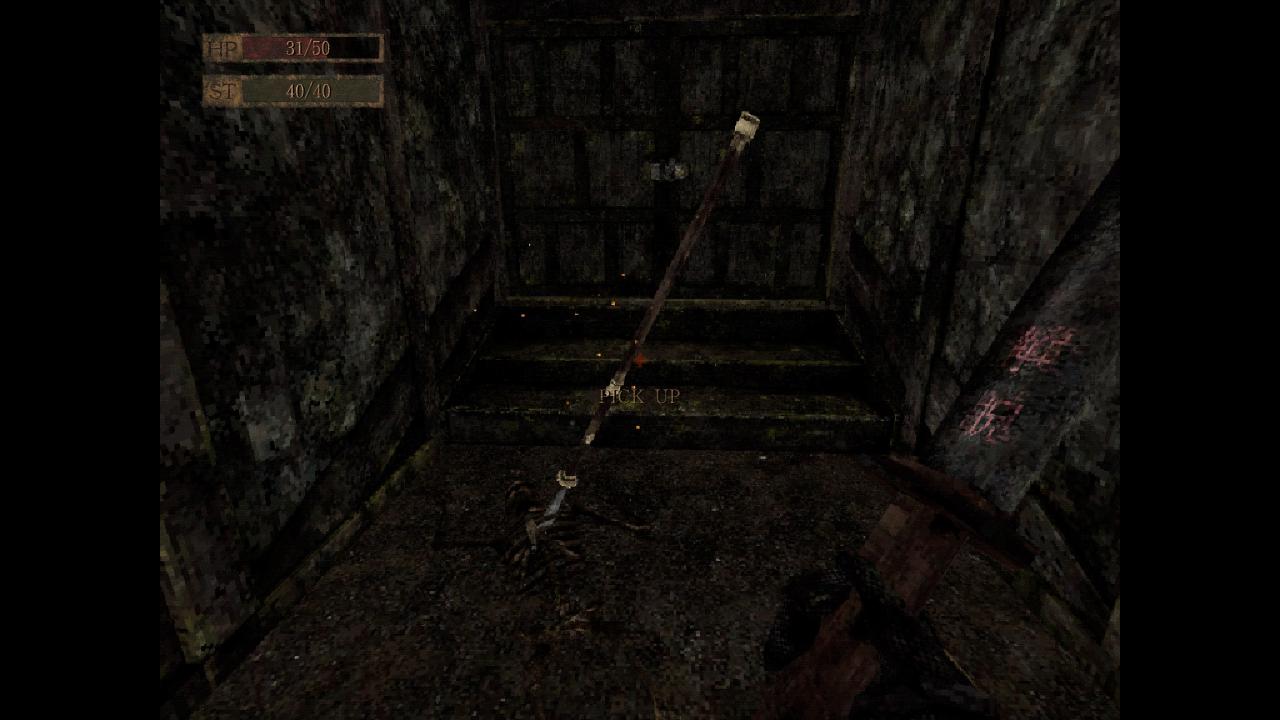
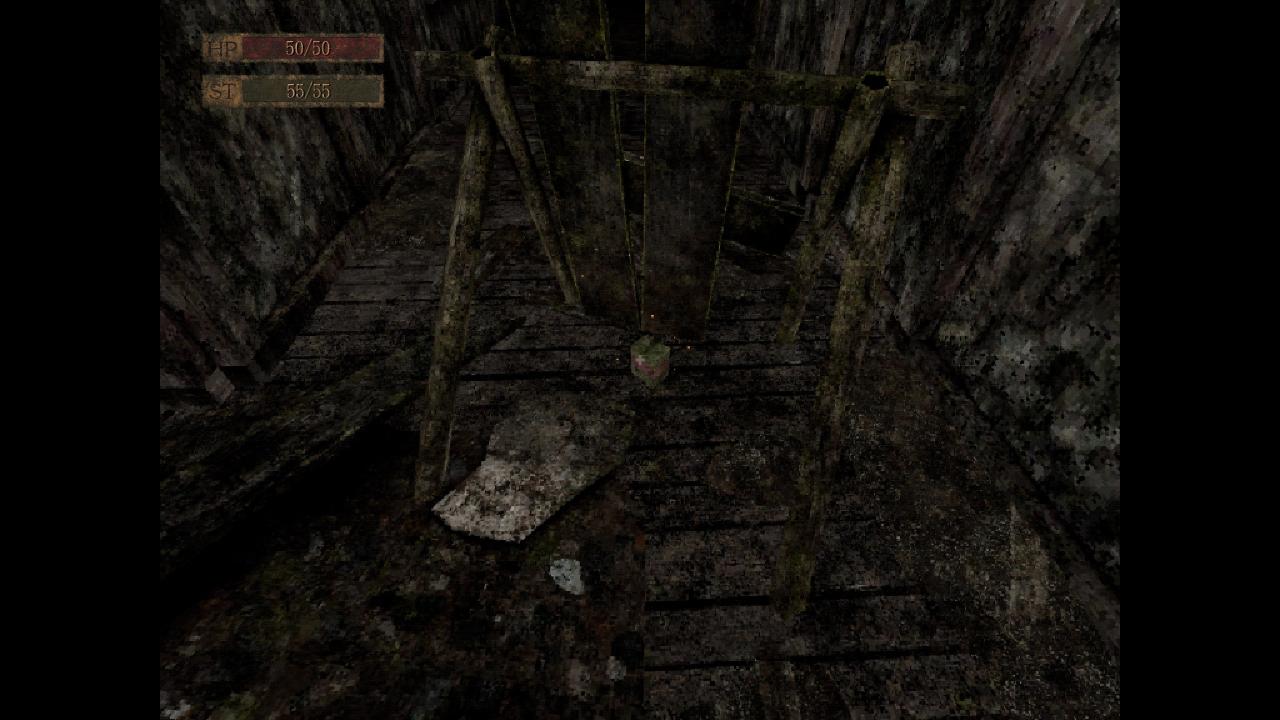
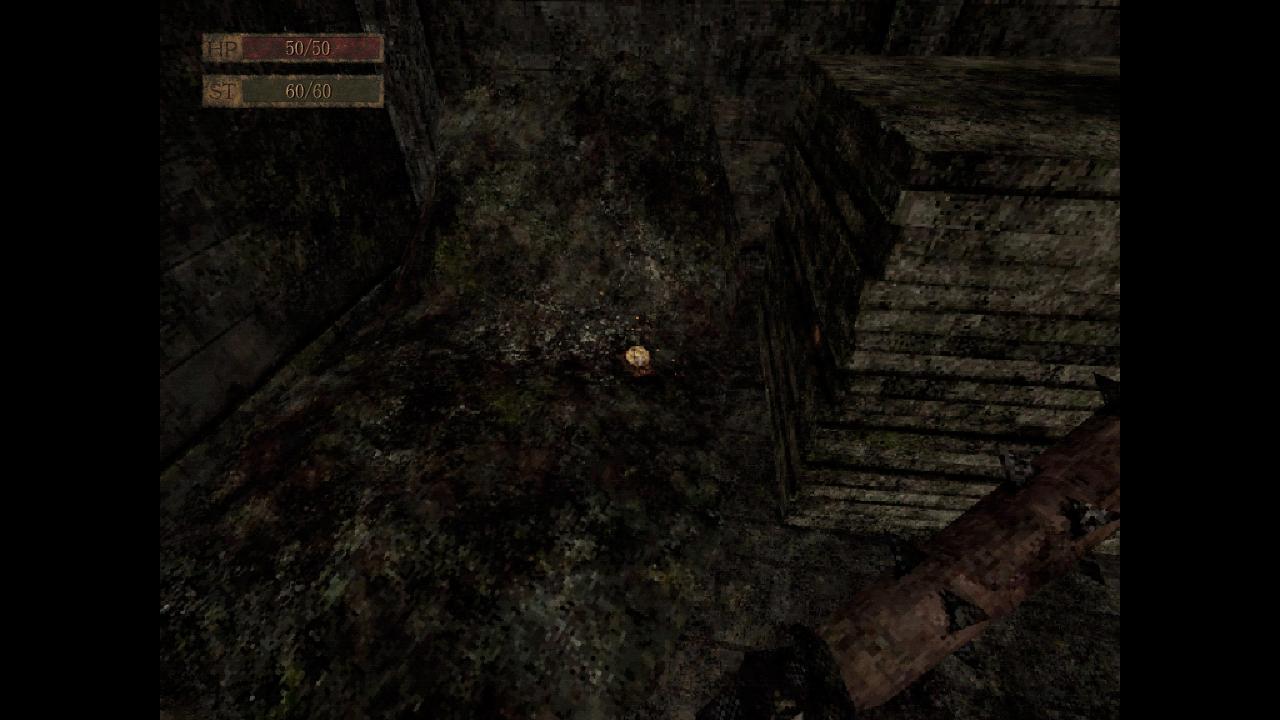
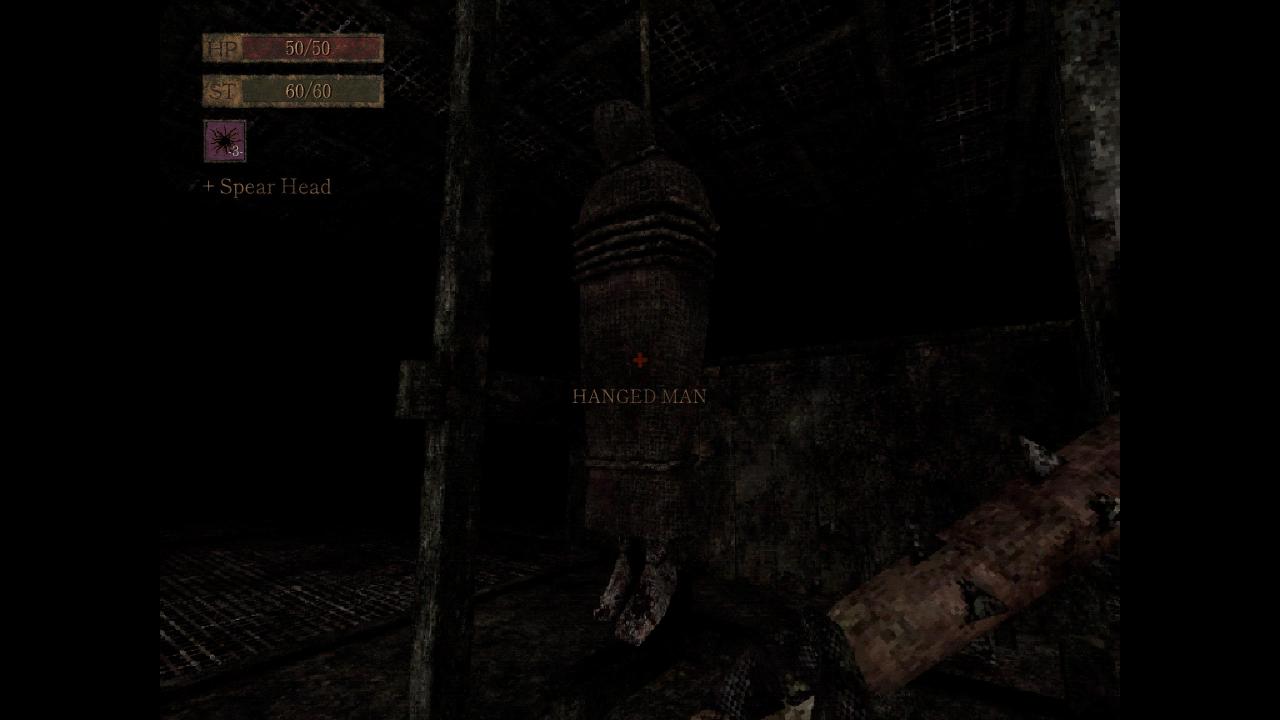
Then you should go to the second room on the right, make your way through the hallway, then enter the door. You will arrive at a giant hall. You simply have to go forward until you see a hanged man. Cut him down, so you get the rope and also take the spear head from beside him.
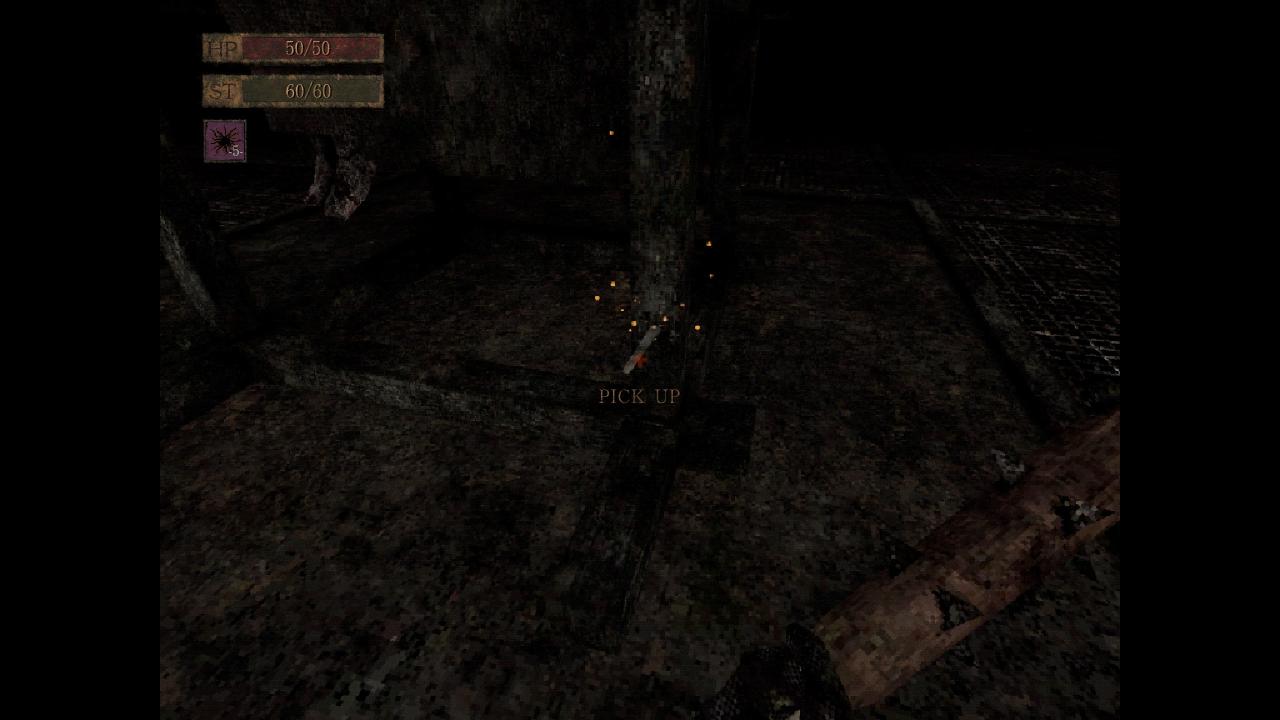
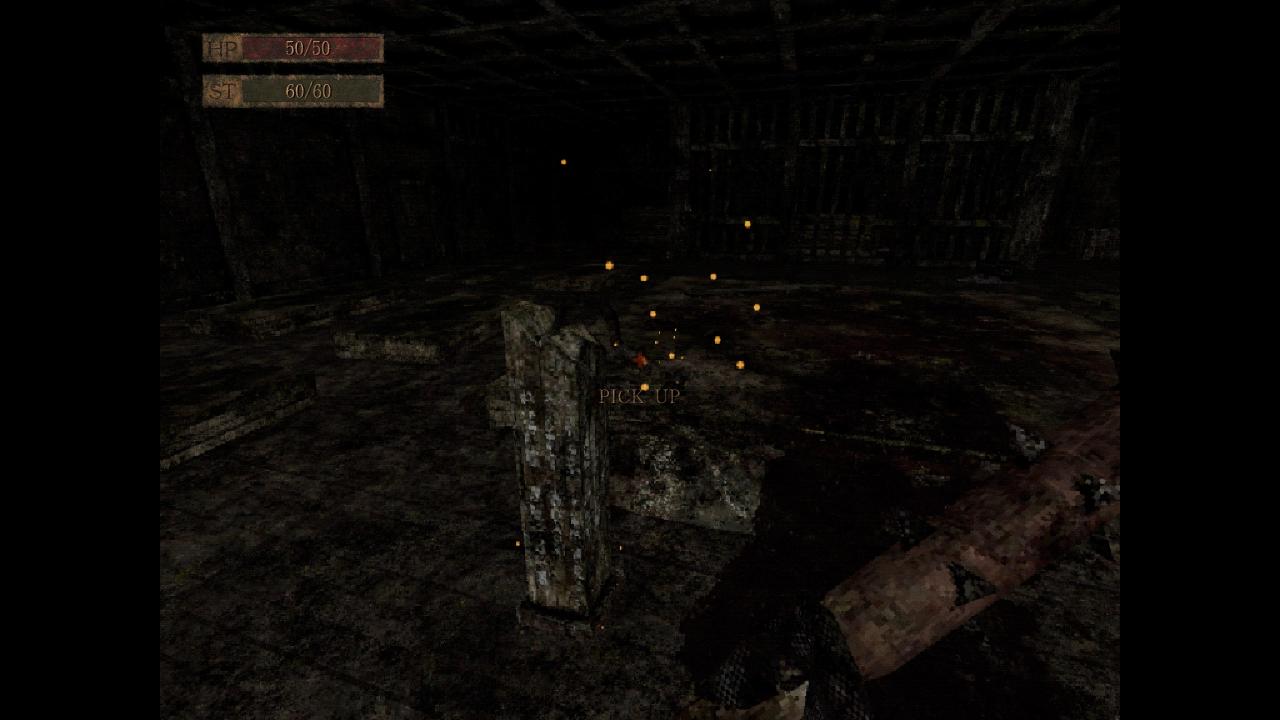
Now you should go back to the stairs and descend as much as you can (one floor below the feeding room). Collect the spear shaft and combine it with it’s head to obtain a new weapon.
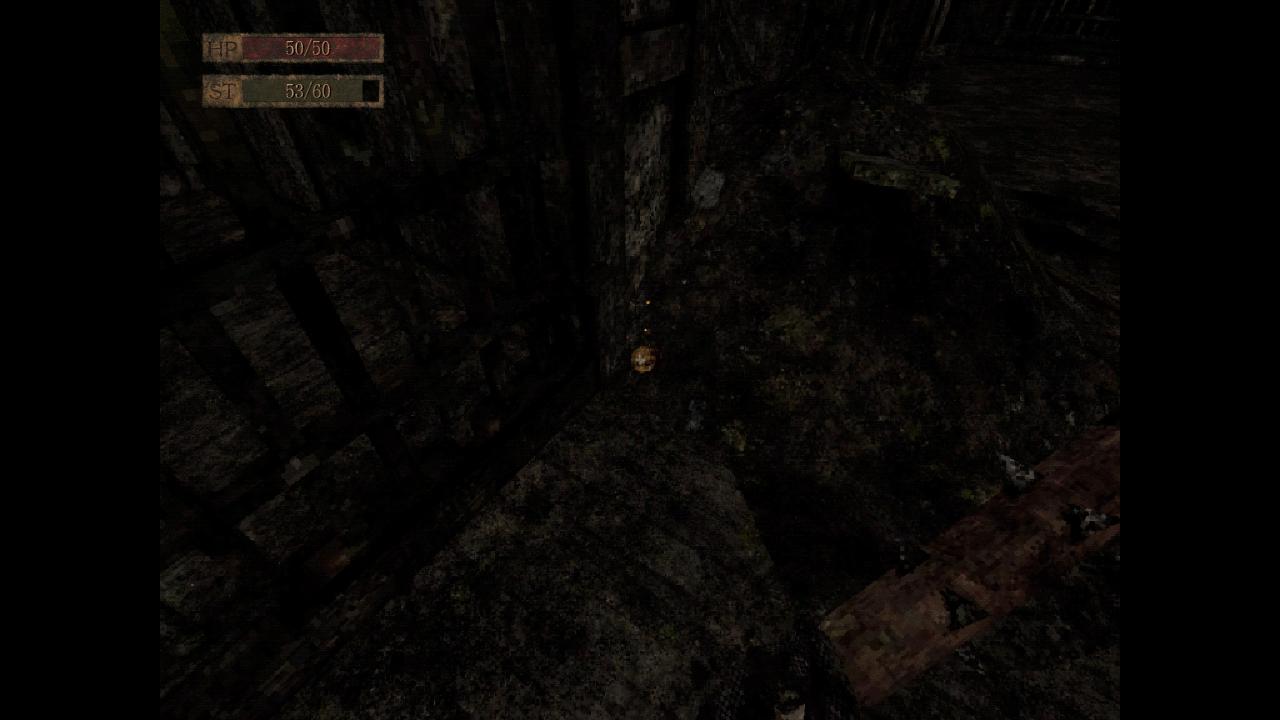
Then you should combine the rope with the meat hook, then use it in the big hole in front of you. This will reward you with a key.
Go up the stairs as far as you can, then collect the shirikodama from the left and open the chest to get the bell hammer.
You can use the key to get the Bloodletter katana from the left side of the hexagonal room (where you got the buddha statue).

Your next task is to ring the four bells to summon the boss of this tower. The order does not matter.
- The first in the center of the hexagonal room.
- The second one at the middle cells. You can get there by going to the lower cells (where you entered the tower) and using the stairs on the south side of the map.
- The third one is at the end of the hallway, from the left door of the execution room (above the feeding room).
- The last one is in the feeding room by the stairs.
After ringing all of them, the boss will spawn at the execution room (where you found the meat hook).
 Jailbreak
You get this after defeating the boss.
If you finished him, grab the yellow orb, then head to the exit, which is the opposite side from the stairs in the same room you fought in.
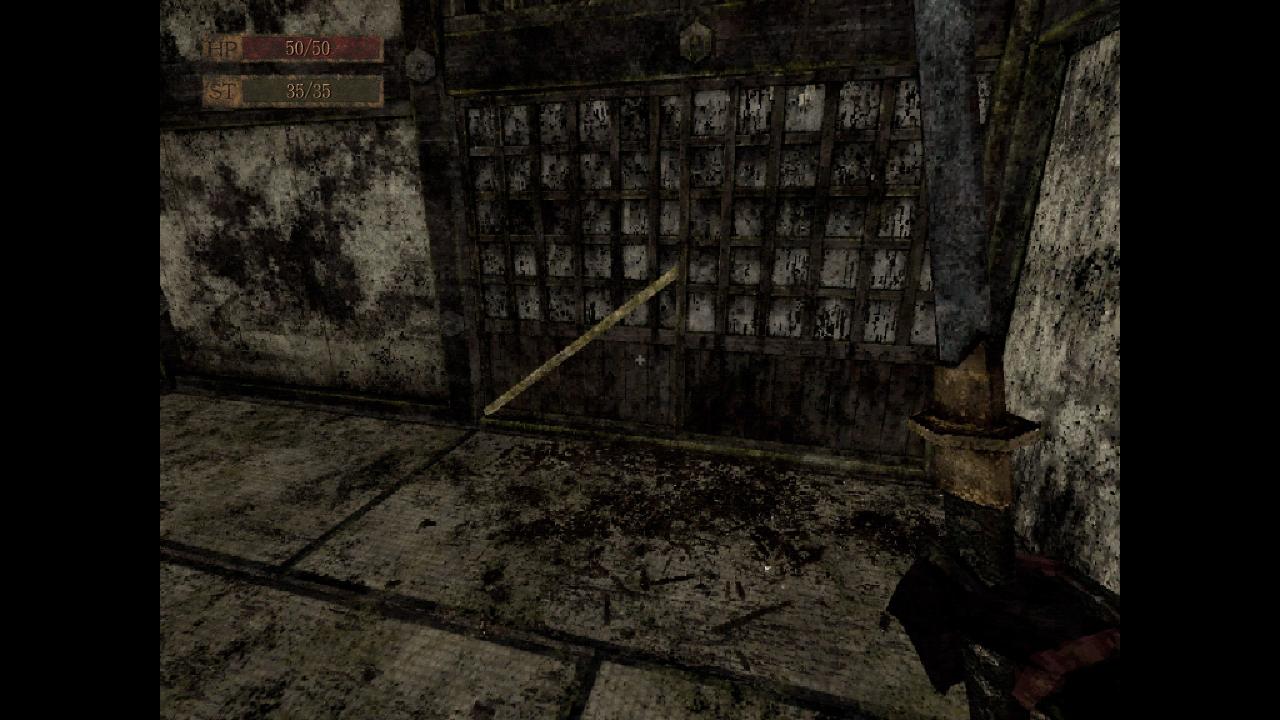
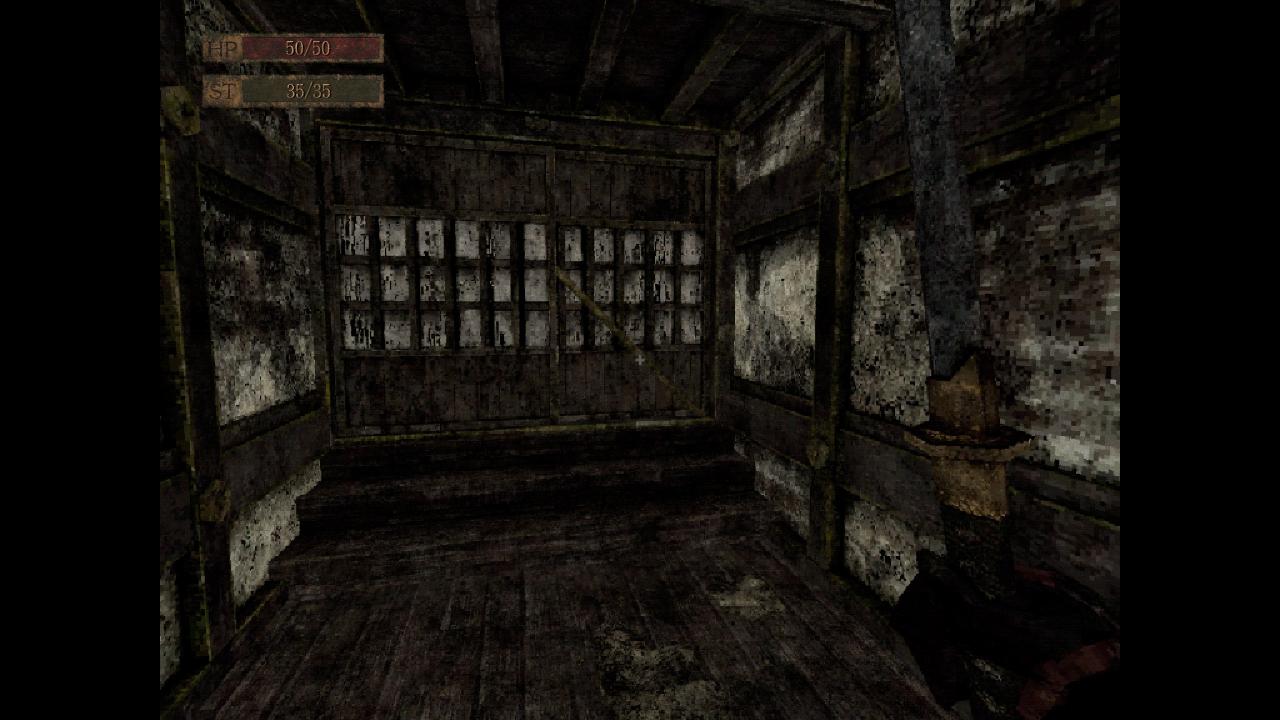
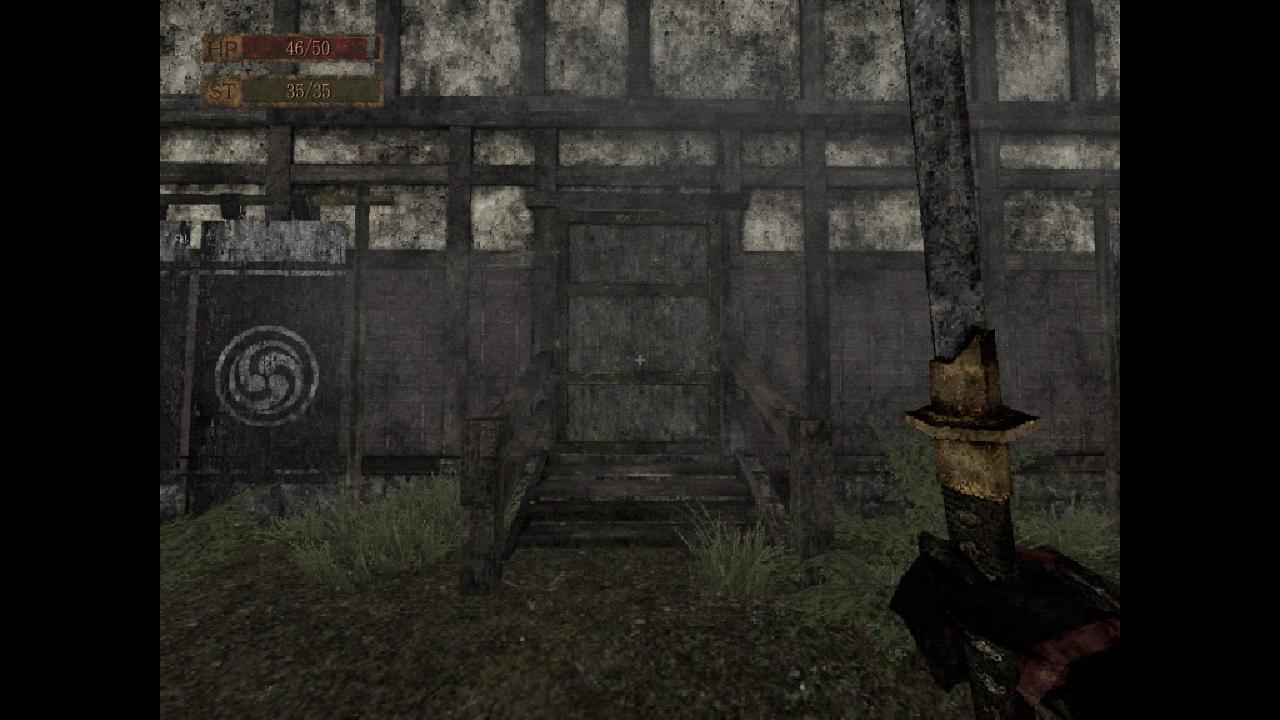
The entrance to the last tower will be directly in front of you when you leave through the door.
Tower of No Interval
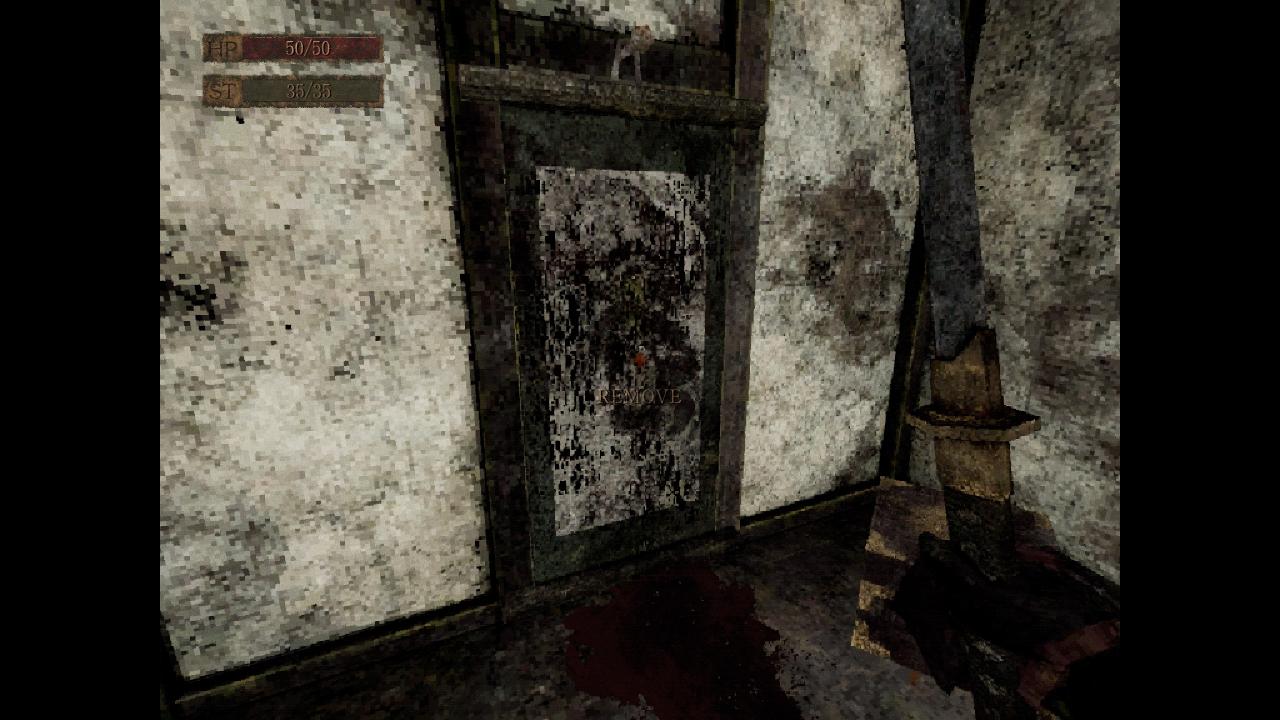
 Show Time
You will get this after entering the door behind the painting.
After the chase, you will have the opportunity to save, then a cinematic plays and you have a little chat with the final boss.
 Revenge
You will get this when you defeat the final boss.
After defeating the Demon King, you can just walk along the river, then the credits will play.
Congratulations! You achieved 100% in the game.