In this guide, I will show you how to fight every secret “Shadow Crystal” boss in the game (without spoiling the characters’ identities).
CHAPTER 1 – (THE BEGINNING)
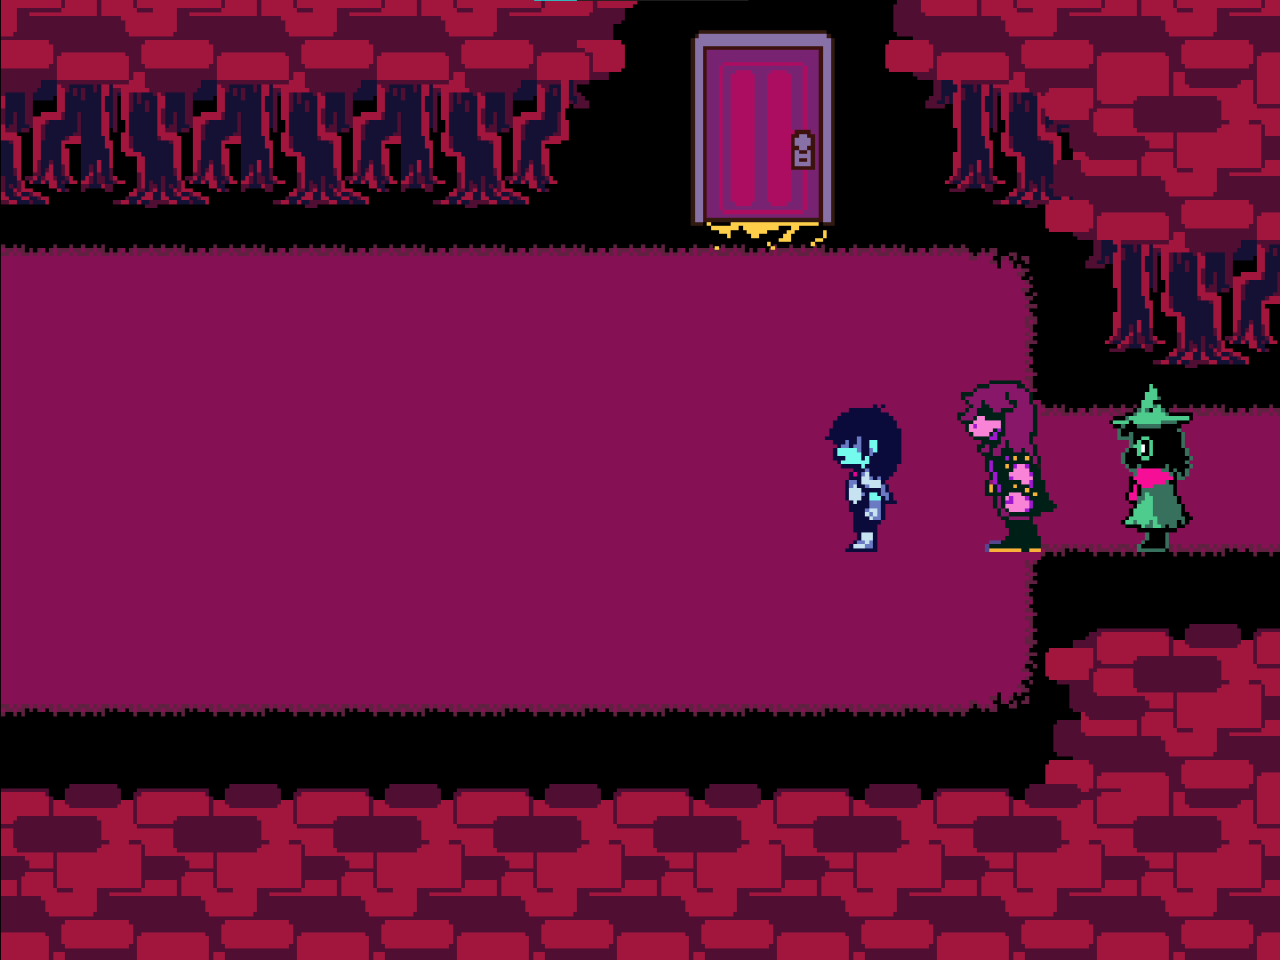
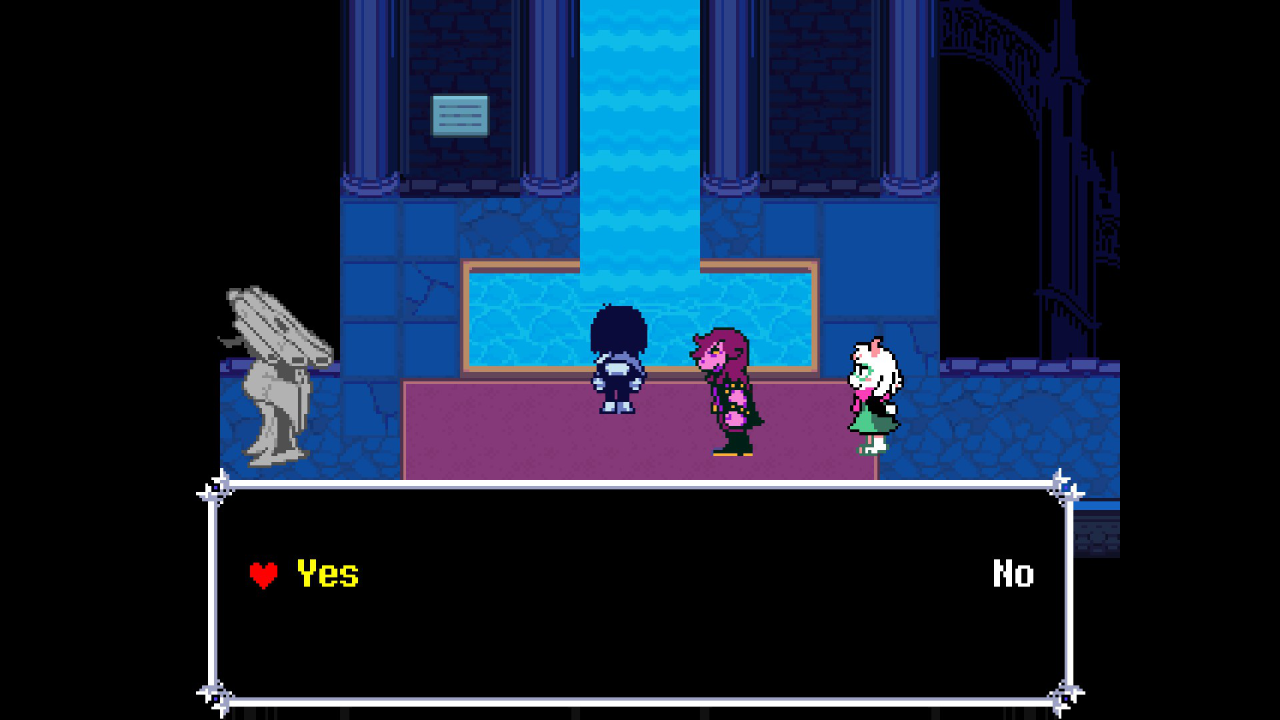
When you get access to the first floor, take the elevator to the right of the entrance and click on “??????” which will send you to the dungeon of the castle. Now talk to the person behind the door. ![.png]](https://kosguides.com/wp-content/uploads/2025/06/unnamed-file-59.png ".png]")
Talking to the darkner will give you a new dialogue option with Seam, the shopkeeper back in the Fields of Hopes and Dreams. Head back to the Fields using the Warp Door outside the Castle, it should look like this.
Select the “Strange prisoner” option and Seam will give you a piece of the key you need to open the door as well as the hint “Walk where the stars don’t shine.”
What does that hint mean? Well if you go back to the Scarlet Forest you can see a path through the darkness in the Scissor Dancer area, marked by the path covering the stars. Go down to that path and you can find a chest that will give you another piece of the key.
Heading back to the Fields, head northeast in the area before you enter the Great Board. There’ll be a puzzle where you need to input the combination of the Card Castle suits, in order from the lowest to the highest. The password is Diamond, Heart, Club, Spade.
Once you have all three key pieces, go back to the Bake Sale and have Malius (the hammer darkner) repair the broken key pieces to create the Door Key. Now that you got it, return back to the dungeon of the Card Castle and use the Door Key on the door and you can fight the secret boss. Depending on whether you use violence or spare them, you can get rewarded different equipment. You can get an ax for Susie that raises both attack and magic while also decreasing Rude Buster’s TP cost by 10 or an armor that raises all stats by 2 Also if you go back to Seam after defeating them, you can get special dialogue that gives some lore on the character. Have fun!
CHAPTER 2 – (A CYBER’S WORLD)
![.png]](https://kosguides.com/wp-content/uploads/2025/06/unnamed-file-61.png ".png]")
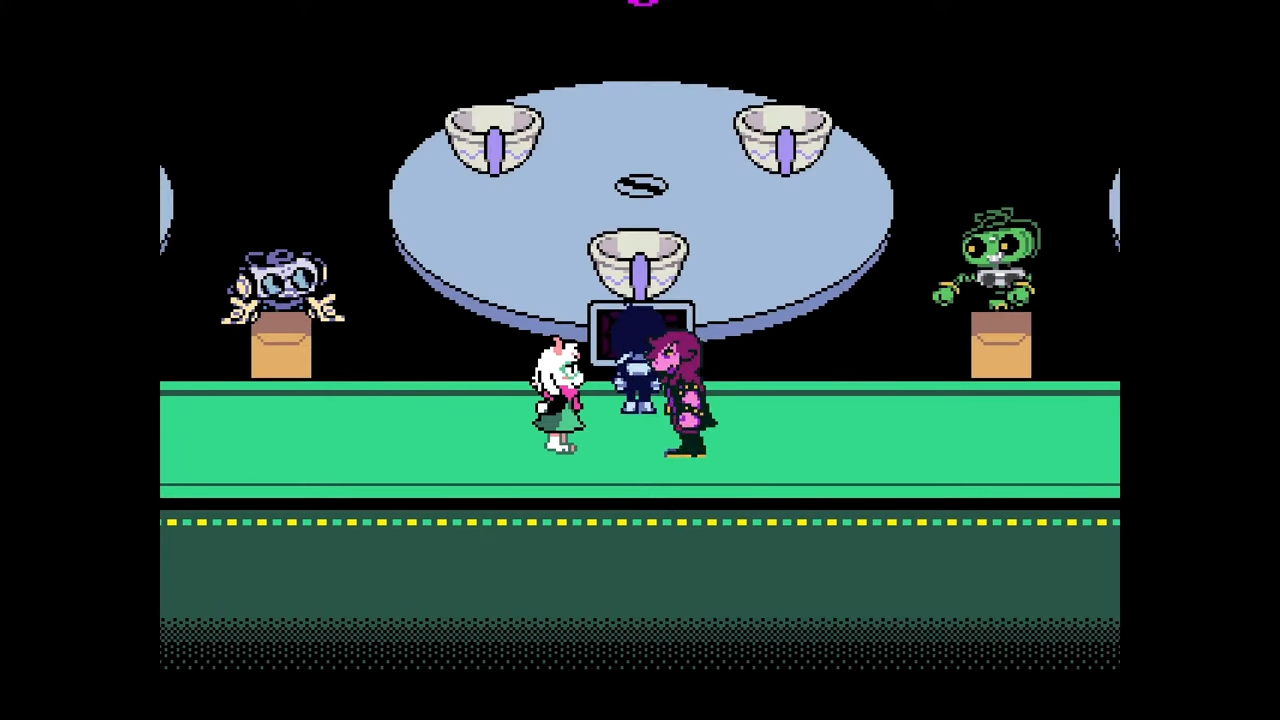
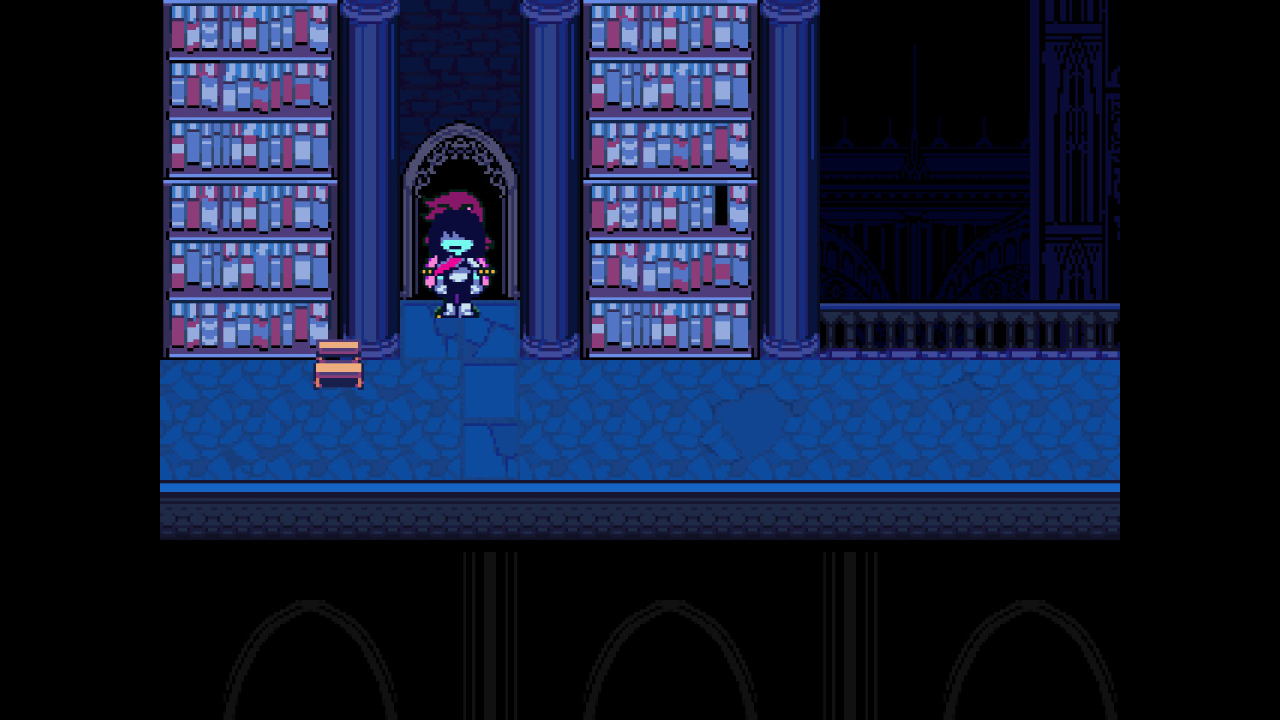
Head south, you’ll know you’re in the right area if you see a “Stupid” pop-up. Inside is the first checkmark.
Continue on until you see the three tea cup rides, ride the one in the middle and you will find your second checkmark.
The final checkmark is found at the same tea cup area but to the left. Solve the puzzle to obtain it, then head back to the Hacker. This will be important later.
Now that that’s out of the way, proceed normally through the Dark World until you encounter Spamton. Be sure to spare him, if you lower his health all the way you will be locked out of getting the ShadowCrystal so don’t. Go through the game until you reach Queen’s Mansion and find a Warp Door, then go back to the Trash Zone. Head to the left and enter his store.
Now that you are in his store, you can talk to him about various things, but the reason you want to be here is for the KeyGen. The prices of all his items rotate between random amounts, but if you select an item the price will freeze. Try to get a good deal! (Or one you can afford)

Return to Queen’s Mansion and explore until you find a long room with the Hacker pacing back and forth. (You’ll know you are near if you find the area with the cars).
Watch him carefully, as he will reveal a switch you need to press to access the basement. Use the KeyGen and go inside the basement and wander until you find the machine. Obtain the EmptyDisk and head back to Spamton’s store and get the LoadedDisk and go back to the basement one more time.
Like the last boss, this one will drop an item depending on how you end the fight. You get a scarf for Ralsei that raises his attack further than Ragger2, or an armor that raises magic and money gained by 30%. Have fun!
CHAPTER 3 – (LATE NIGHT)
This is easily the longest sidequest in the game so strap in.
To get the ShadowMantle to be able to beat the boss, you have to get S-Ranks both of the boards so you can access backstage. If you fail to get S-Rank, a Pippin in the Green Room will make it so you did get an S-Rank for the board you did. If you are replaying the chapter after you’ve beaten it already this should be no problem but some tips would be to get the four keys on the first board, and eating the moss and getting to the green spring on board 2. A general rule of thumb is to be reaching the TP bonus after each encounter. Not only do you get more points, but it increases your rank. If you’re not confident in your ability to get S-Ranks, a last ditch solution would be to make Susie pull weeds to get points to buy the S-Rank since they reload when you re-enter.
When you are done with each board, head backstage (the big door labeled “S” on it) and play Ramb’s game.
In the first game, you must kill every monster to become stronger. Upon reaching LV 3, destroy the cactus on the right side of the map and kill every remaining monster there. Once you do, you can destroy trees and go out of bounds. Keep destroying tree tiles in a single direction until you find a chest containing the Ice Key.
In the second game, it’s the same deal. Kill every monster until you are LV 2. Take a raft and destroy the plant blocking the waterfall. Now raft towards the top of the world until you find a glacier, then enter with the key. You will see a penguin monster blocking the way that you can’t kill, but you have to find a character who can do it for you. You will find a maze eventually, to know the way she will stop if you are going the wrong direction. Proceed until it is done.
Now continue as normal until you loop back around into the Green Room after messing around in TV World. Head backstage again for the last time. Get the sword and become stronger until you reach LV 3, then destroy the barricades. Things are linear from here on out so I recommend experiencing it for yourself.
Once you have the ShadowMantle and equip it to your party member of choice (I recommend Susie), continue on to the end of the chapter. The boss is virtually impossible without the ShadowMantle and it’s probably one of the hardest bosses in a Toby Fox game, but keep at it and you can do it eventually (be sure to bring extra ReviveMints). Have fun!
CHAPTER 4 – (PROPHECY)
In the Old Man’s study you will see a painting that can be interacted with labeled “Legend of the Magic Ax”. To open the door to the secret boss, you must play notes on a golden piano in the area where you get the two halves for another piano.
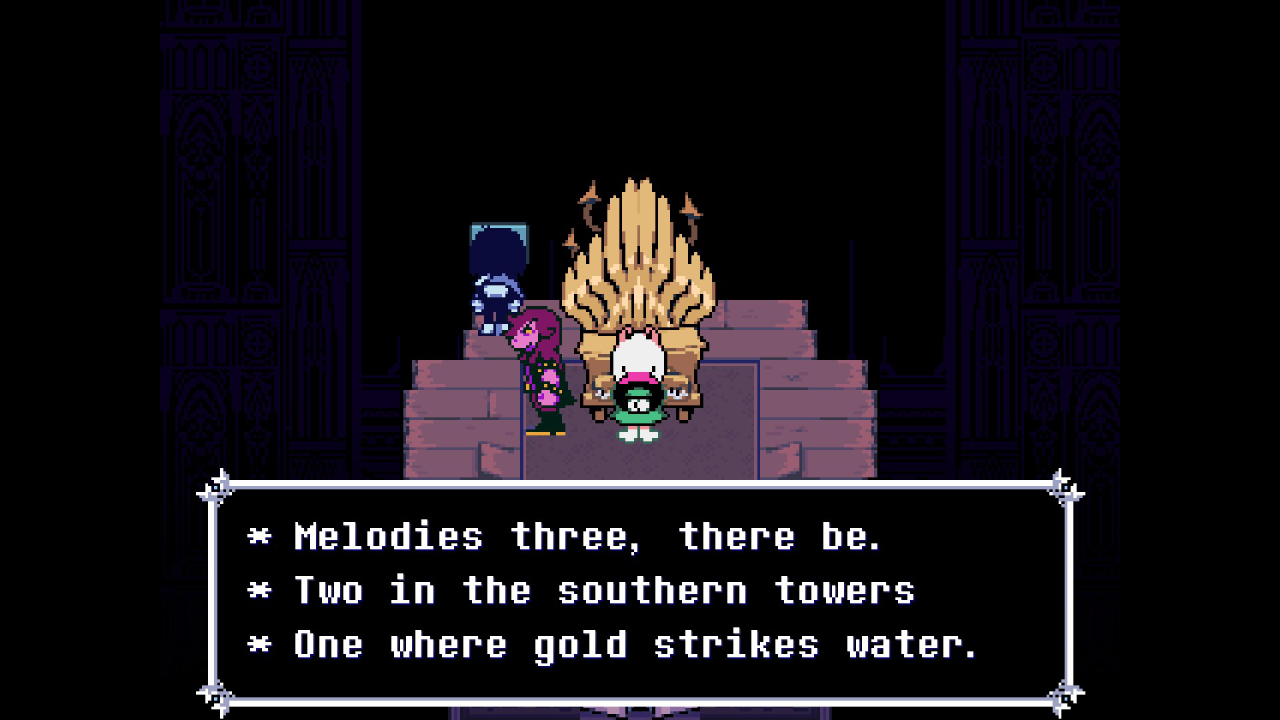
Below are the locations for the sheet pieces:
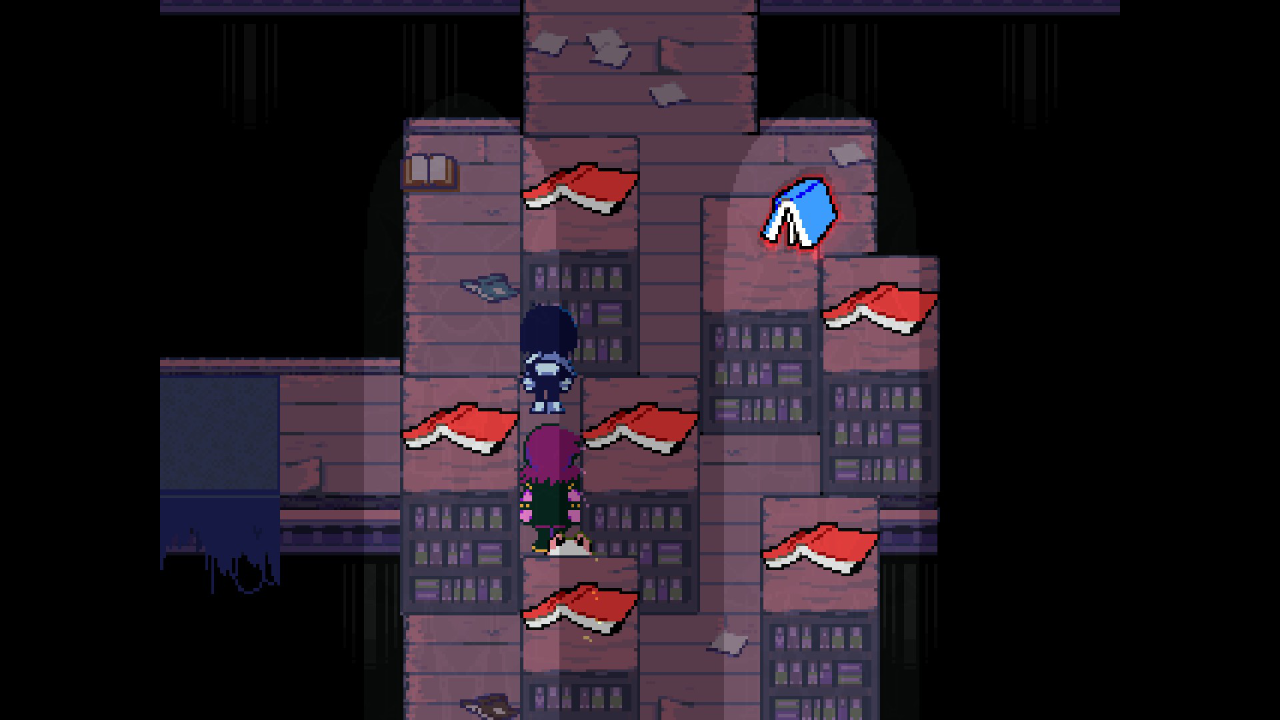
One part of the sheet can be found to the left of the Bibliox can spawn, at the waterfall. Donate at least 100 Dark Dollars into it and the path will be revealed and you can find part of the sheet there.
Return to back where you first met the Old Man to the right of the bookshelf that opened up the path to the study, and climb up the rocks to find the second piece.
For the last sheet, backtrack to before the study in the area with the darkness balls (to the left of the bookshelf) and head to the left, and climb up. Reach the top to get the last piece.
Defeating this boss will prove to be challenging but if you win, you get Susie’s most powerful ax so far. Have fun!