
A beginner’s guide that covers the basics of Rangedrifter and some tips on how to survive.
Controls & Knowing the World
First is the Controls Menu. Rangedrifter uses very few keybinds, and some are used for multiple actions. The controls menu describes all of the uses for each of the 4 action keys.
Second is the Help Menu. The help menu is a compendium of all items, objects, and monsters in the game. This can help you grow accustomed to the world and help identify unknown symbols.
Food & Starvation
Food is obtained one of three ways: collecting berries, killing animals, and monster flesh.
- Berry bushes appear sparsely throughout the map as red bushes. Breaking these bushes will drop berries that turn into food when picked up.
- Killing animals such as deer, wolves, bears, and raptors has a small chance to drop meat. When picked up, meat will turn into food.
- Killing monsters such as zombies, spiders, and ghouls has a small chance to drop flesh. When picked up flesh will turn into gunk. Gunk can be eaten to refill hunger, however it will also inflict you with the Weakened effect.
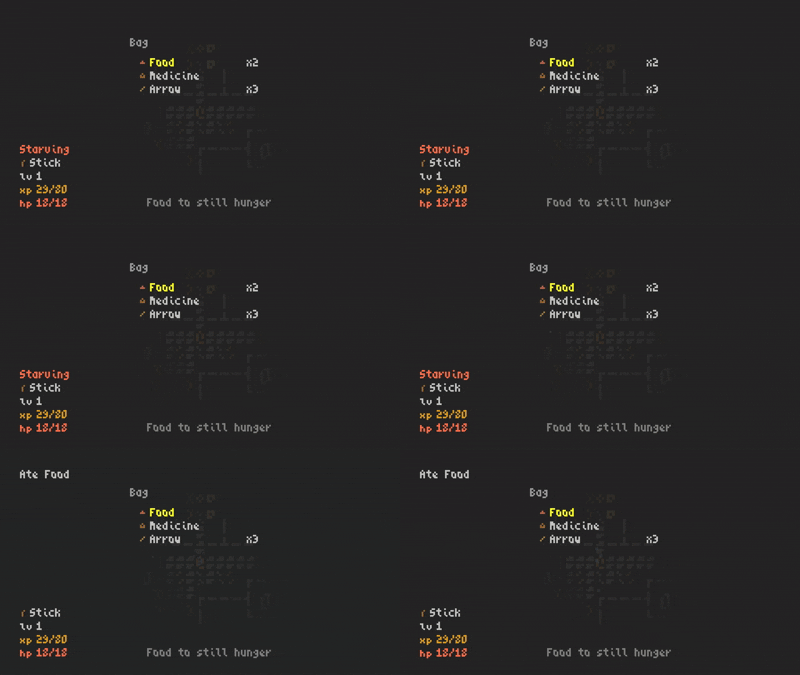
After you’ve obtained your food, the best way to prevent running out of it is to wait until the very last moment to eat it. New players will often eat food when they are in the Hungry state. However, waiting until the Starving state is more efficient as food will always fill you to max hunger. By waiting until you’re starving to eat, you double the amount of time before you have to eat again.
If you’re good at avoiding taking hits and have more potions than food, you could also allow yourself to take a few ticks of damage from starvation before eating to extend the amount of time you have even further.
(example of food completely restoring your hunger from starvation)
Combat & Movement
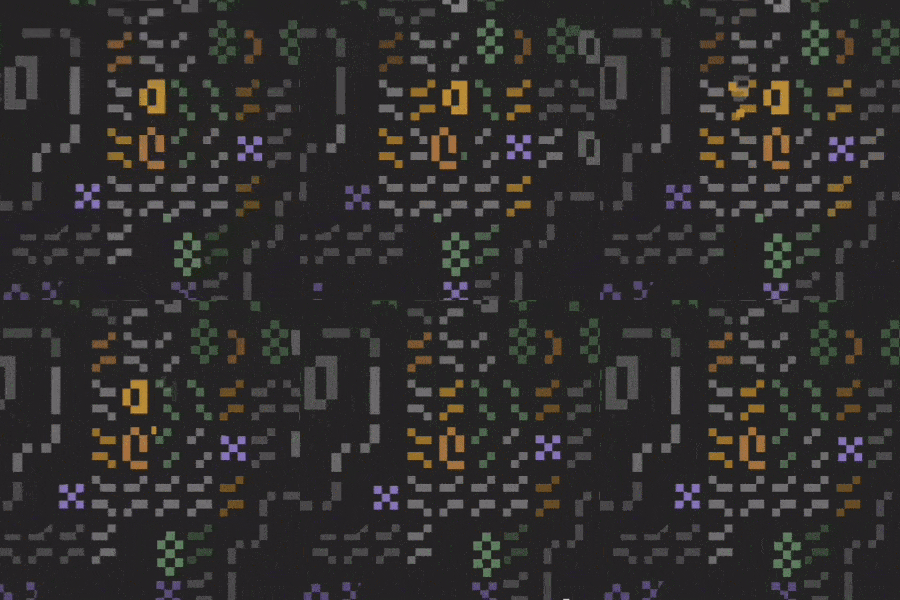 The first thing that players will notice when fighting is monsters flashing yellow. This occurs just before the monster attacks. The player’s action always takes place before the monster’s action in a turn, so moving out of the monster’s range after it flashes will prevent you from taking damage. Similarly, if your attack would kill the monster, then it will die before it is able to attack you should you attack it.
The main thing that you will be doing in combat is repositioning yourself and the enemy so that you can attack without being attacked. Backing up is an obvious choice, but not always the best one as it can put you in a corner without an escape. A common strategy for tight areas is to move side-to-side. Most of the time the monster will move with you and give you the opportunity to attack it before it primes its next attack.
Another useful strategy is the utilization of boulders. Boulders are moveable objects that will instantly kill an enemy when pushed into them. These can be used to block projectiles, quickly kill pesky monsters, and permanently kill skeletons. Crushing a skeleton or the skull they drop on death will prevent them from respawning. Be careful though as the boulder will eventually break after being moved around too much.
Currently there are 3 main weapons and 2 offhand weapons that you can find and equip. To use a main weapon you just have to walk into an enemy. All main weapons deal more damage than the stick, however they deal additional damage if their abilities are used properly. To use an offhand weapon you must hold the offhand key and move in the direction you want to use it.
Main Weapons
- The axe allows you to hit all enemies in the 8 tiles adjacent to you and deals more damage as long as there are two or more present.
- The spear allows you to pierce through one enemy to hit both it and the target behind it, dealing additional damage in the process. Destructible objects like bushes, urns, and barrels count as targets.
- The dagger deals additional damage to an enemy if the enemy is sandwiched between you and something else. Any object, monster, or wall blocking the enemy from moving backwards away from you will allow the dagger to activate.
Offhand Weapons
- The shield has two functions. Its primary function is the shield bash. This is a melee attack that will knockback and stun the enemy for one turn. Its secondary ability is blocking projectiles. To block a projectile you have to shield bash the air in the direction it’s coming from on the same turn it is being fired.
- The bow is a ranged weapon. It uses arrows as ammo, so make sure you have some before you try firing it.
Slow Walking & Stealth
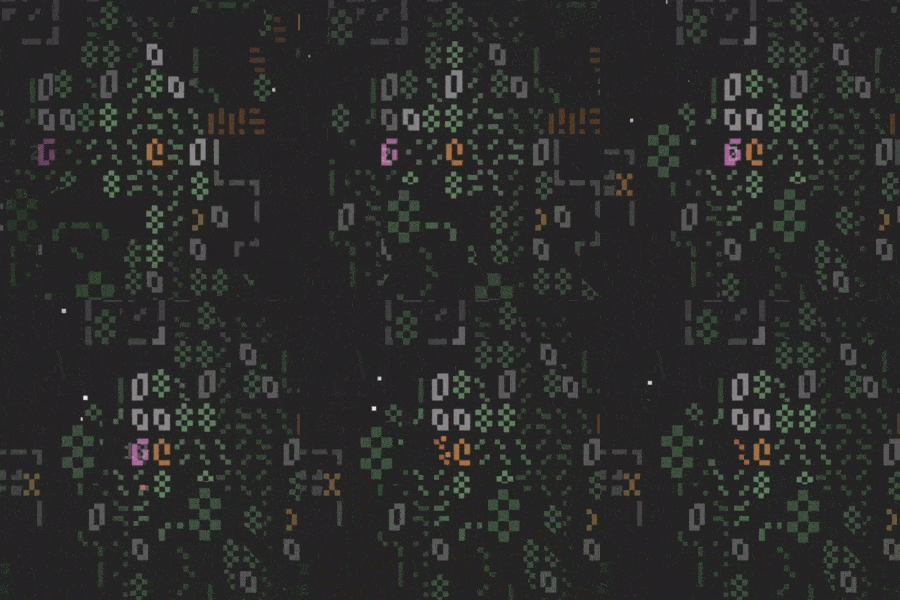 The Wait key has two functions. Tapping it will pass one turn, but moving while holding it will slow walk instead. This moves you one space, but takes two turns.
Slow walking has three functions.
- You cannot fall off bridges while slow walking.
- You will not trigger traps when you slow walk over them.
- You can sneak up on turrets and sleeping enemies. Attacking a sleeping enemy deals additional damage.