Hi everyone! This is an Accord Wars Strategies guide to help you get yourself and your teammate(s) out of sticky situations or in general! This guide is also suitable for new players! I hope you enjoy this! Made by Cephalon9999 and Gutterslush
Intro
 I hope you enjoy this guide!
Overview
Before jumping into those tactics, though, it is important to set the larger context and review a few player behaviors that are required to be successful in the Team game.
• To play the Team game, you must know your Teammates
o Before a match starts, take the time to review the player lobby and identify which players are from your Accord
o In typical matches, you will have 1 to 4 other Teammates playing alongside, so identification must be nearly automatic throughout the match to inform correct strategy (big picture) and tactics (specific round by round actions)
• Use the map – either the inset mini-map and/or the larger map (using the <M> key) – to track other Agents more aggressively than is usually required in the individual Trials – especially in the early game
o Frequently refer to the map to identify your Teammates
o Hover over your Teammate’s Agent on the map to gather intel on their actions (Collect, Attack, Survive) and their general HP level. This should inform your actions on how best to support (or avoid) your Teammate’s Agent to maximize points
o Identify “Risk Situations” (i.e. a Sharding Teammate being harassed by an opponent Brawler amongst others) – either this round or potentially next round
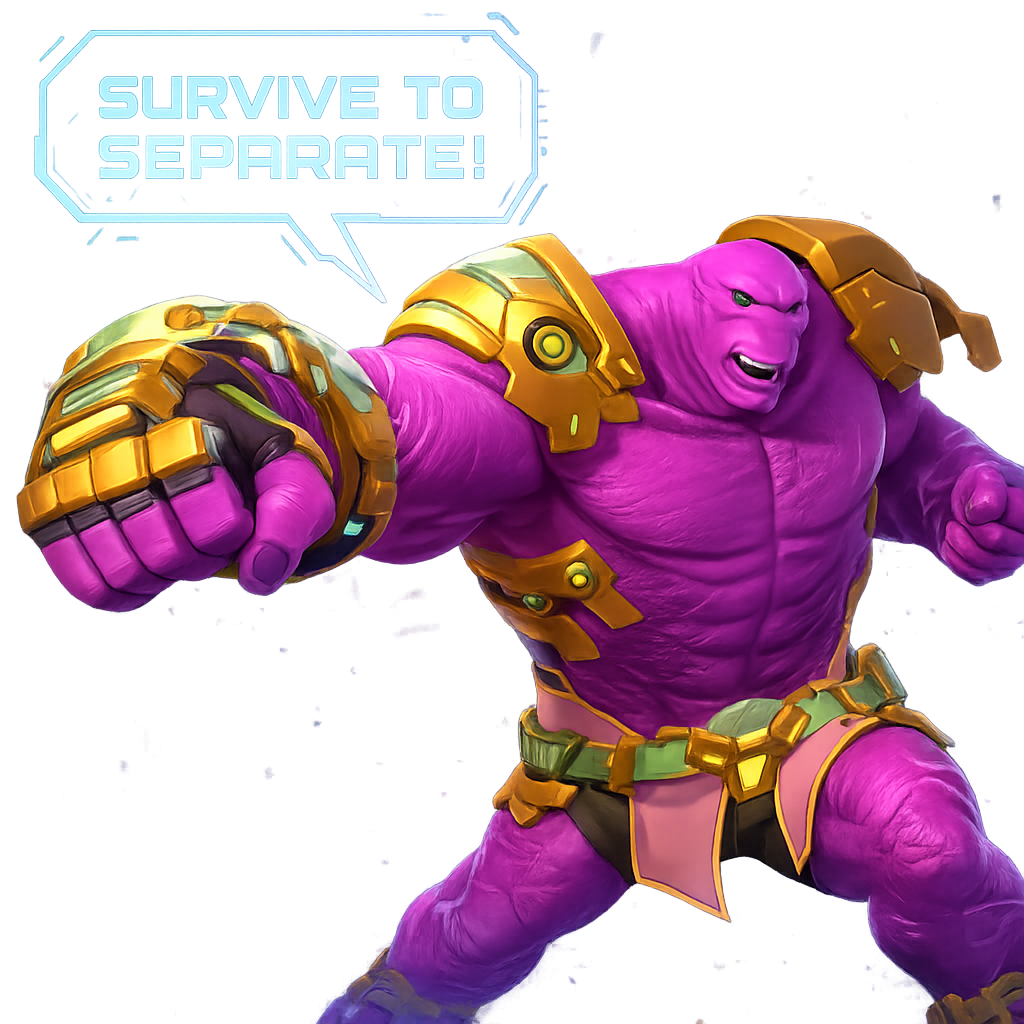
One often overlooked Risk Situation is Team on Team disruption – either competing for the same Shard(s) and/or direct Attacks on a Teammate. These should be avoided at all costs – especially in the early game. “Survive to Separate” is a key action that most new players don’t perform. This is when 1 (or sometimes both) players set their Survive slider to 100% Always Survive – even when they have full HP. This action costs a round of productivity, but will result in the two Teammates no longer occupying the same area on the map, freeing them up to Shard and/or Attack as the larger strategy dictates without interfering with each other. That one round break can mitigate several rounds of Shard competition and/or Teammate attacks/chase, resulting in a higher Team point result.
o Try to identify “Opponents of Interest” early and often. These can be super-aggressive Brawlers looking to disrupt the Team Sharding plan, hidden threats avoiding contact (and likely building to severe danger), or a myriad of other threats. See the situational Tactics guides below to explain potential countermeasures that can be performed.
• Check the Leaderboard (<TAB> key) often; not just for your Agent’s standings, but your Teammates’ standings as well.
o As outlined in the Tactics guides below, knowing the current Win Con leaders and most promising challengers is key to a successful Team game.
o In many matches, you will NOT be the “Win Con Hero”, but this doesn’t mean you don’t have an important role to play. Supporting players/Agents can make all the difference in securing Team points and Win Cons. Details are outlined in the Tactics guide below, but some key contextual concepts include:
You may be in a position to be a “disruptor” to draw the attention of enemy Brawlers away from your Teammate Sharder, freeing them up to collect without disruption
Even a Teammate Brawler may need a break from a particularly powerful enemy Brawler – interceding for a round or two to soak up some damage and keep the enemy occupied while your Teammate recovers enough to achieve the final KO can be a valuable aid
Interrupting a “chase scene” to distract an enemy pursuer from a compromised Teammate – allowing the Teammate to recover and earn future points (and denying an enemy KO)
Monitor the Leaderboard carefully to inform your round-by-round decisions. In the late game, consuming Shards your Teammate Leader/Contender needs to secure a Win Con may not be advisable. Similarly, attacking an enemy Sharder to disrupt their collection may make the difference in close Sharding battles.
• In general, increased situation awareness is required to be the best Teammate you can be. If you are a Win Con leader, your play style likely won’t vary much from the individual game. If you are Role Player, identifying this reality early and actively adjusting your play style from round to round to provide maximum Team benefit can be invaluable and make the difference in an eventual Team success.
Given the context above, review the Situational Tactics below to hone your specific actions across various situations. This guide doesn’t cover all the eventualities, but hopefully will provide the basis of a strong Team game in Accord Wars Trial to come.
If Player 1 is Collecting and Player 2 Brawling:
CASE 1: If it’s just Player 1 and Player 2 left in the match. To get more points for your Accord, Player 1 collect and Player 2 ally retreat at 100% of MAX health. This will give Player 1 more shards for more points.
(1 Shard = 1 Point | 1 KO = 7 Points | 1 Win Con = 100 Points | 150 Damage Dealt = 1 Point)
Whenever there is are no more shards in the map, Player 1 rally will go into Attack Mode and retreat at 25% of MAX health. Player 1 will keep collecting but retreat at 0% of MAX health.
CASE 2: If Player 1 gets a KO (on accident) and Player 1 is Shardmaster, keep collecting shards and Player 2 will retreat but when the shards become scarce or the Opponents start KO’ing themselves, go into attack mode and retreat at 25% of MAX health. This will lead to Player 1 killing the Opponents and preventing them from getting Shardmaster.
CASE 3: If Player 1 is sharding but Player 1 is falling behind in shards, whoever is closest to Shardmaster, they will go in Attack Mode, and Player 1 will continue to attack or shard. This will hopefully result in Player 1 KO’ing or making the Opponent run away. This takes time off the Opponent’s time to be collecting.
CASE 4: If Player 1 is brawling but another person is getting more kills than Player 1, Player 1 just may lose brawlmaster but keep attacking so that Player 1 can make more points from attack damage and KOs.
CASE 5: If Player 1 is collecting but Player 1 keep getting attacked and Player 1 lose Shardmaster, Player 1 just may lose shardmaster but keep sharding so Player 1 can make more points from damage taken and Shards.
If Player 1 and Player 2 are sharding
CASE 1: If Player 1 and Player 2 is sharding but Player 1 and Player 2 fall behind on shards, keep collecting for more points or one person switches to attack mode to get KOs for points (rarely brawlmaster).
CASE 2: If Player 1 accidentally gets KO’s when Player 1 is sharding, Player 1 switch to attack mode to get KOs toward brawlmaster while Player 2 keeps sharding.
CASE 3: If Player 1 and Player 2 is brawling but Player 1 happen to be close to shardmaster, go on collect mode while Player 2 keeps attacking.
CASE 4: If Player 1 and Player 2 is brawling but Player 1 and Player 2 fall behind on KO’s, keep attacking but one of Player 1 switch to collect mode. This will earn Player 1 more points and guarantee 2 win cons.
If Player 1 and Player are Brawling
CASE 2: If you both are falling short in KO’s or an Opponent gets 4 KO’s (guarantee’s brawlmaster) keep attacking to get KO’s to get more points or someone tries collecting shards (if shardmaster’s shard count is feasible to pass or just in general) as this will get more points for your Accord.
Glossary
Brawler – A broker who’s masterful role is getting KO’s (knock outs).
Brawling – A broker who is attacking for KO’s.
Leaderboard – Pressing and holding (<TAB>) shows the leaderboard. The leaderboard is an overview of everyone’s stats in the match such as KO’s, Shards, Damage Dealt/Taken, who is holding each win con, and whoever is alive or KO’d.
Sharder (Collector) – A broker who’s masterful role is collecting Shards around the map.
Sharding (Collecting) – A broker who is collecting shards.
Shardstorm – The handicap in every match (except for matches that are less than 25 rounds) that slowly KO’s everybody in the match. Starting at round 25 dealing 50 damage every 5 seconds. Every next round increases the damage by 50 every 5 seconds.
Win Con (Win Condition) – A Victory Condition in which a broker has claimed the most shards among everyone (Shardmater), KO’d the most people among everyone, (Brawlmaster), and is last standing (Survivalist). Survivalist also goes to the person who has taken the most damage and is alive. If 2 people are KO’d at the same time (Shardstorm). Survivalist goes to the person who has taken the most damage.