
A quick reference for how many explosives you need to destroy buildings.
Buildings
The frag grenades are estimates because of the unreliability of their placements. Besides, frags and MGL-40 should not be a consideration when trying to break into a base.
In conclusion, bring C4s to break into a base. They are lighter, throwable, and you can stack more of them into your bag. Bring IEDs as an extra only if you plan to render a FOB fully inoperable by destroying it. Also remember that Halligan Bars exist and are useful if there are multiple doors spread out between the entrance and the FOB, such as FOBs on top of apartments.
Buildings Damage
If for some reason you want to mix explosives.
A note on ground vehicles
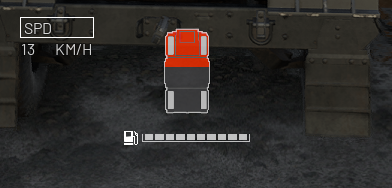 One thing to note is that tires/tracks have their own separate health bars. These can individually be destroyed to slow down the vehicle, or completely disable it in the case of tanks. In addition, the L2A6 Tank has an extra layer of armor in the front. RPGs will do very little damage to it, but MAAWS will destroy it in 2 shots.
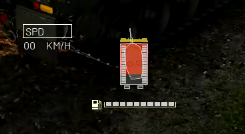 Note the yellow layer above the health barVehicles take more damage when the explosive is closer to the engine. For most vehicles, this is the front, except for the L2A6 Tank and the SPH-2 Artillery tank. A single explosive charge to the back of a tank, whether it be from a C4, IED, RPG, or MAAWS will render it immobile. AT mines will destroy any vehicle that rolls over with a single charge, except for L2A6 Tanks. Tanks will be able to continue driving, unless they back into an AT mine, at which point they will be left on fire and at risk of destruction if repairs are not made.
The placement of IEDs and C4s seem to be a bit jank, sometimes I’m able to fully destroy a URAL just with 1 C4, while other times I need 2 just to disable the engine. In the end, I believe its better to just bring RPGs since they are more readily available and better for moving targets. AT mines are also better as placeables as they do not require manual detonation, especially compared to an IED’s warning signal and detonation time.