Legendary difficulty getting you down? Low on money and need to get more for that sweet piece of gear? Well, this is the guide for you if one wants to turn the tide of FATE.
Introduction
While this guide is expansive, it is not a beginners guide on core mechanics and other systems in regard to how they work within FATE in explicit detail. However. it will briefly brush over certain systems and mechanics to provide more context to the overall game breaking and cheesing of three specific systems and mechanics in multiple ways. Thus, this guide is primarily highlighting areas that will allow one to progress through higher difficulties. Hopefully, with more ease. If requested, more systems and mechanics can be extrapolated upon at later dates. For now, this guide is intended to inform players that are new, but somewhat familiar with FATE’s systems and mechanics, and old players alike, who may not have known how these can all interconnect when manipulating them individually or collectively for a smoother gameplay experience when tackling higher difficulties.
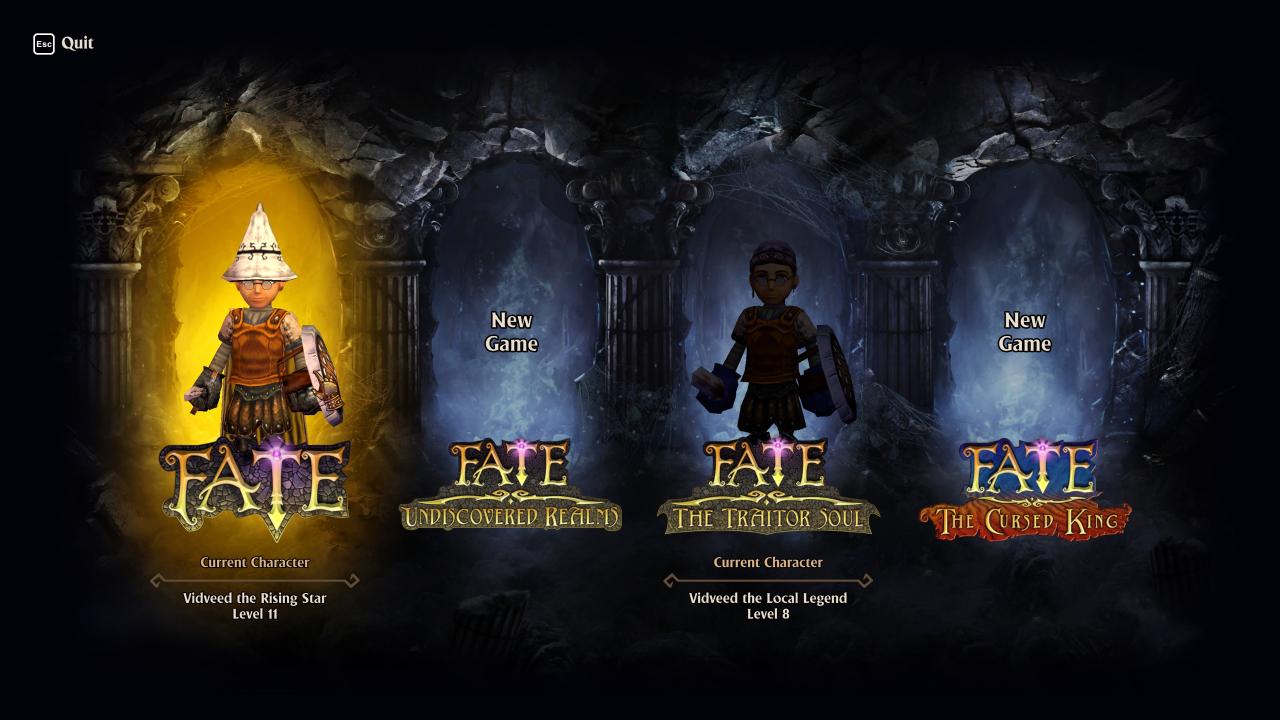
When first loading into the game, it is best to start out with the first game (FATE), skip the second (Undiscovered Realms), play the third (The Traitors Soul), and the fourth (The Cursed King) for a more streamlined and still complete gaming experience. Importing a character into the next game is advised to do after completing the first game. Playing the second game, while fun, is made obsolete by having the third games gameplay improvements right from the start in FATE. On the other hand, one could start the second game for the intro sequence to get some lore and story threads linking it in its limited way to the third game, but won’t miss out and different mechanics and items that aren’t in the third game due to the remakes implementations of new things from the start, and use of the prior towns and dungeons, respectively. An example of the game choice menu is provided below.
Upon picking one of the games to play, the subsequent sections will walk you through what to do, who to find, and where to find everything for the best and most productive start.
Starting Out: The Town of Grove (Original FATE)
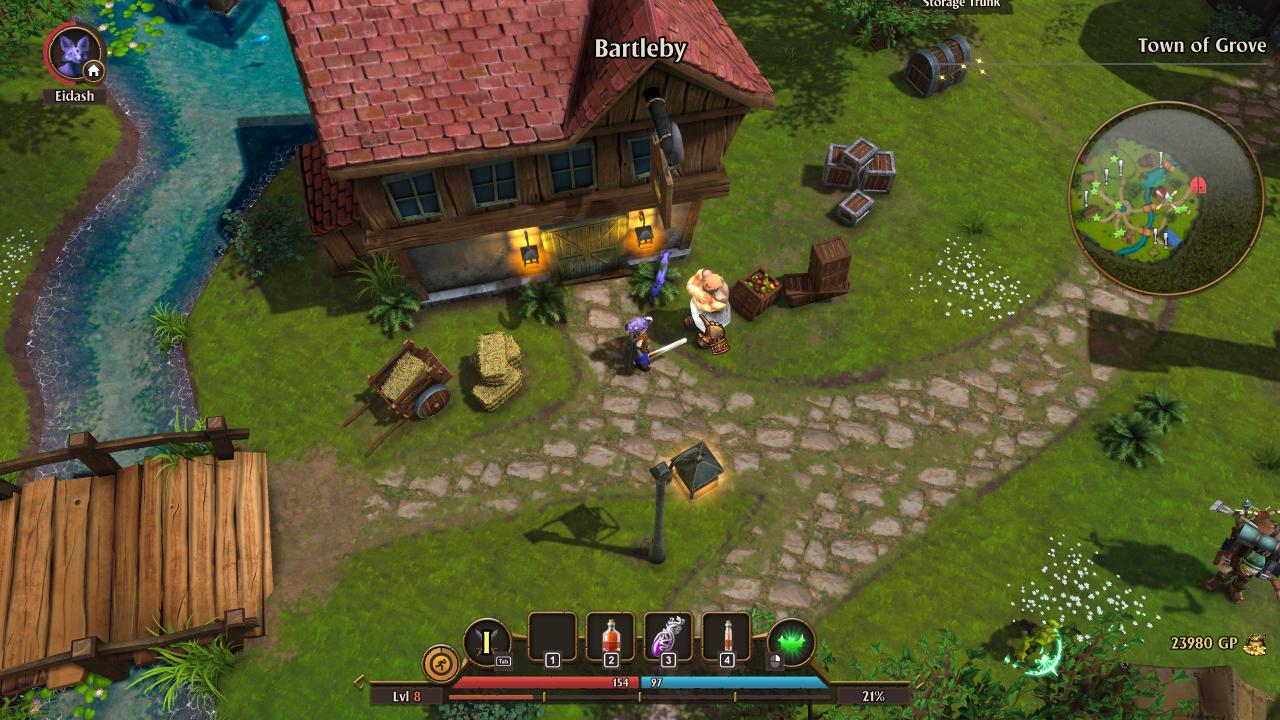
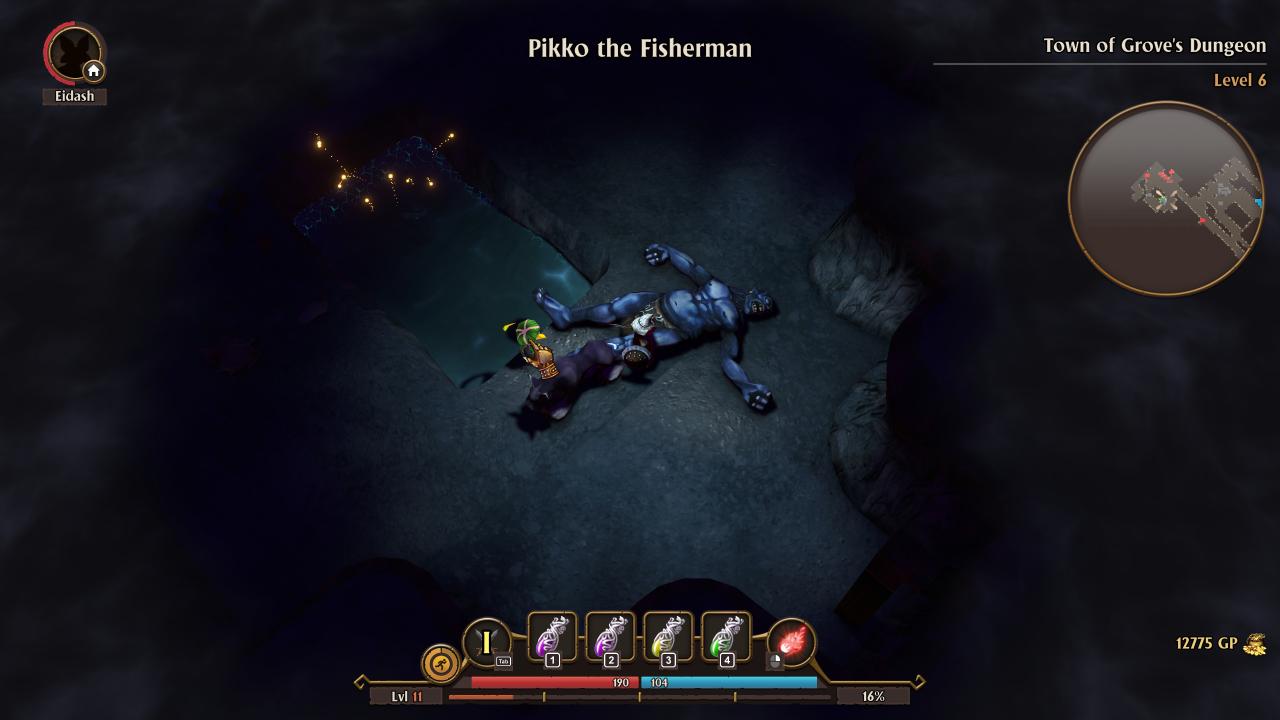
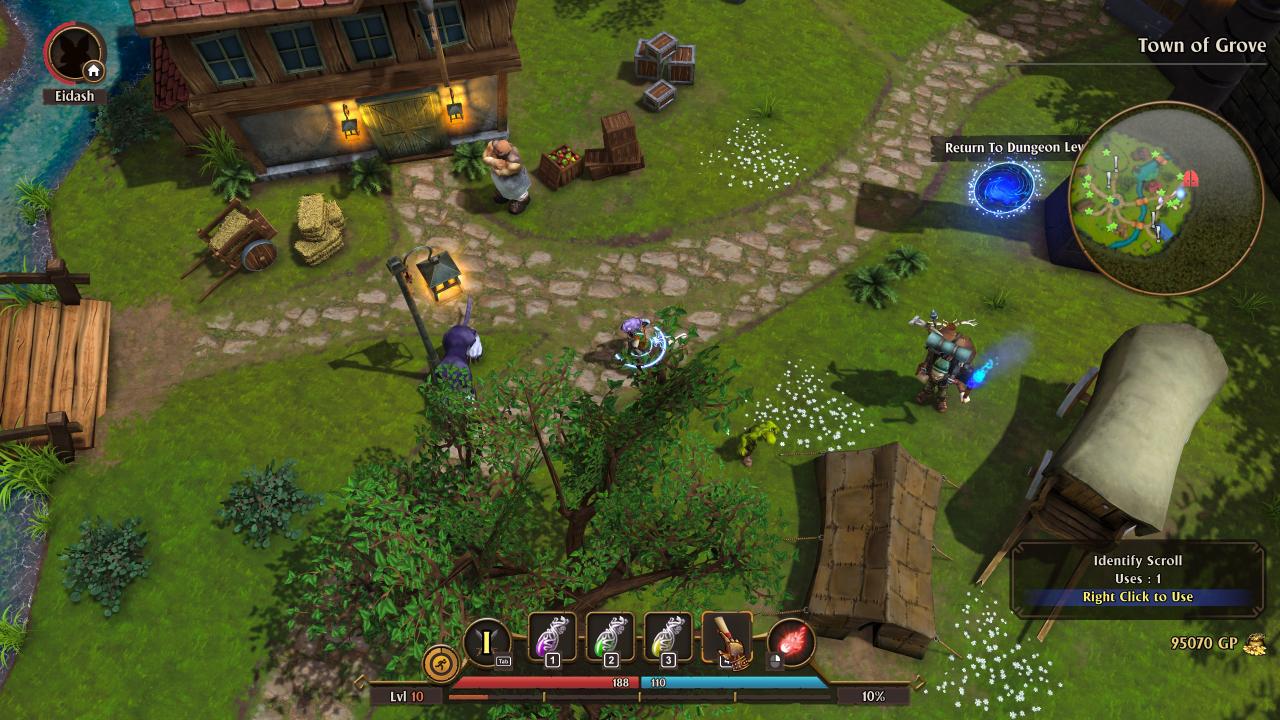
When loading into FATE for the first time in the Town of Grove, go to this merchant near the dungeon entrance for a fishing pole. 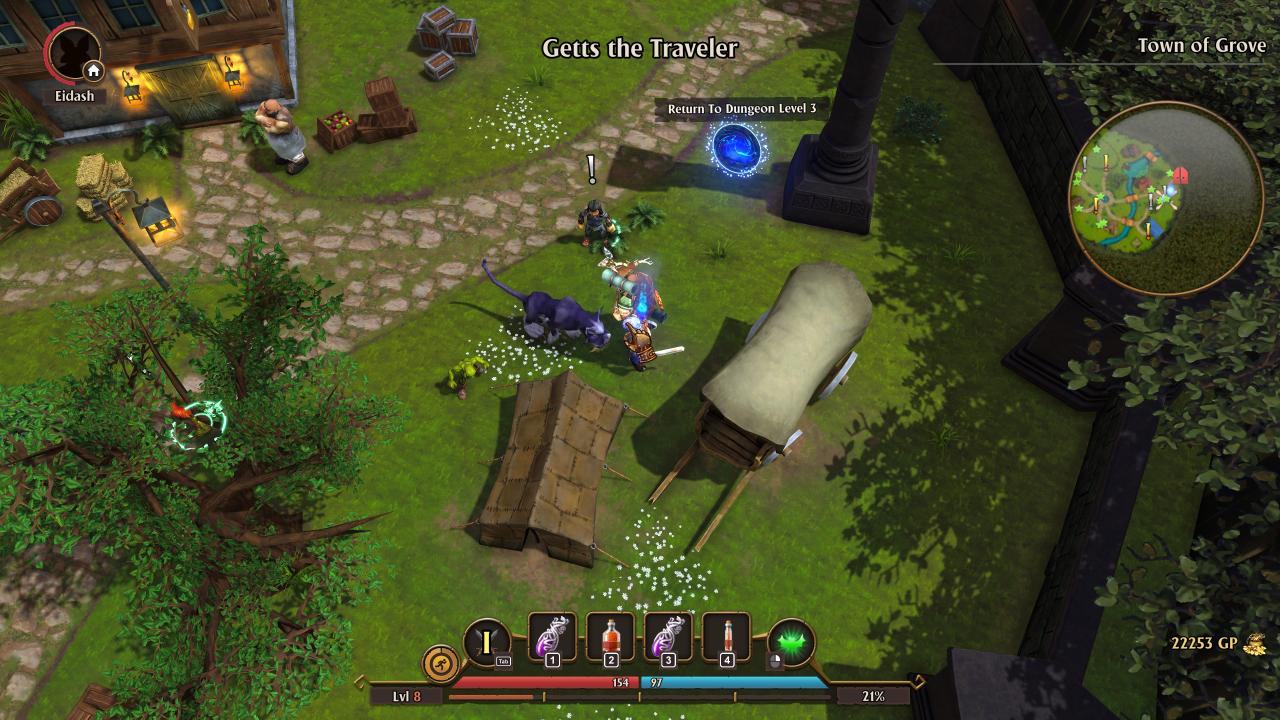
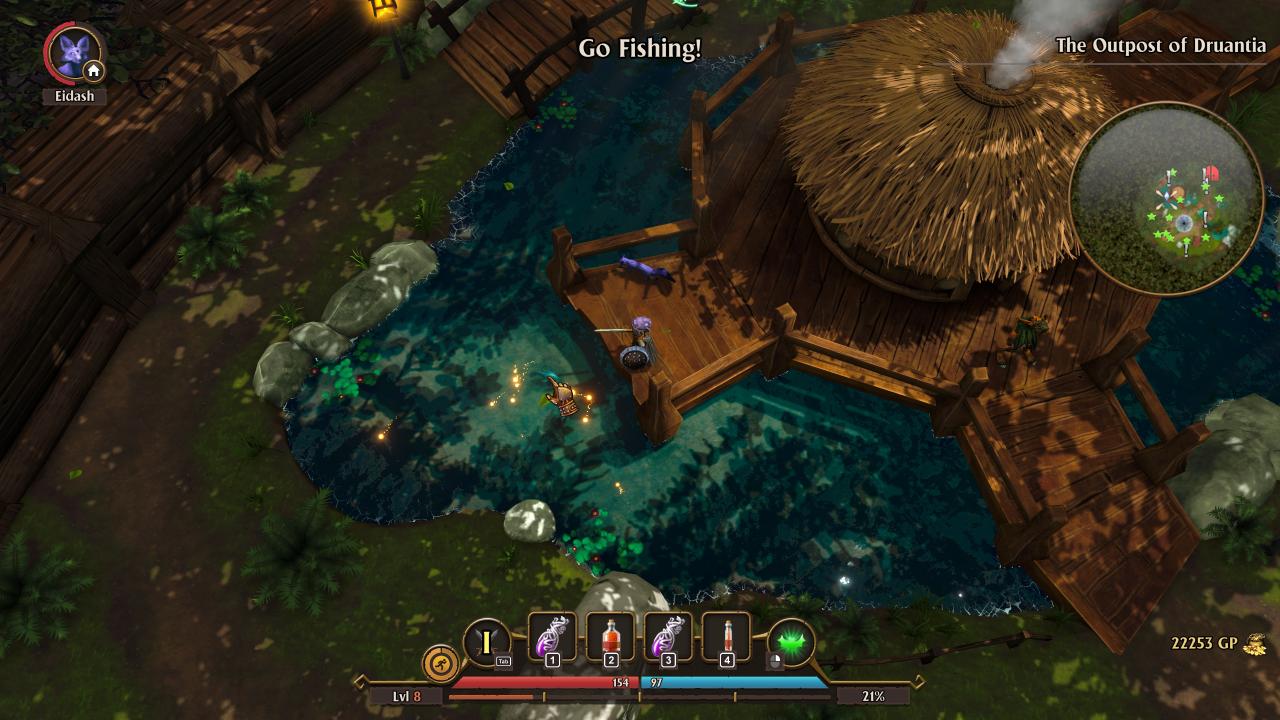
Then go to this spot to fish.
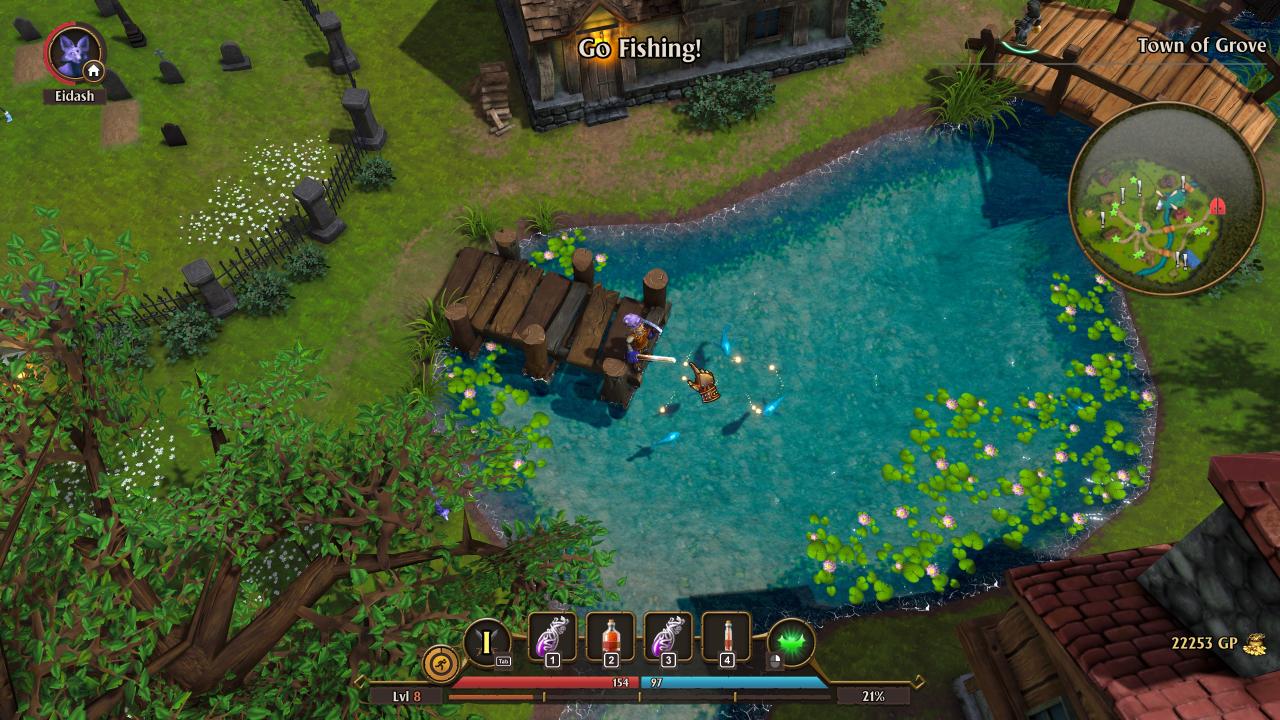
Once there, its fiishin’ time! Now, pull up your favorite TV show, movie, streamer, or Youtuber and start to fish. Due to the fishing mechanic being completely RNG based, it will take some time to fish up enough items to sell for money, or for a fish that permanently changes your pet into a new creature to materialize. However, it is necessary when trying to get a strong footing at the start of the game on higher difficulties, or hardcore mode.
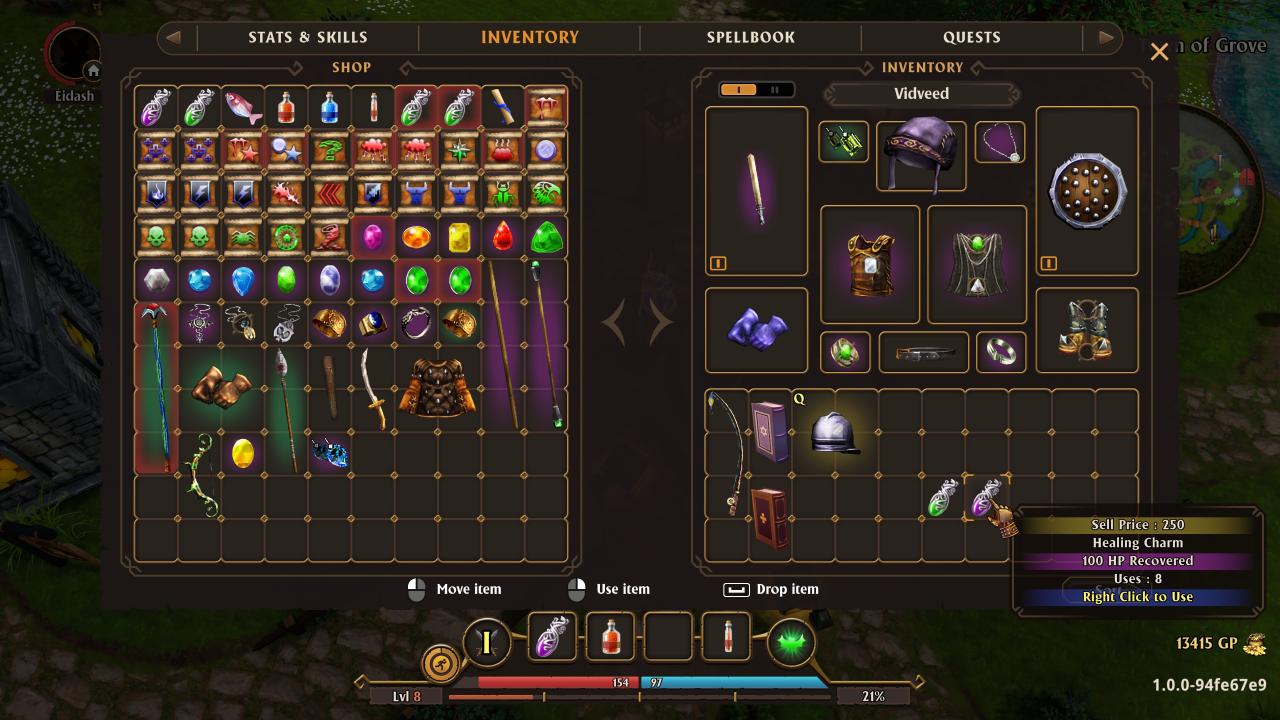
Now, use this money to get whatever gear fits your character build and buy one of these two potions (if available, if not, save and exit then load back in and the merchants inventory will refresh) before entering the dungeon, which is vital for surviving since both have more than one use, and different amounts of healing (displayed below).
But where is the merchant you ask? Below is the location of the merchant who supplies both the scrolls and books, as well as potions for all your adventuring needs.
Merchant:
Healing Charm:
Major Healing Charm:

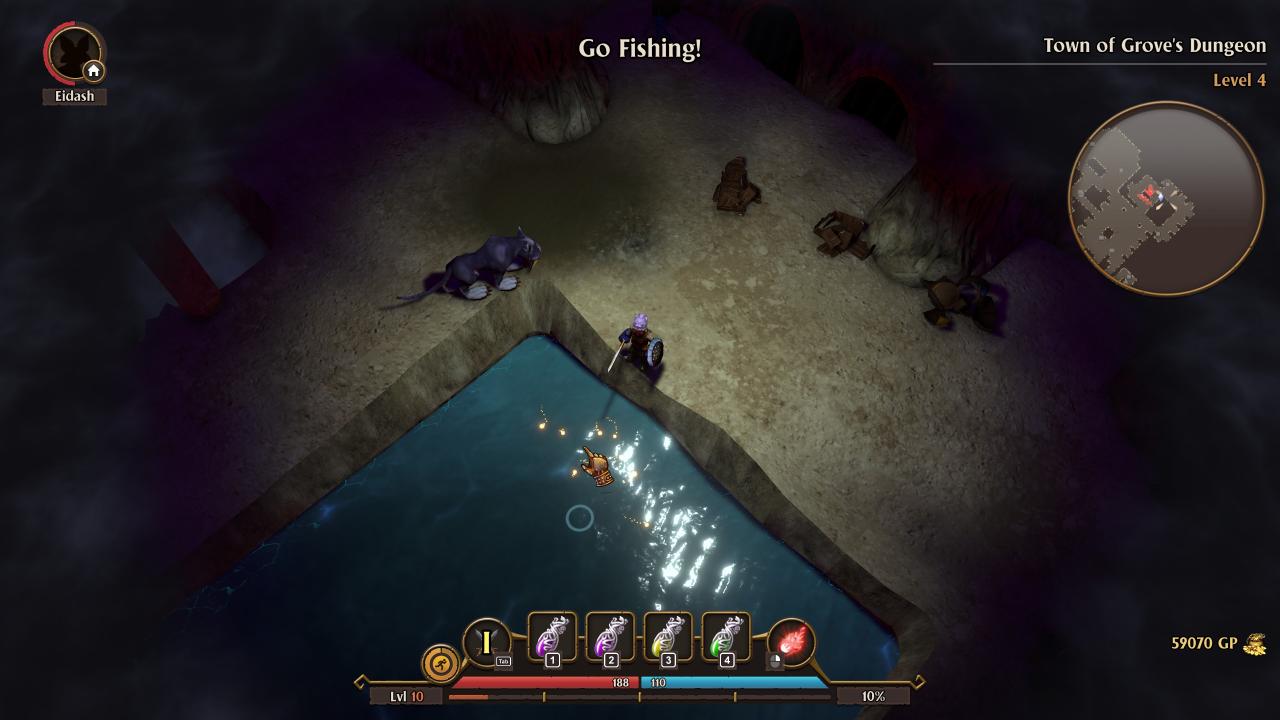
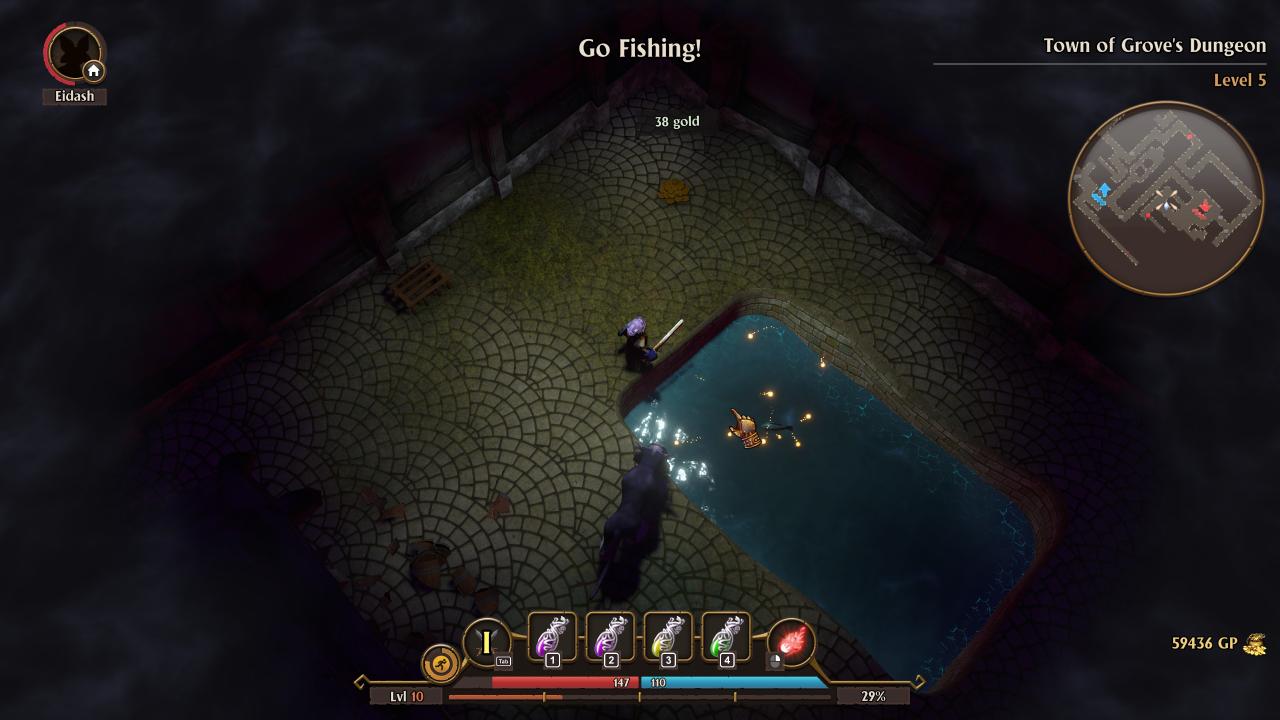 Multiple fishing spots in the same dungeon level are possible as well, all at random.
Also, if you find this merchant shown below in the original games dungeon at any dungeon level, they will sell all types of fish to give to your pet to either change them into another creature, or sell a fish to revert your pet to its original state, along with a fishing rod if one was not picked up at the start of the game.
Starting Out: Typhon and Druantia (Undiscovered Realms)
As mentioned above; if one is starting out in the second games towns, here is where you will need to go for a fishing rod and fishing locations.
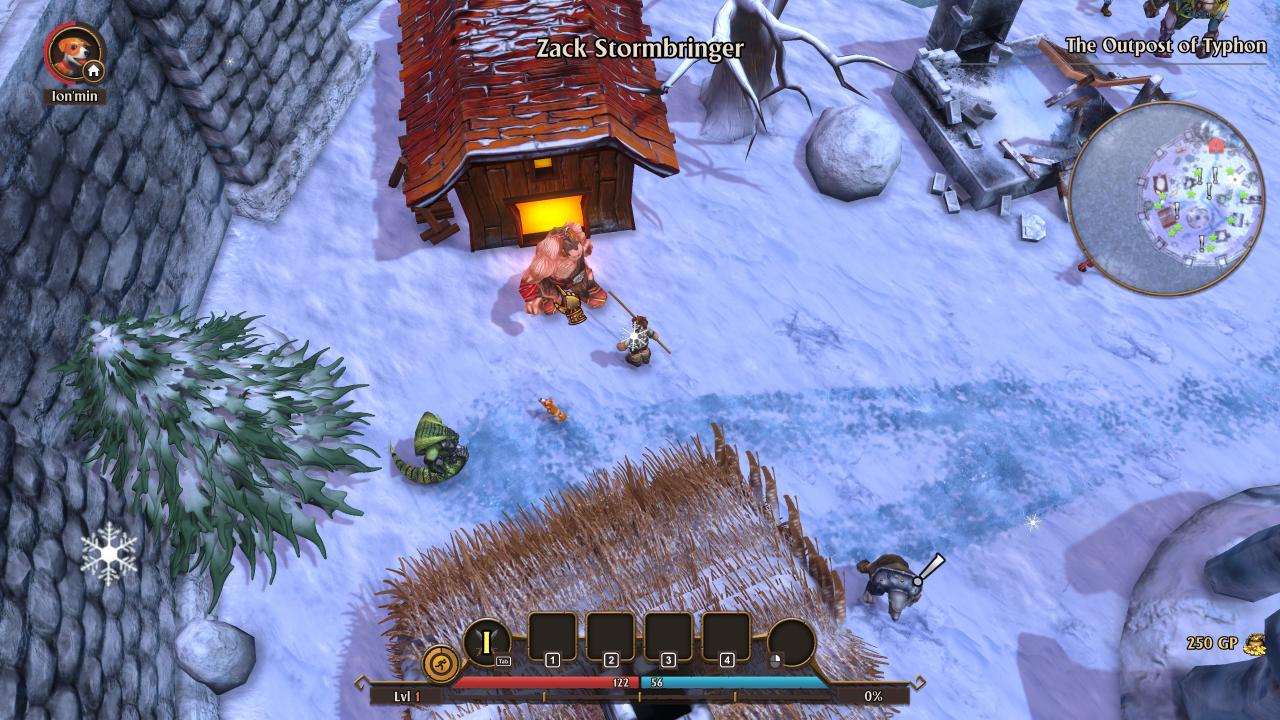
Typhon:
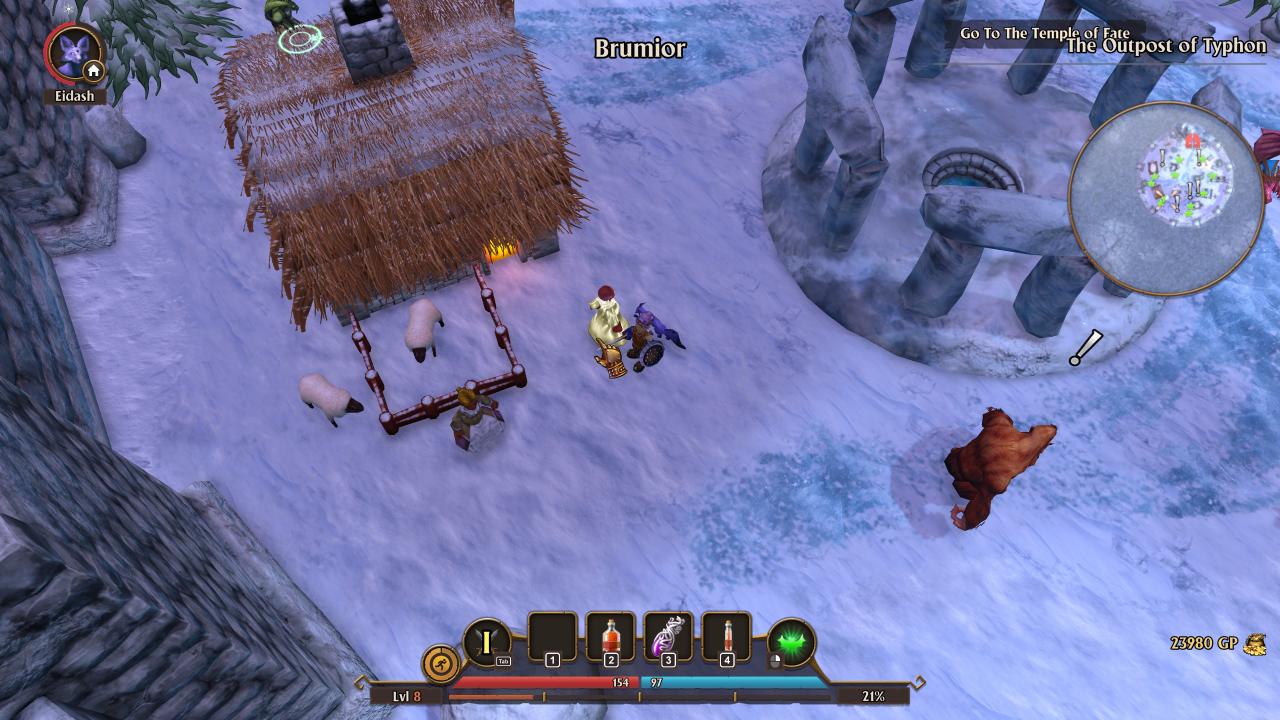
When starting out in Typhon, go to this merchant to purchase a fishing rod.
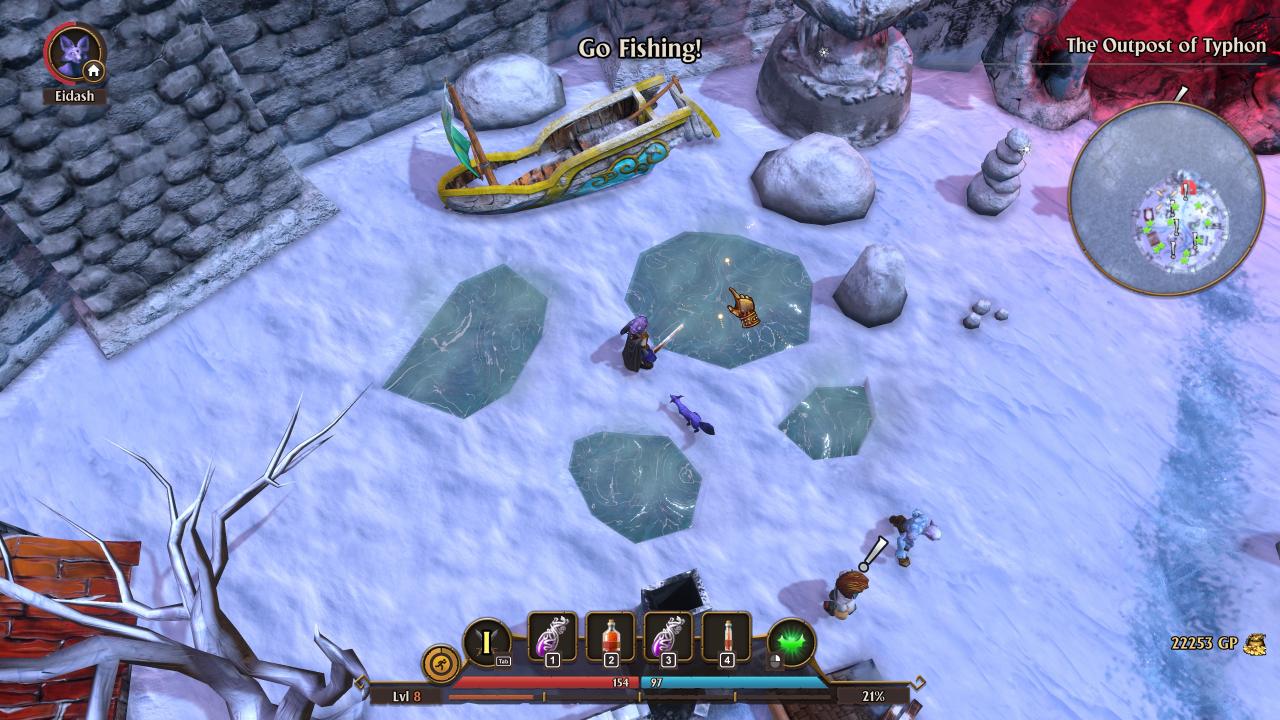
After purchasing a fishing rod, go to this location in order to fish.
Druantia:
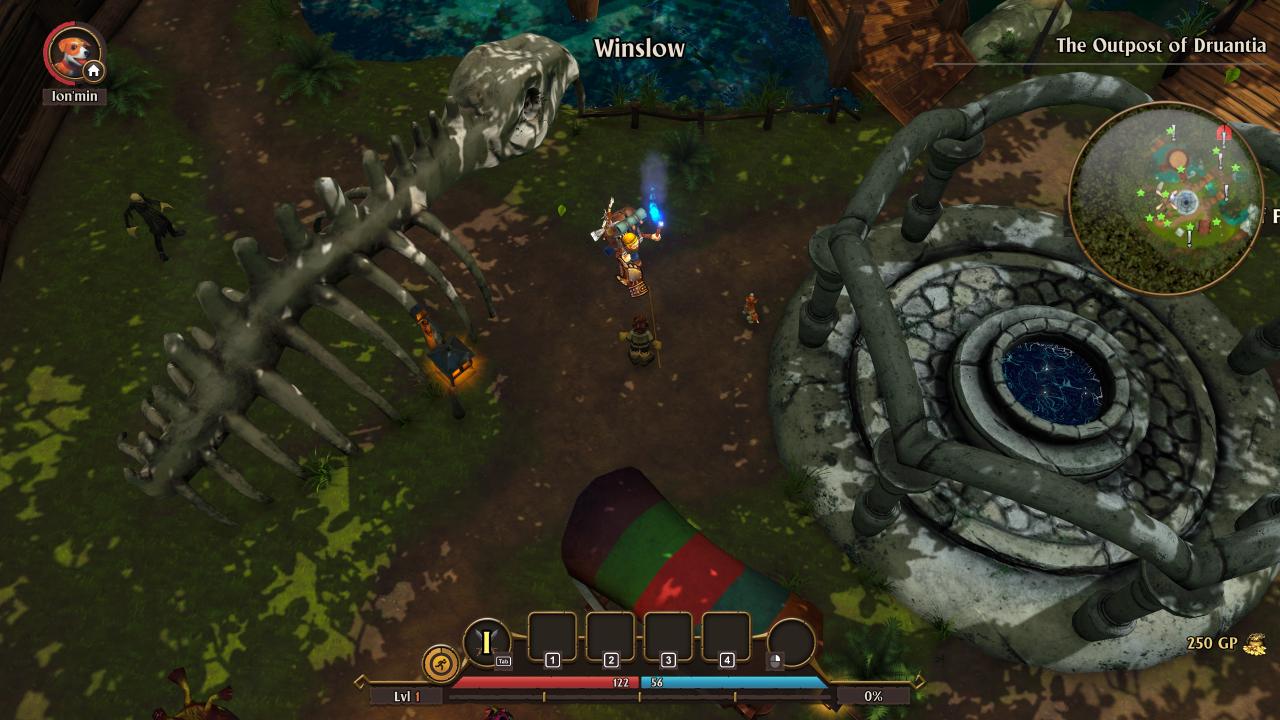
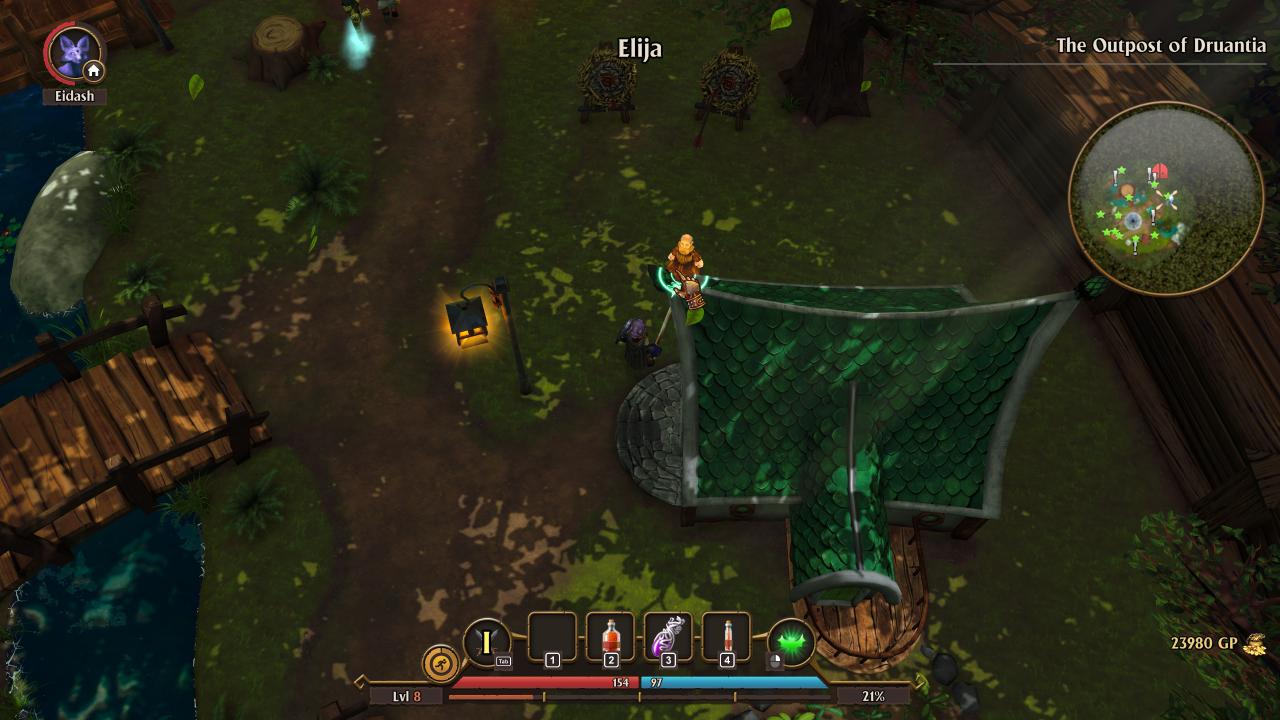
When starting out in Druantia. head to this merchant for a fishing rod.
Upon purchasing the fishing rod, head to this location to start fishing.
After getting enough money for potions, head to these merchants to purchase potions and scrolls and books.
Typhon Potion and Scroll Seller:
Druantia Potion and Scroll Seller:
And there you have it as far as purchasing a fishing rod goes, as well as the fishing locations in each town and the merchants for potions and scrolls to start out strong at higher difficulties.
Starting Out: Fishing in The Town of Ekbatan (The Cursed King)
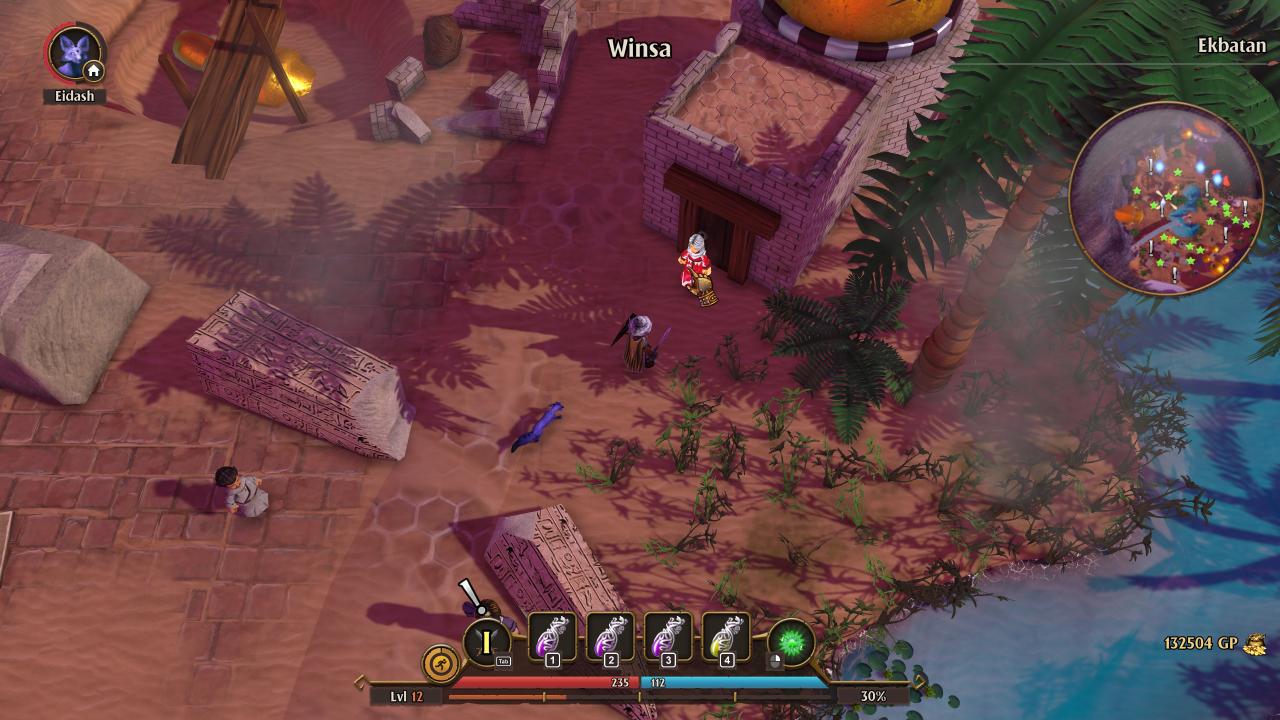 After purchasing a fishing rod, go to this fishing location located to the right of the merchant shown above on the other side of the pond (lake?).
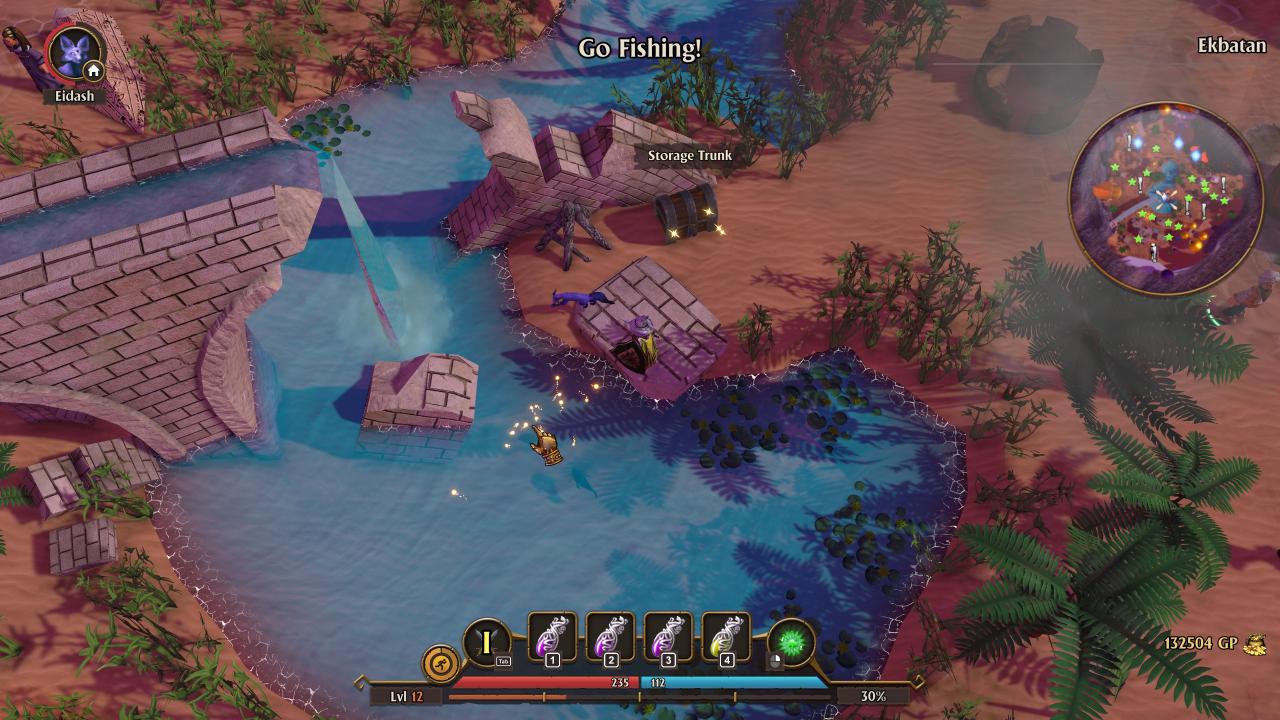
Time to start fishing! This is the best early game way of gathering gear, fish for your pet, and money in The Cursed King like the other games before it.
You may also purchase the needed scrolls, books, and charms from the same merchant shown above.
Scrolls & Books
Some other minor features that will help you in your journey are as follows:
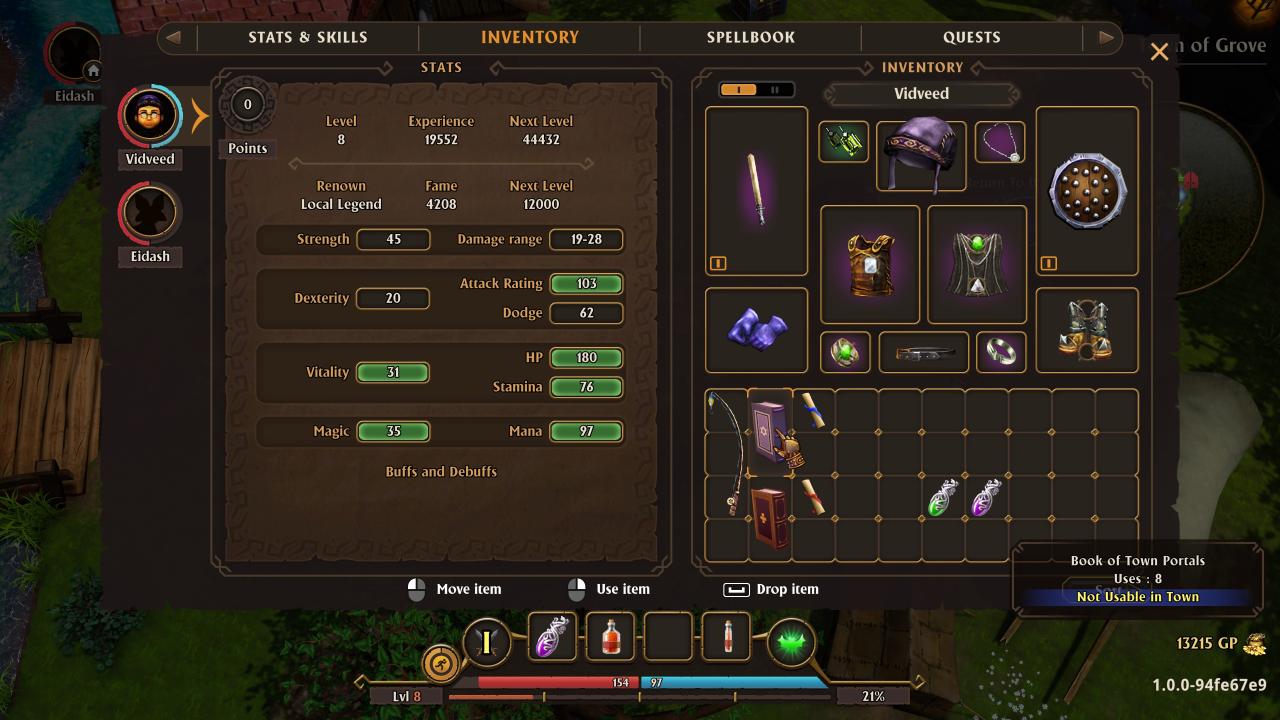
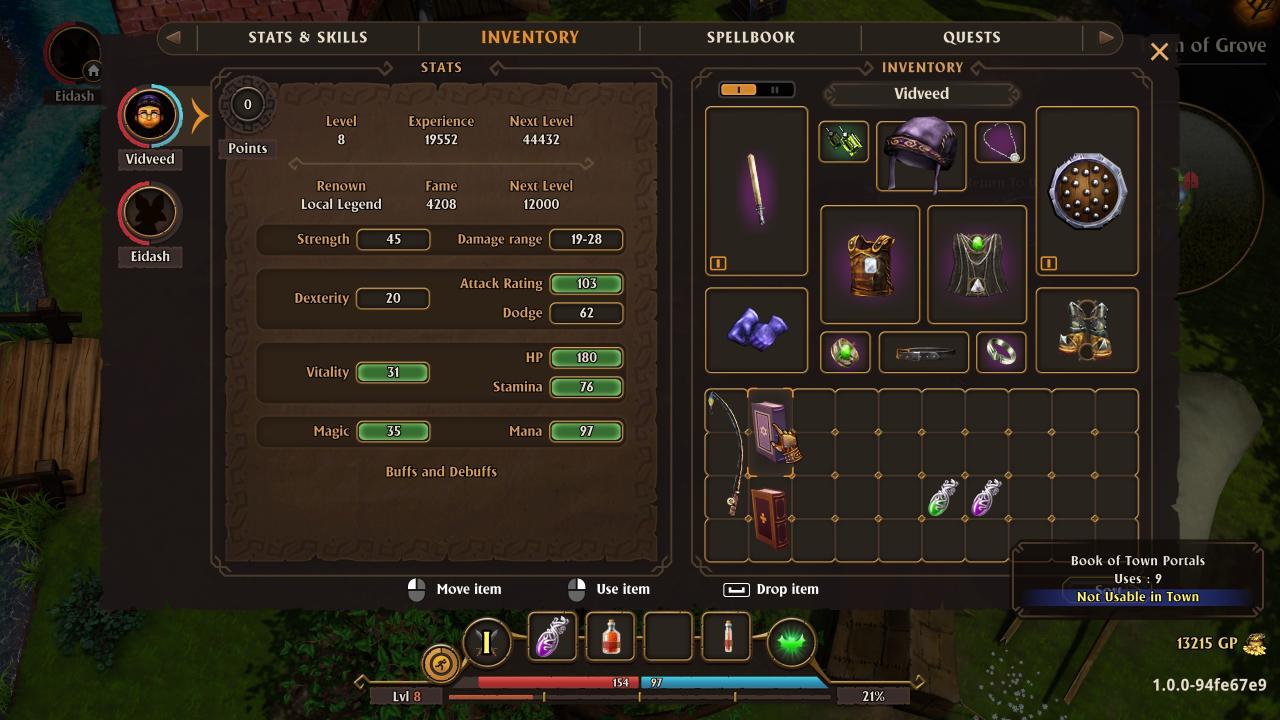
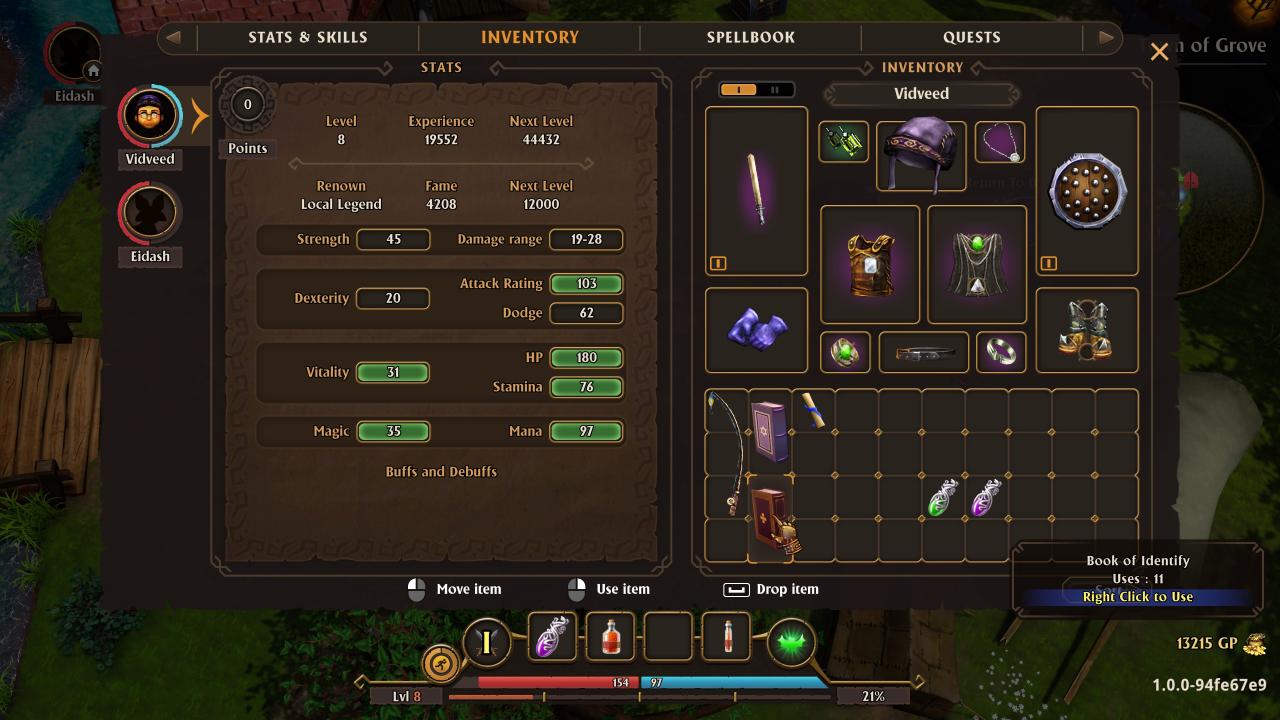
Town Portal Scrolls and Identify Scrolls (displayed below) can be stacked inside each of their respective books (also displayed below).
Identification Scroll 
Town Portal Scroll

Town Portal Book
Identify Book
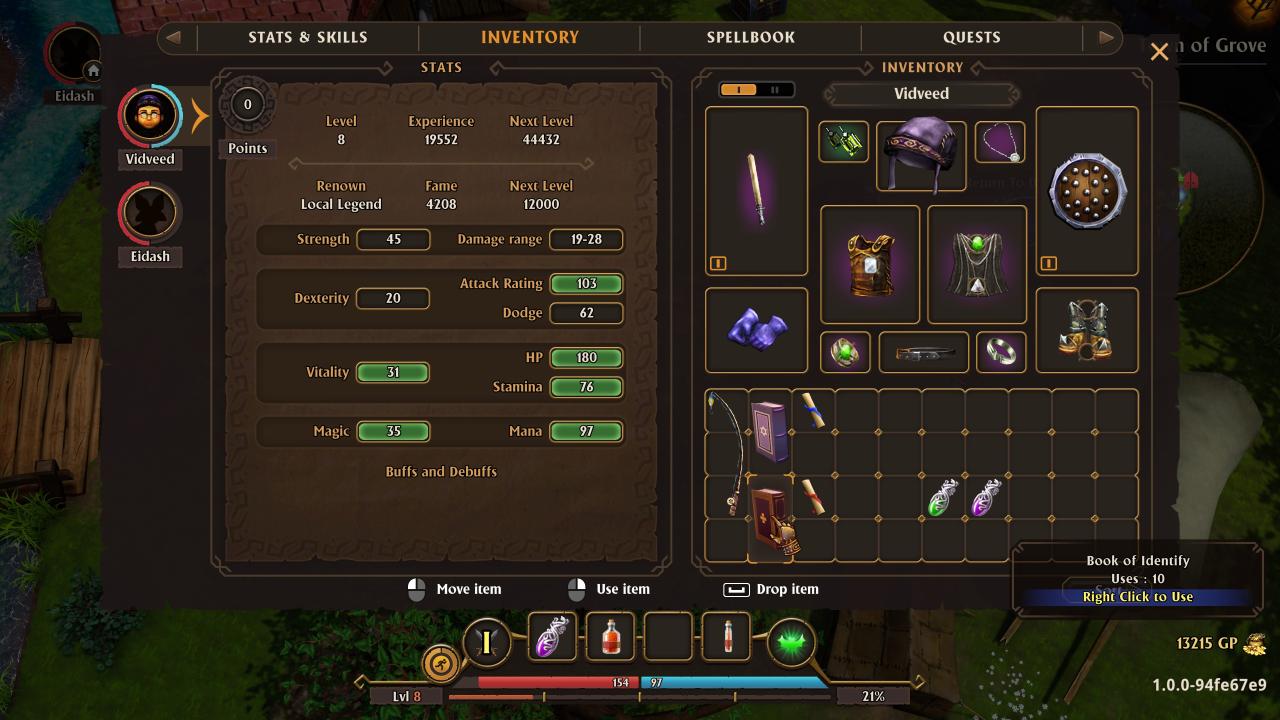
Put each scroll into their respective book by selecting the scroll and then dragging it into the book (as displayed below).
Ultimate Ability & Stamina
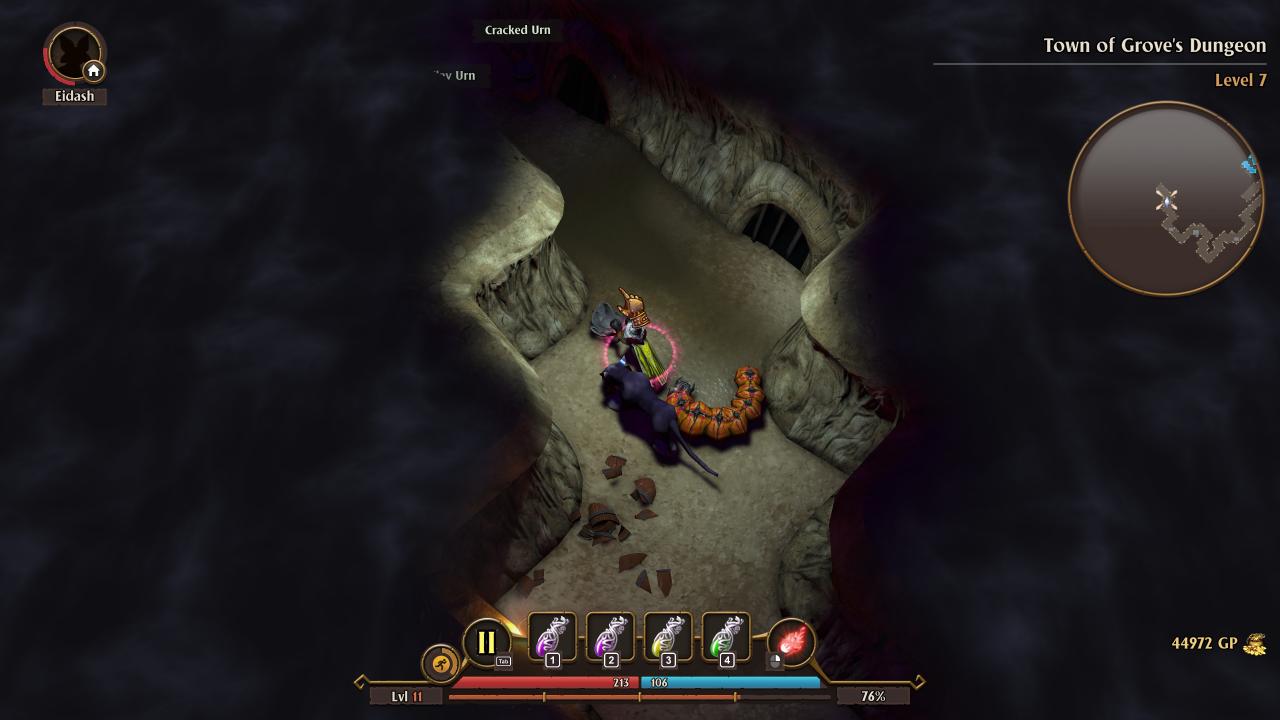 However, this ultimate ability relies on having more stamina while also using a small amount of mana. Thus, one should acquire this specific charm from the aforementioned potion merchants (shown below).
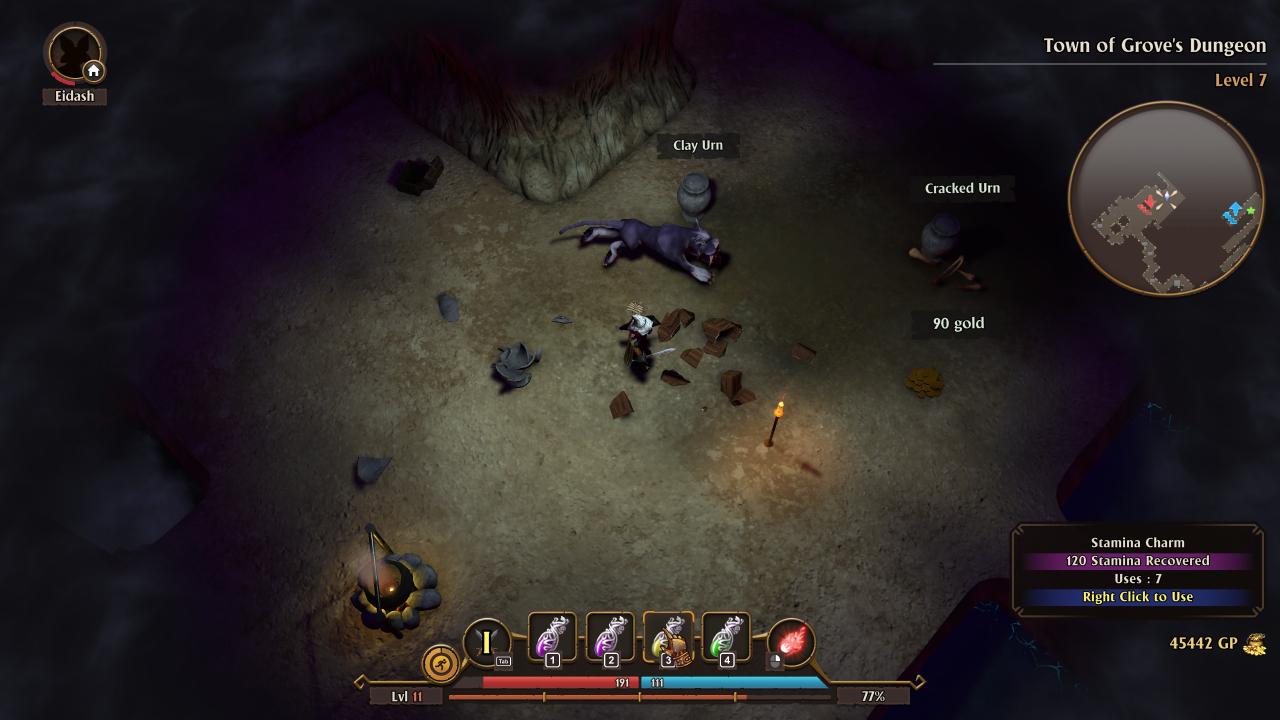
The Ultimate skill is very useful in a pinch, especially at lower levels and when surrounded by enemies because it hits with a high amount of damage (stacking with enchantments and the critical-hit skill) and knocks them back, providing an opening to run away to teleport back to town if one has ran out of healing charms. This is especially useful at higher difficulties, mainly when playing in Hardcore Mode but also useful at Legendary difficulty.
Quests
Once geared up and ready to go, talk to anyone with an exclamation point (!) above their head to start a quest (max of 3) and start your adventure! Your FATE awaits, what does it hold for you?
What to look for when looking for a quest giver:

Below, I will explain how this system can be manipulated in your favor.
Save and exit the game to refresh quests until you find an item fetch quest. Accept the quest and find the item on the specific dungeon level, but do not turn in the item to the quest giver upon completion. Instead, go to the Journal (J key) and cancel the quest (displayed below).
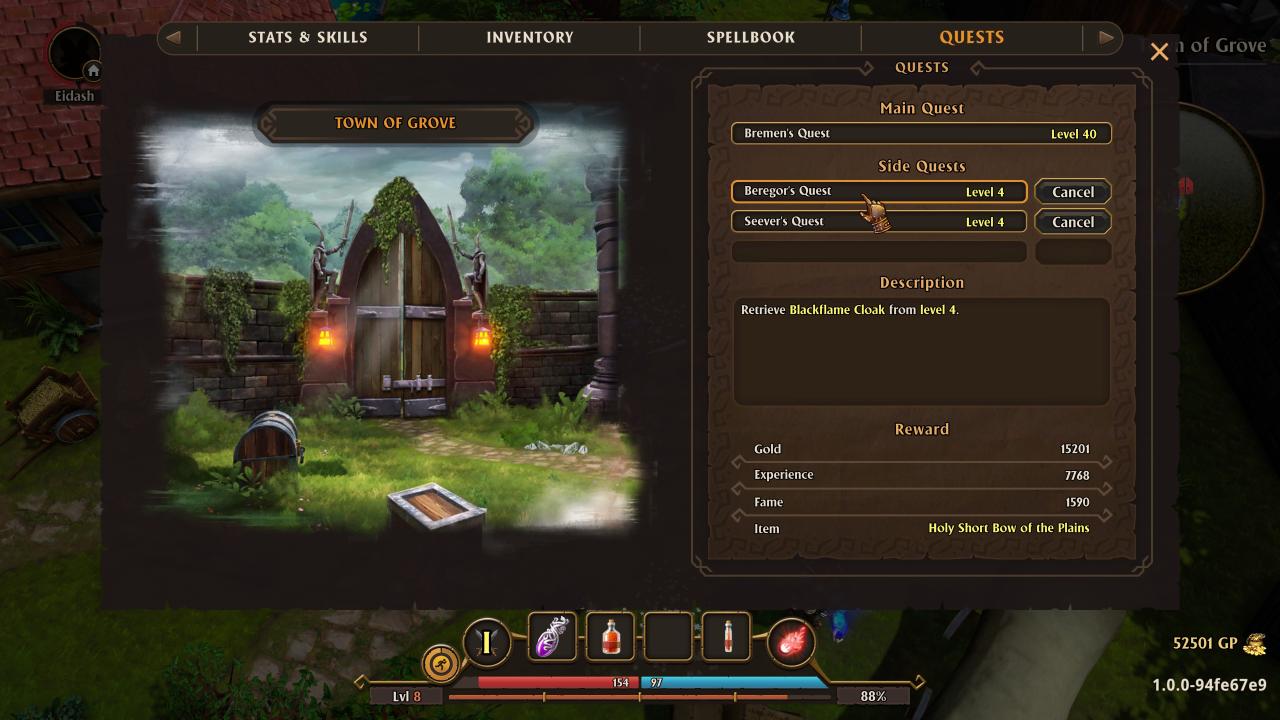
Usually, the items requested are epic and above, and therefore sell for much more gold than their counterparts early on in the game. Now, either keep the item for switching out weaker gear, or sell it to a merchant in town for that sweet, sweet gold. In later games, different quest types are added, but become irrelevant and are advised against as to not waste time in order to maximize gold and EXP, or for min/maxing gear. Doing the above, fishing, or cheesing the enchantment system (explained in the next section) are the best ways to gather enough gold to supply oneself with whatever they desire to be ready for dungeon delving. In later stages of the game, however, due to ways that one can cheese the enchantment system in ones favor, accepting and canceling item fetch quests becomes obsolete and a waste of valuable EXP after a certain character level.
To maximize EXP gain, save and exit, then reload your save, to refresh the quests given and accept the highest EXP giving quest through trial and error. Not extremely efficient, but another helpful tool to utilize if one is struggling for levels outside of money and gear.
In conclusion, the intertwined nature of exploiting these two systems (fishing and quest types) provides a foundation to build upon to make it easier to be able to exploit the enchanting system later on.
Enchanting & Gems
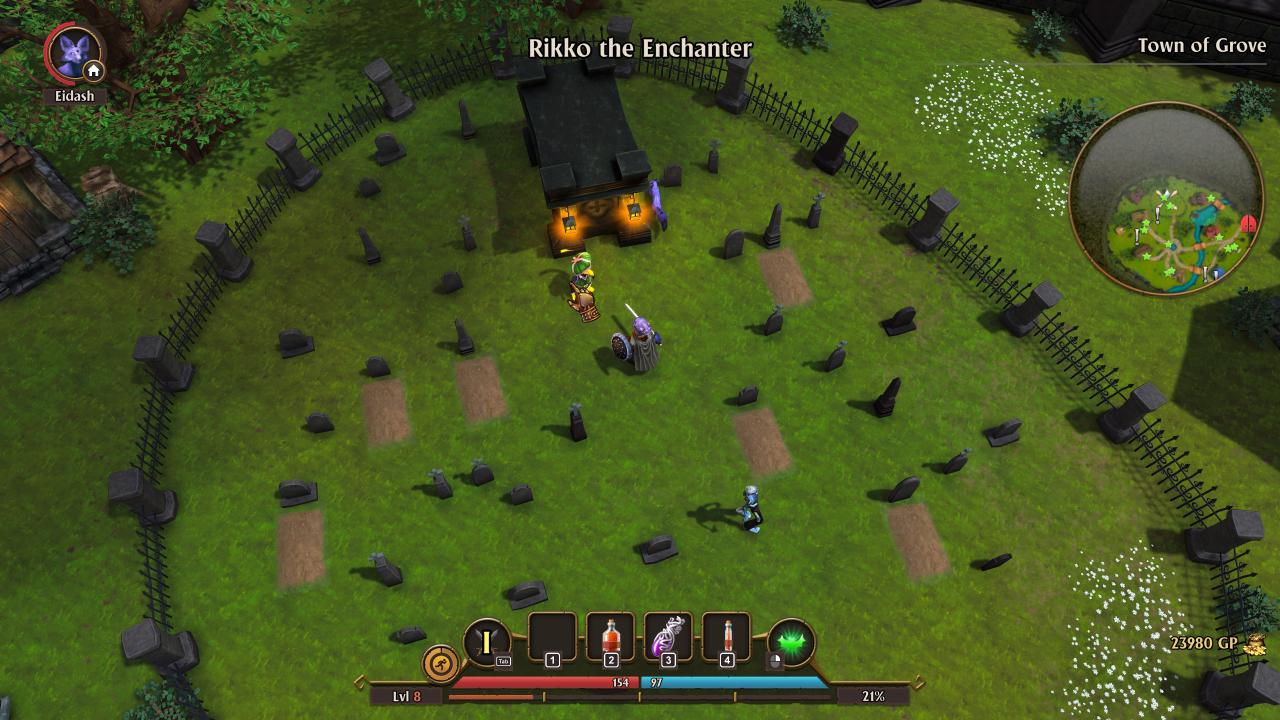
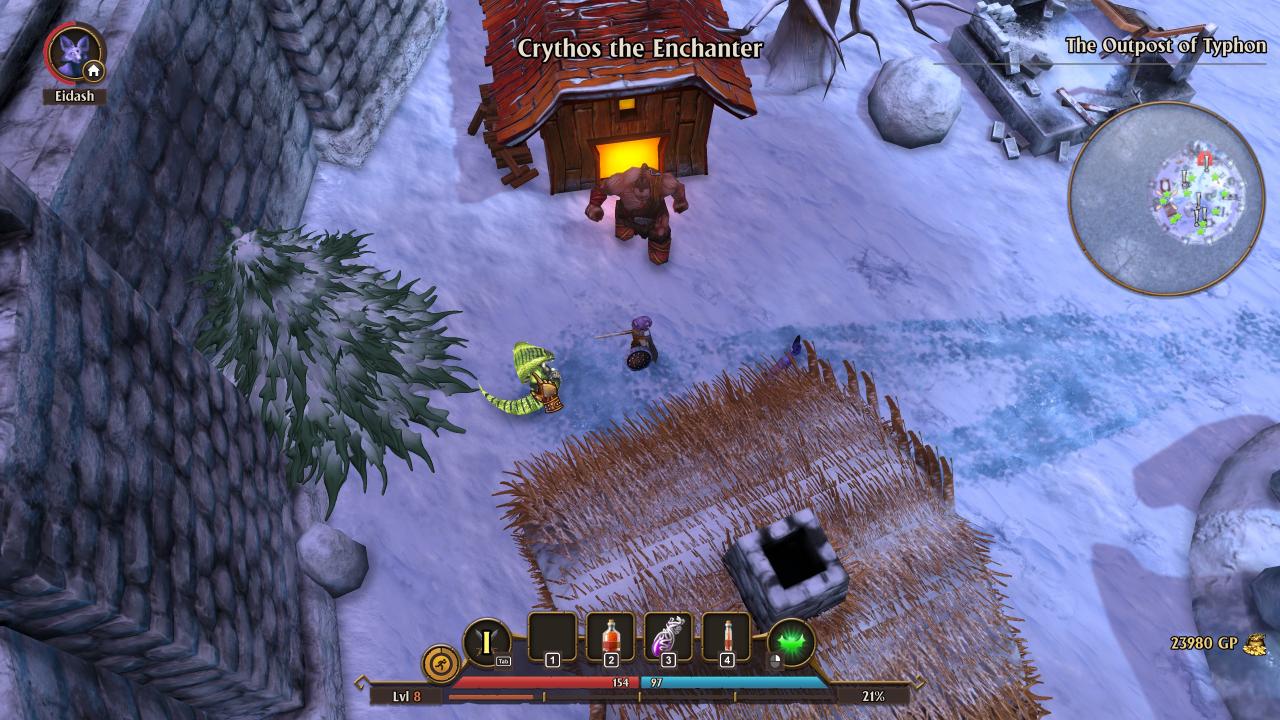
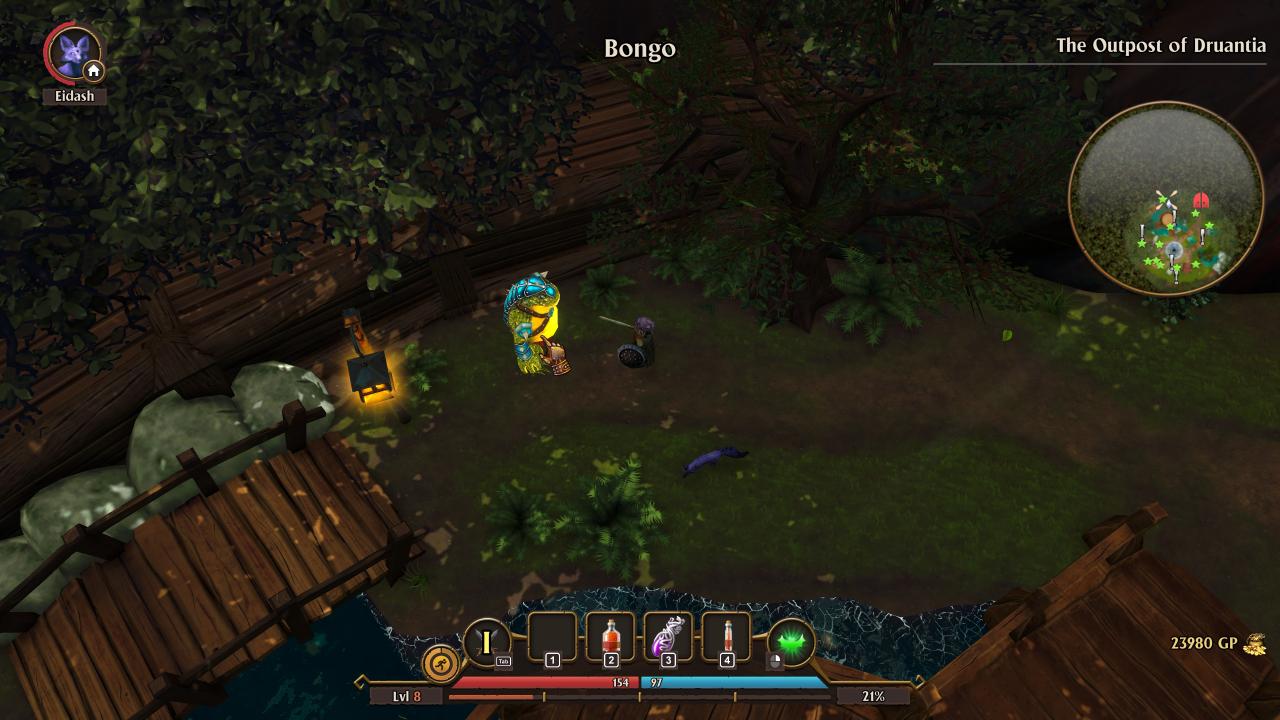
The enchantment system can be accessed by finding one of these characters in the towns of Grove, Typhon, Druantia, or Ecktaban.
Riko the Enchanter in Grove
Crythos the Enchanter in Typhon
Bongo in Druantia
Natark the Enchanter in Ekbatan

Once these enchanters are found and interacted with, it’s time to enchant! This enchantment system works like comparable games in the genres enchantment systems, but with some big differences.
First, one can have any of these six possible outcomes, or a combination of several outcomes.
1. No enchantment(s)
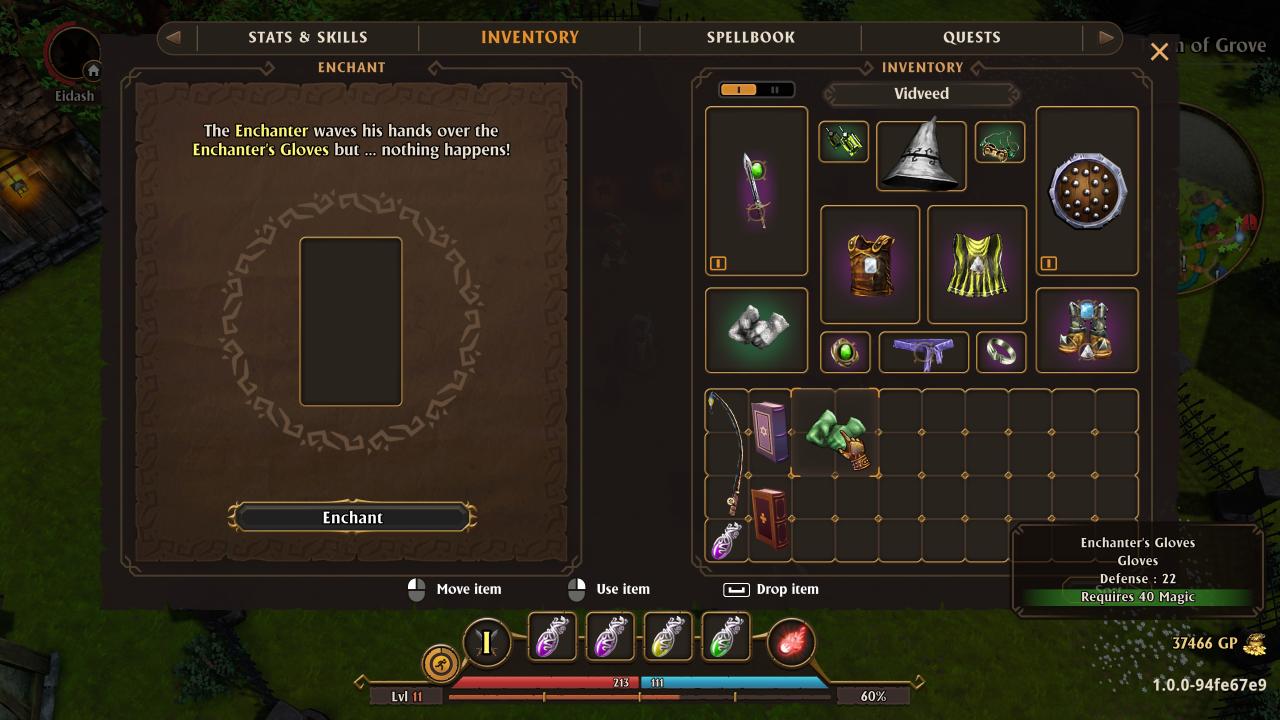
2. Positive enchantment(s) (Buffs)
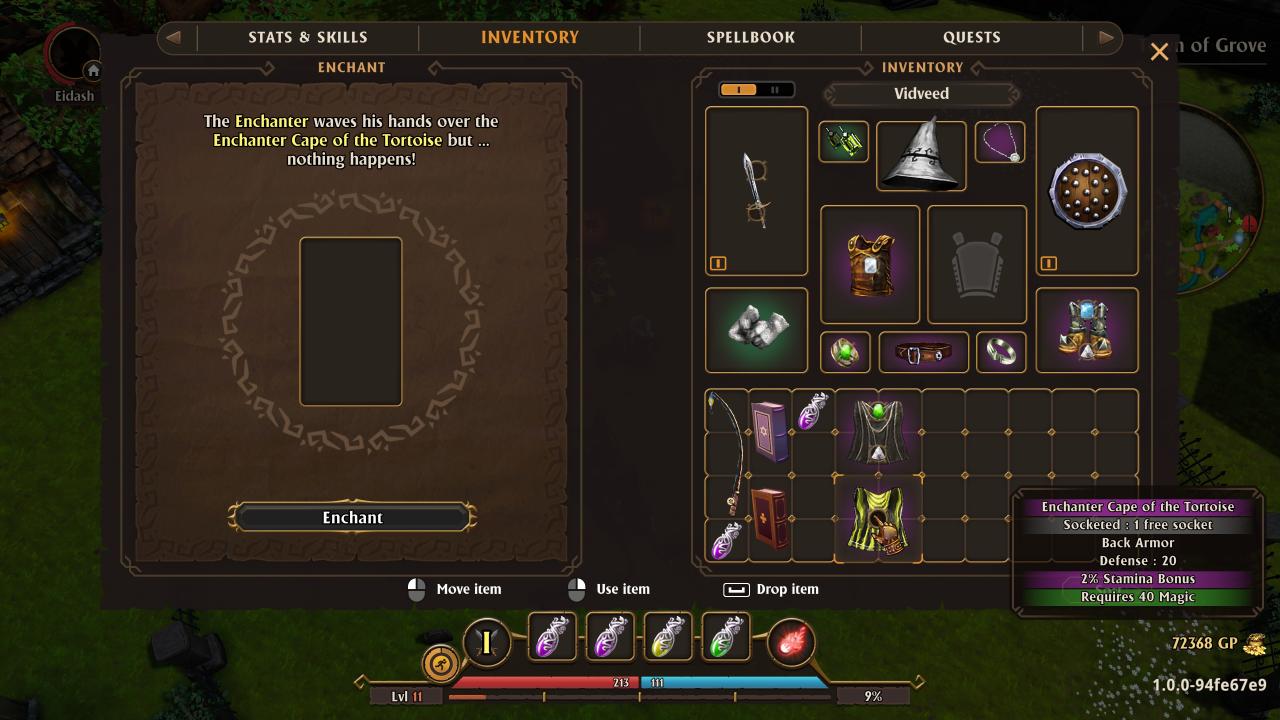
3. Negative enchantment(s) (Debuffs)
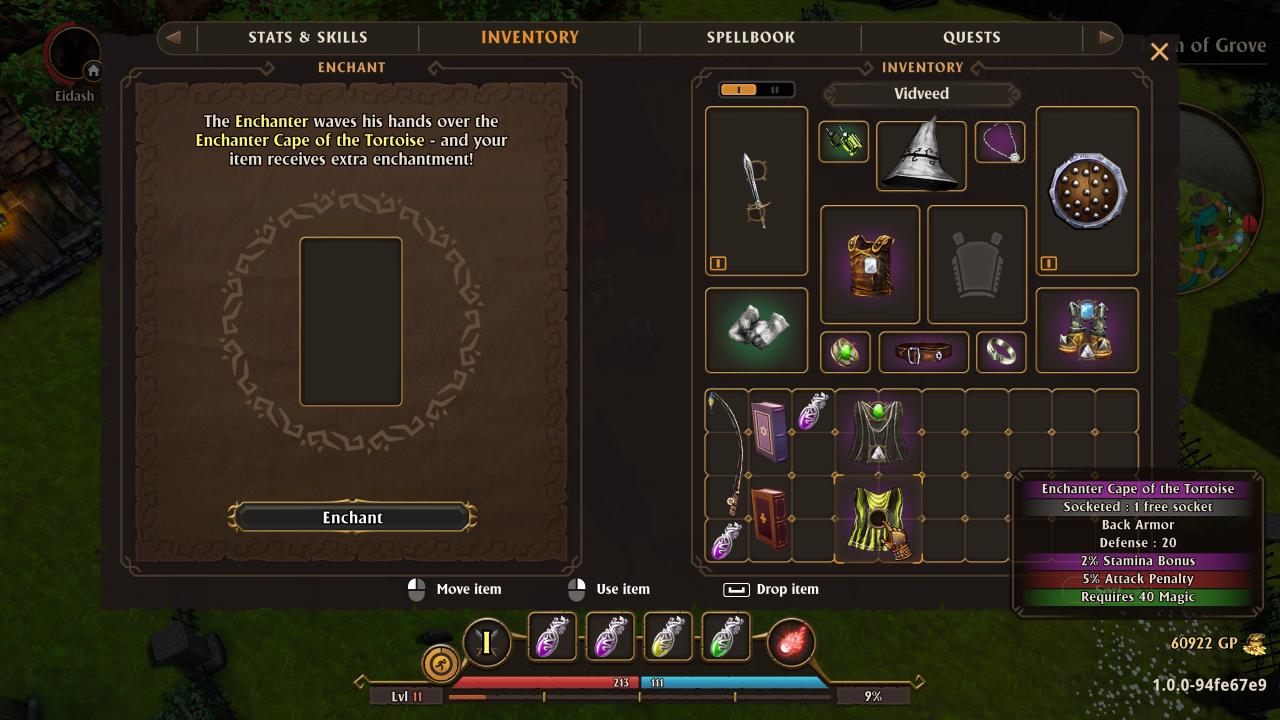
4. A combination of both as shown in the above screenshot.
5. (A) socket(s) for gems
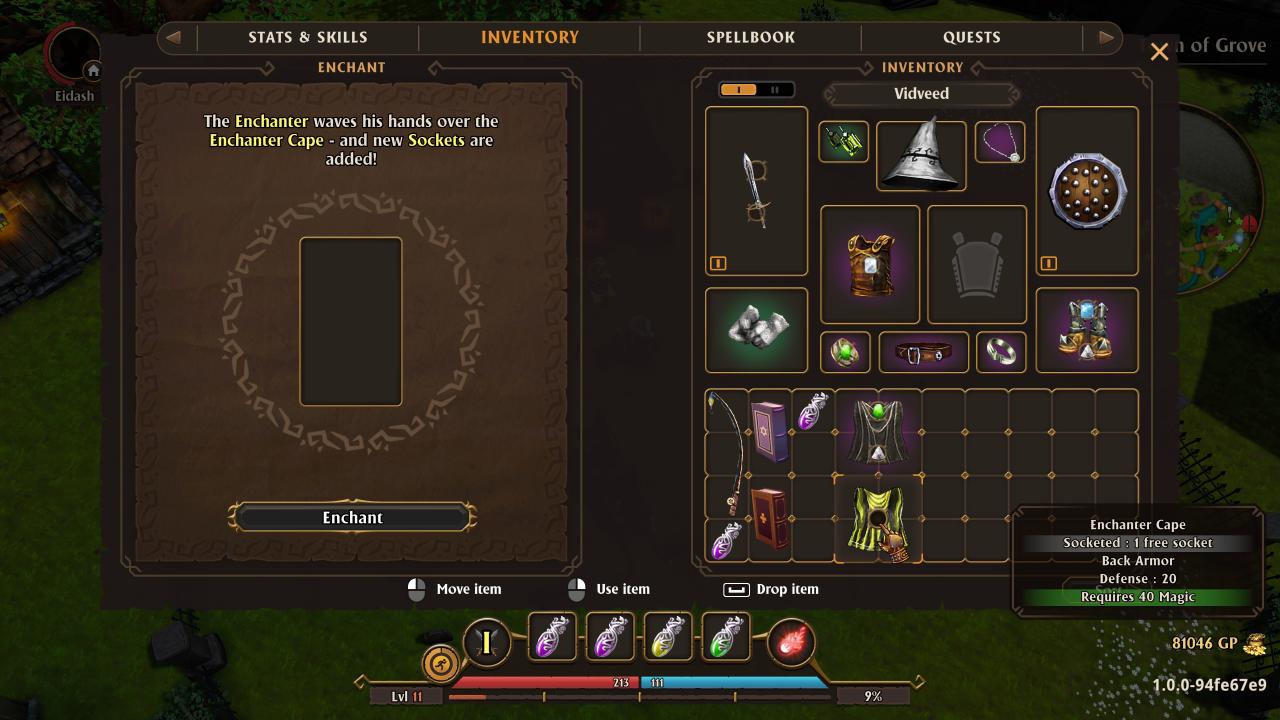
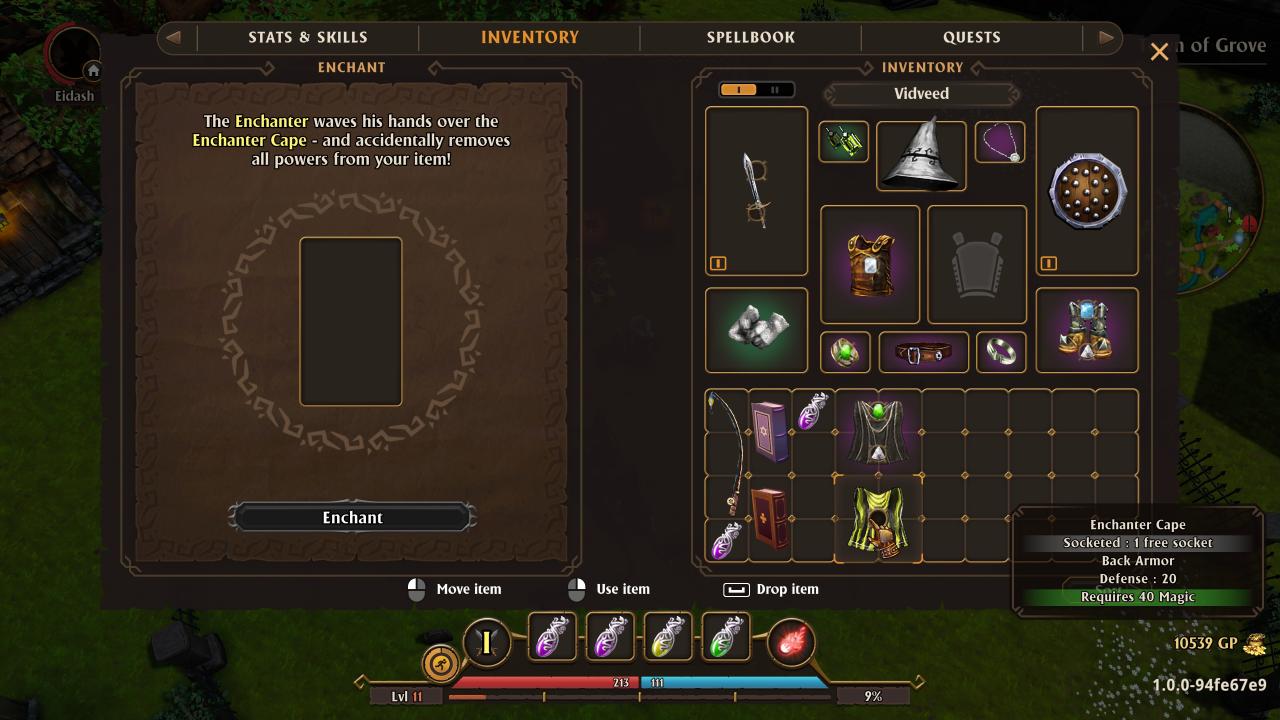
6. Or an enchantment wipe which removes both positive and negative enchantments on ones gear respectively. However, sockets do not get removed after receiving them on an item (as shown below).
Second, one can enchant their gear with more than 3 – 4 enchantments per item, with 3 – 4 being the common standard for enchantment caps in many other similar games of this type, except for FATE. Here, enchantments can stack upwards of 40 -50 buffs and debuffs, respectively, per gear. Though, only 1 – 4 sockets can be enchanted on an item for different gear and weapon types.
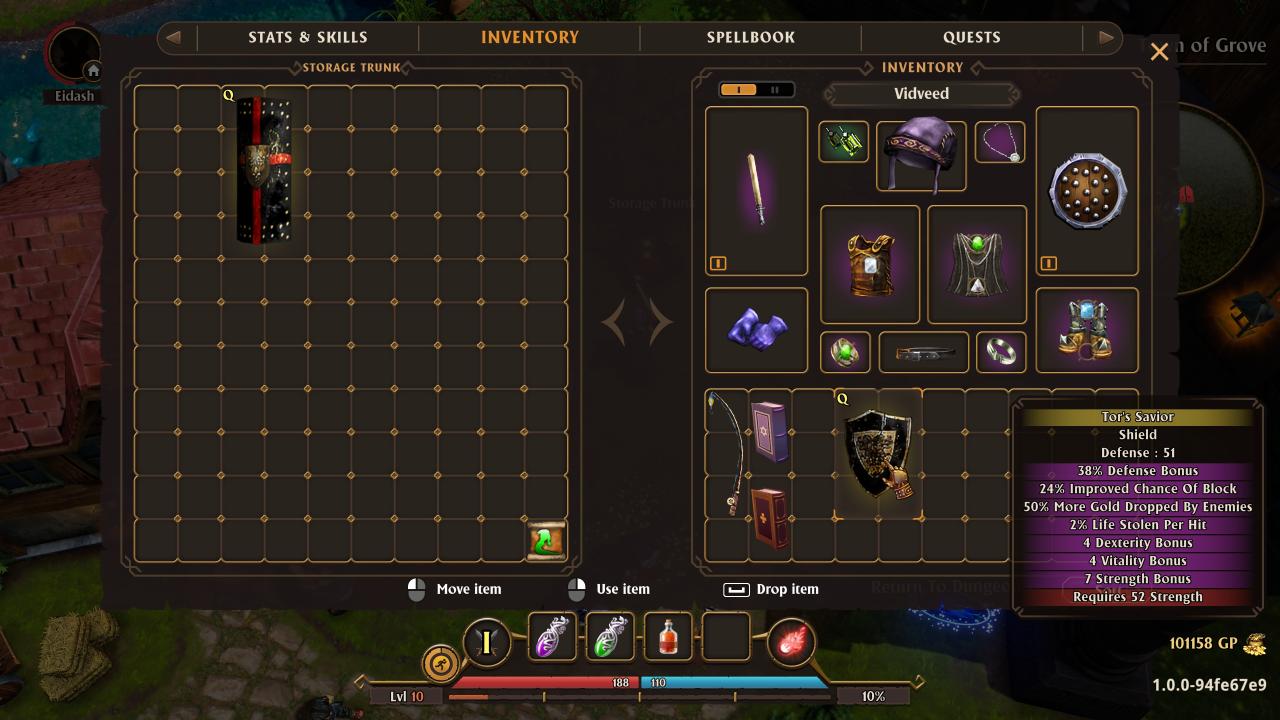
Below is a small example of the variety and amount of enchantments a single piece of gear one may have at any given time, though item enchantment lists can take up whole entire pieces of ones screen.
Once one is at a high enough character level (typically lvl 20 or above), quality and quantity of each enchantment rises in a major way. Time to now brake the enchantment system to ones benefit.
*Note, one can find better items early on through fishing or from fetch quests, but the amount of money required to do so and stack enchantments will be much higher for a lesser benefit overall when compared to having a higher level, and the funds are much better spent on charms and level suitable gear to maximize enchanting later. Leveling up your character, especially at higher difficulties, is quick and it won’t tale long to get to the point of braking the system.
Another reason as to why one should wait is because better items appear at higher character levels and deeper dungeon levels with a much higher gold value floor. 10k or higher selling value is the optimal floor to start off at when wanting to enchant an item for better profit margins.
At any level, though, enchanting is one of the most RNG heavy gambles for any system in FATE. Meaning, the more enchantments one has, especially ones with many buffs, the higher the enchantment cost becomes, and is thus suited to pursue at higher levels due to this limiting factor at the start. On the other hand, upon a successful enchantment, the value of the item more often than not exceeds the cost of enchanting the item and will earn one much more gold in the process to focus on powering up ones preferred gear and weapon set.
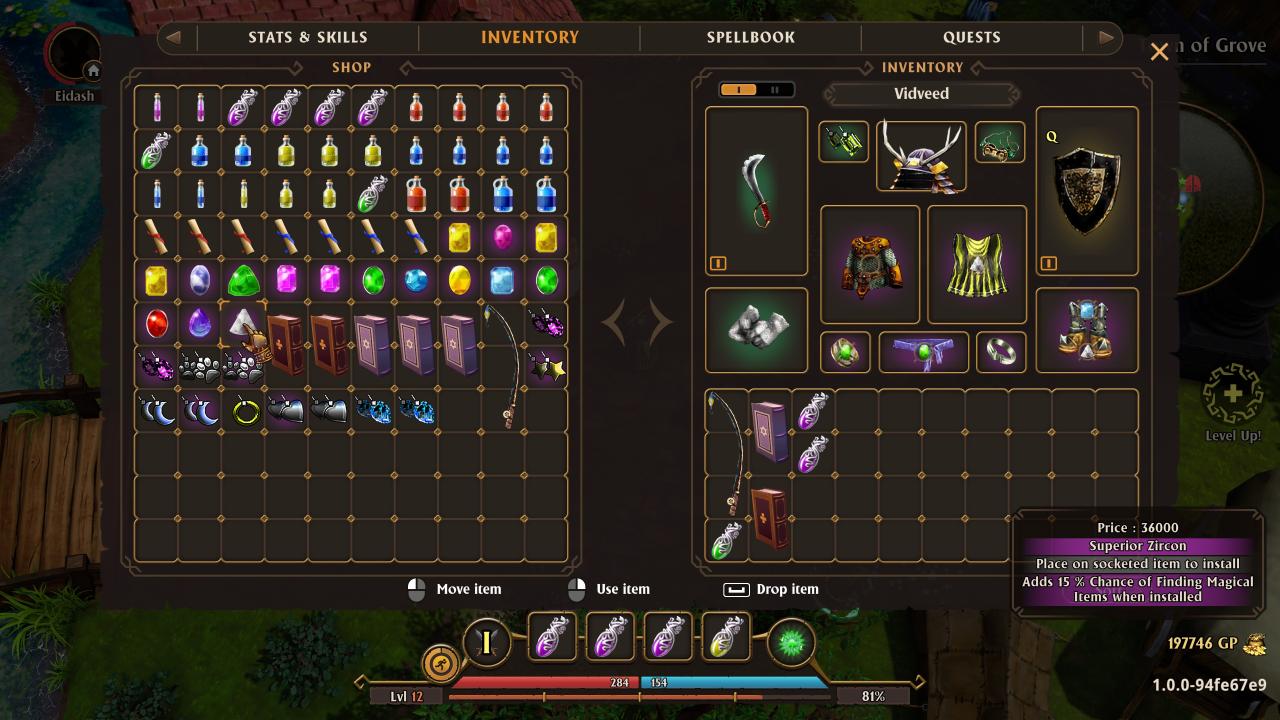
Gems are also extremely useful and further stack on top of positive enchantments when the buff reaches its cap (typically 100% of X). Below is an example of one gem that is the top tier version, Superior Gems, and are the best ones to purchase, more so at the start of the game.
Your Pet and Companions
Companions are a great feature that was introduced in the last game of the series, but is sadly still pigeonholed in the last game and was one of the few things not retroactively implemented in earlier games with this remaster.
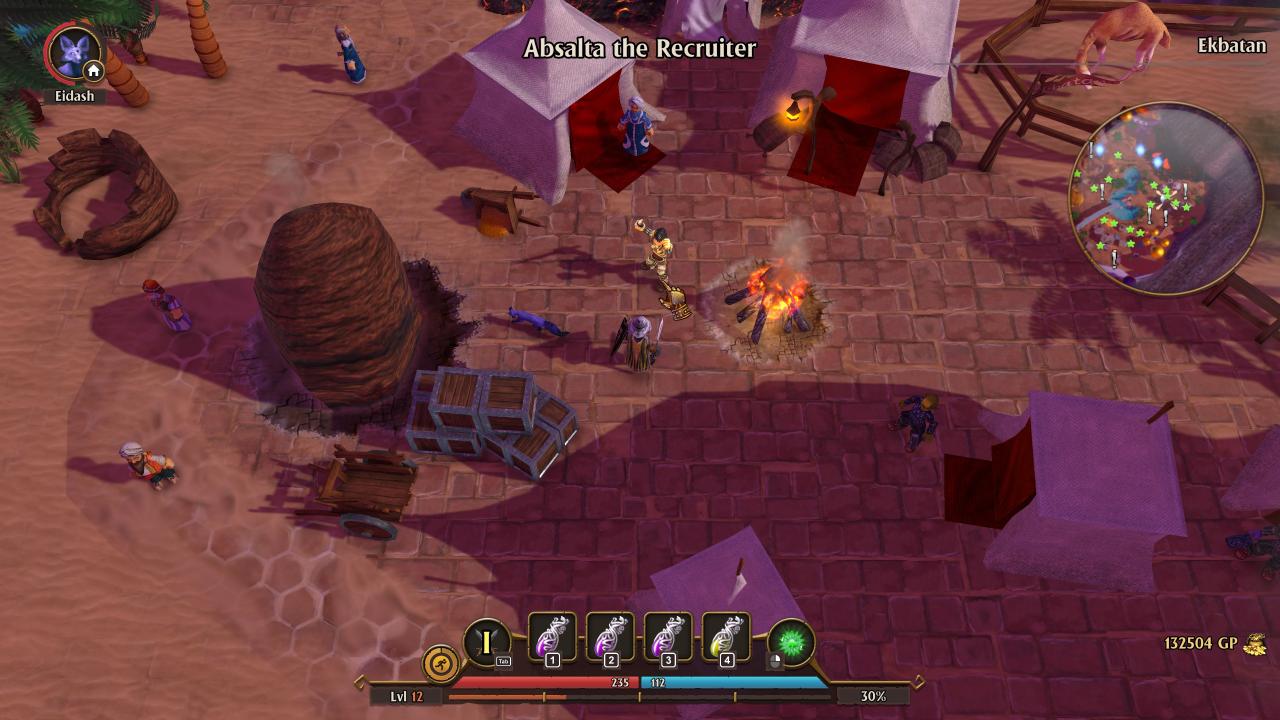
Go to this NPC to recruit a companion to accompany you through The Cursed King.
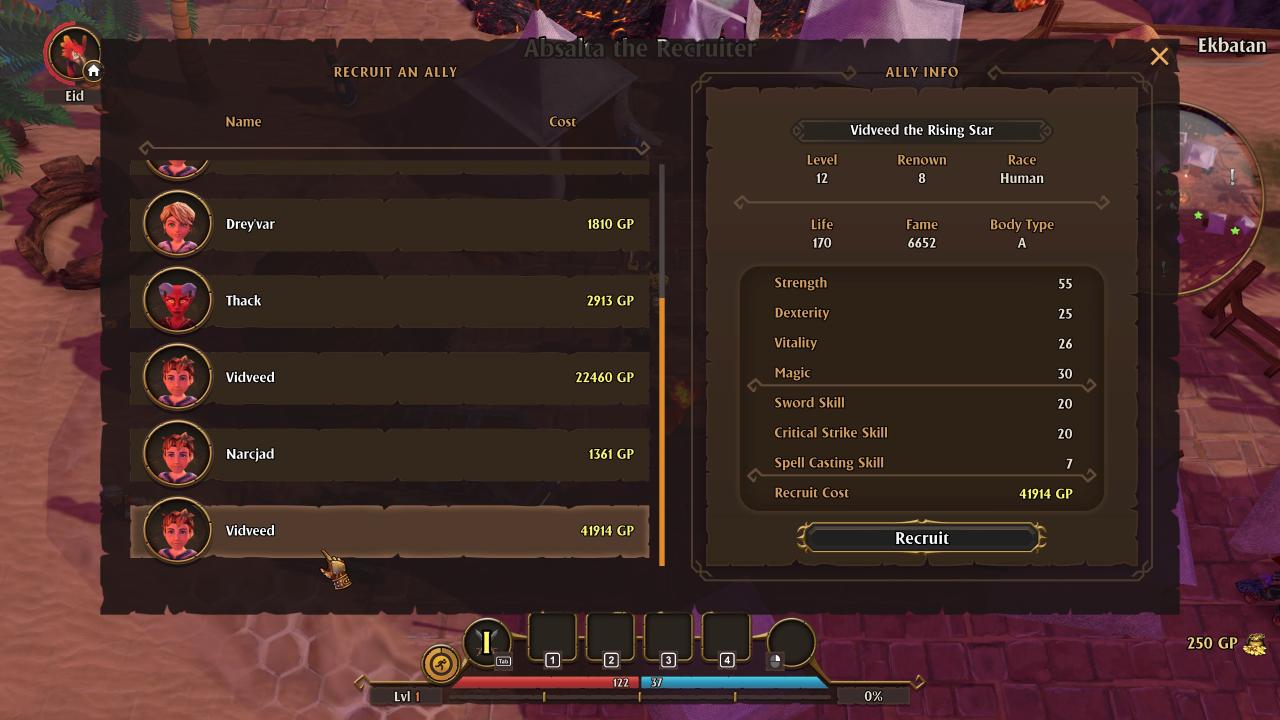
The max amount of recruit-able characters is capped at 4. You can also recruit other characters you have made that either started, or were imported to, The Cursed King, with whatever gear they are wearing at the time or what is also in their inventory. Companions can be hired starting at level 1 (if one has the money), and the subsequent three able to be hired at levels 10, 20, and 30. This makes the last game even easier to beat on higher difficulties when added on top of ways to exploit the game.
Below is an example of the companion recruitment screen, the cost of hiring one, and their various stats they come with, along with the ability to hire imported player characters (imported character option is displayed below).
Shrines of Learning, Anvils, and Shrines of Fate
Shrines of Learning:
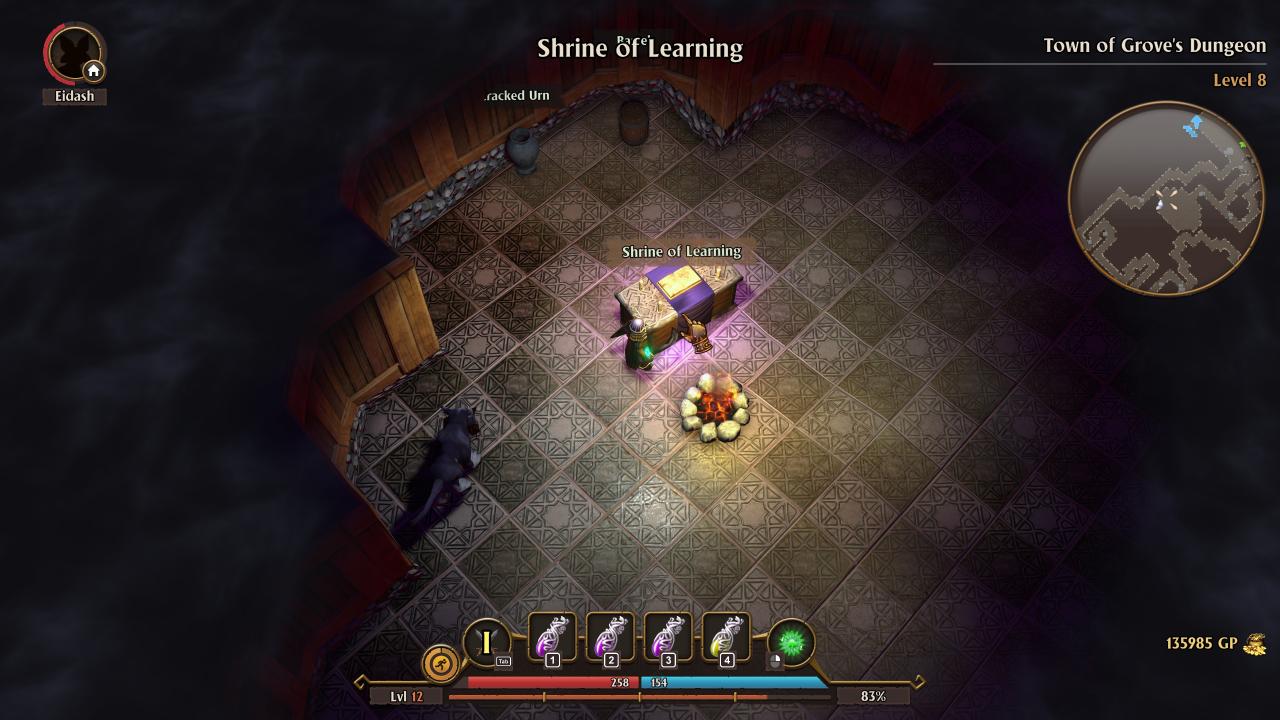
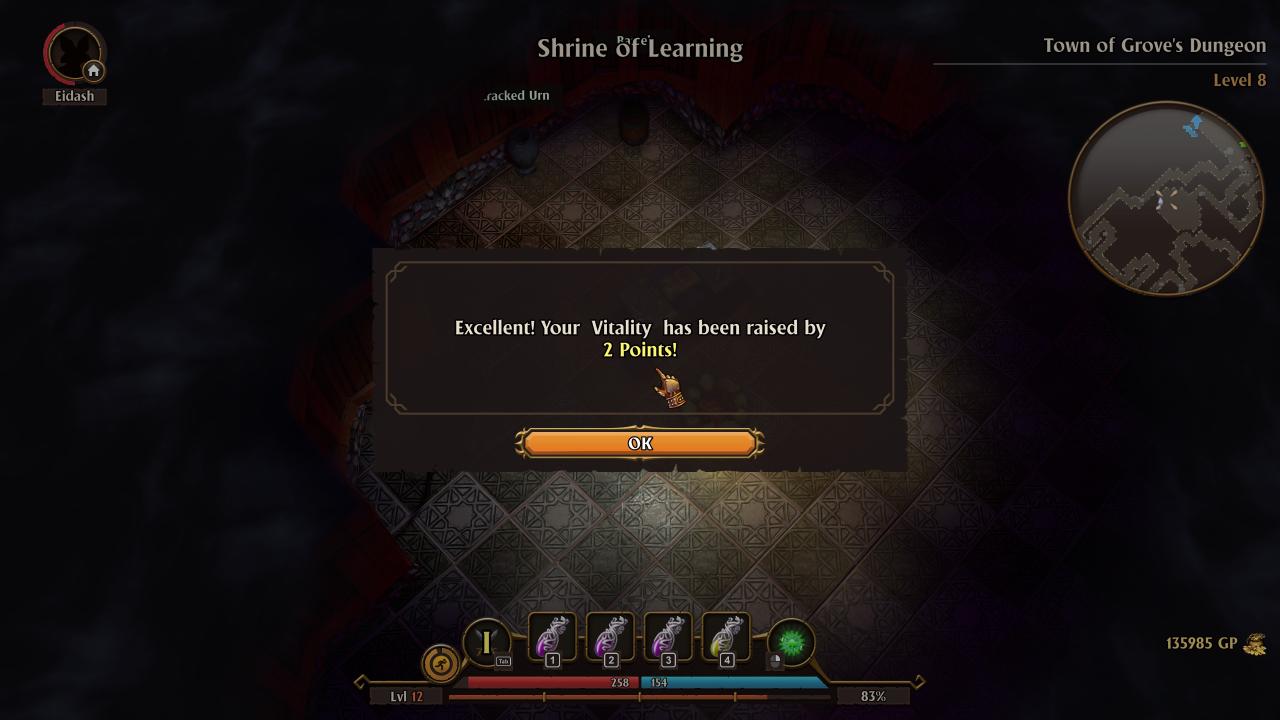
Shrines of Learning randomly give or take away points in any attribute or skill at random.
What a Shrine of Learning looks like:
An example of a possible outcome from interacting with the Shrine:
Anvils:
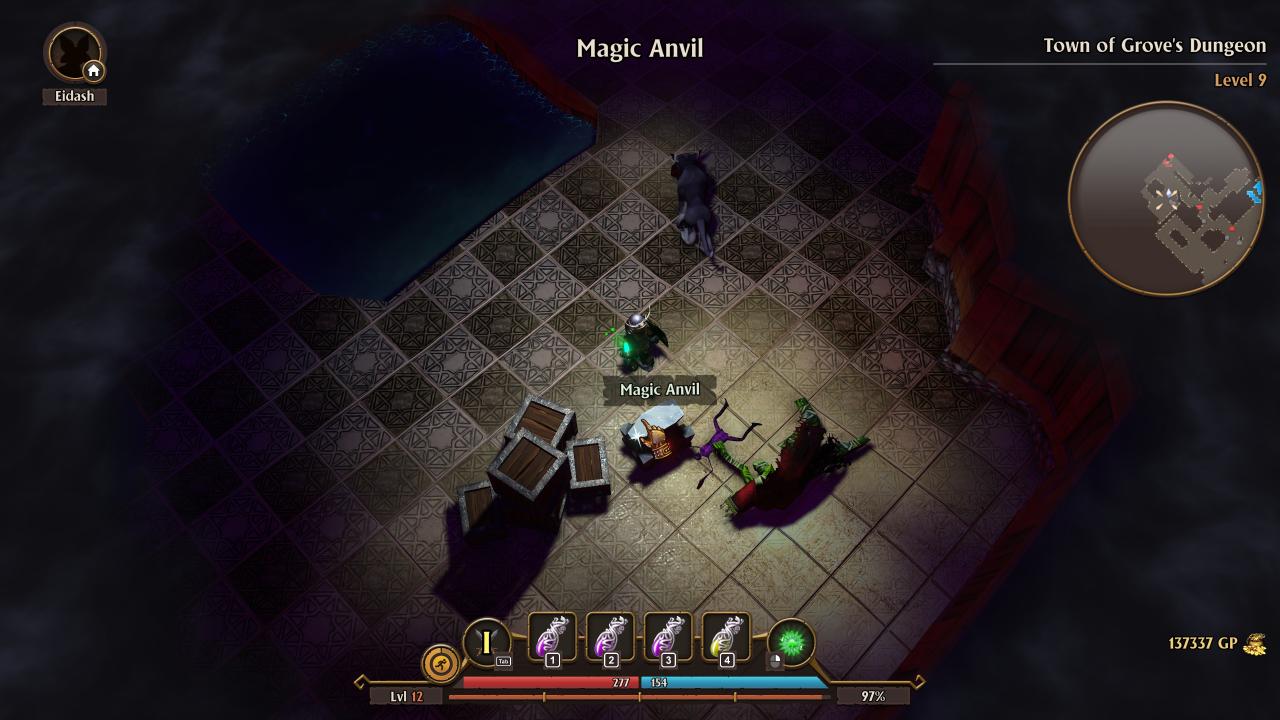
Anvils act exactly like an Enchanter, with all of the same enchantment types described in the “Enchantments & Gems” section, but within the dungeon and can appear at random.
What an Anvil looks like in the dungeon:
Known Bugs
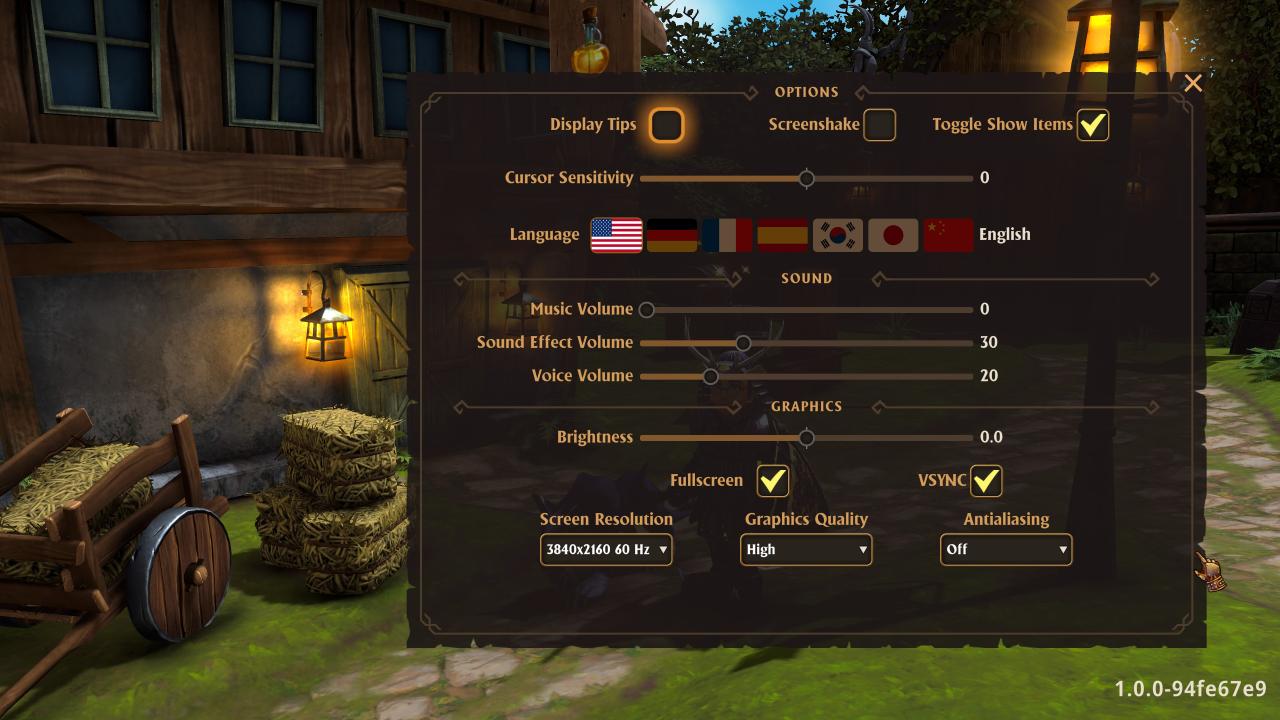
*The first bug one will encounter lies in the options menu: When turning off V-Sync, or turning on different levels of Anti-Aliasing, they do not work and will revert to the original settings upon exiting the game. V-Sync is always turned on, and Anti-Aliasing is always turned off.
*In the Starting Out: Fishing sections, please keep in mind that the time between bites is a bug wholly new in this iteration of the FATE saga, or, even worse, implemented by choice. So, fishing time is much longer in this remaster that was not the case in the older versions of the saga; however, it is still extremely viable to use this system to your benefit at the start of the game.
*In the Quests and the Enchantments & Gems sections, myself and others have noticed a bug with quest given bosses: quest given bosses, in this iteration of the FATE saga, are much weaker at higher difficulties and can be killed in 1 – 2 shots, where as regular enemies can take 2x – 3x the damage on average to kill. By abusing this bug, EXP gained by killing bosses can be stacked with EXP given through the quest, thus allowing a player to gain levels much faster to get to the point of further abusing the Enchantment system (described earlier via the Quests and the Enchantments & Gems sections).
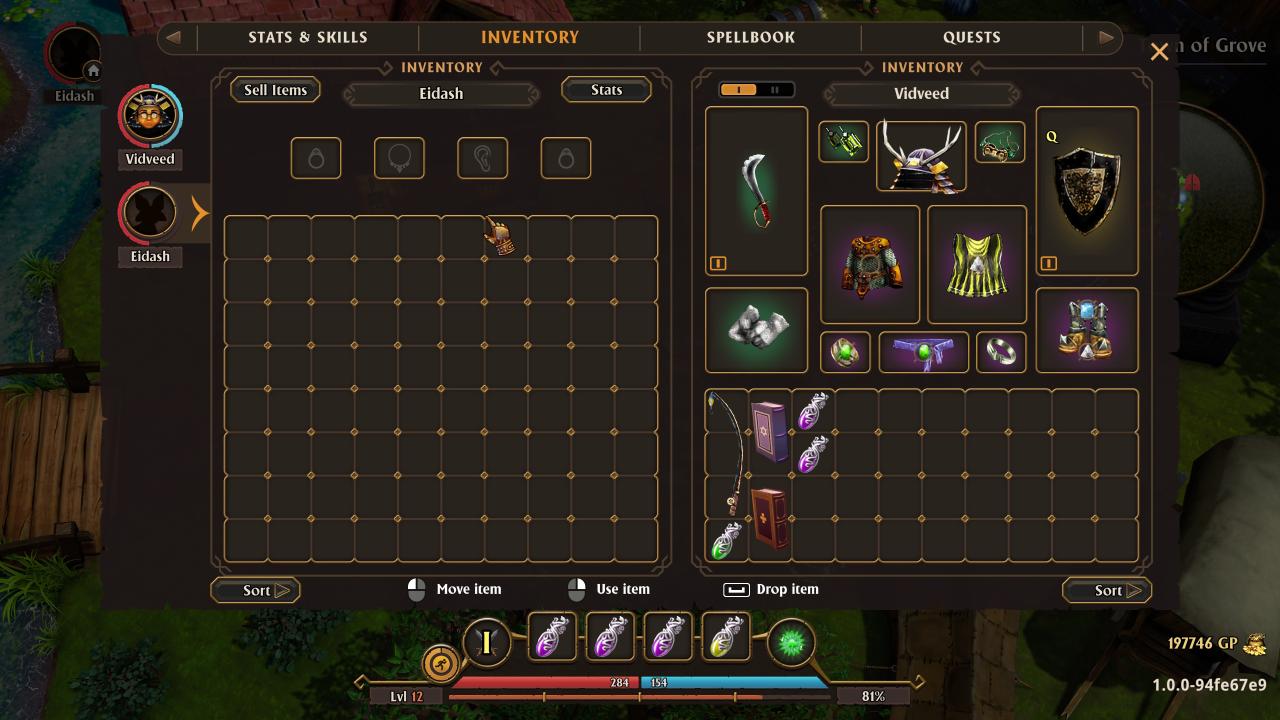
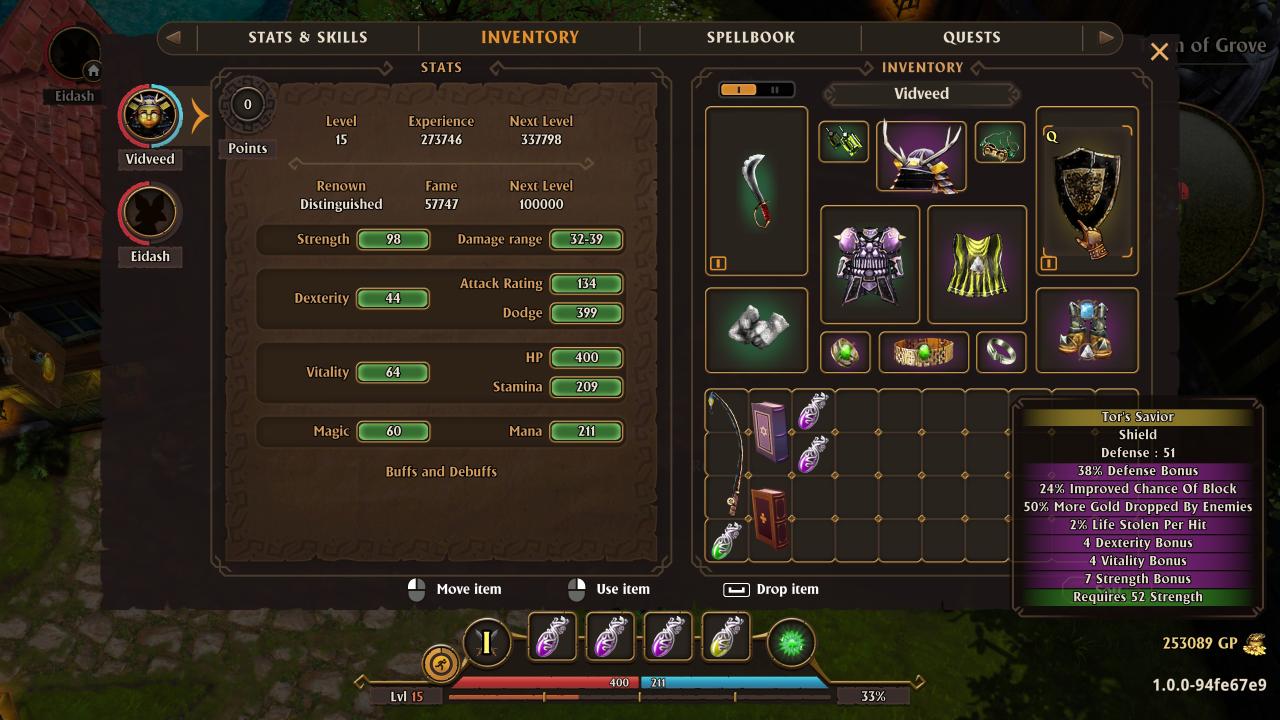
*Another bug with quests pertains to the item one can get from fetch quests: upon canceling a quest, an item will still display a Q (used to mark quest specific items) in the top left corner of the item. They, for now, do not disappear (shown below). The Q would, however, disappear in the original versions of the FATE saga upon canceling a quest.
*In the Pets & Companions section, there is a bug when shift-clicking a merchant to get your pet to sell items to the selected merchant. Your pet will not interact with the merchant, so you will have to transfer whatever items you want to sell from the pets inventory into your inventory, and then proceed to sell said items. Hopefully, this gets addressed soon due to the tedious nature of transferring items between the two inventories.
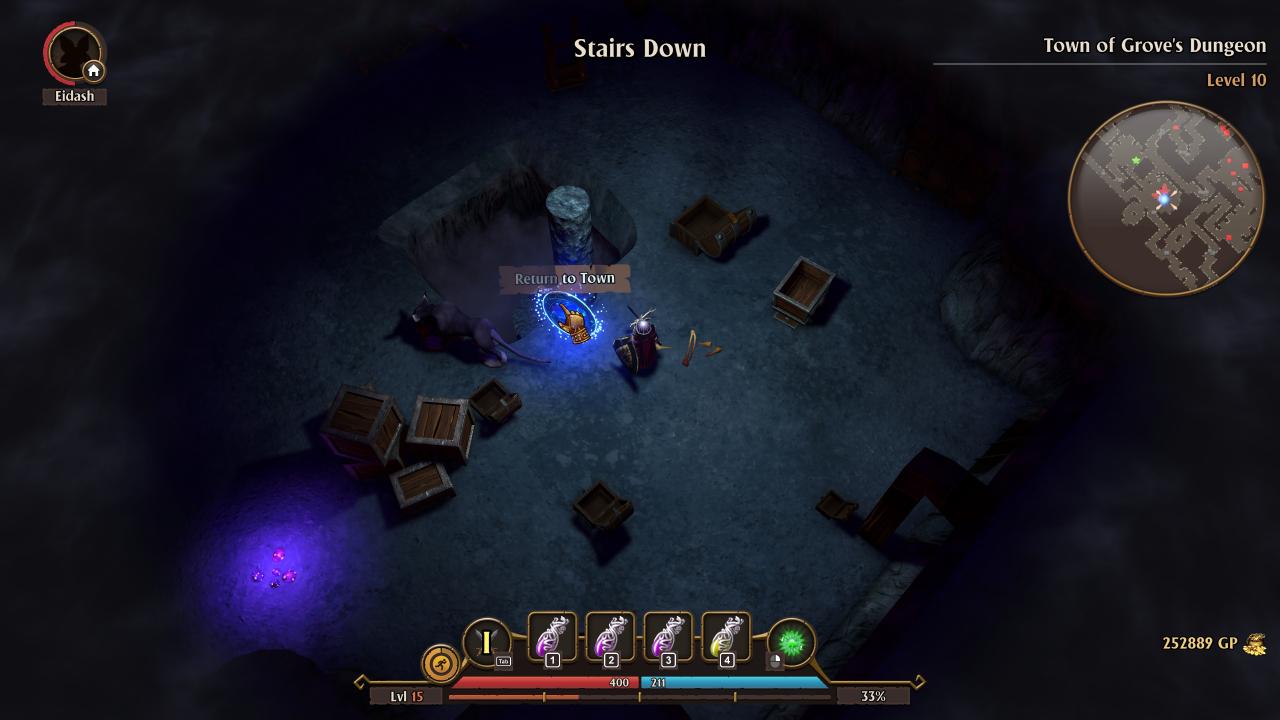
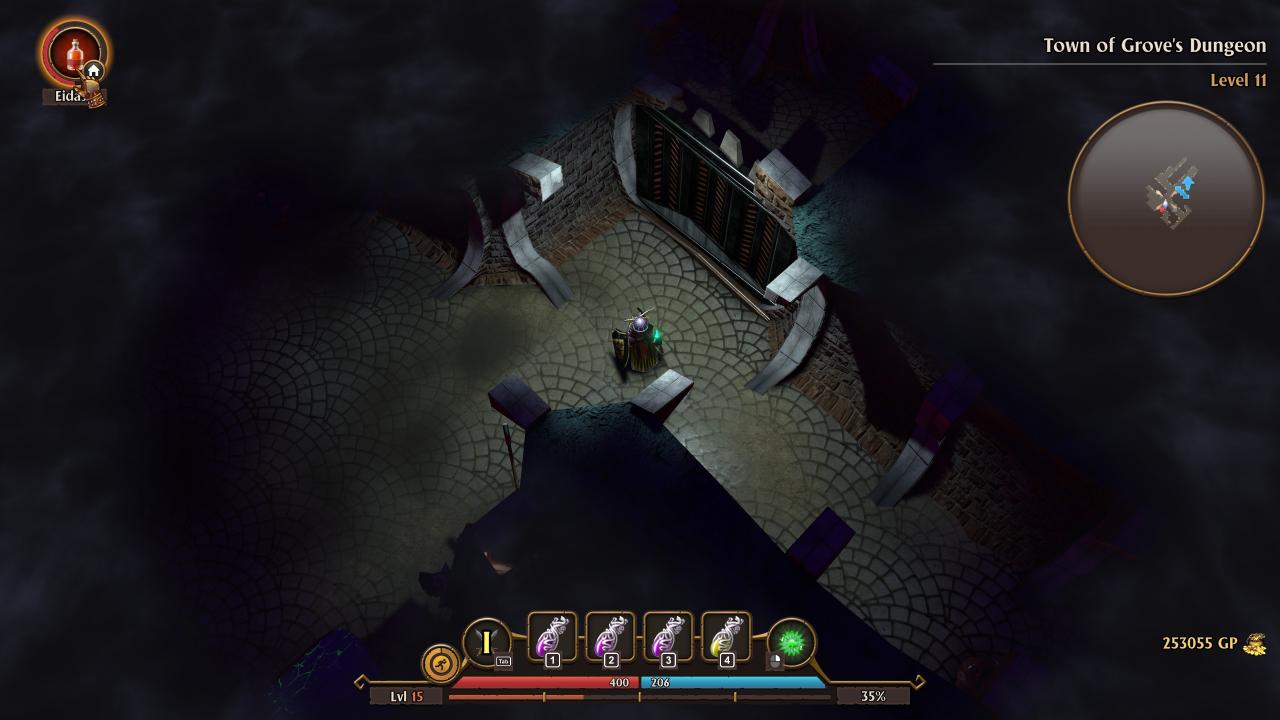
*While in the dungeon, it is possible to place a town portal right next to the stairways leading down to a lower dungeon, causing the teleport to not be interact-able (replicated below). Thus, you will have to use the town portal spell, book, or scroll away from the staircase. After testing, placing a town portal next to a stairway leading up does not block use of the town portal scroll, book, or spell.