
I’ve put together this walkthrough to cover every collectible I could pin down in Playrooms — all 20 Sparrows, all 14 decorative items, and a rough map of the Green Office Labyrinth so you aren’t wandering blind. If you’re chasing full completion or just want your office looking less depressing, this should get you there room by room.
I wrote this up because the collection side of Playrooms is genuinely easy to fumble — a few Sparrows sit in spots that are practically invisible until you know they exist, and the Hotel shuffles its own rooms around on you. I found 19 of the Sparrows myself before a commenter named Socks pointed me to the 20th, which is exactly the kind of community assist I wanted to bake into one clean reference here.
The Green Office Labyrinth Map
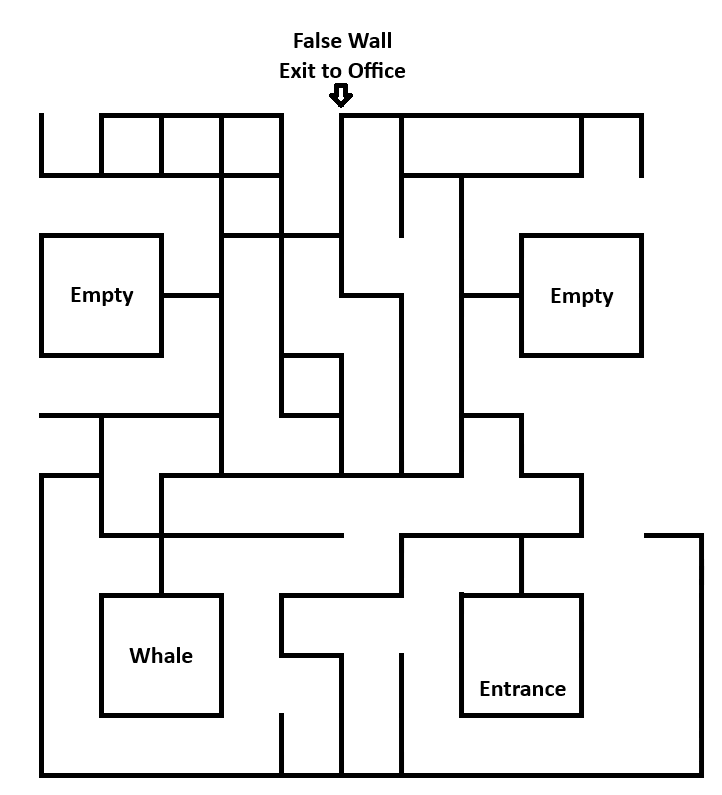
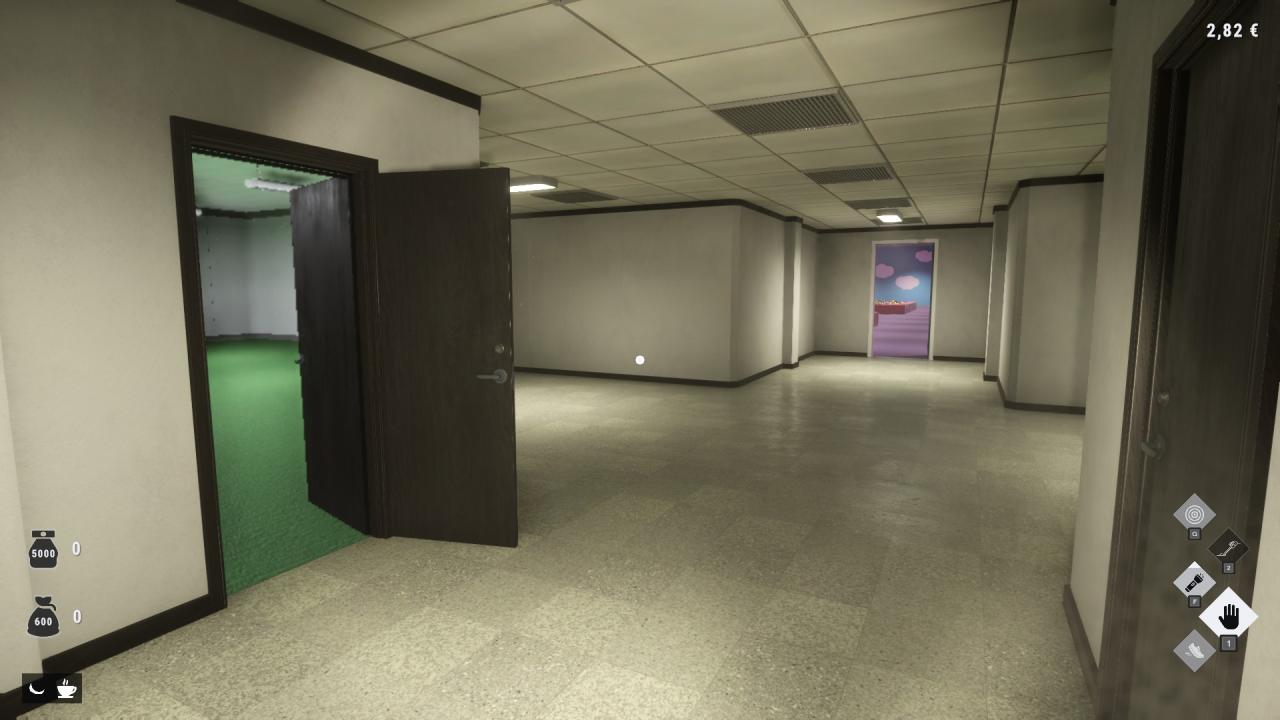
Start here, because orientation matters more than it sounds. This is a rough map of the Green Office Labyrinth, the version you’ll run into from the Waiting Room, and I compiled it on version 1.0.0. It isn’t a beautiful cartographer’s piece — it’s a working sketch — but it stopped me from doubling back through the same corridors more times than I’d like to admit.
Sparrow Locations
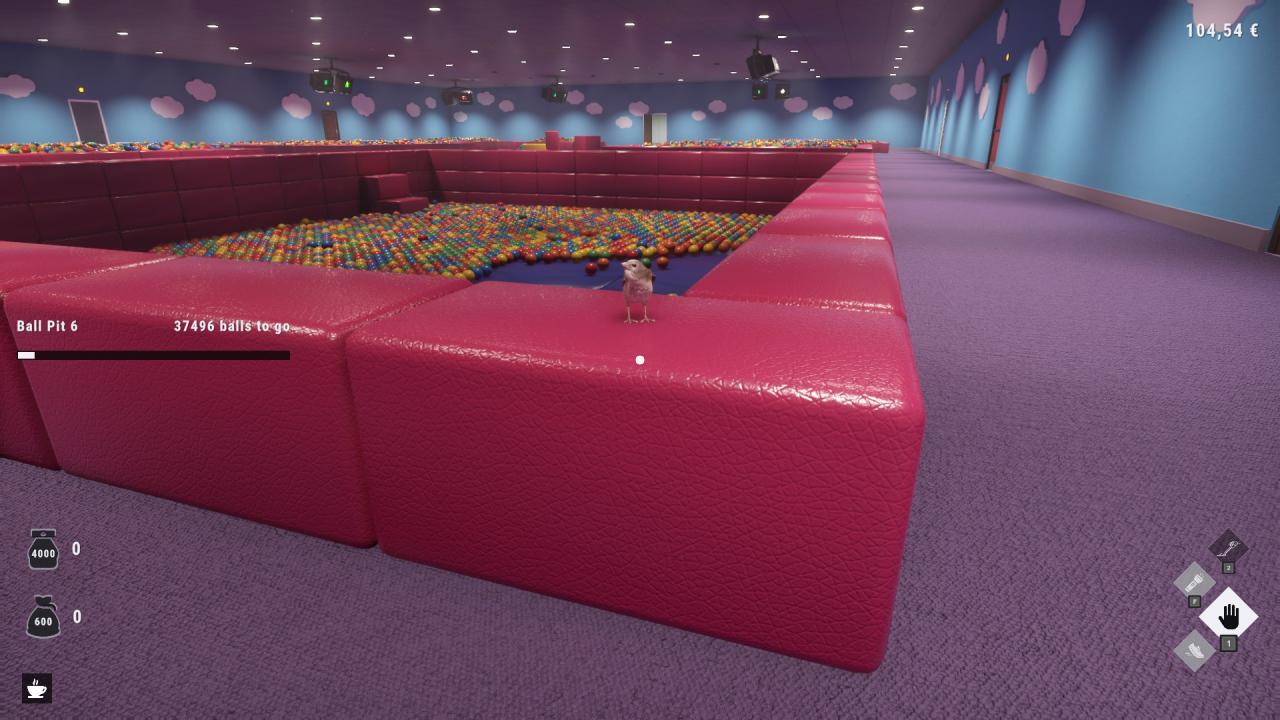
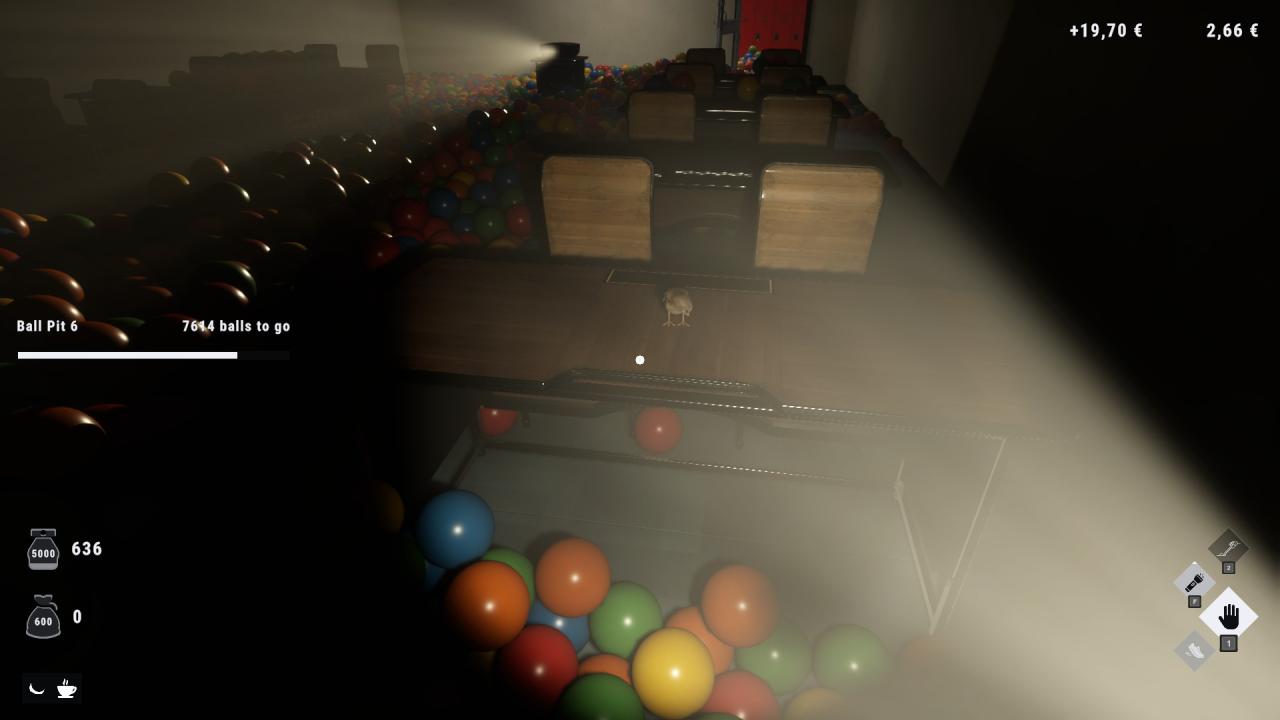
There are 20 Sparrows in total, and I’m listing them by the room they turned up in. One thing worth knowing before you go hunting: the one marked Sparrow #4 sits above ball pit #6, and my honest suspicion is that you need to fill that ball pit before the Sparrow becomes catchable. I haven’t seen it work any other way, so plan your ball pit time accordingly.
Playroom
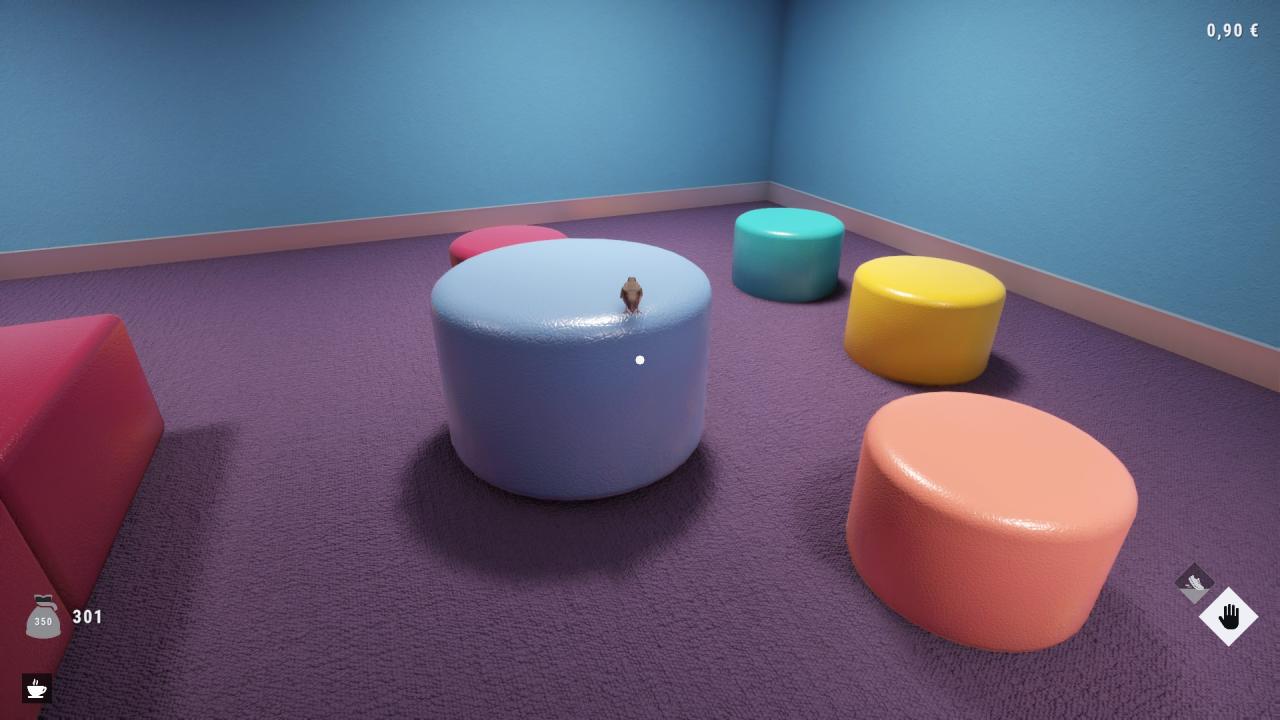
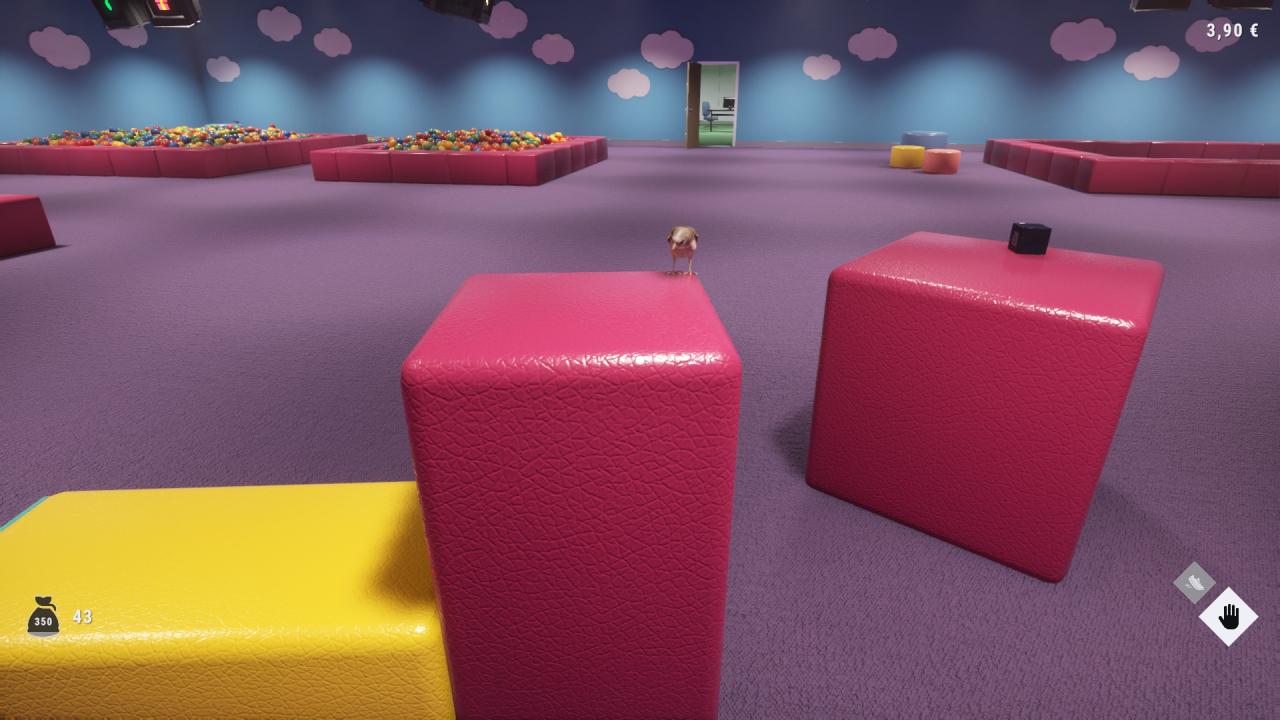
Three live in this area, with the ball-pit oddity rounding out the last of them.
Sparrow #1:
Sparrow #2
Sparrow #3
Sparrow #4
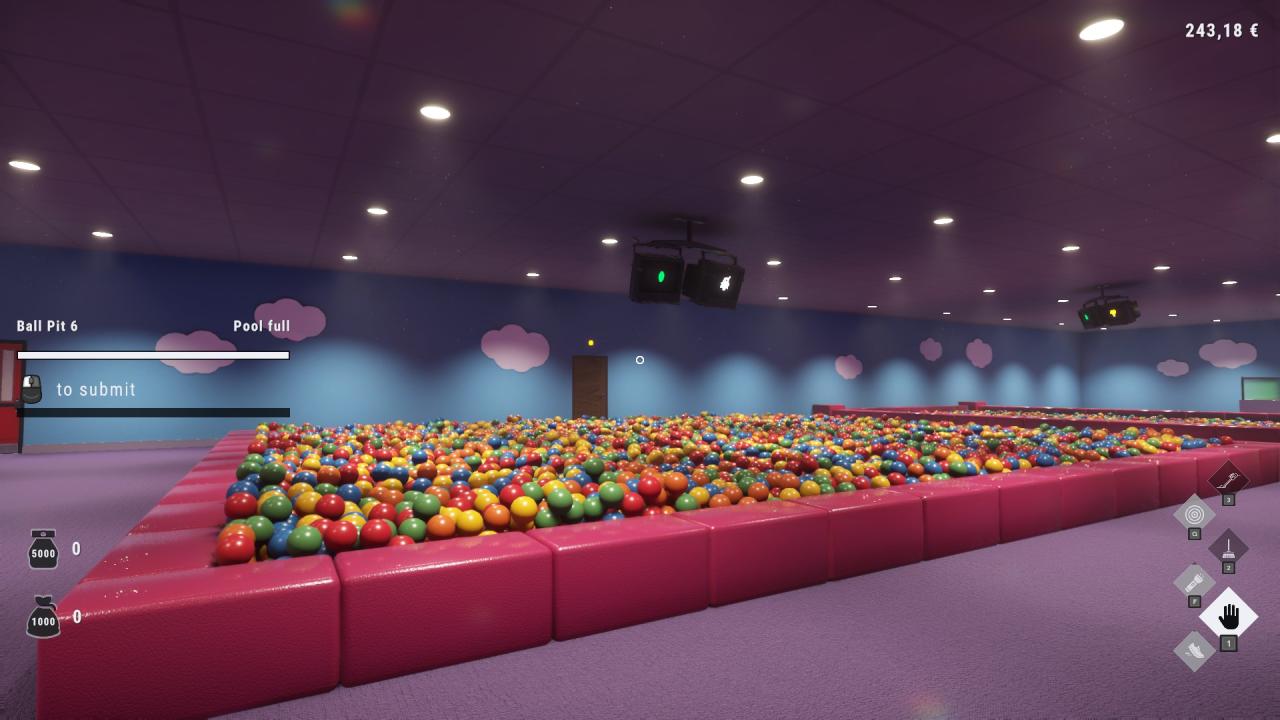
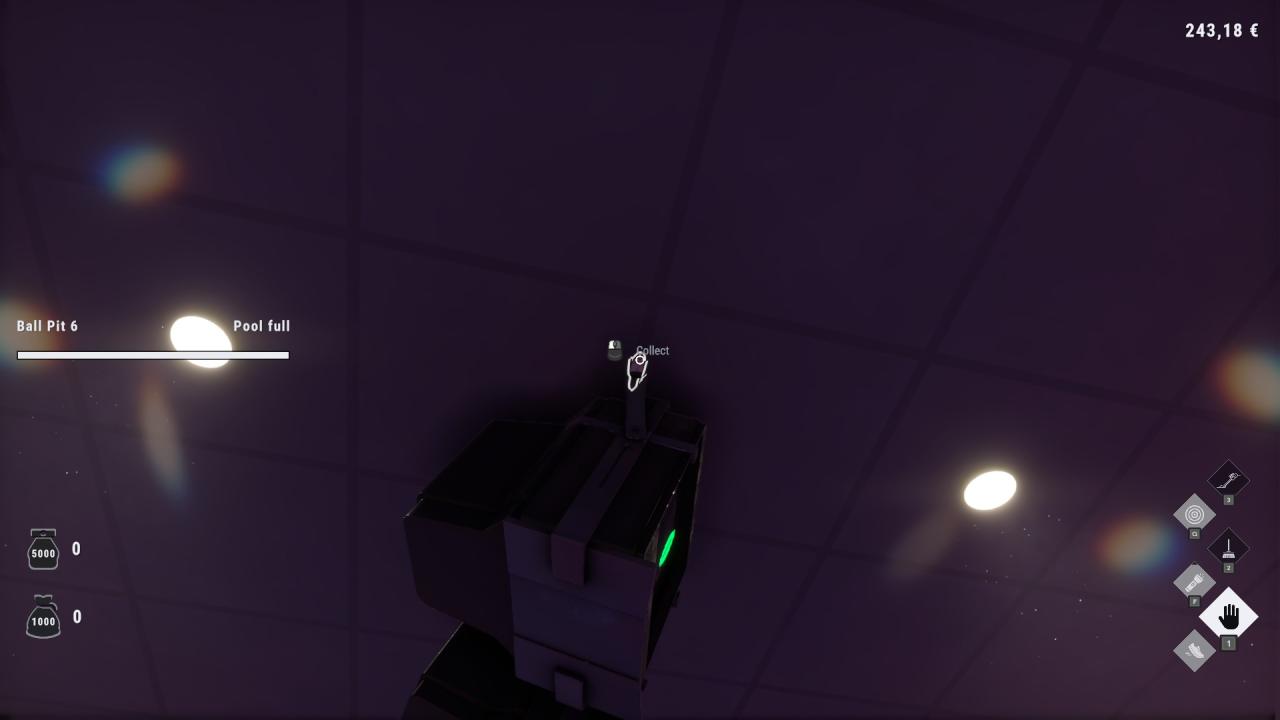
As noted above, this one is above ball pit #6 — my guess is you’ll need to fill the ball pit to reach it.
Waiting Area
Two to grab here while you’re passing through toward the labyrinth.
Sparrow #5
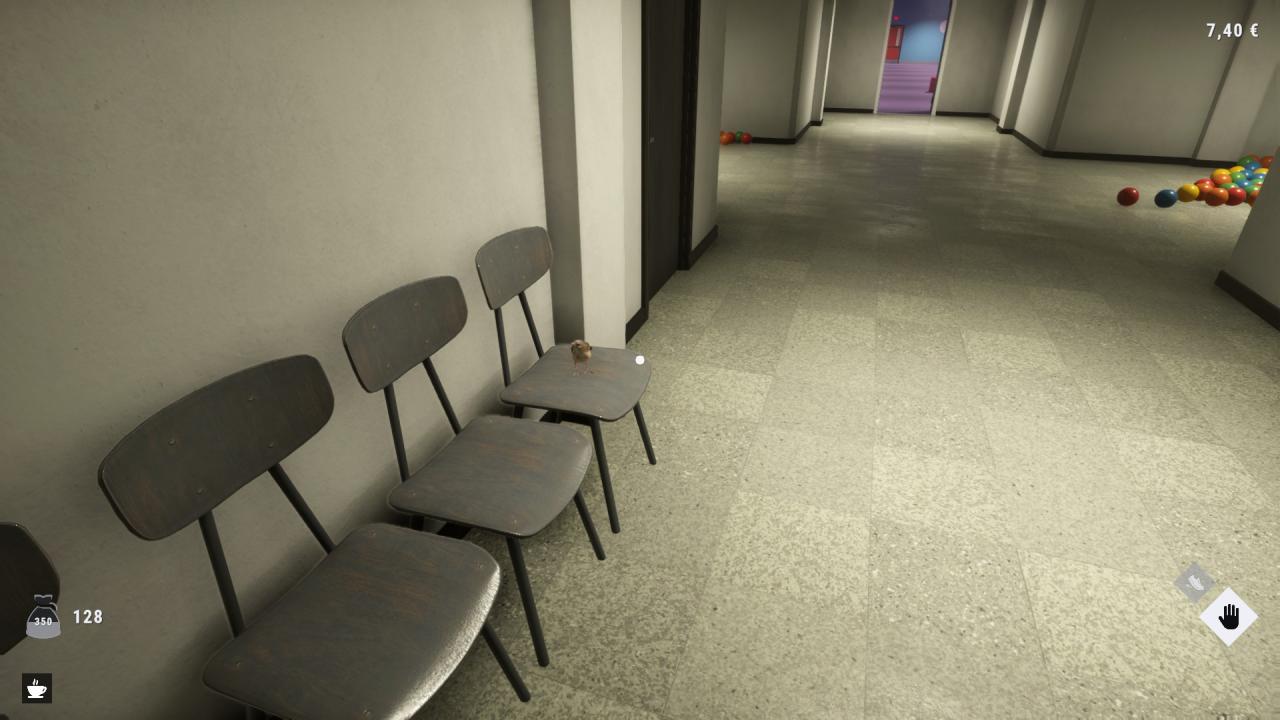
Sparrow #6
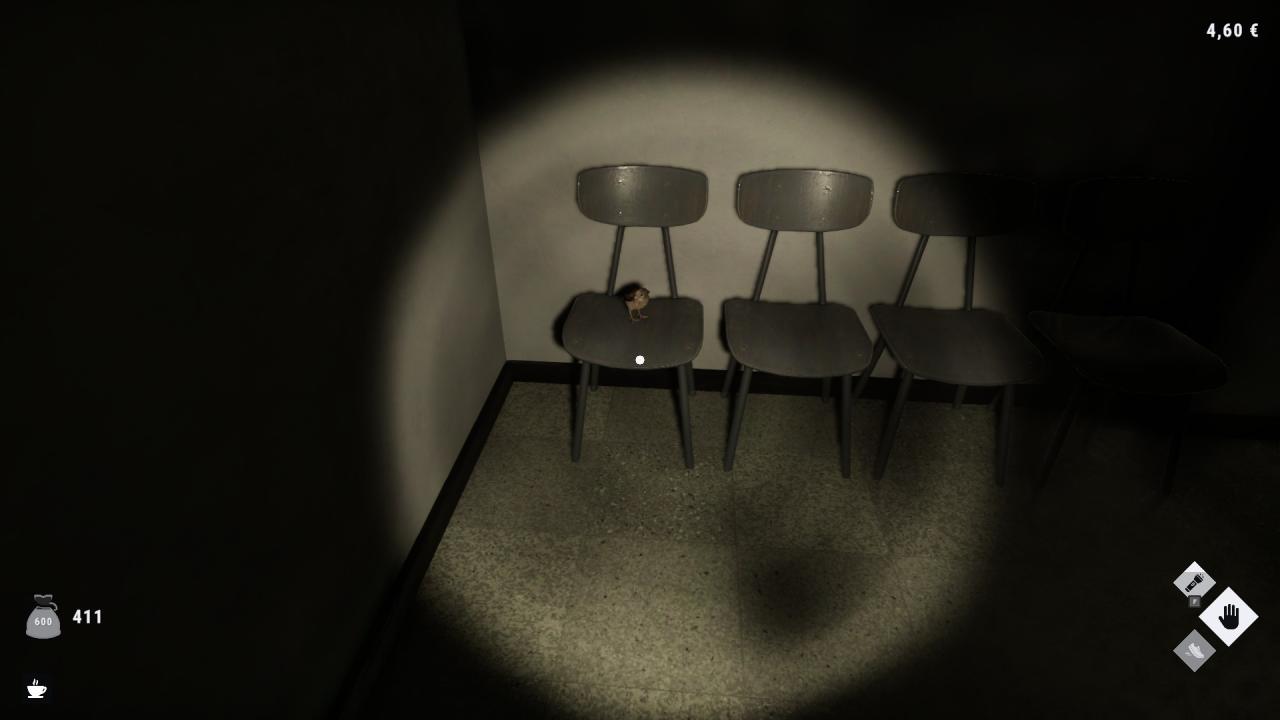
Backroom
Three in the Backroom — none especially hidden, but the light in here made me squint more than I’d care to admit.
Sparrow #7
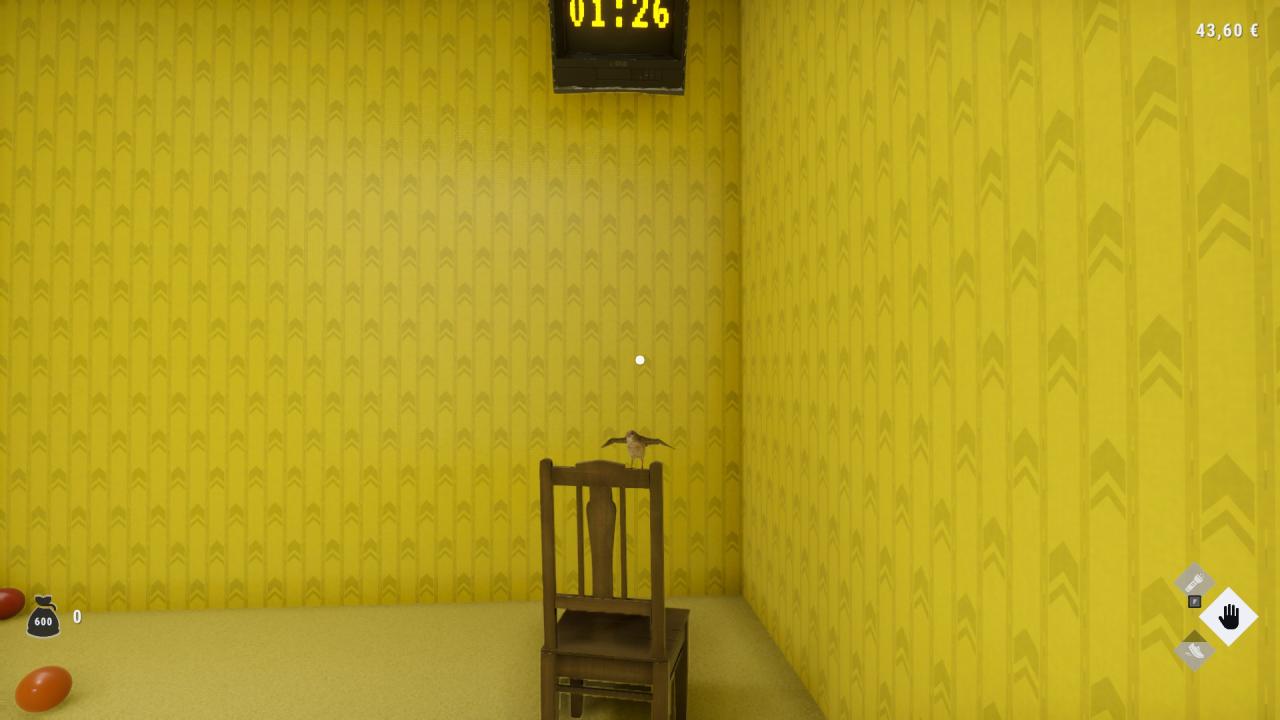
Sparrow #8
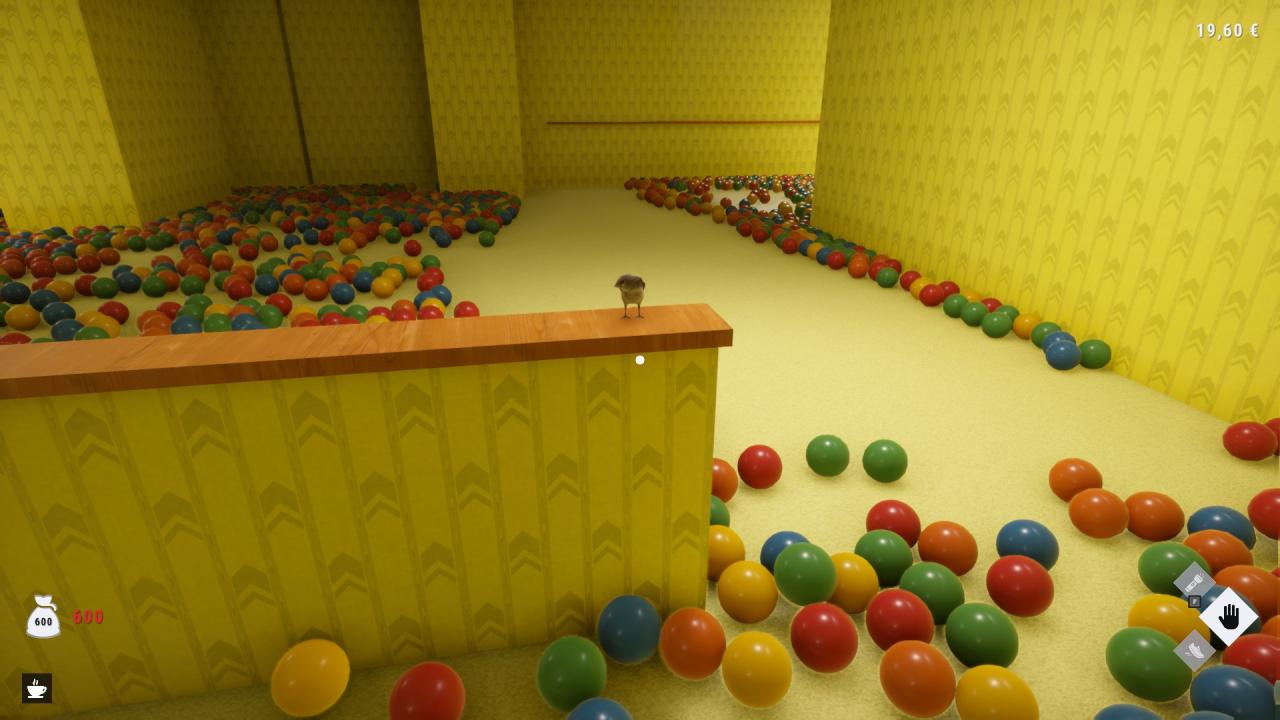
Sparrow #9
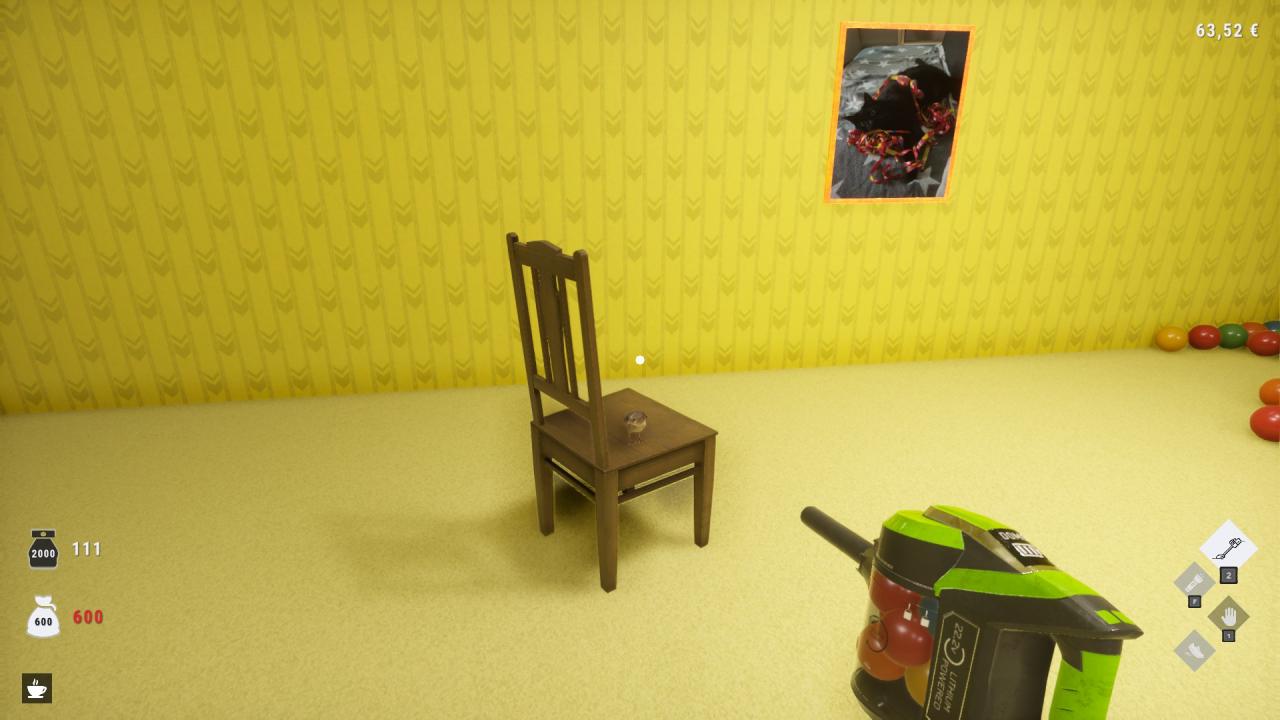
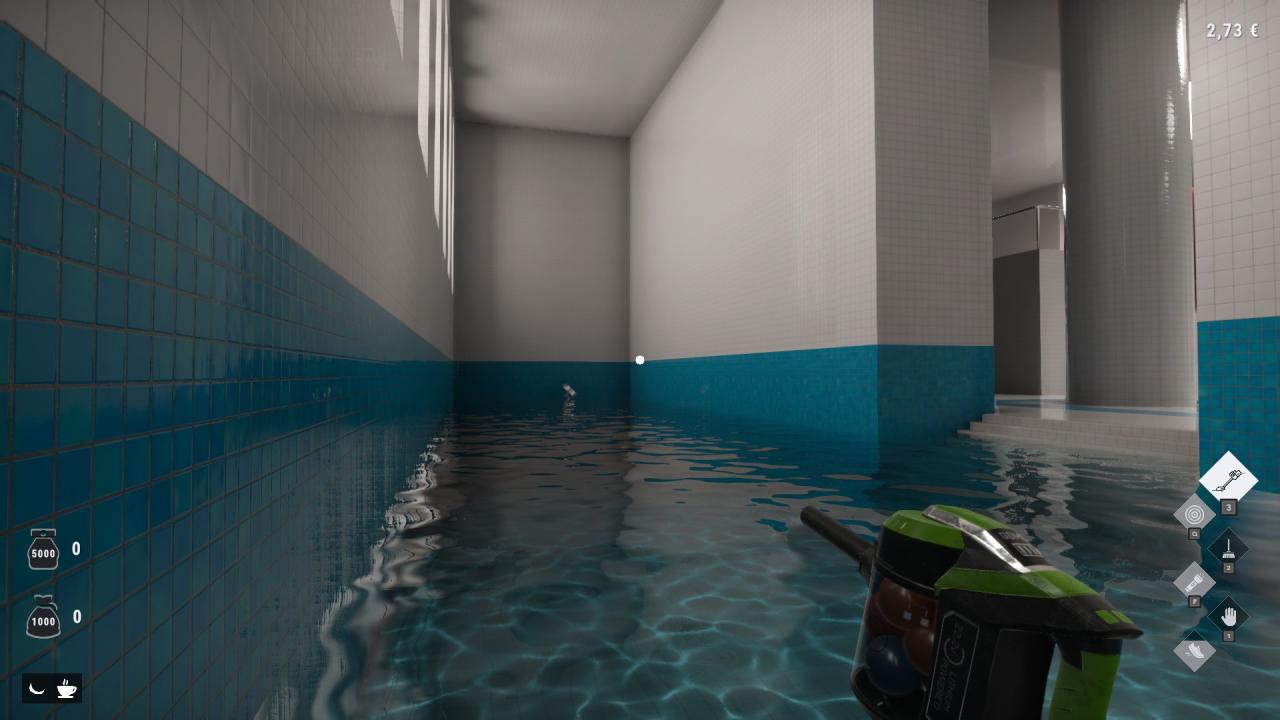
Poolroom
Two by the pool.
Sparrow #10
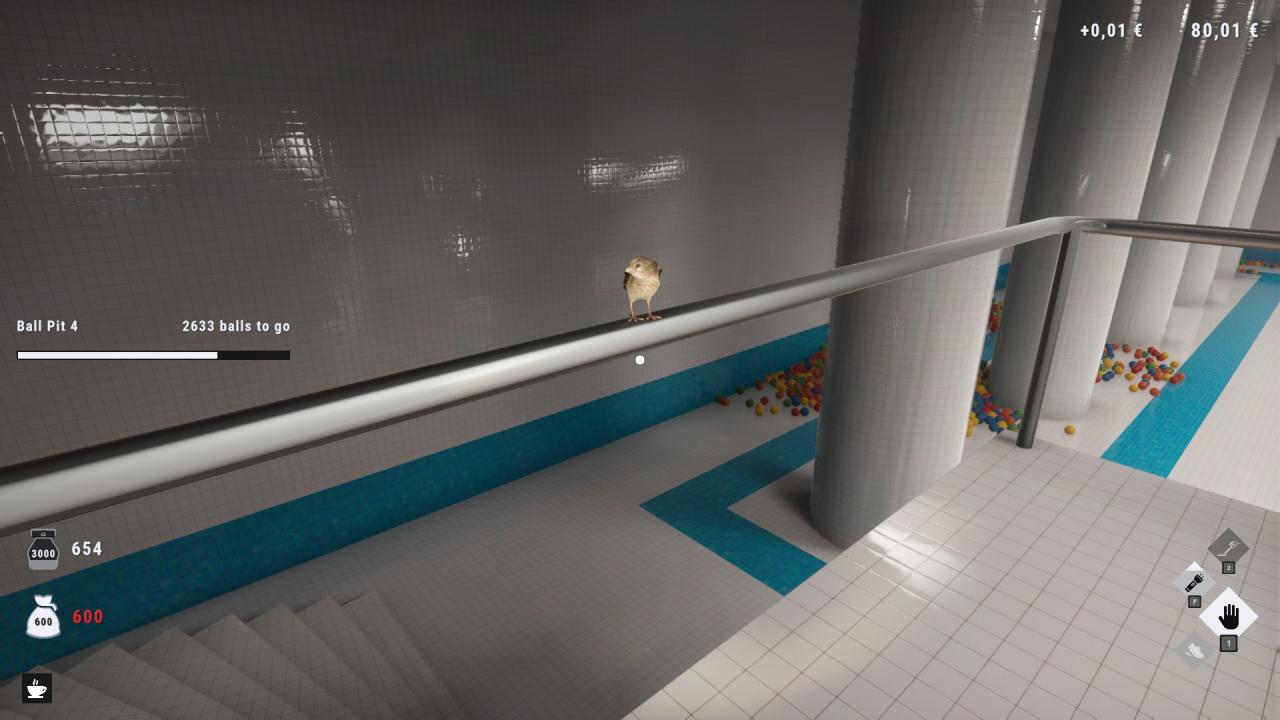
Sparrow #11
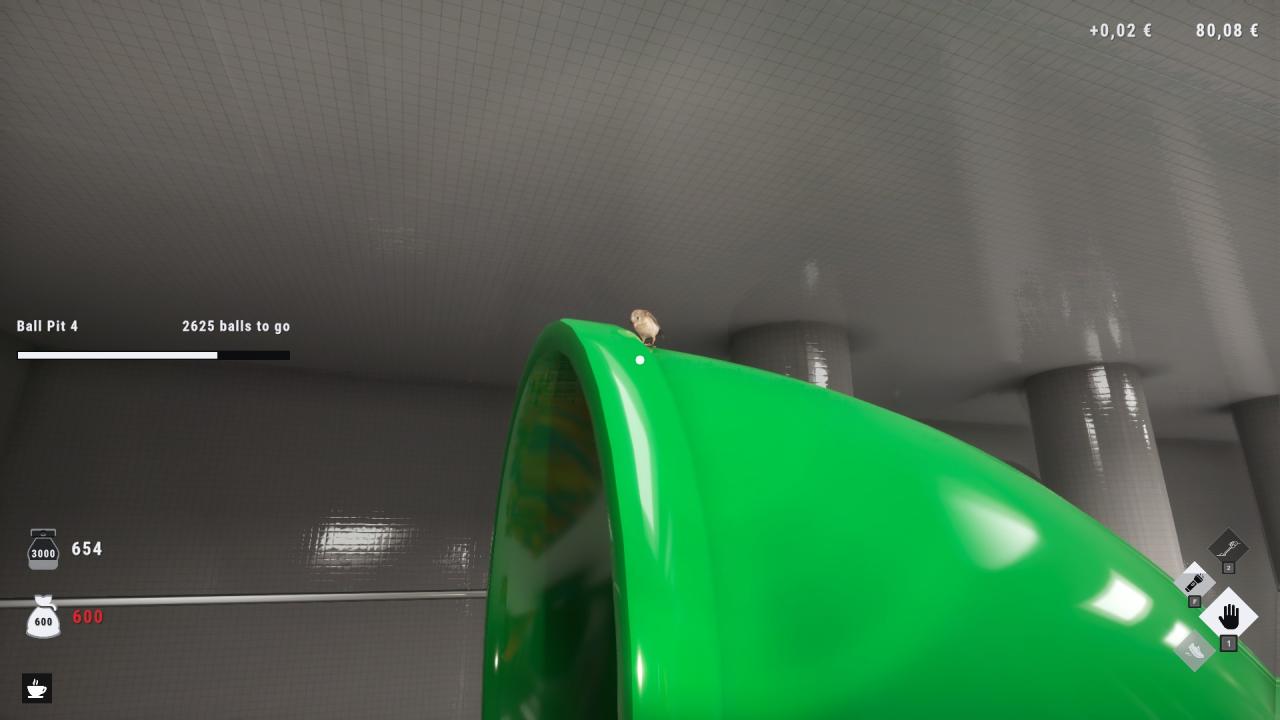
School
Two in the School area.
Sparrow #12
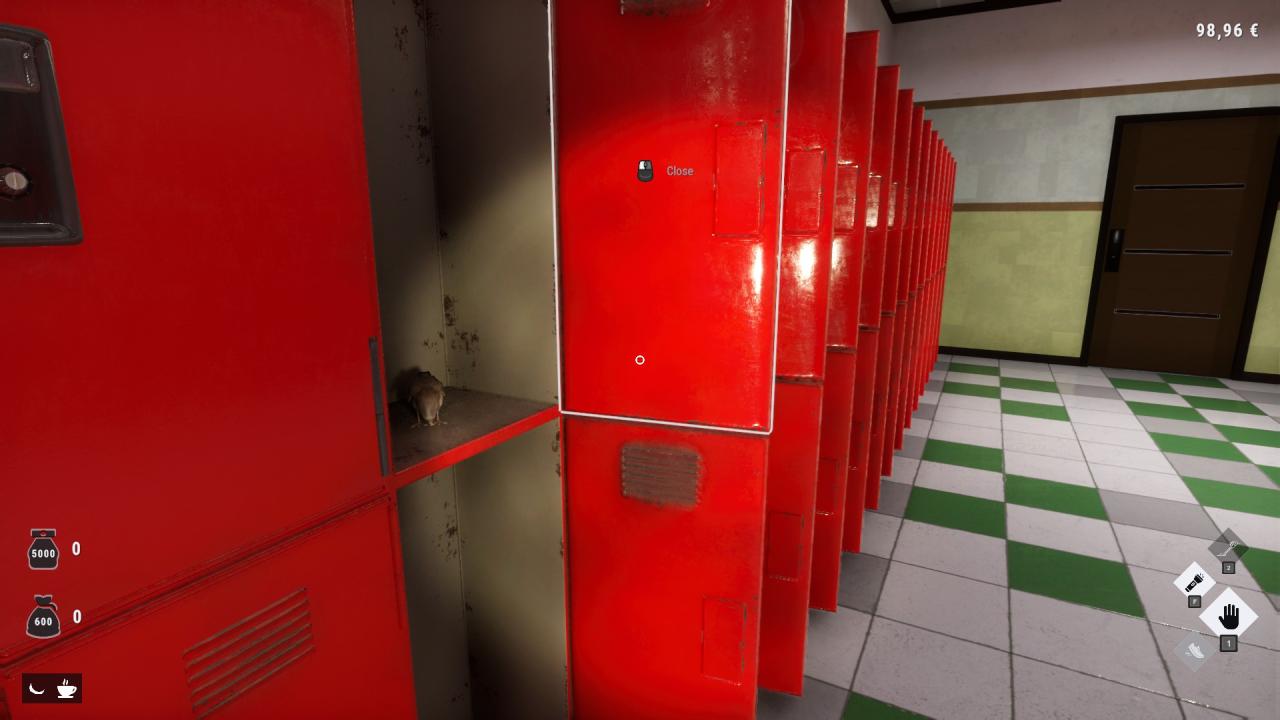
Sparrow #13
Hotel
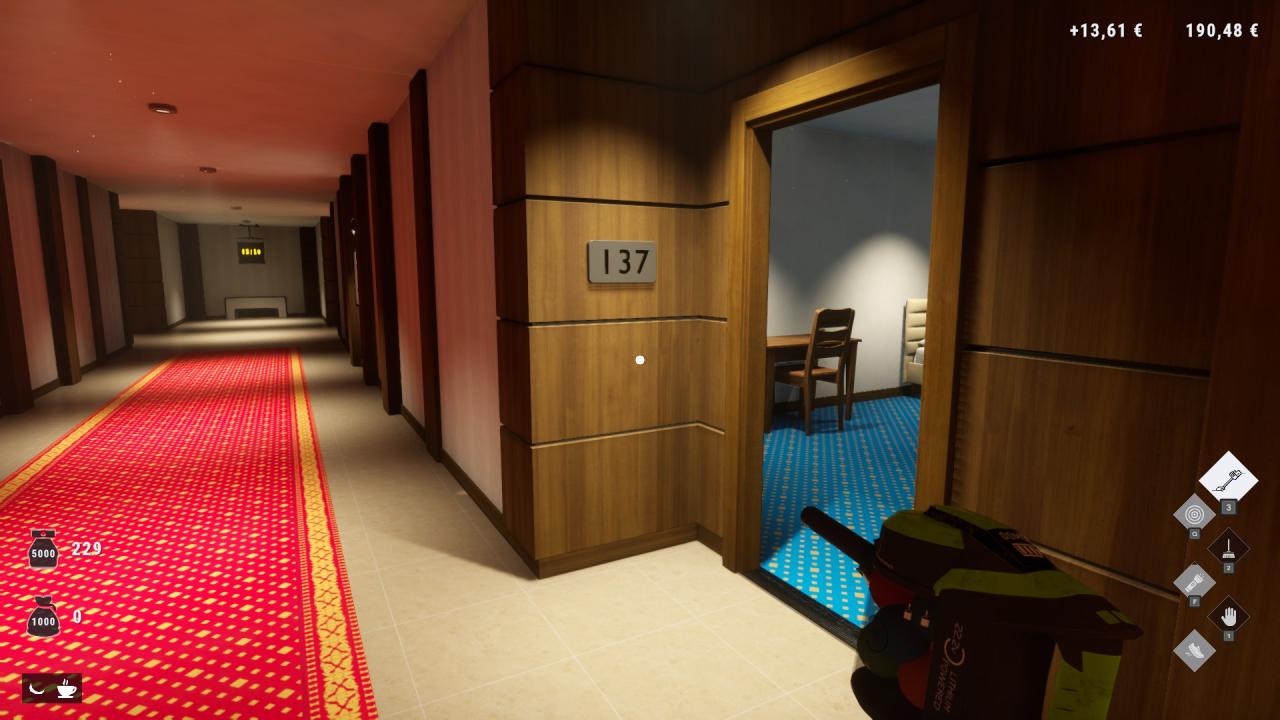
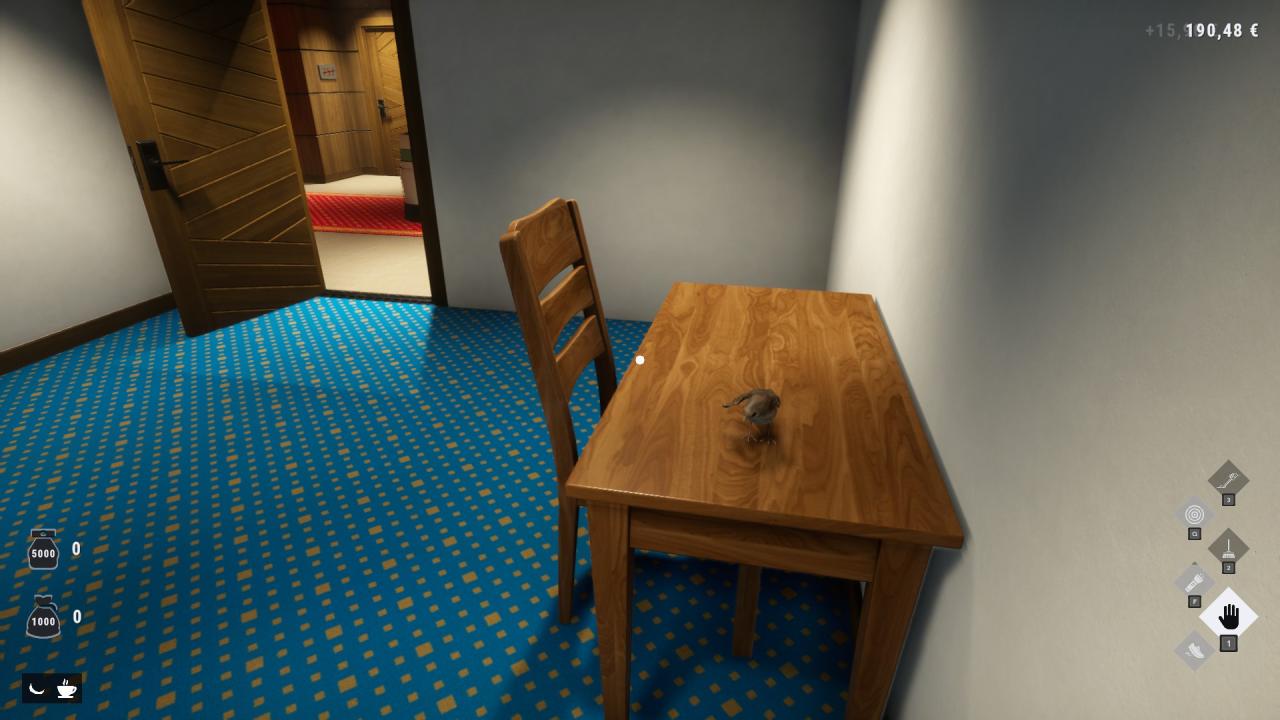
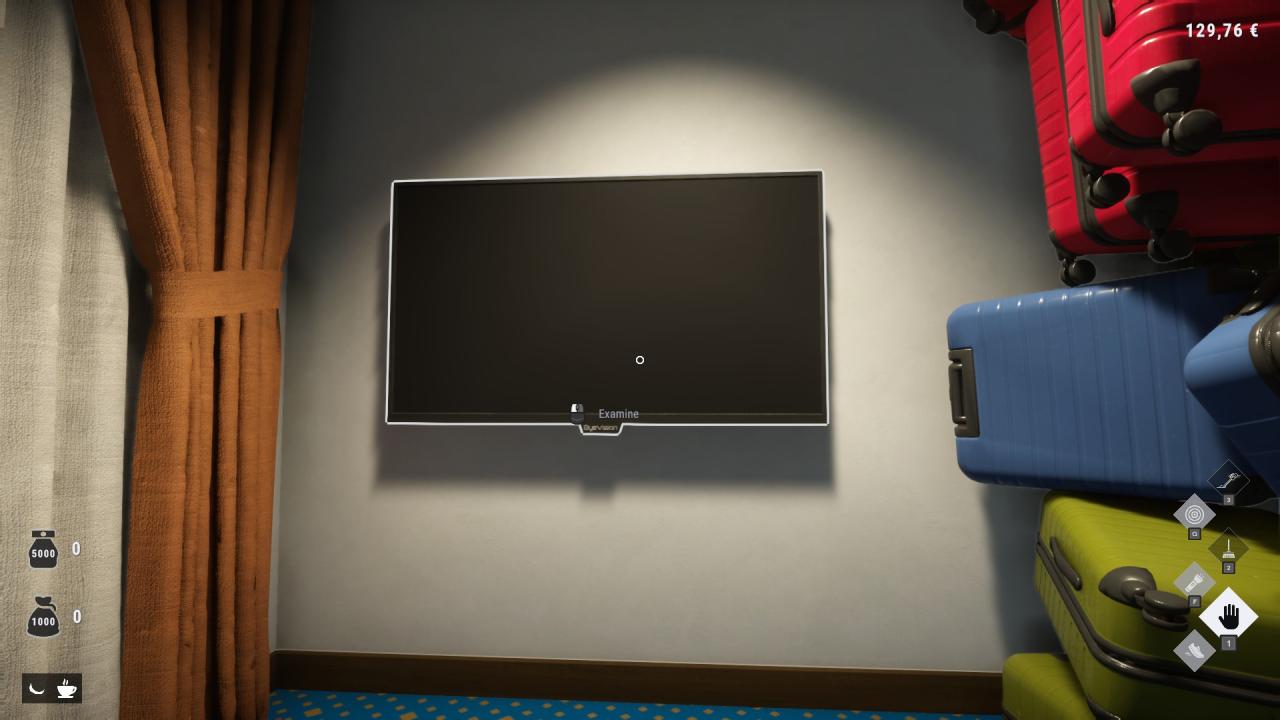
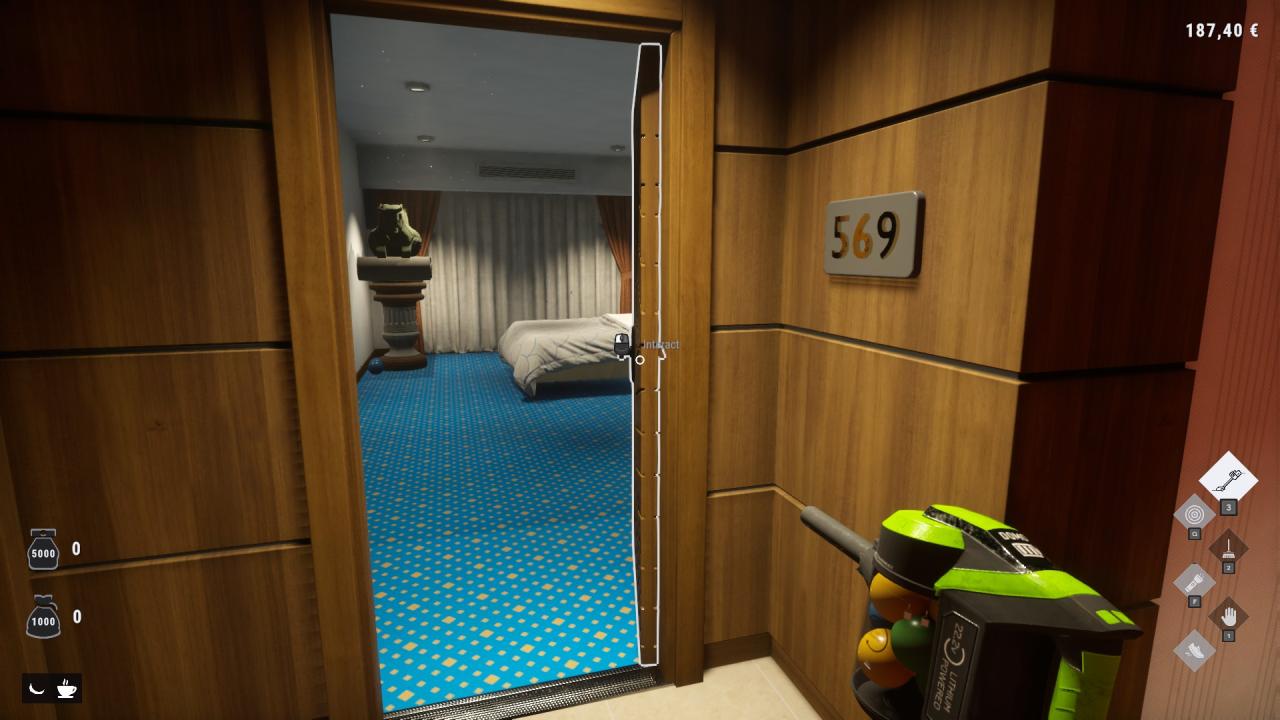
Here’s the part that tripped me up: the Hotel rooms move around, so don’t go by memory. The Sparrows can be found in the room numbers pictured — that’s the reliable anchor.
Sparrow #14
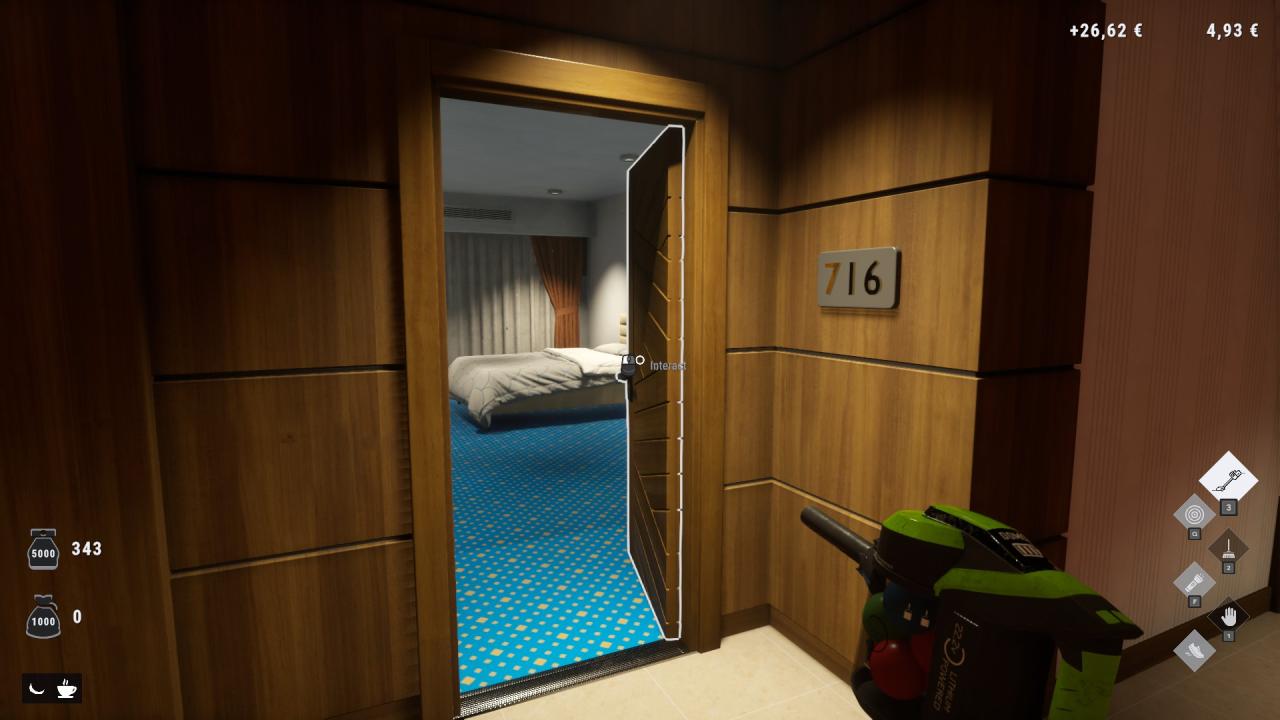
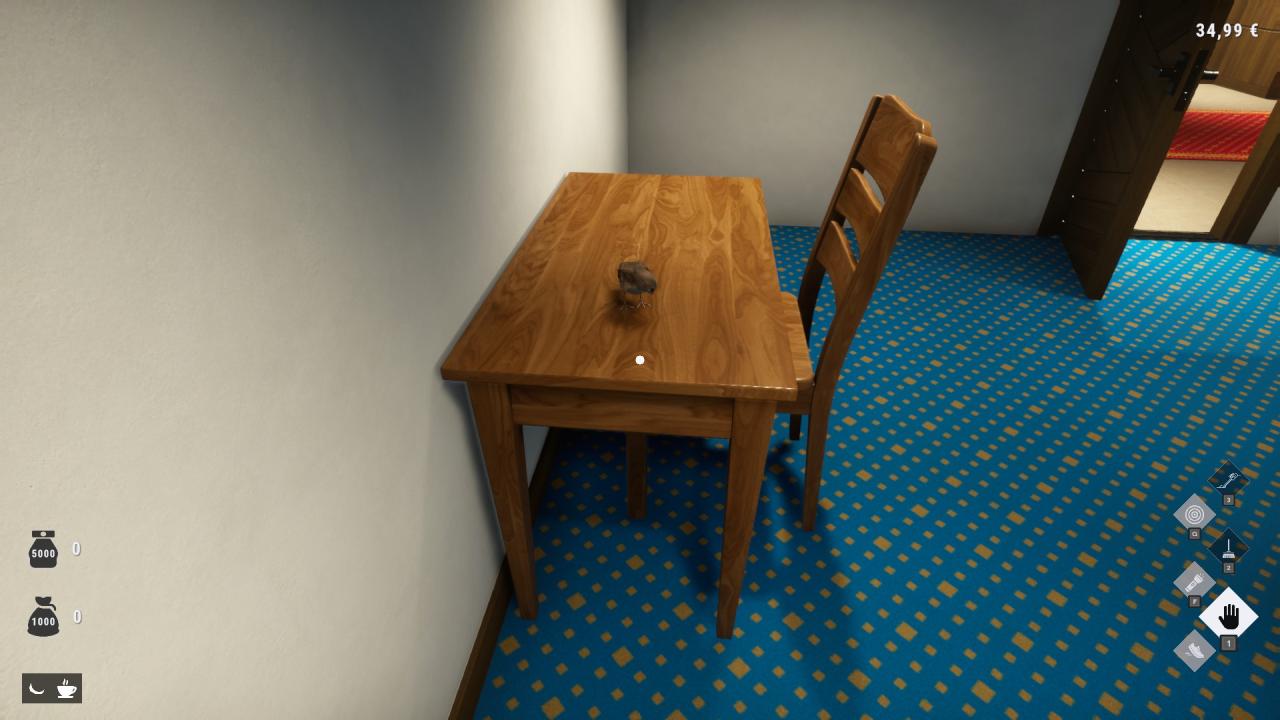
Sparrow #15
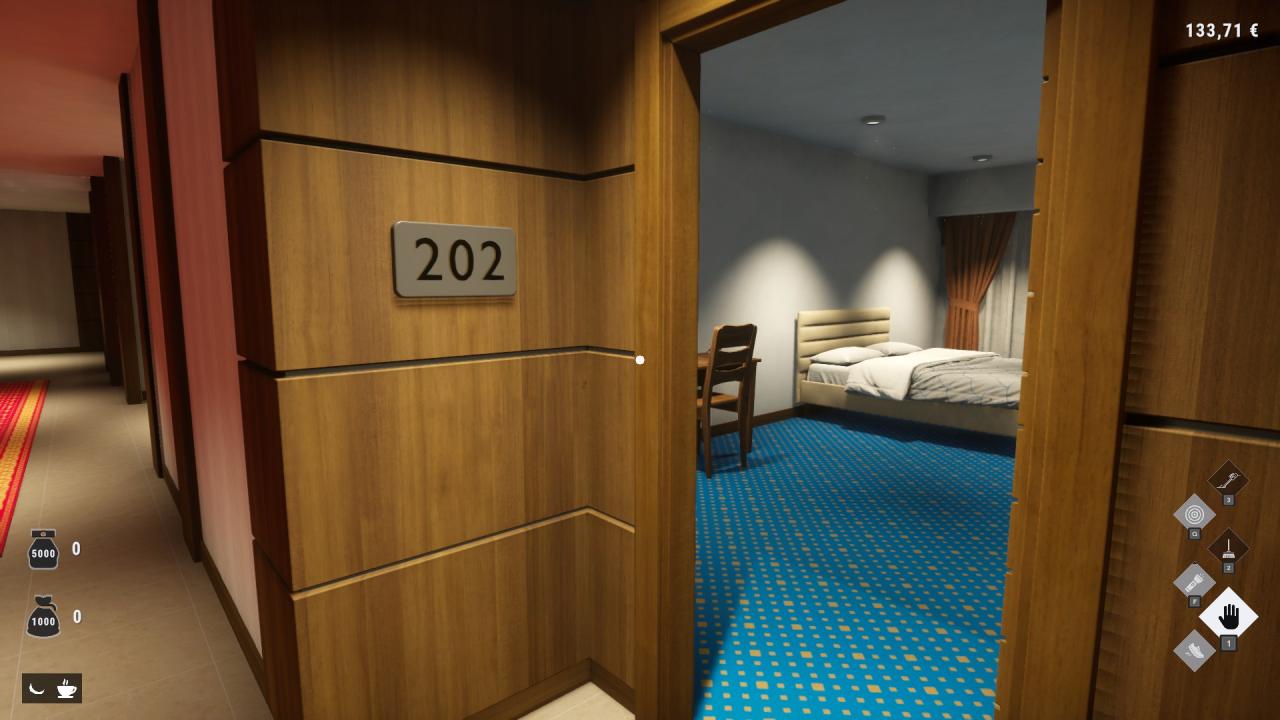
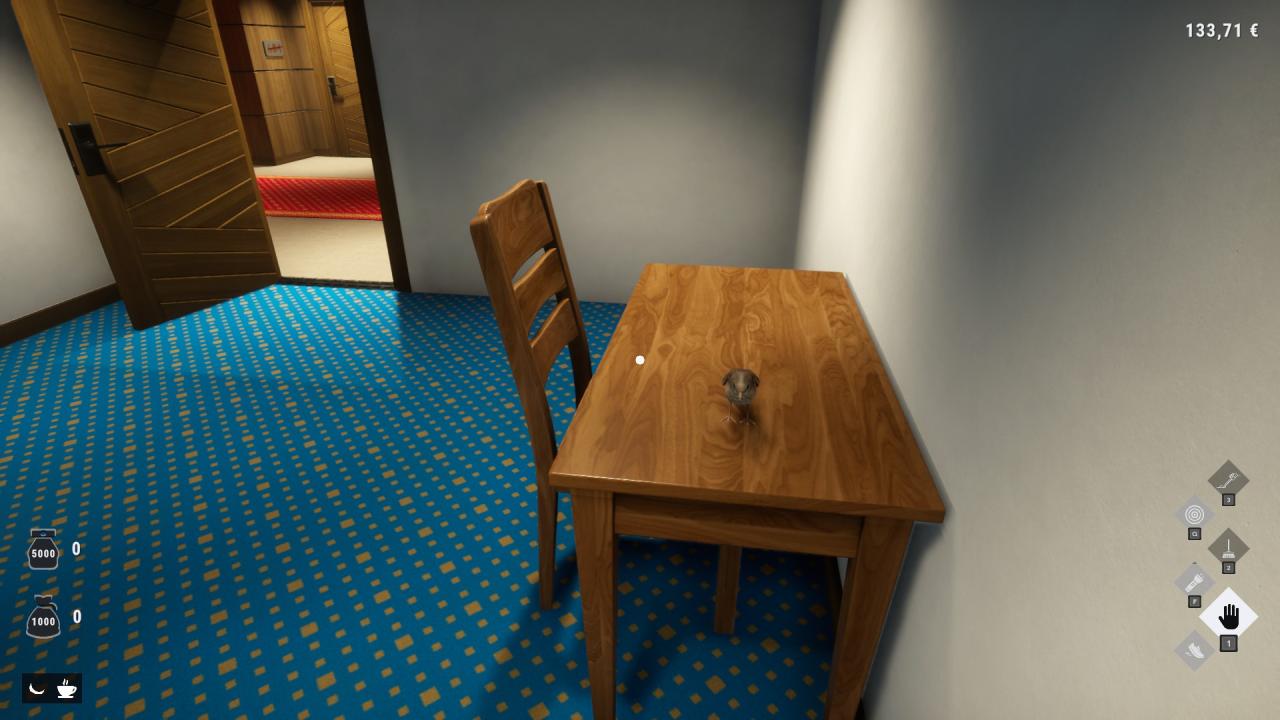
Sparrow #16
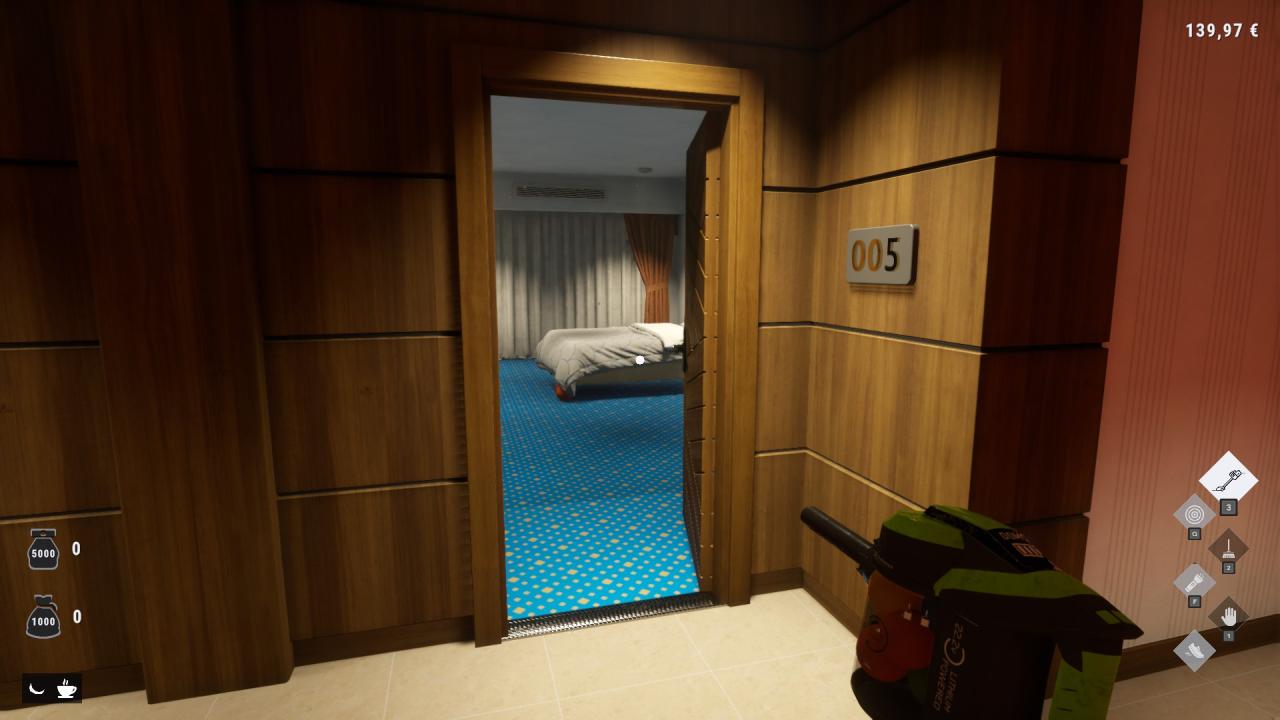
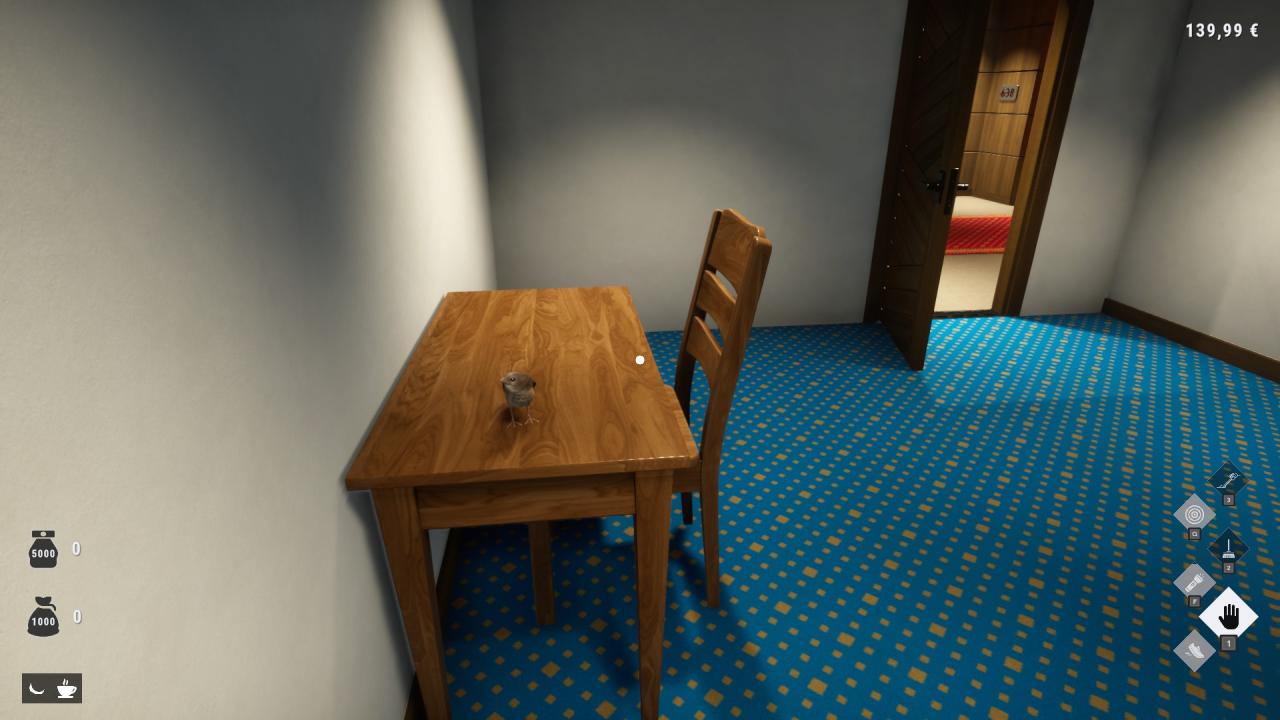
Sparrow #17
Office
And the last three live in the Office itself.
Sparrow #18
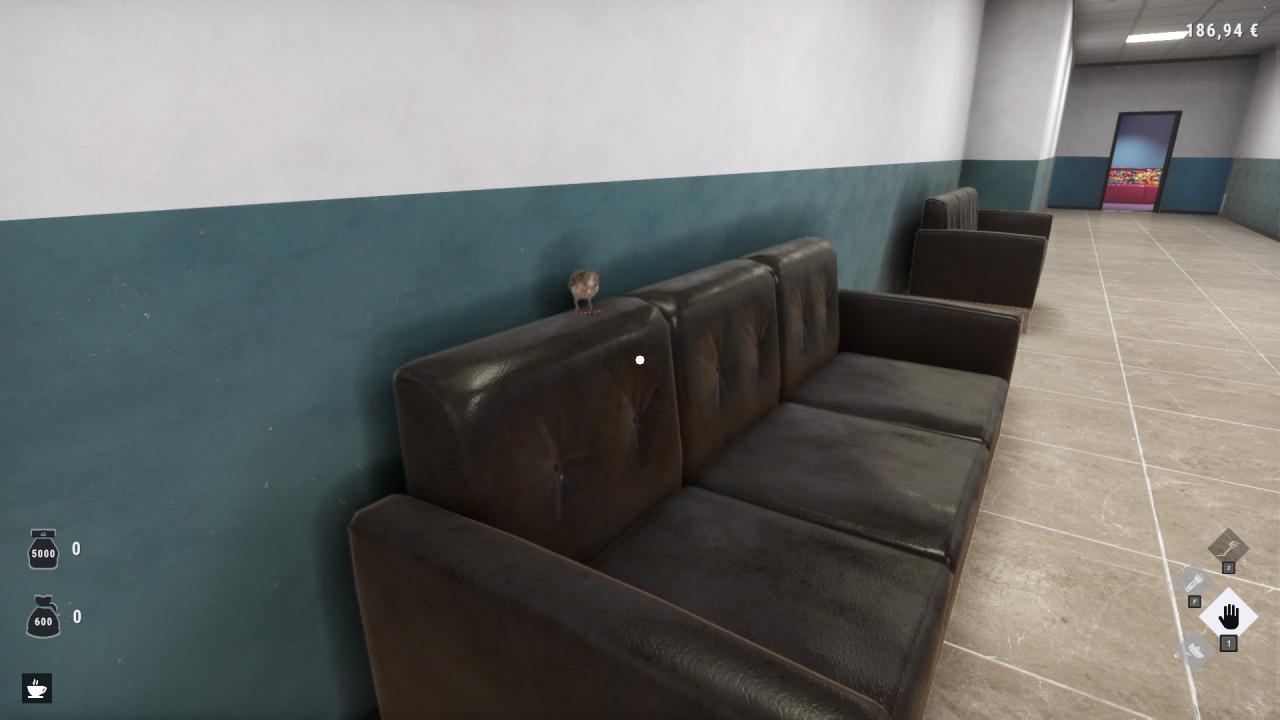
Sparrow #19
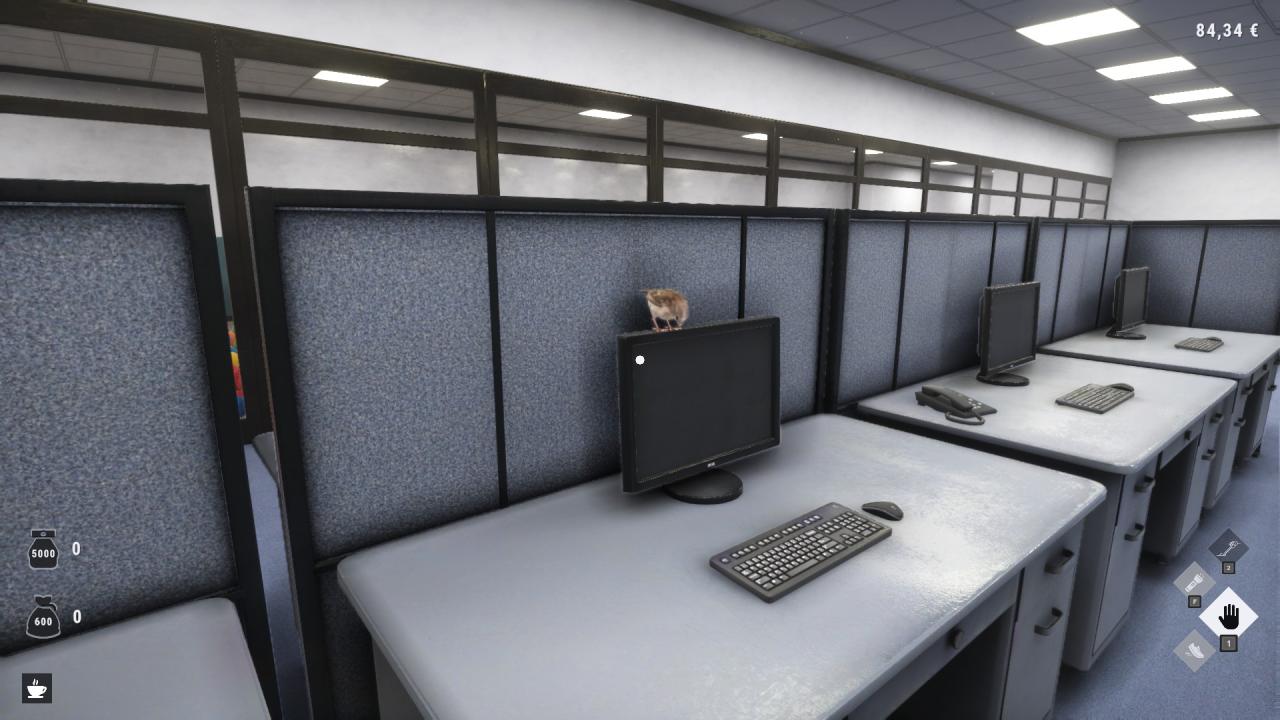
Sparrow #20
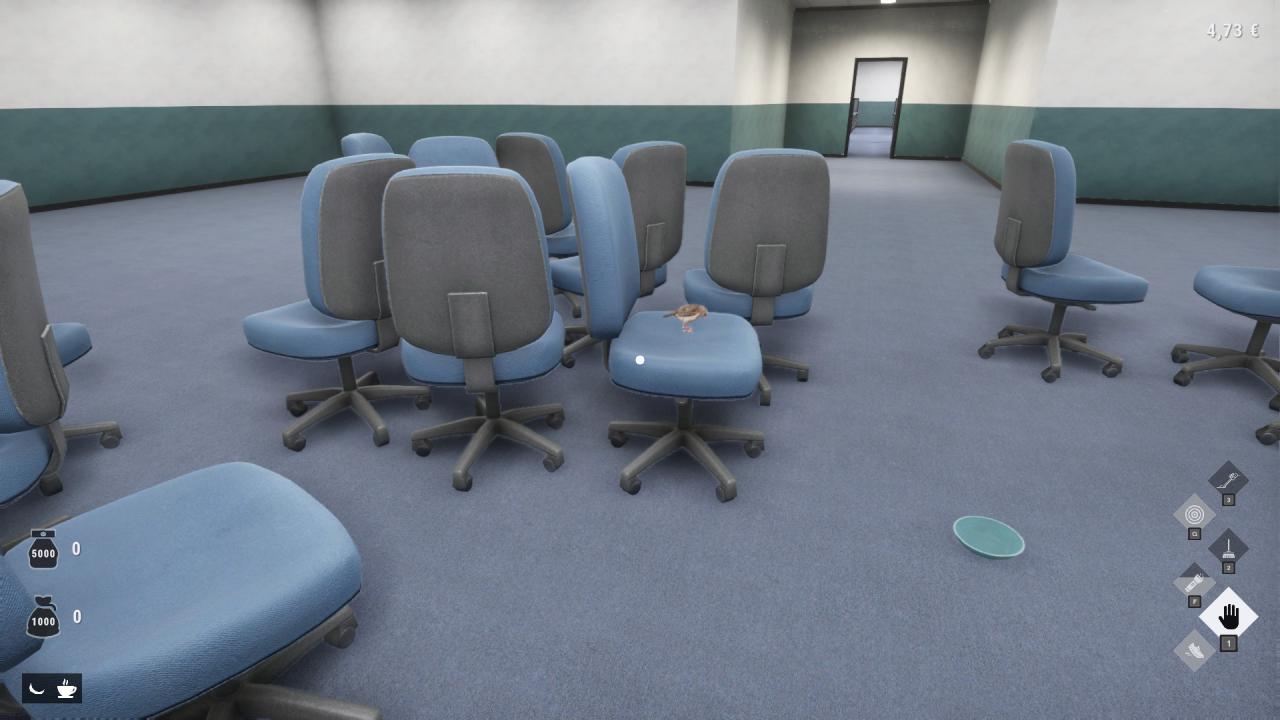
Item Locations
There are currently 14 findable items in the game, and since they’re what decorate your office space, I found it satisfying to knock them out alongside the Sparrow hunt. Below I’ve grouped them by room with the exact names the game gives them, plus anything I think you should brace for.
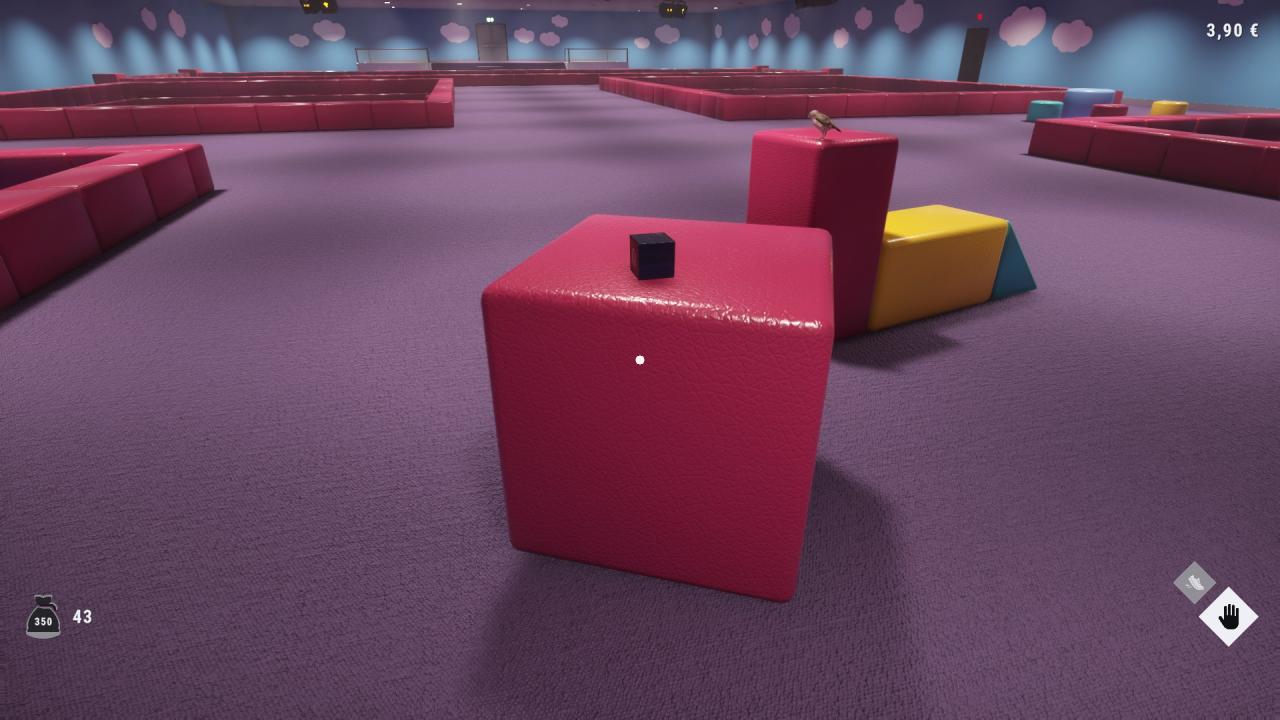
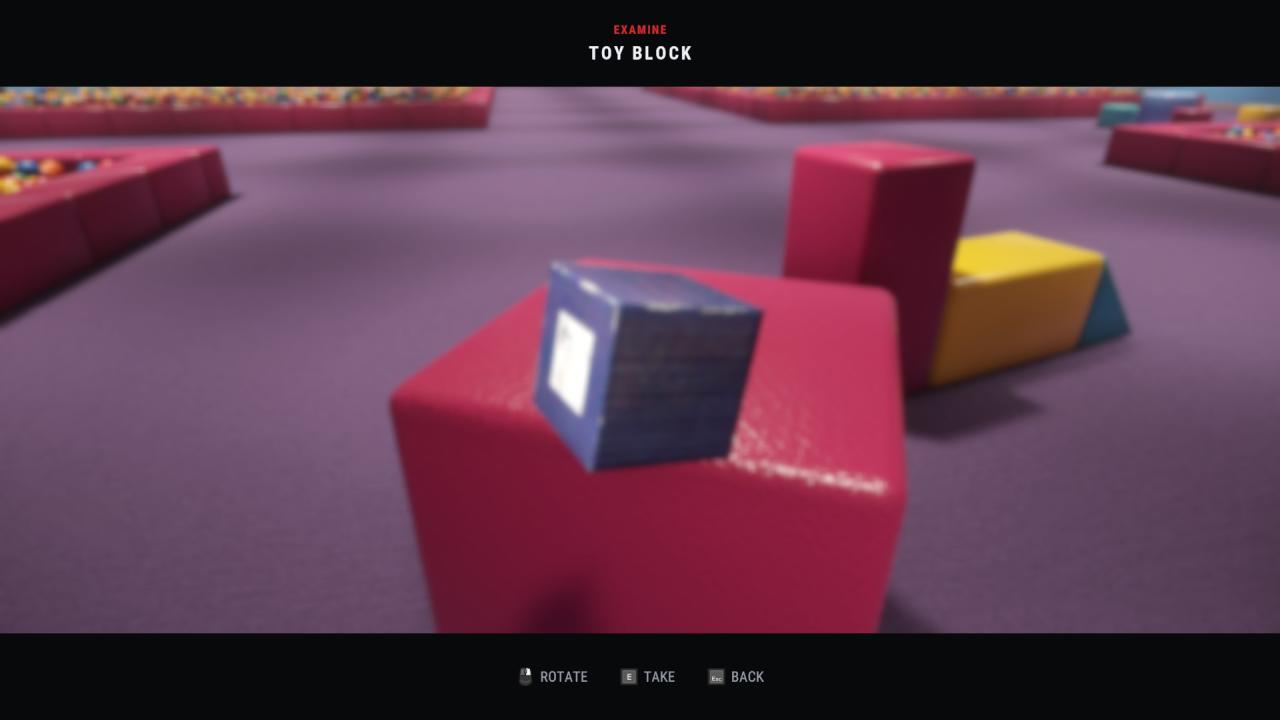
Playroom — Toy Block
Item #1 – “Toy Block”
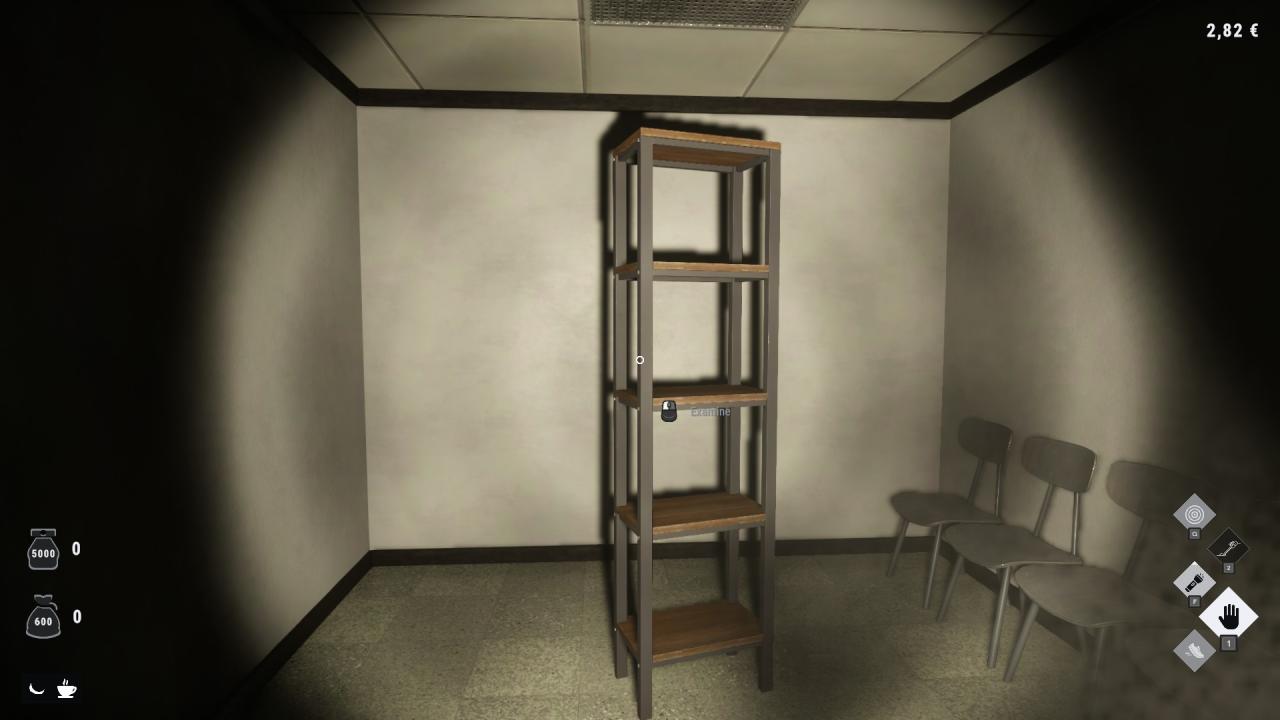
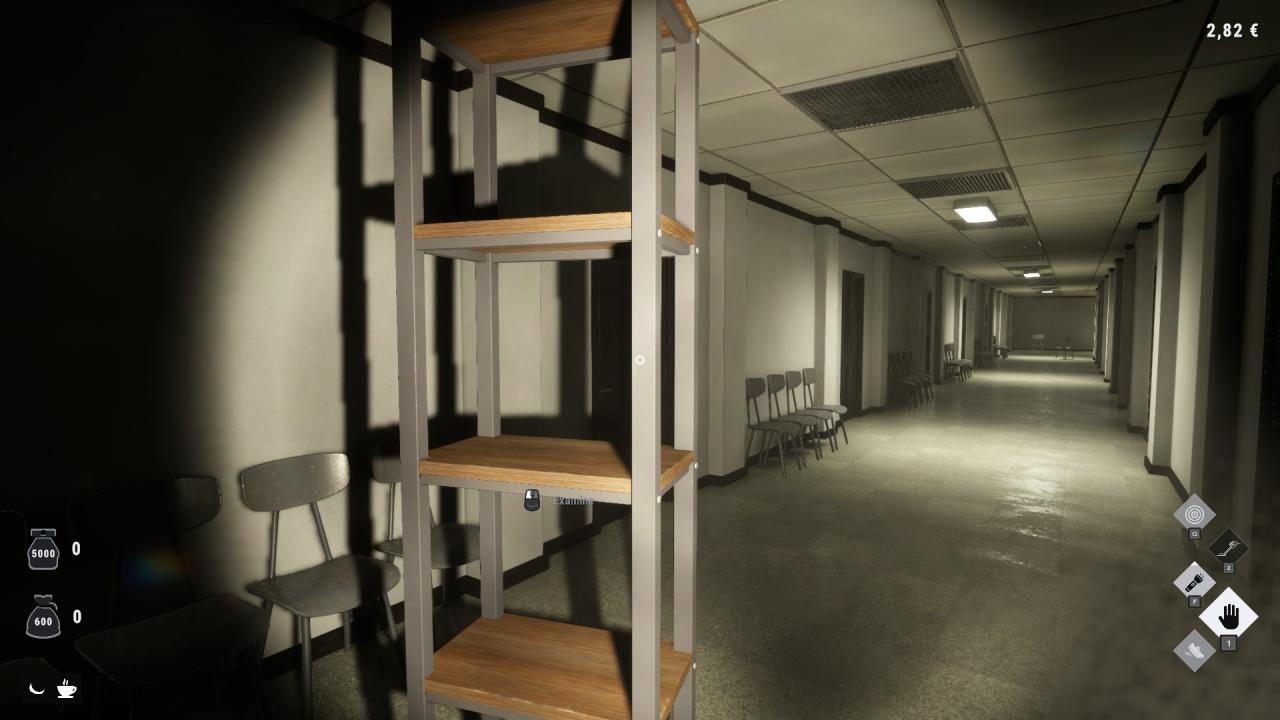
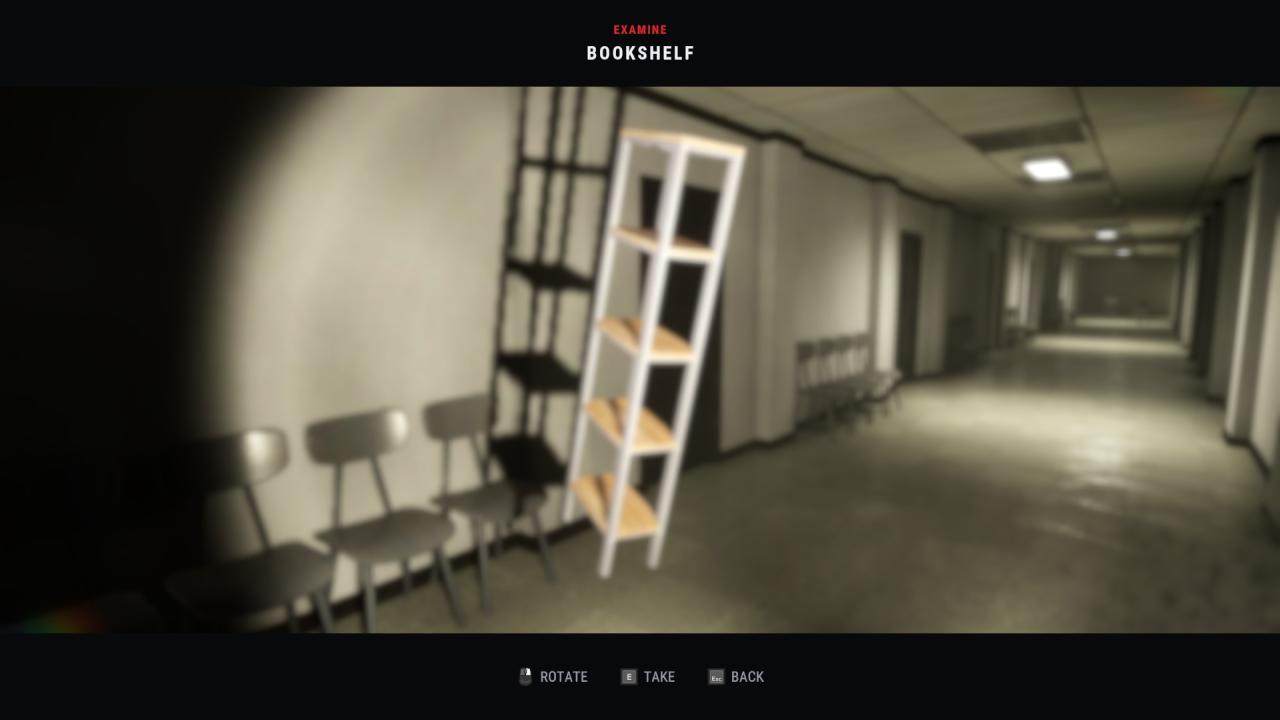
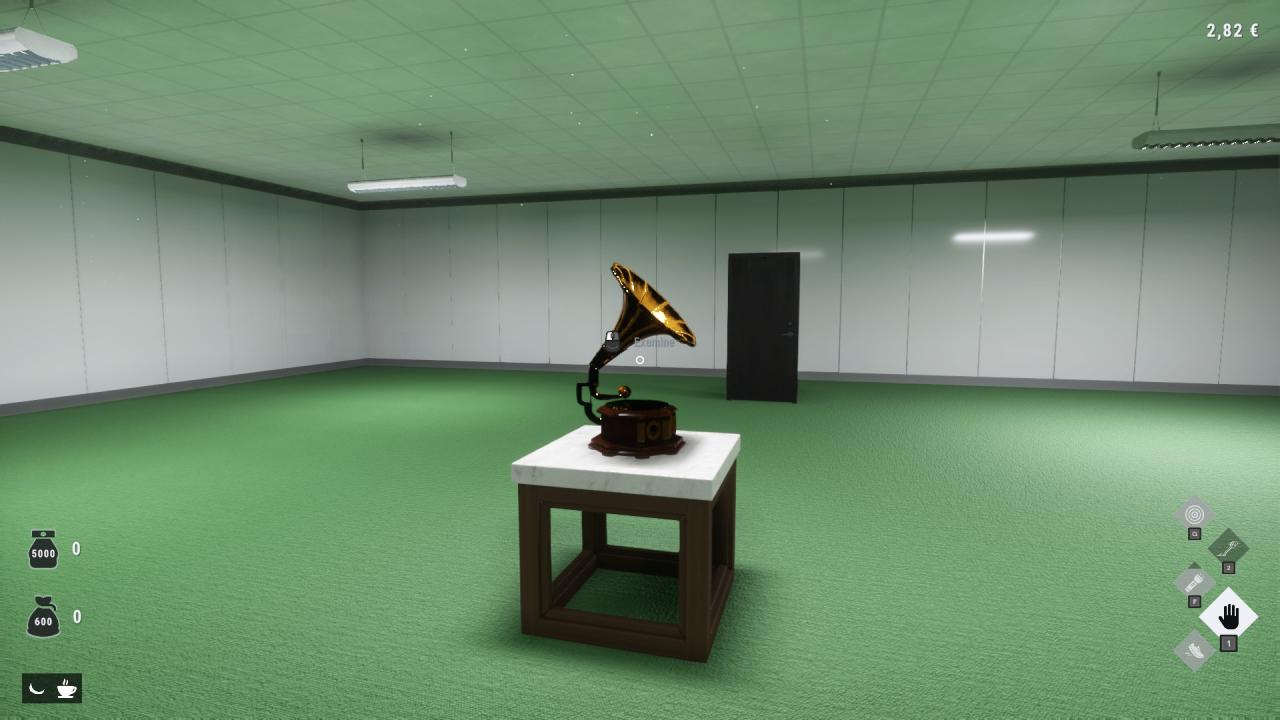
Waiting Area — Bookshelf and Gramophone
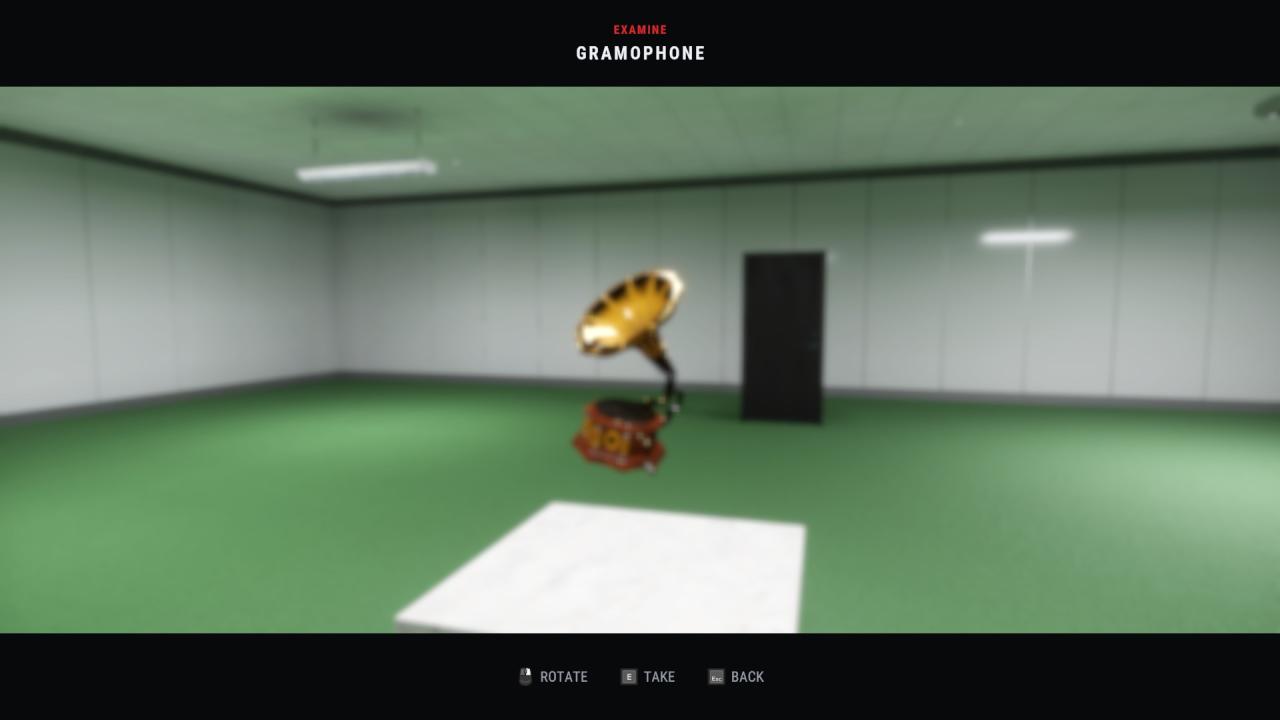
Two in the Waiting Area. The Gramophone is the one that surprised me — it actually plays music once it’s sitting in your office, though you can switch it off if you’d rather not have it looping.
Item #2 – “Bookshelf”
Item #3 – “Gramophone”
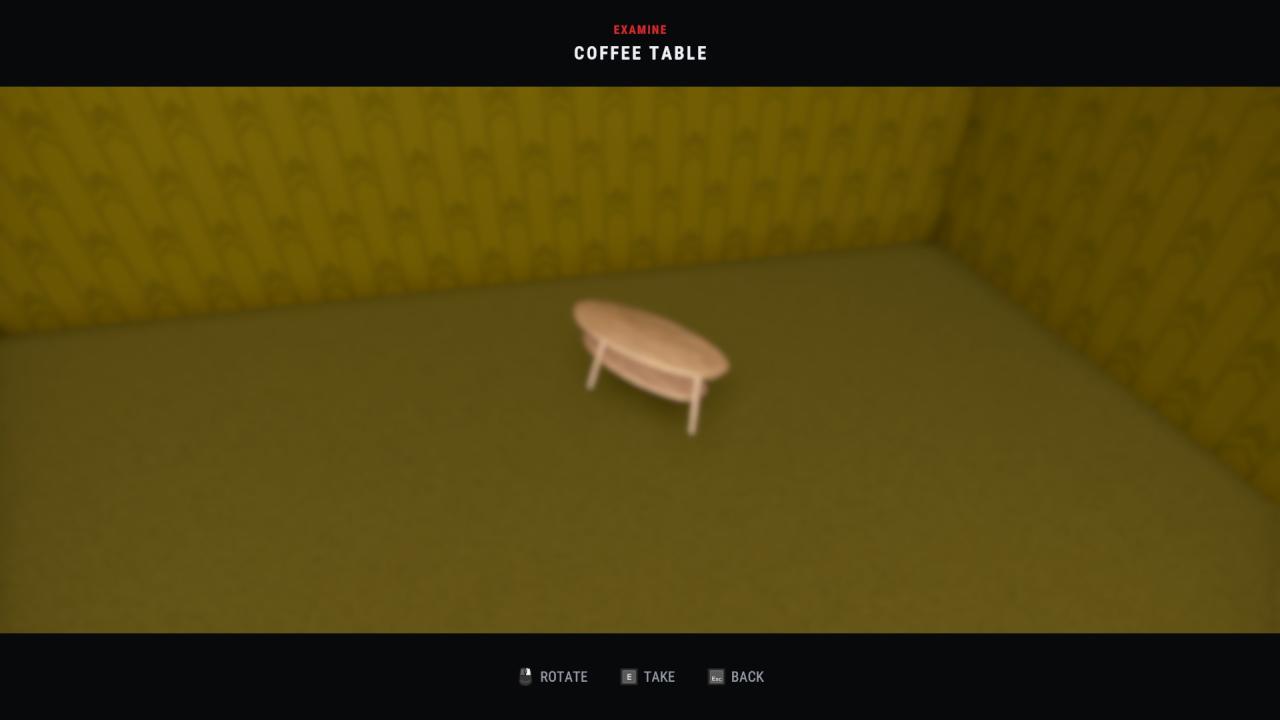
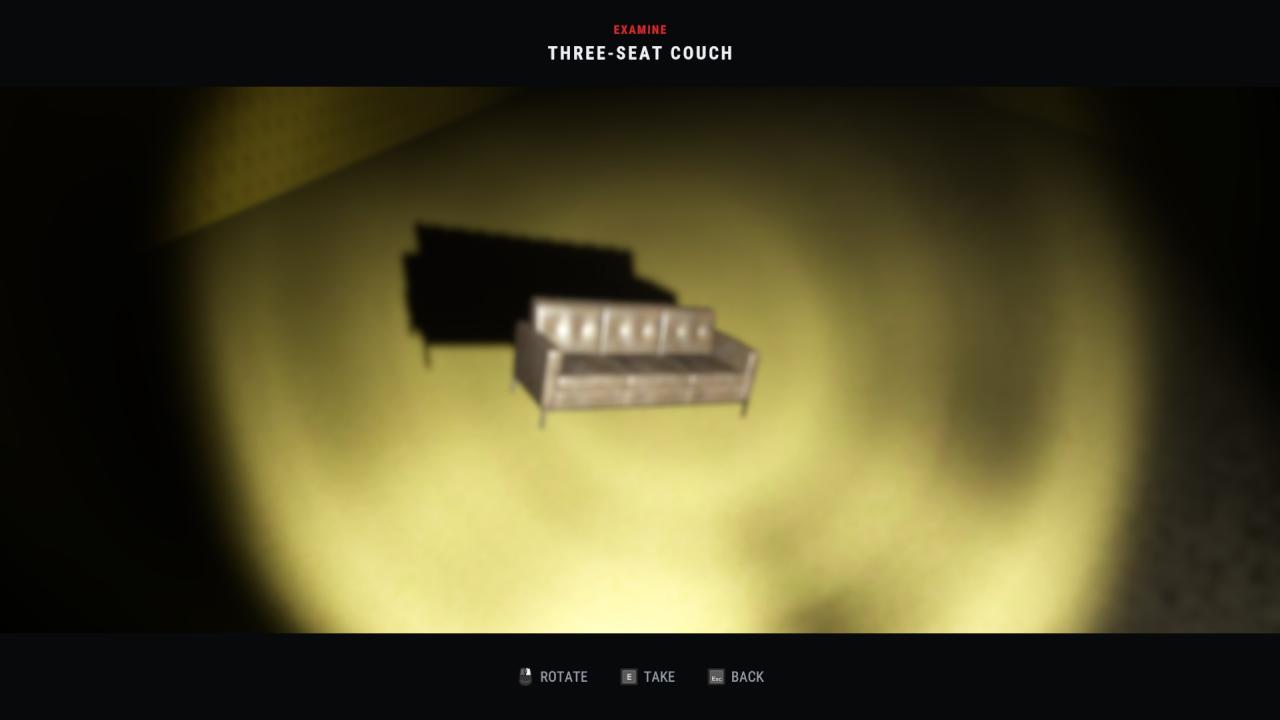
Backroom — Coffee Table and Three Seat Couch
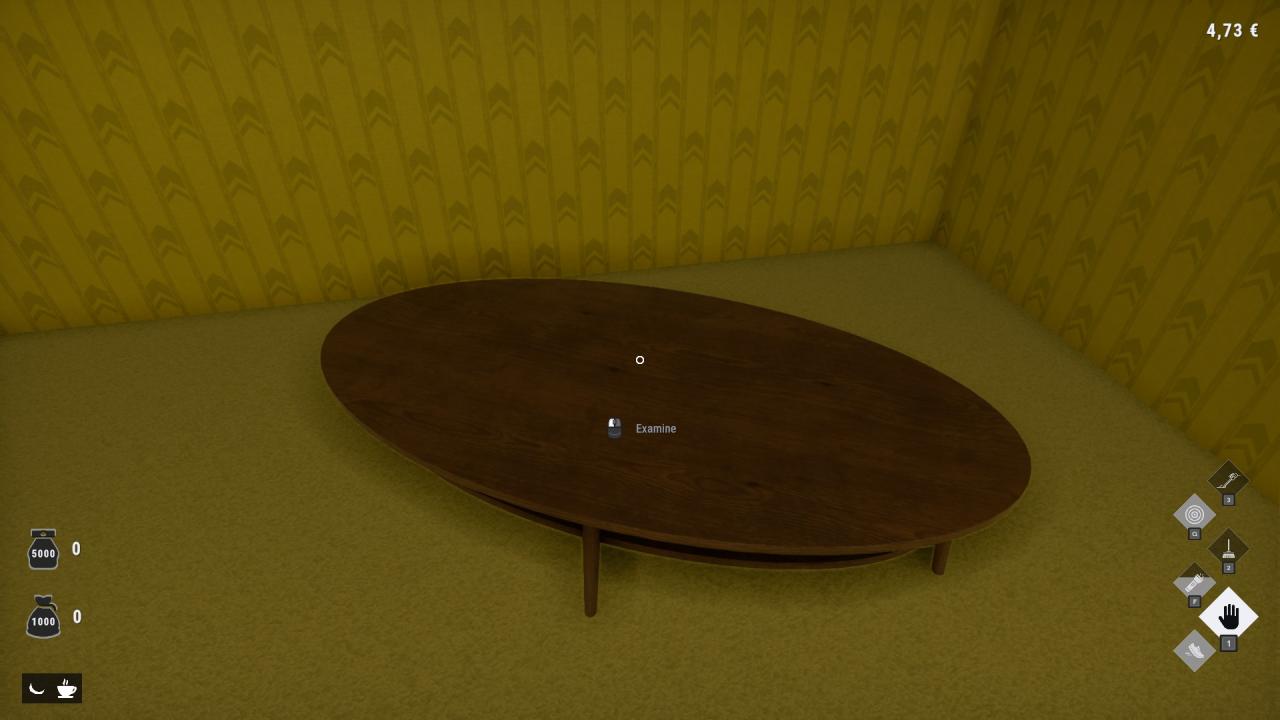
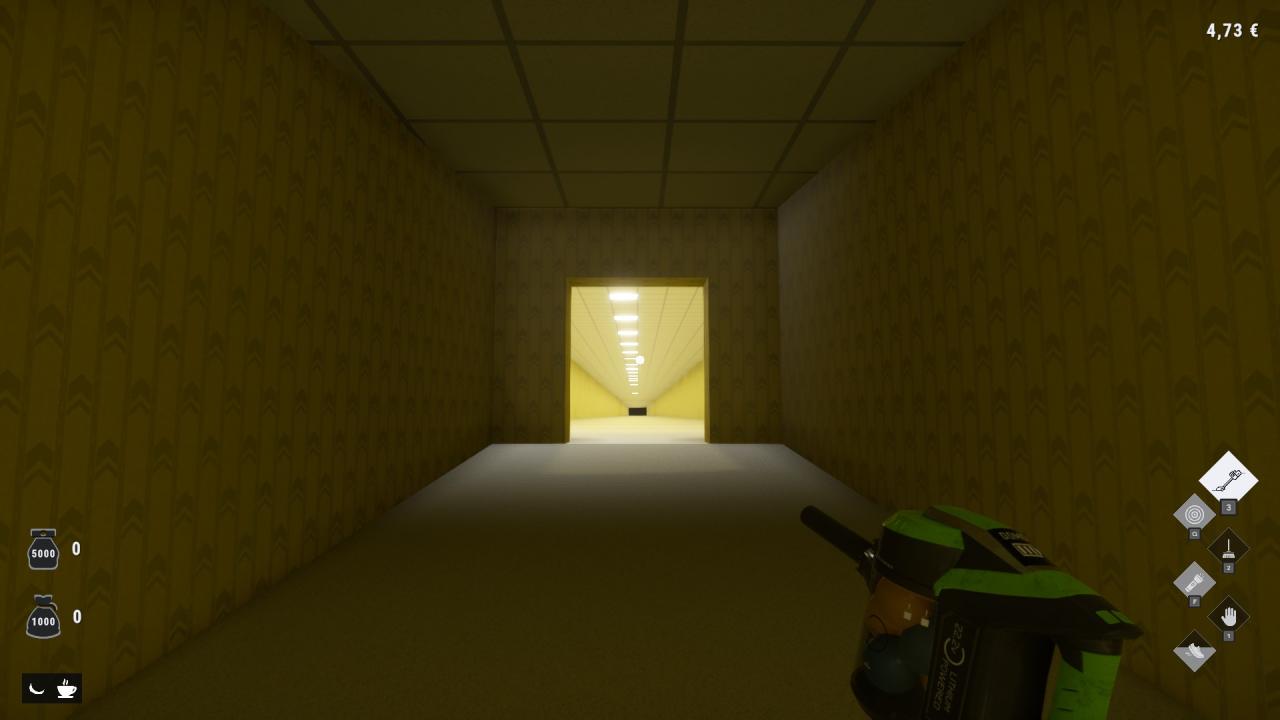
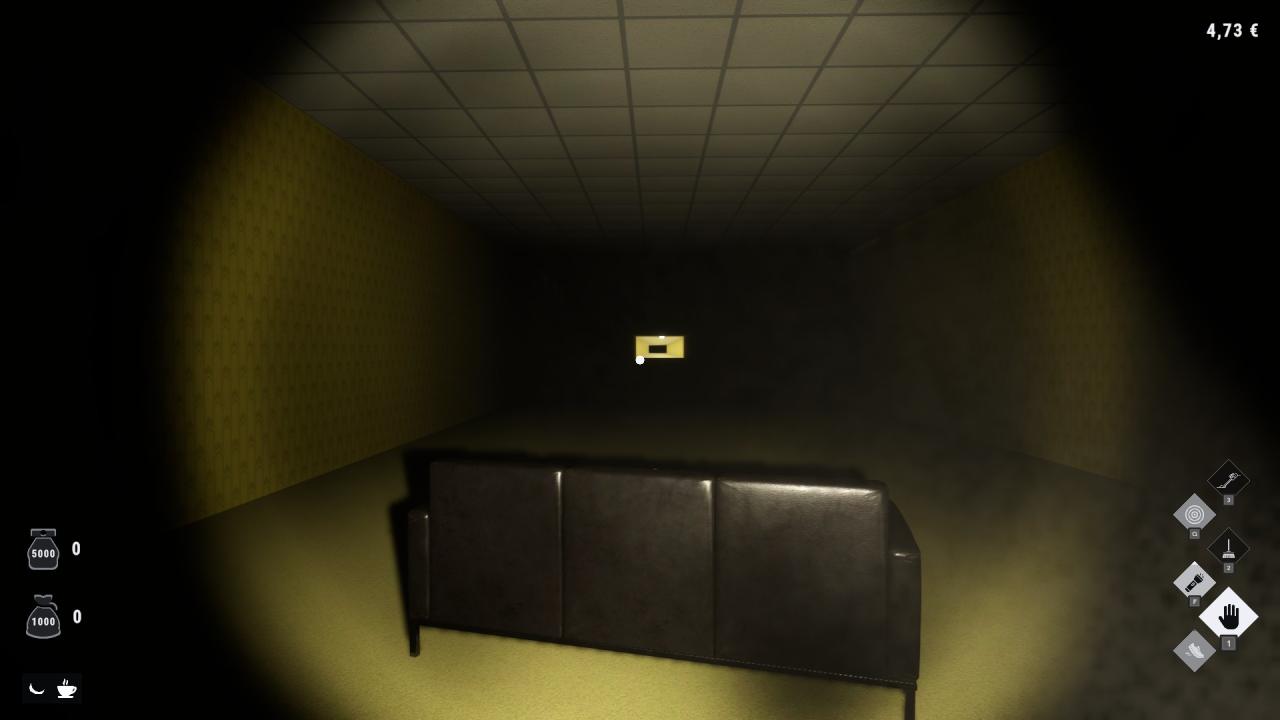
Two in the Backroom, and one of them is the biggest time-sink of the whole item list. The Three Seat Couch is a genuine trek — with max stamina plus the coffee boost, it takes roughly 3 minutes to run all the way out and back again. I’d plan that lap when you’ve got a moment to spare rather than squeezing it in between other pickups.
Item #4 – “Coffee Table”
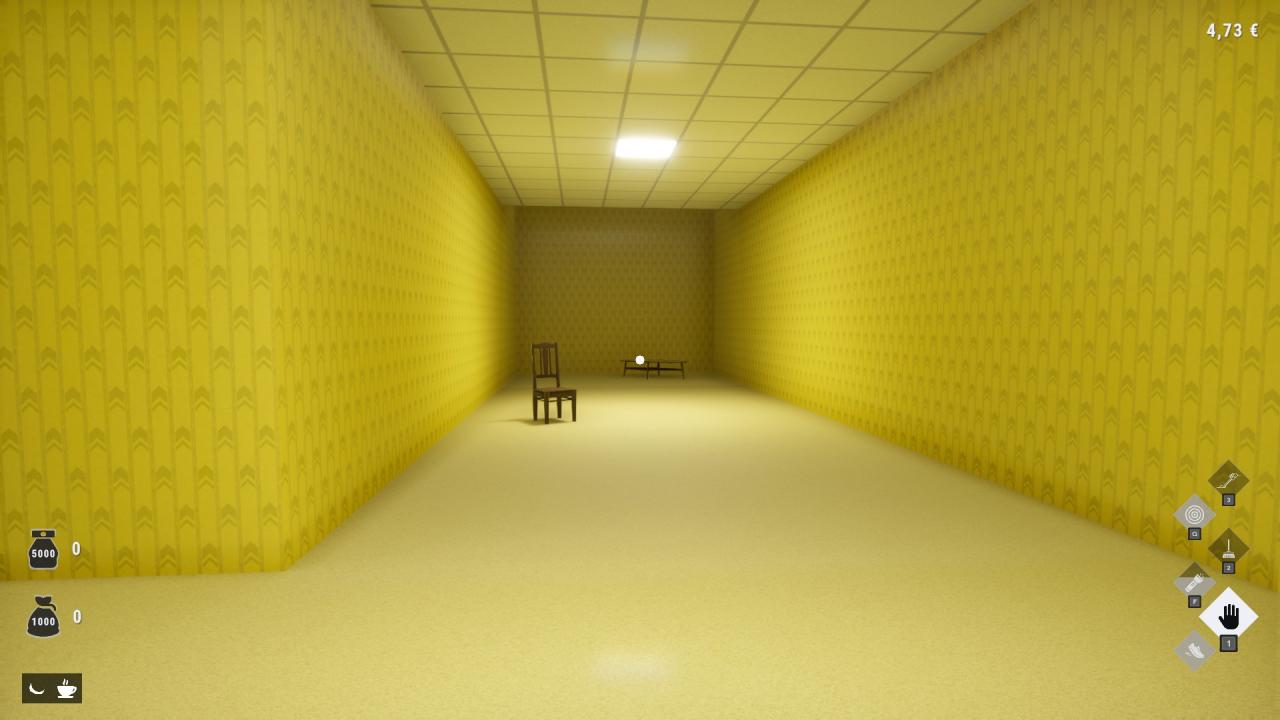
Item #5 – “Three Seat Couch”
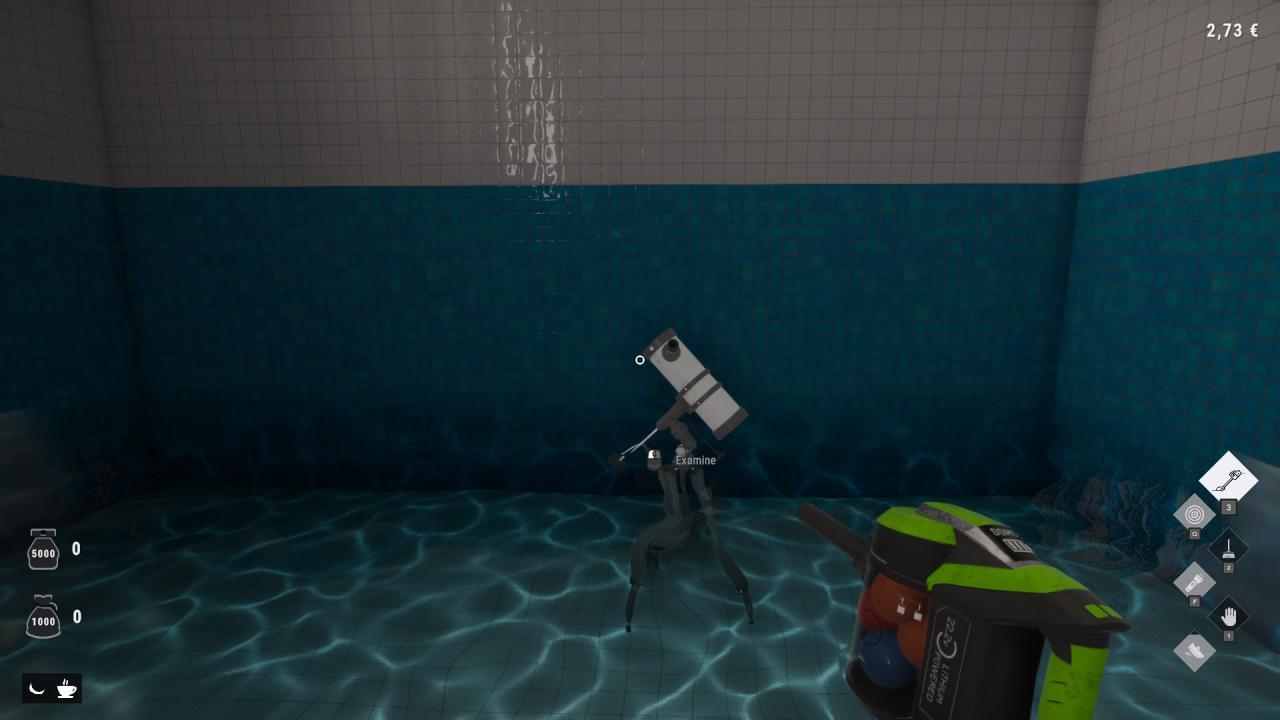
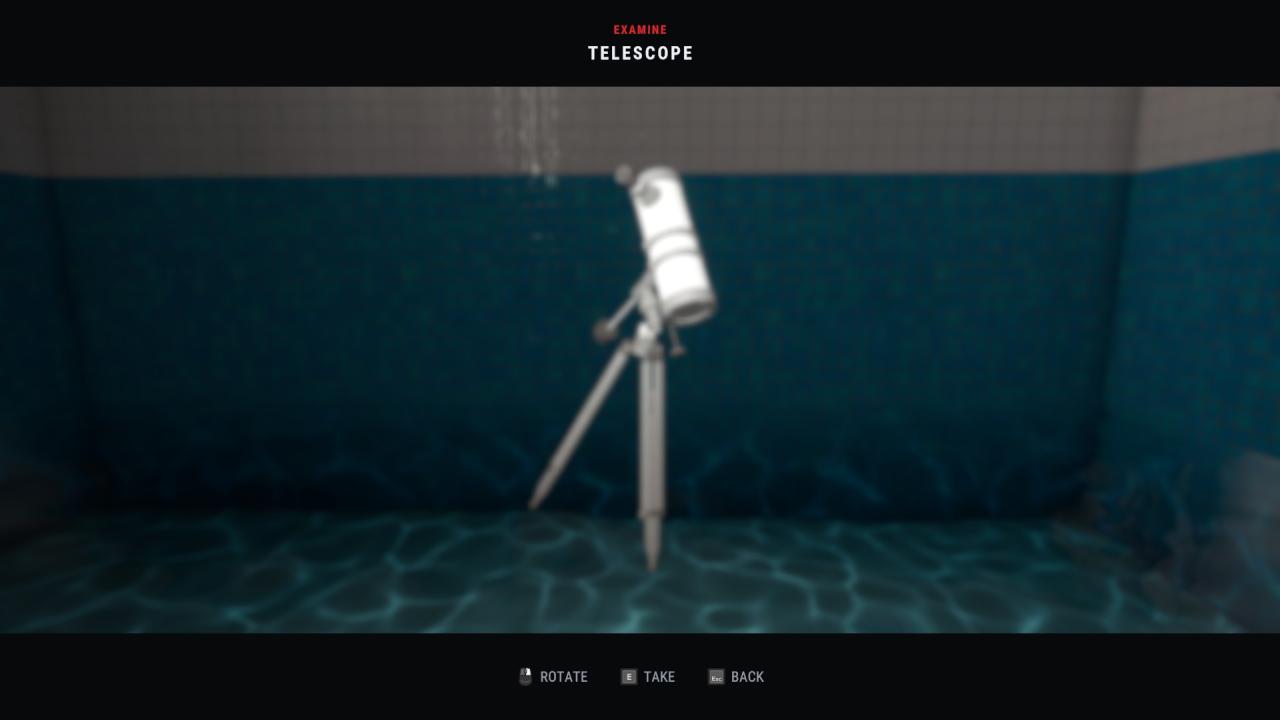
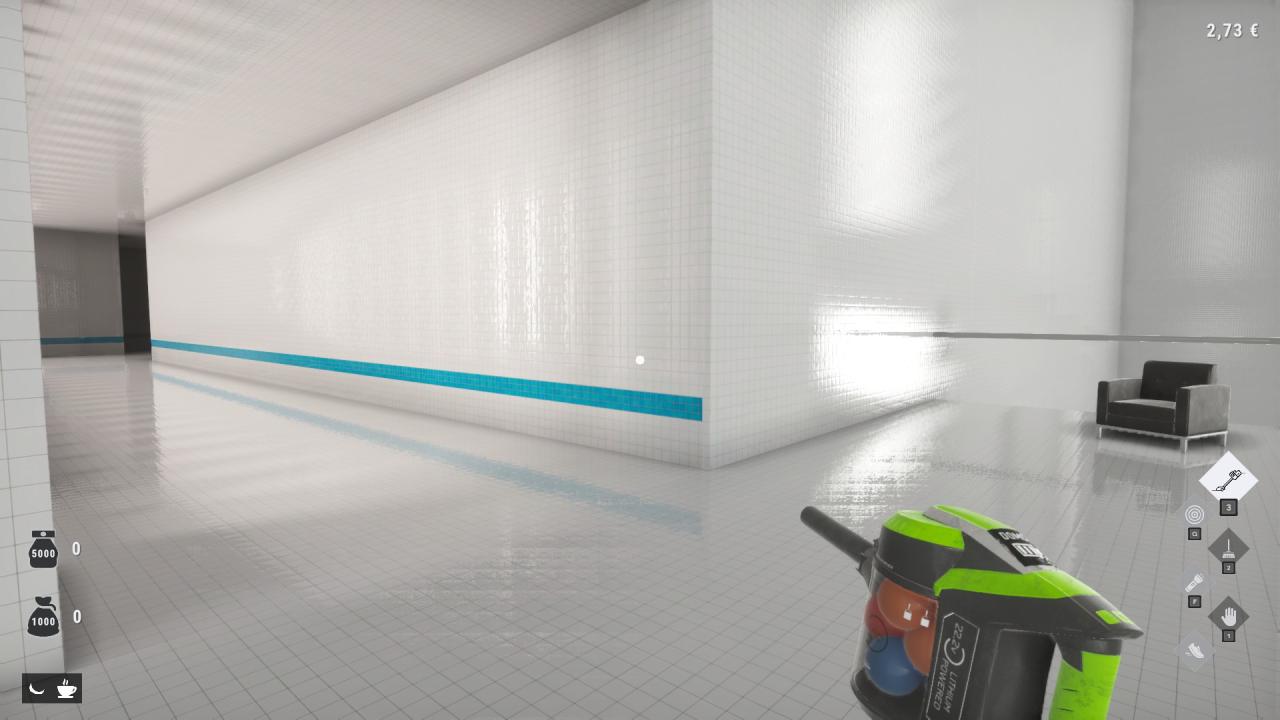
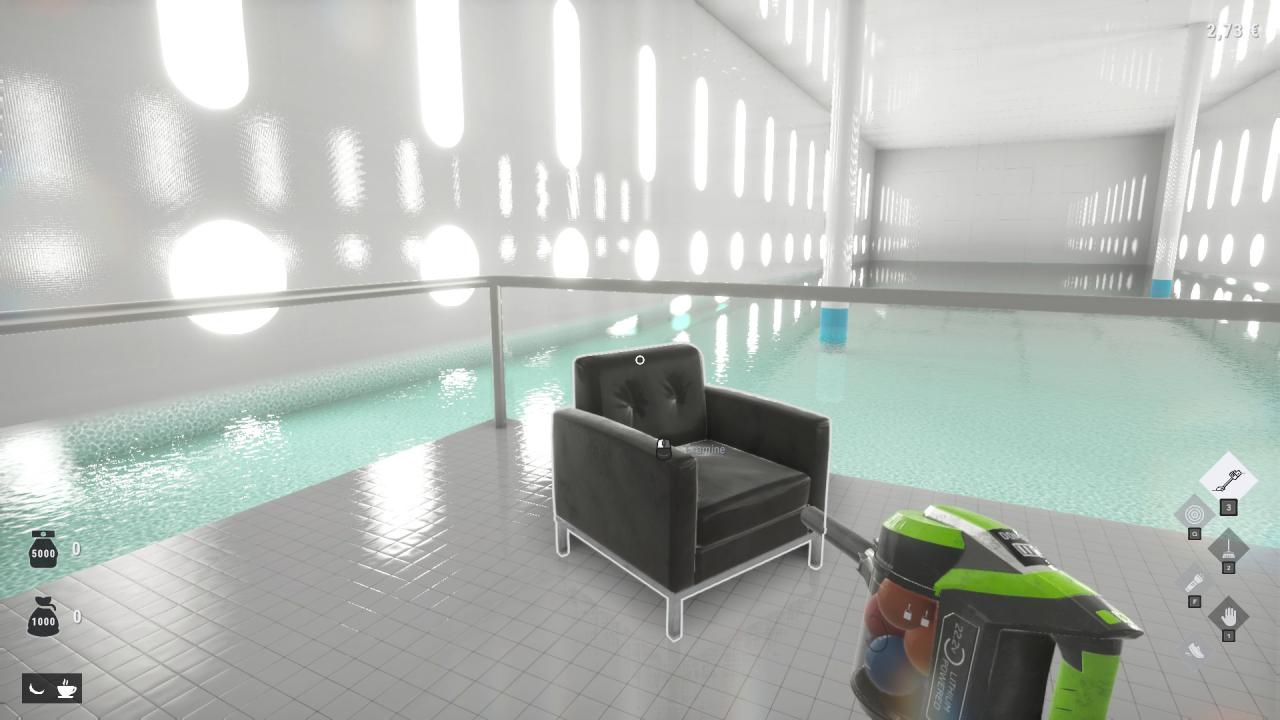
Poolroom — Telescope and Armchair
Two by the pool.
Item #6 – “Telescope”
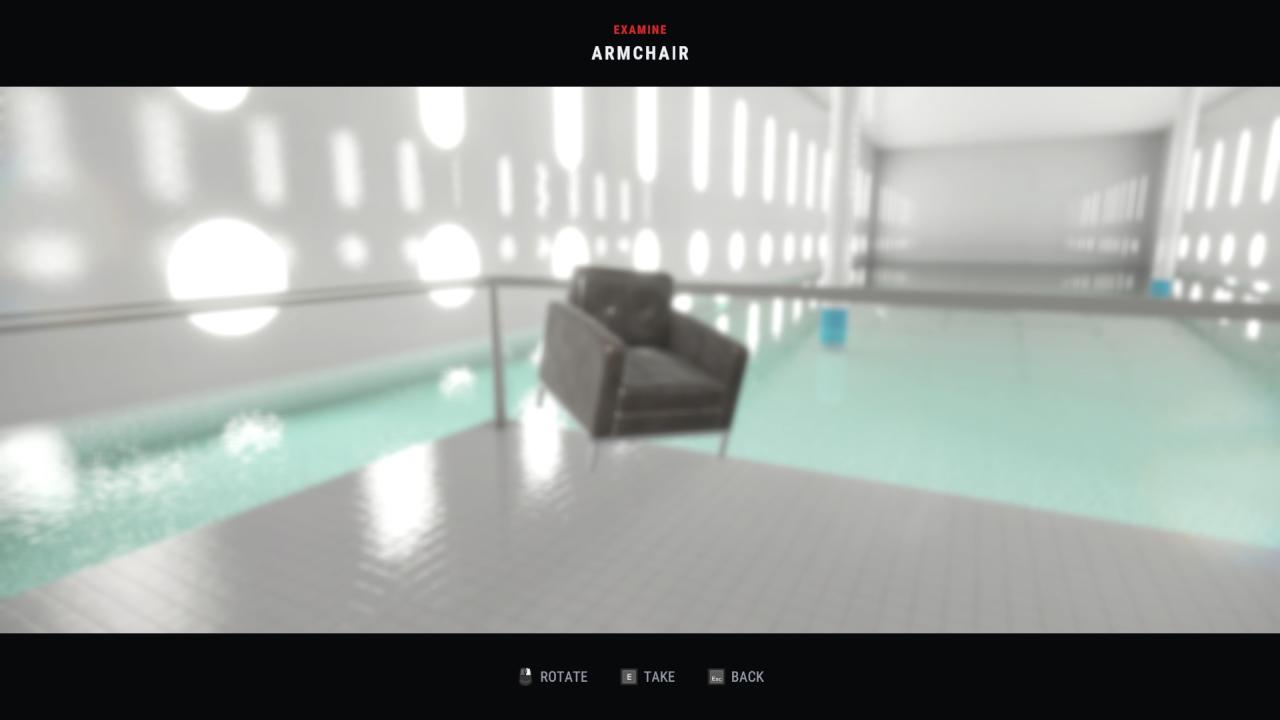
Item #7 – “Armchair”
School — Wall Clock and Copper Icosahedron
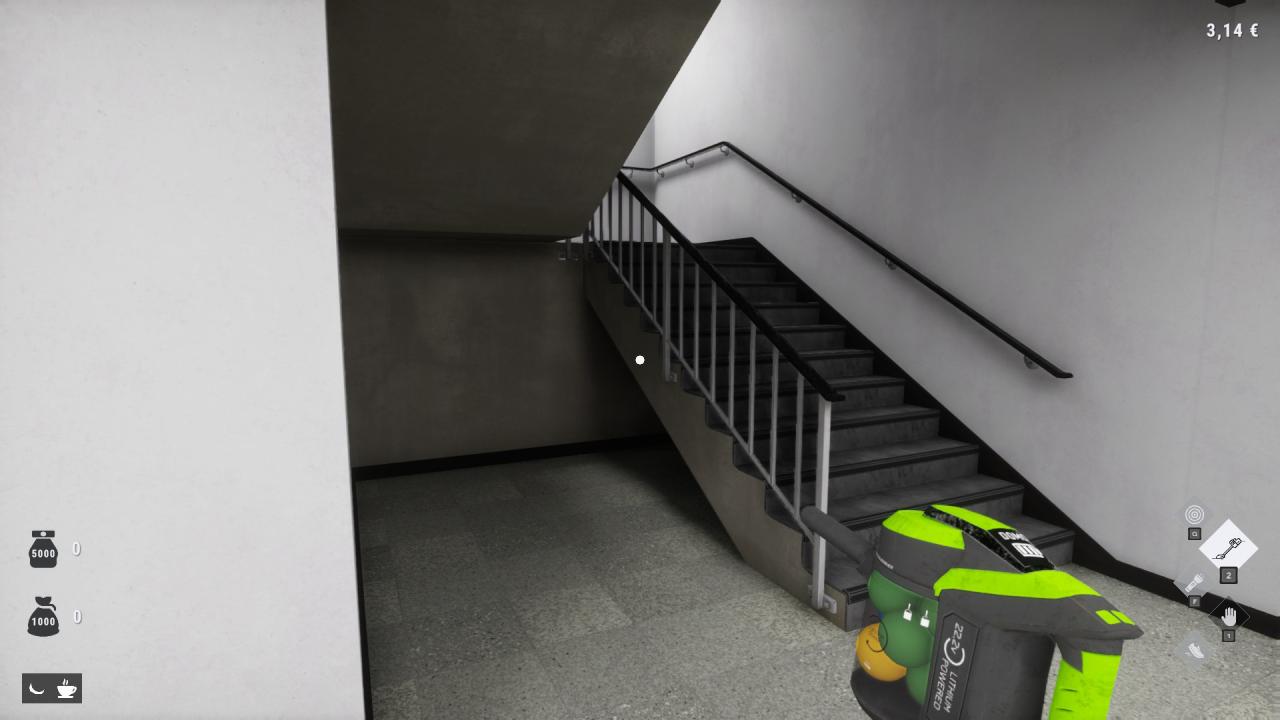
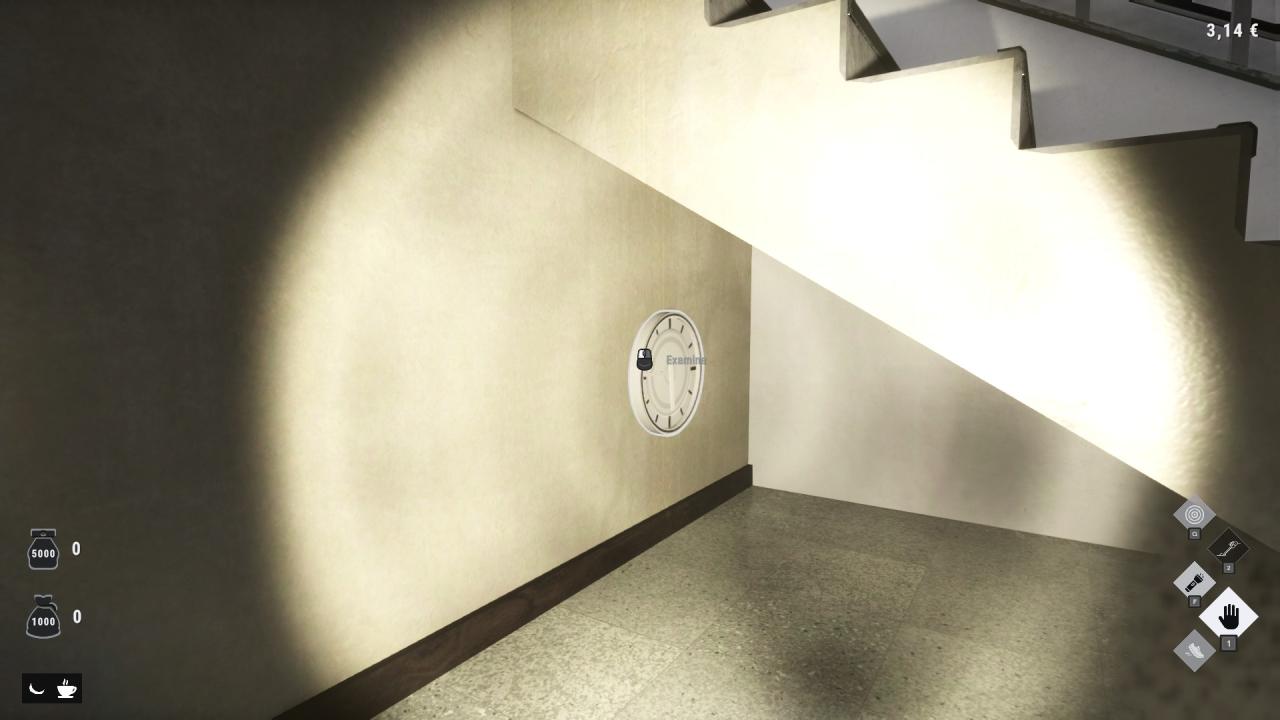
Two in the School.
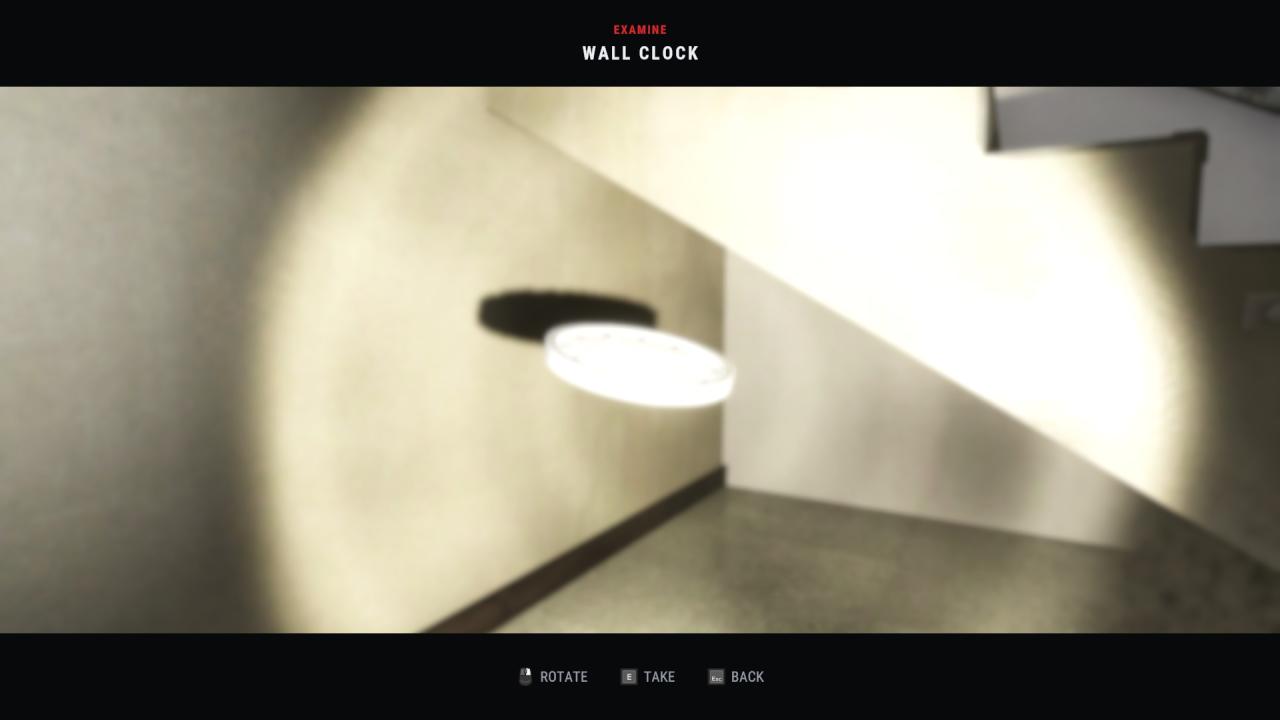
Item #8 – “Wall Clock”
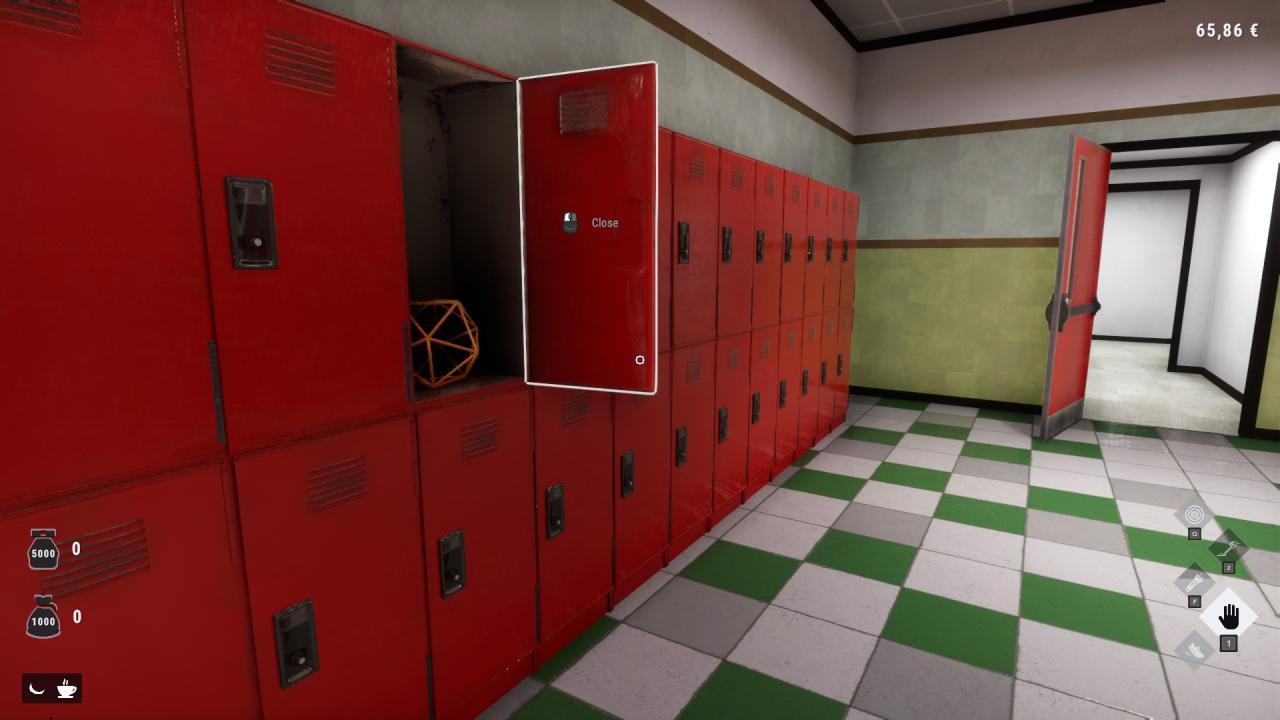
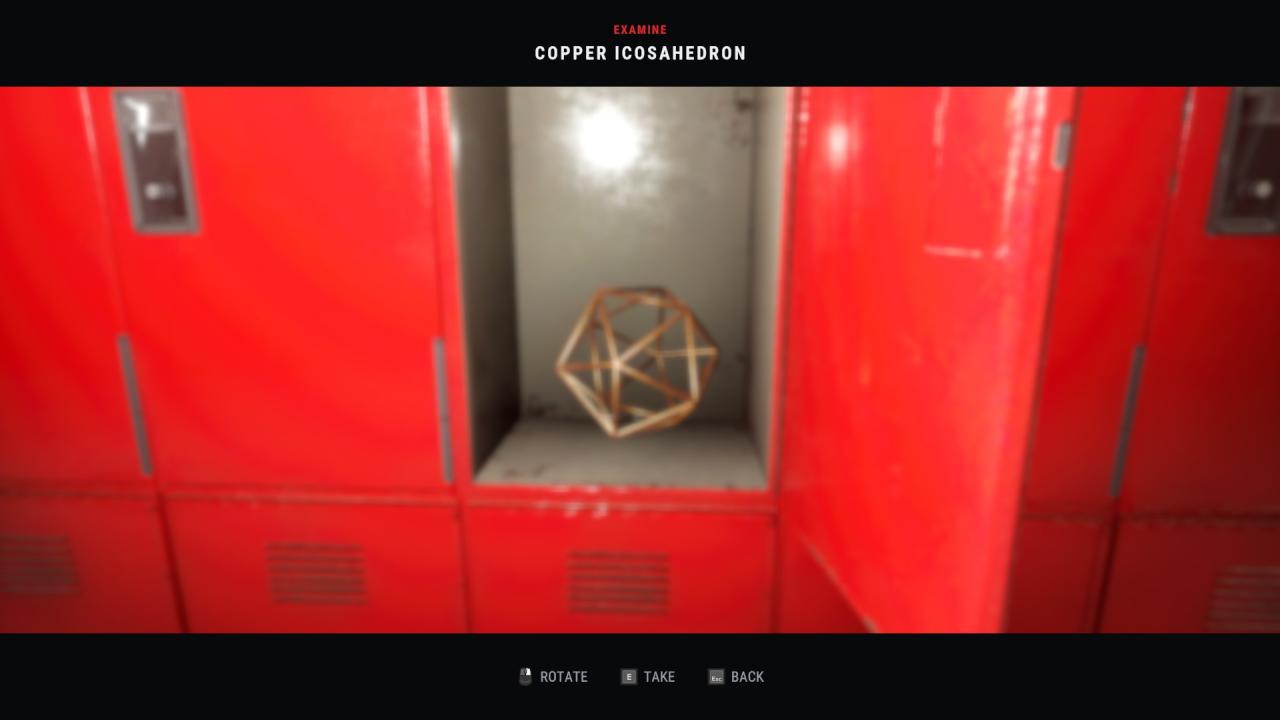
Item #9 – “Copper Icosahedron”
Hotel — Television and Abstract Sculpture
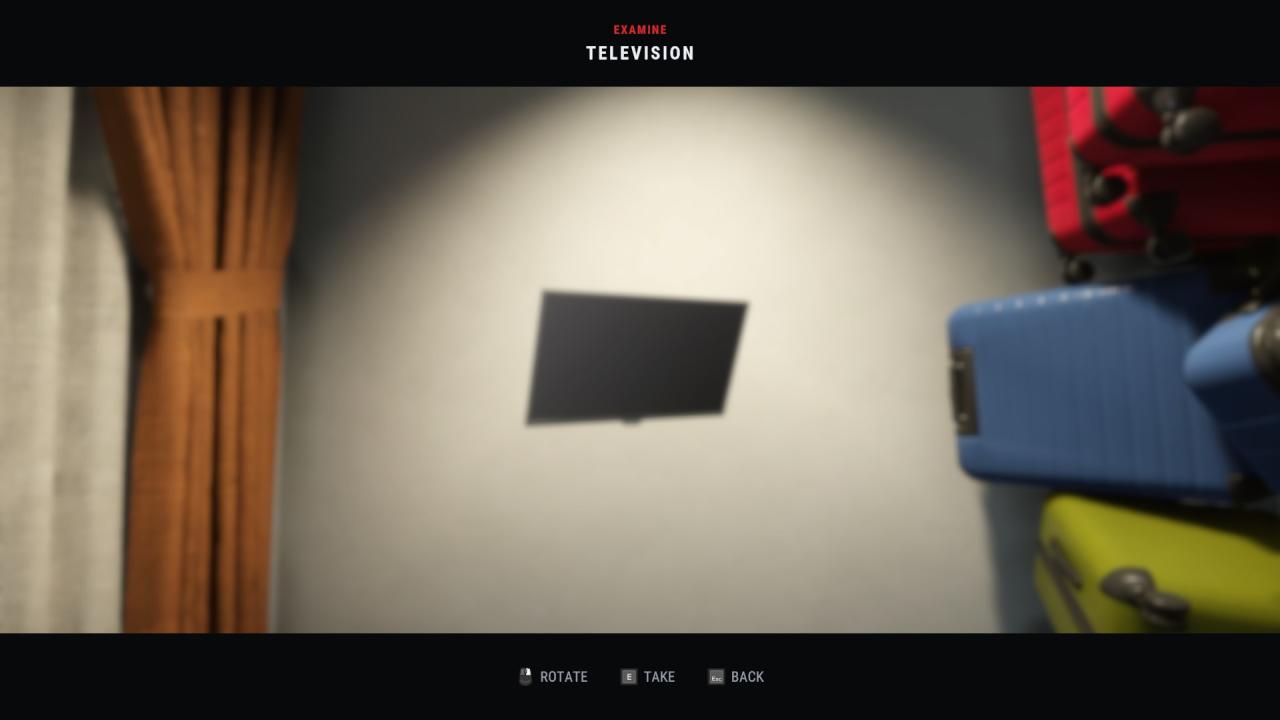
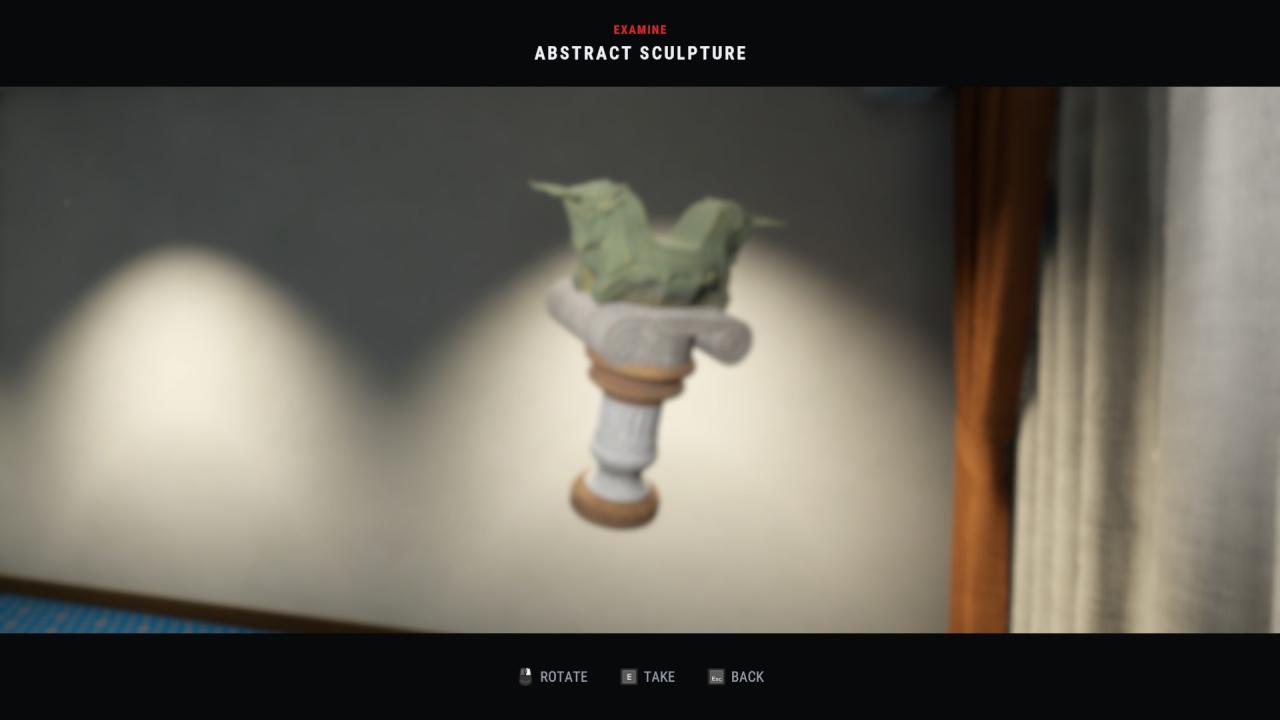
Remember what I said about the Hotel rooms moving every day — go by the room numbers pictured rather than a fixed location, same as the Sparrows. The Television is a fun one: once it’s in your office there are several different channels you can actually watch.
Item #10 – “Television”
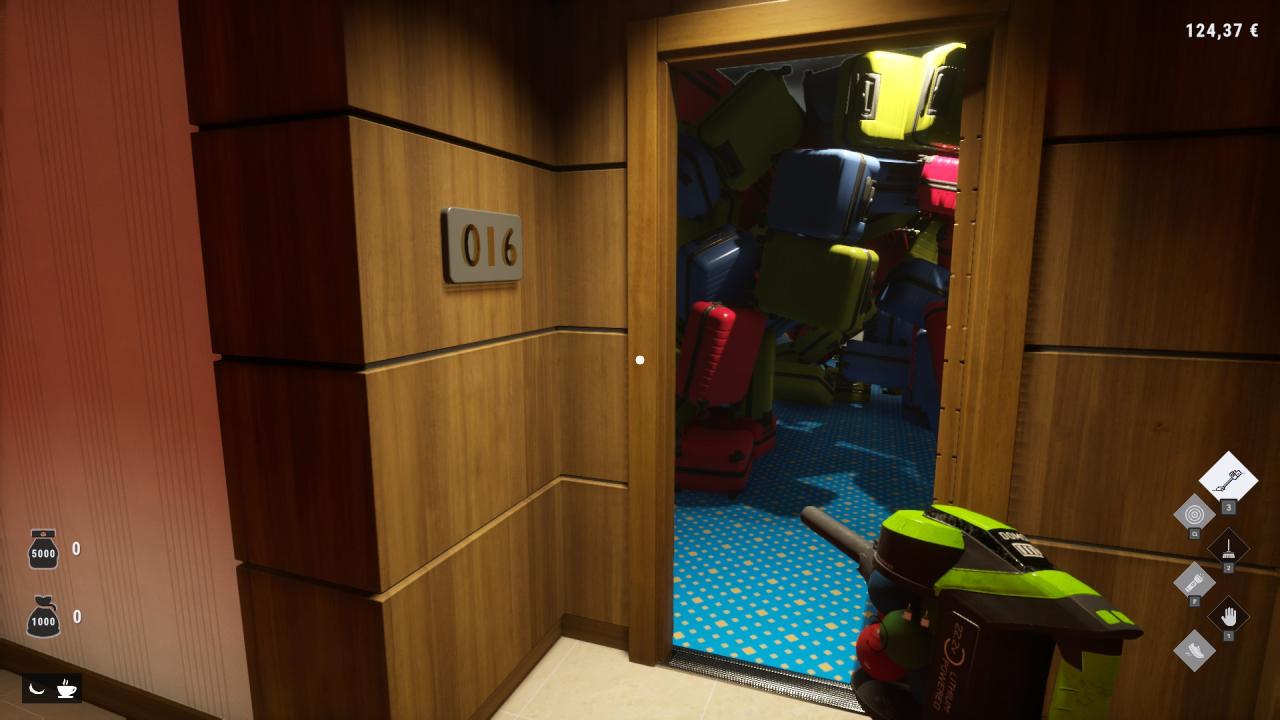
Item #11 – “Abstract Sculpture”
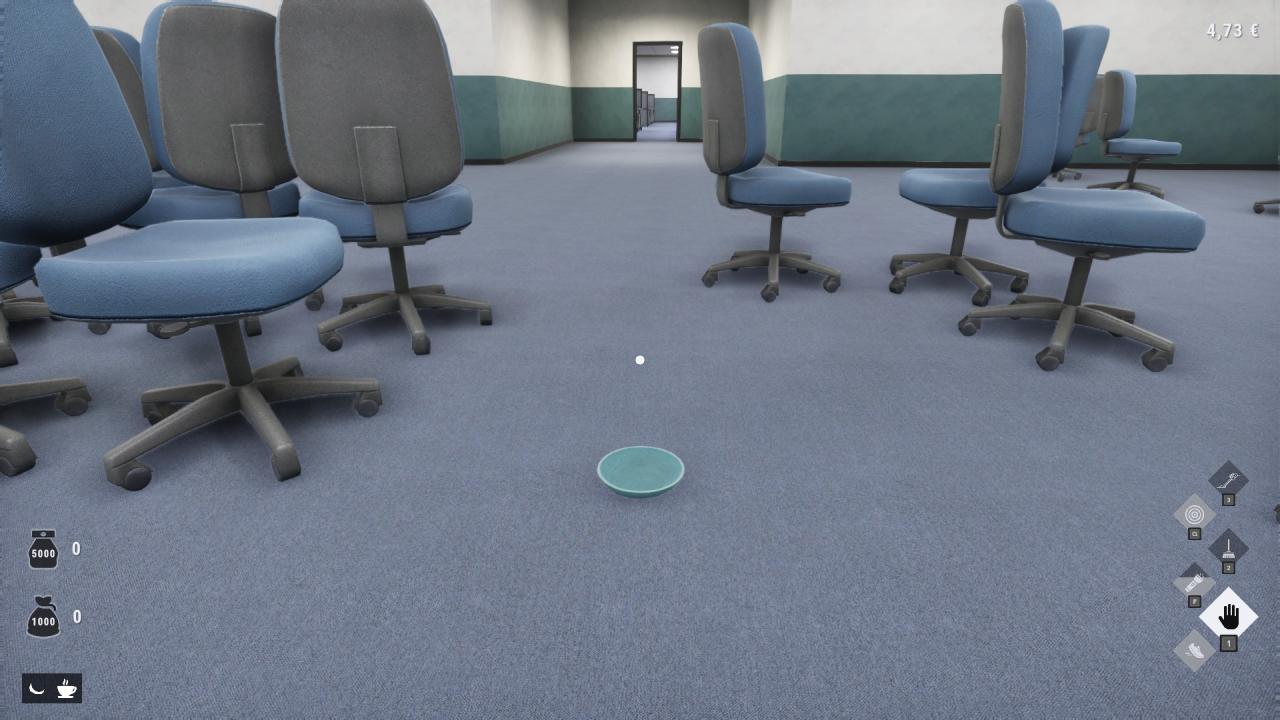
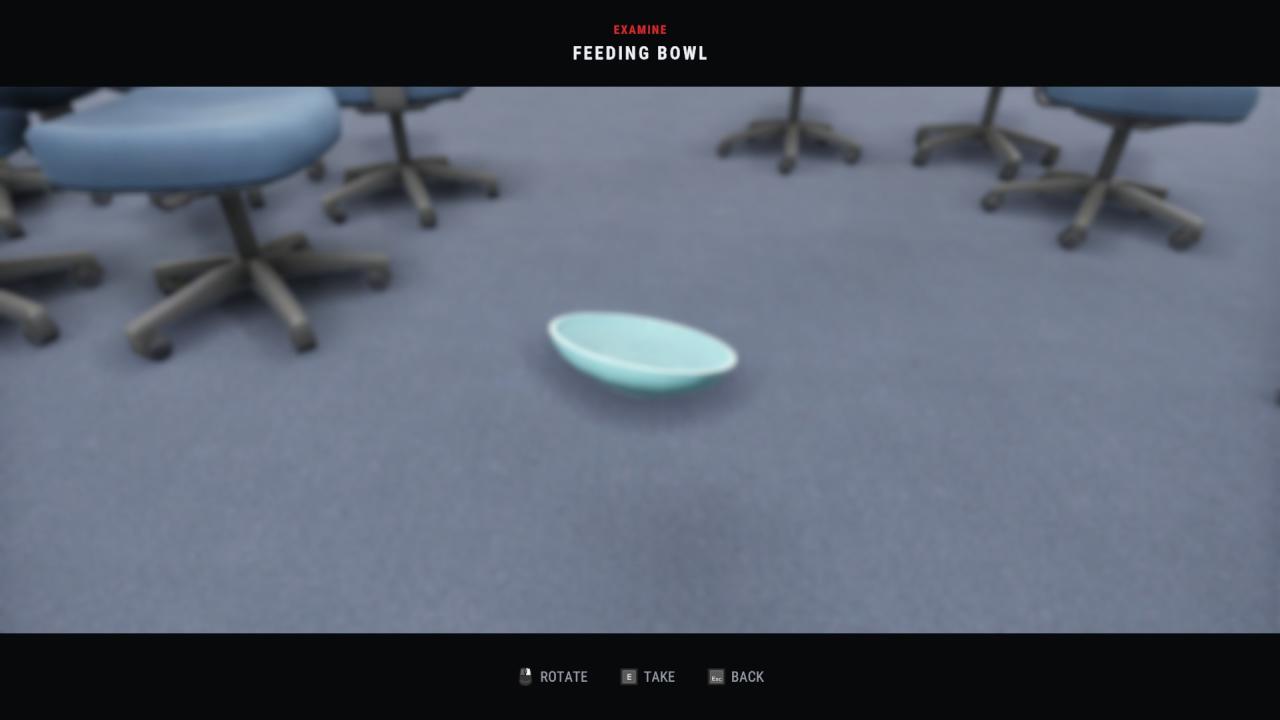
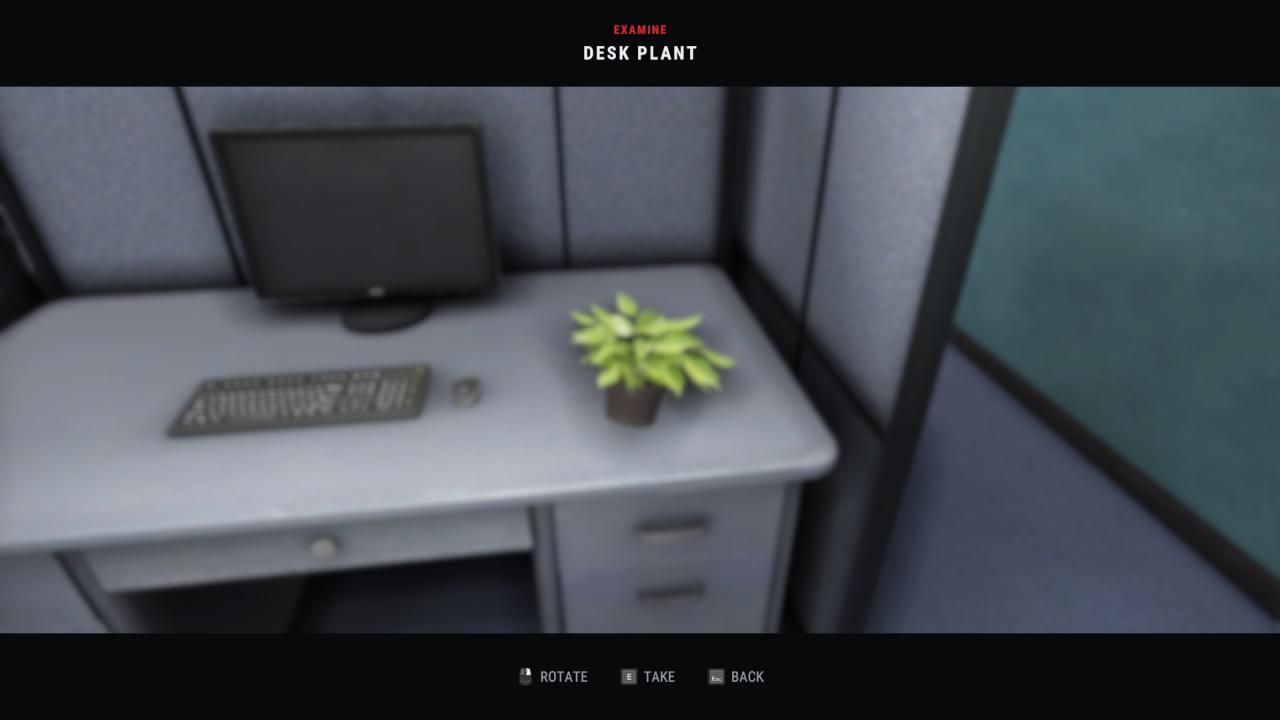
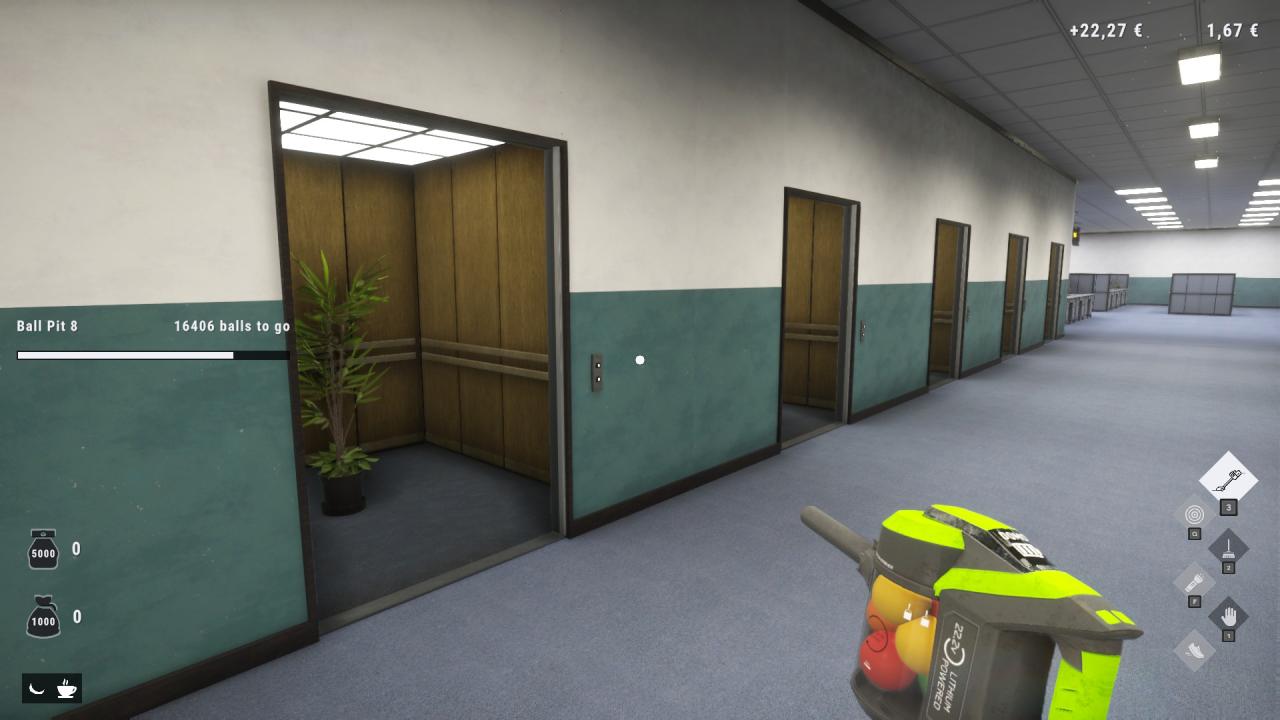
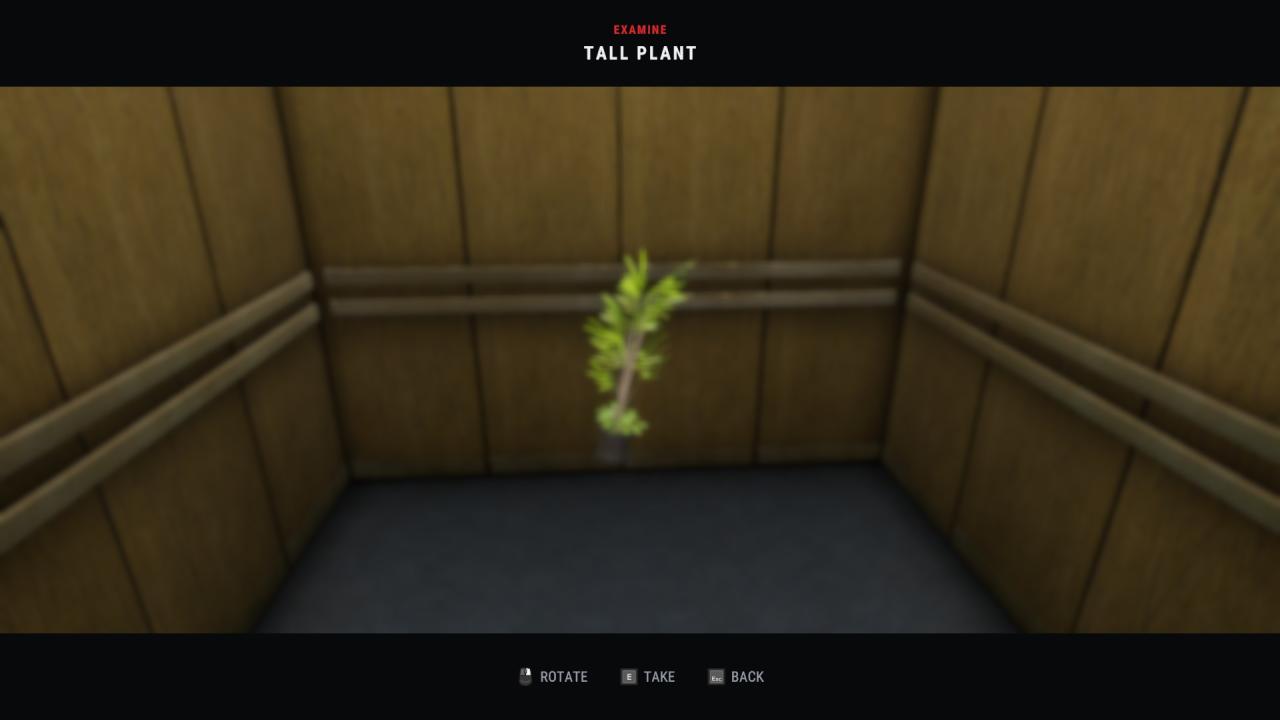
Office — Feeding Bowl, Desk Plant, and Tall Plant
The final three sit right in the Office, so you can finish the set without leaving the room you’re furnishing.
Item #12 – “Feeding Bowl”
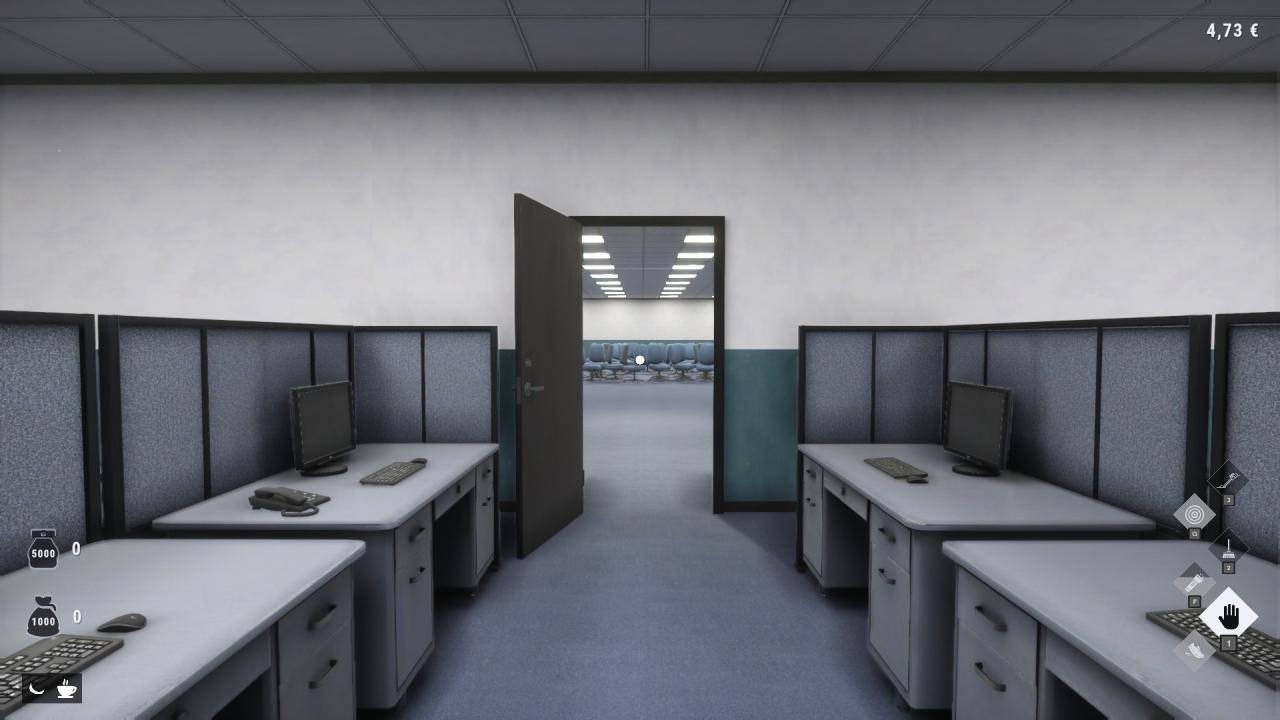
Item #13 – “Desk Plant”
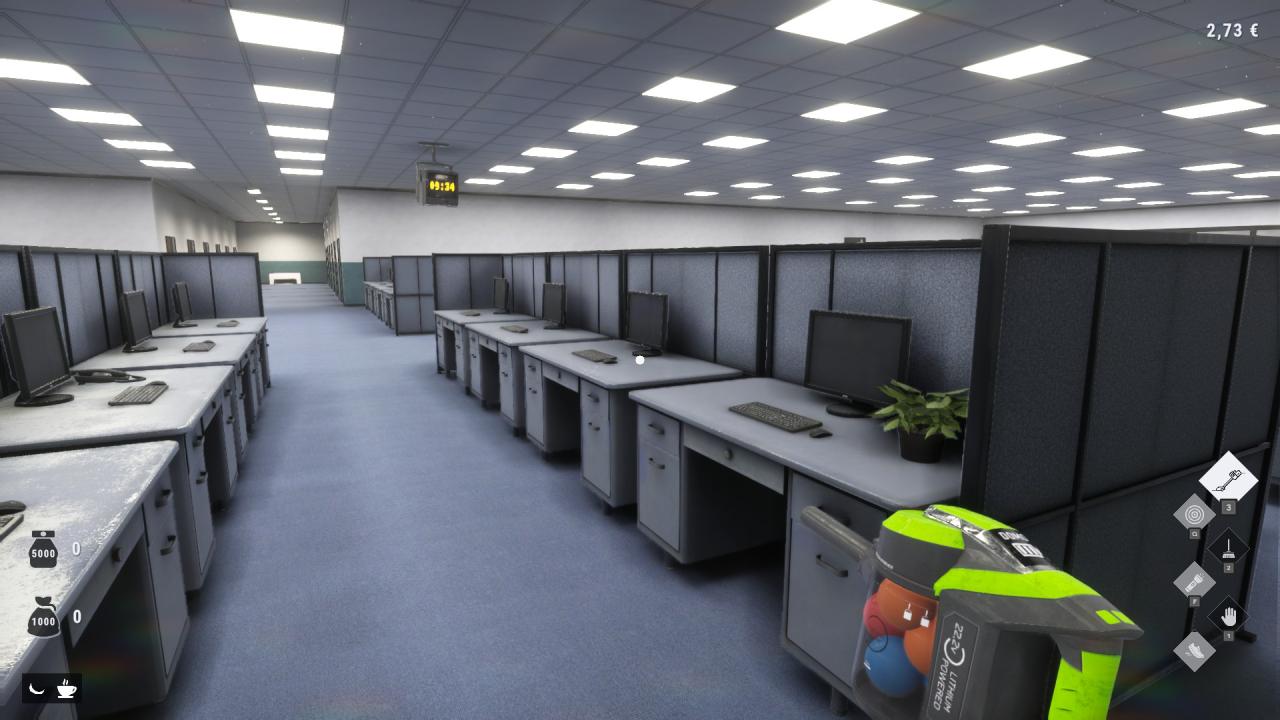
Item #14 – “Tall Plant”
The End
That’s the full sweep — 20 Sparrows, 14 items, and the labyrinth map to tie it together. If a Sparrow ever slips past you in the Hotel, check the room numbers again before assuming you missed it; those rooms rearranging themselves fooled me more than once.